Pencil ready?
Let's draw a cinnamon roll with icing
Treat this as one small practice round: build the subject lightly, notice the shapes, then darken only the lines that help the finished sketch.
-
01
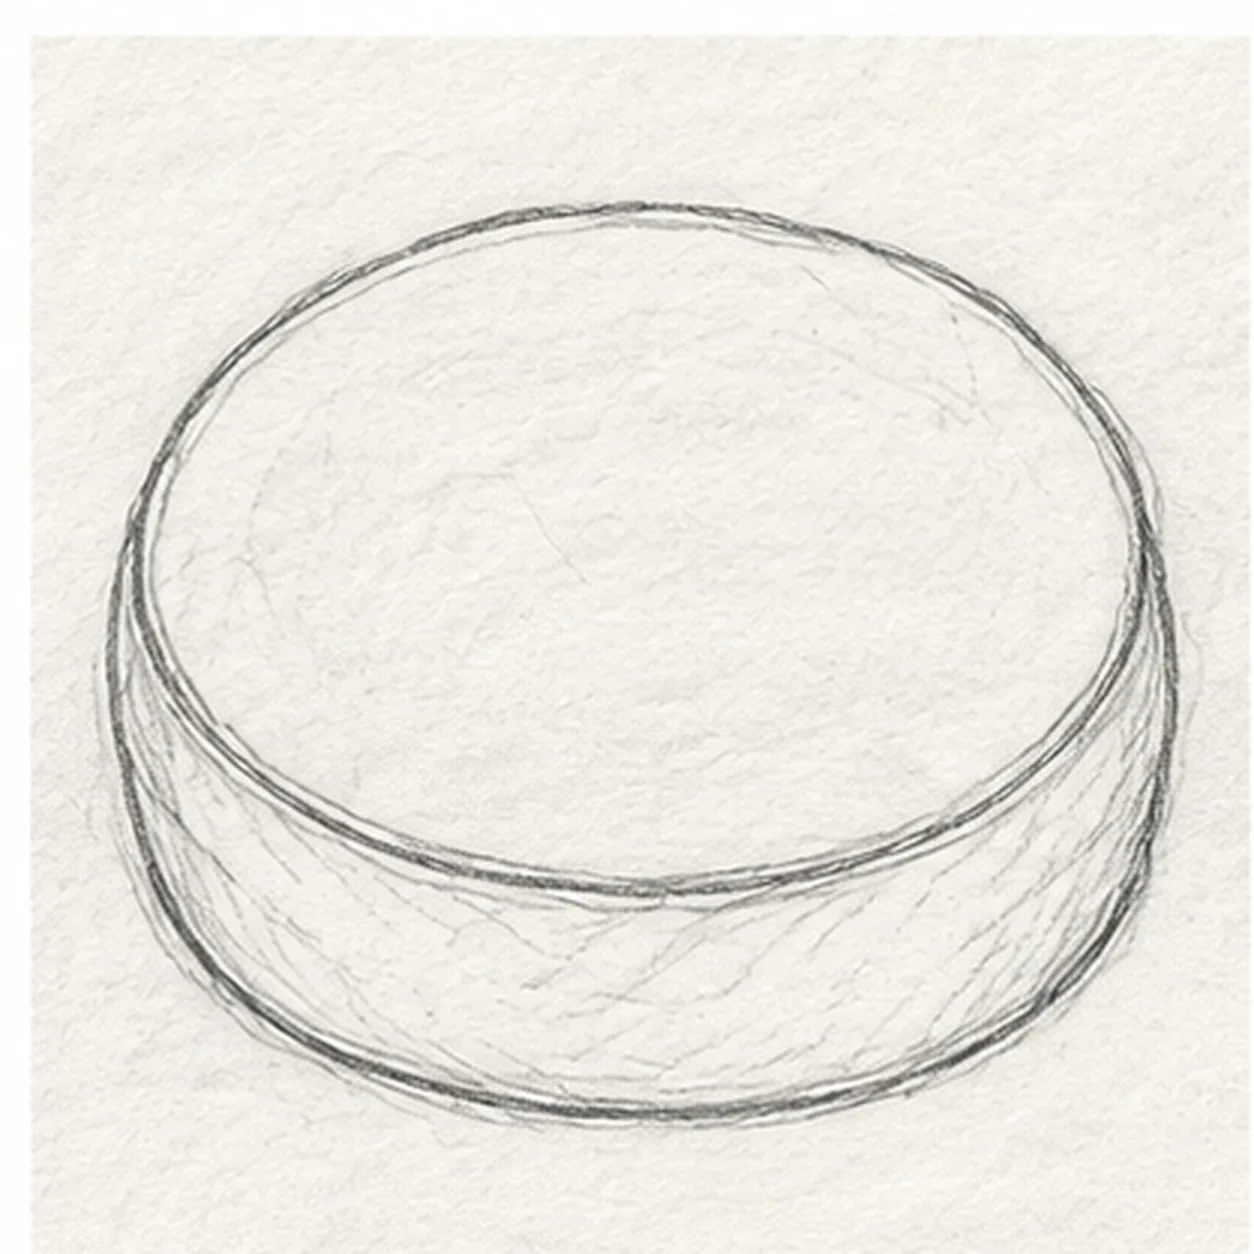
Set the roll's footprint
Lightly draw a wide tilted oval in the center. Leave a small gap along the near edge, then drop two short side curves from that gap and join them with a shallow lower arc.
Sketch tip: Keep the top wider than the pastry side is tall. The connected oval and side are the full roll footprint; do not add a plate yet.
-
02
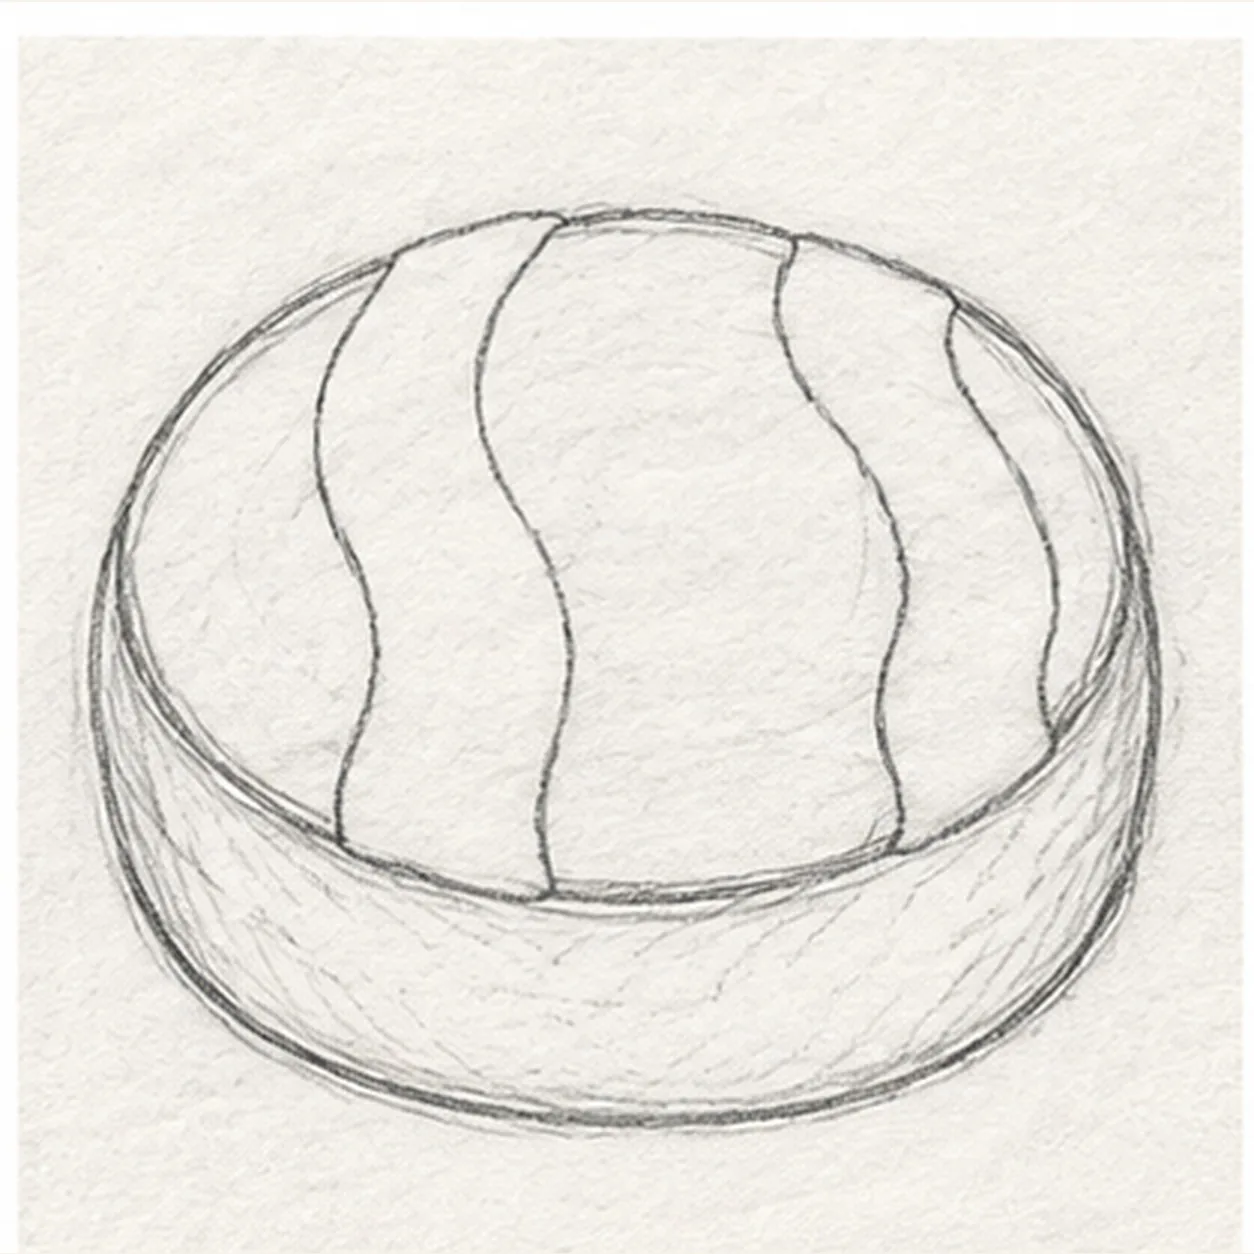
Reserve two icing ribbons
Across the empty oval top, outline two broad wavy icing ribbons from the far rim toward the near rim. Keep their interiors blank and leave a wide uncovered middle strip for the cinnamon swirl.
Sketch tip: Count two white bands with a wide exposed middle strip. Lift the pencil at the near and far rim instead of drawing over the pastry side.
-
03
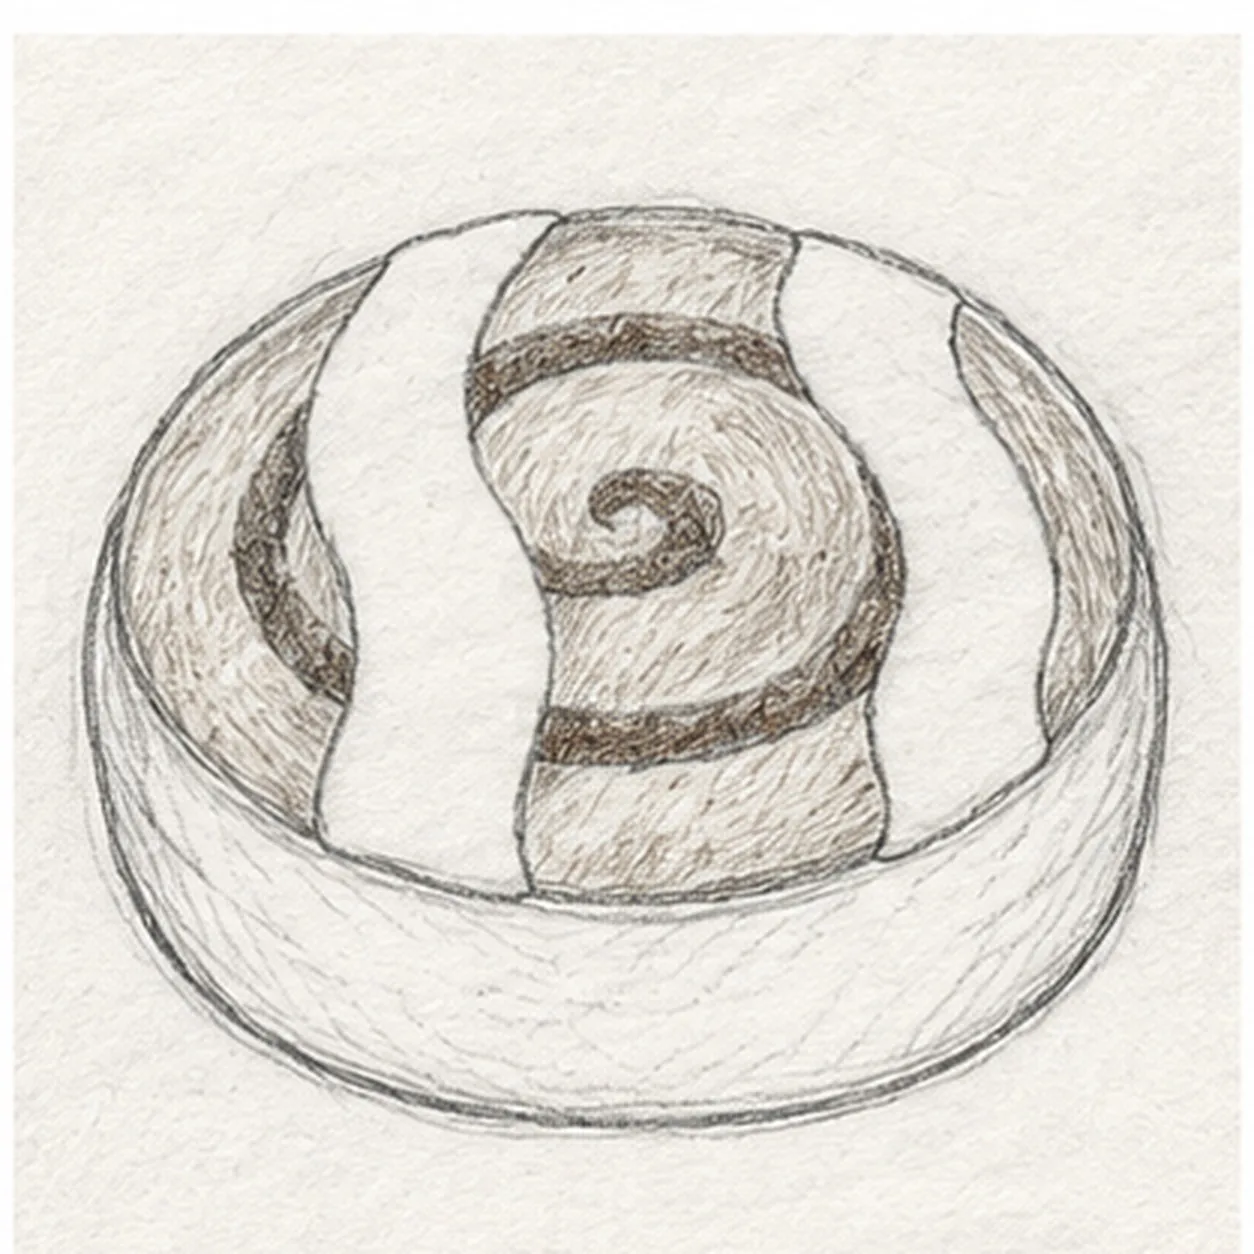
Turn the exposed cinnamon spiral
Curl a broad spiral through the uncovered dough, lifting the pencil at each icing edge and continuing at the matching point beyond it. Hatch the exposed cinnamon strip lightly, without marking the white icing.
Sketch tip: Follow the curve through the open dough but lift at both icing boundaries. Hatching stays out of the white bands.
-
04
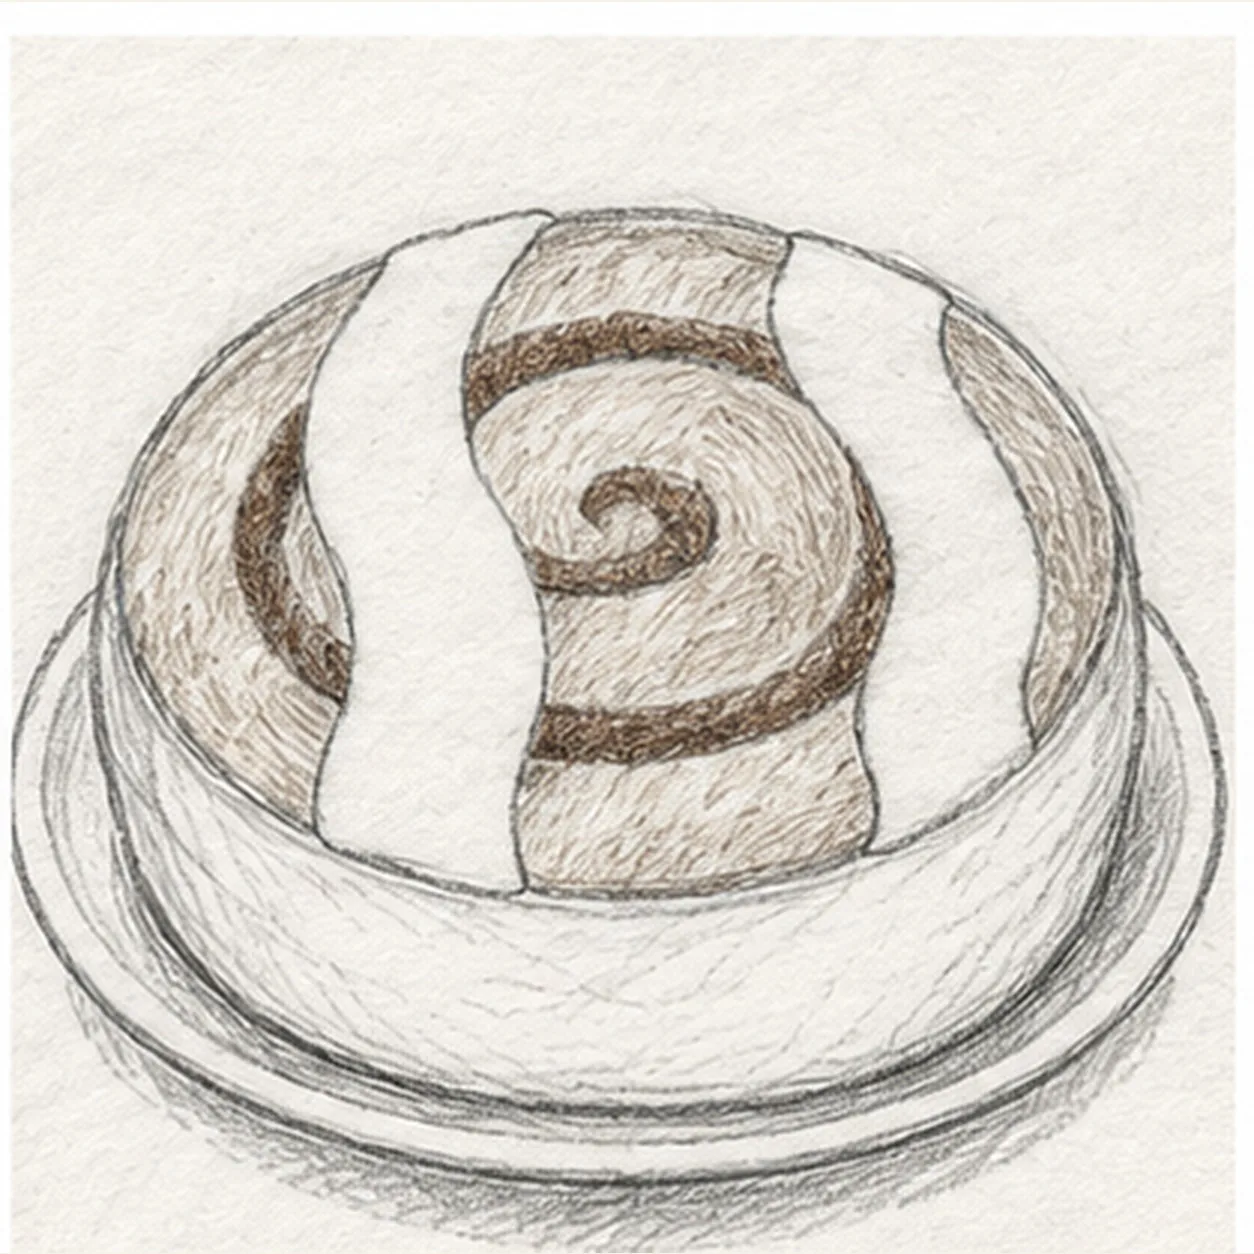
Set the roll on a plate
Behind the pastry side, draw a shallow plate ellipse whose front edge passes below the roll. Add a short broken shadow under the base, keeping the roll in exactly the same place.
Sketch tip: Let the rear plate edge disappear behind the roll. The front rim and broken shadow should support the pastry without moving it.
-
05
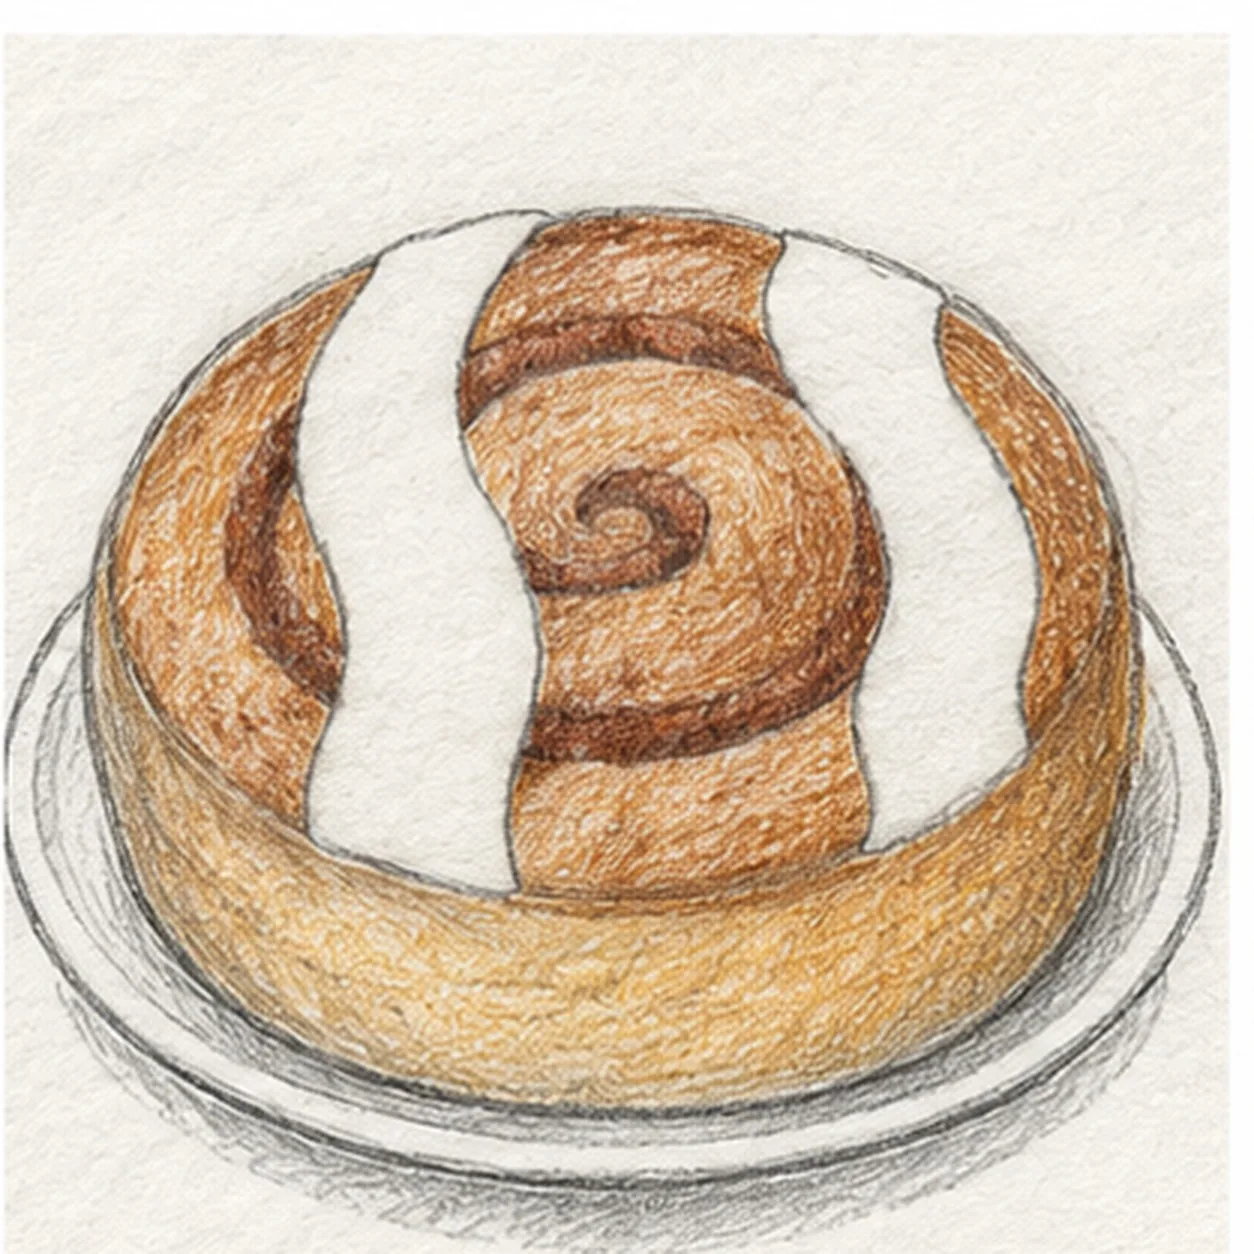
Shade warm pastry and cinnamon
Glaze the pastry side golden ochre and the exposed spiral warm brown with visible pencil grain. Deepen the existing underside and plate shadow in graphite; leave both icing ribbons pale and add no new contours.
Sketch tip: Layer ochre and brown lightly so white paper shows through the grain. Stop while both icing ribbons are still clean.