Pencil ready?
Let's draw a padlock
Treat this as one small practice round: build the subject lightly, notice the shapes, then darken only the lines that help the finished sketch.
-
01
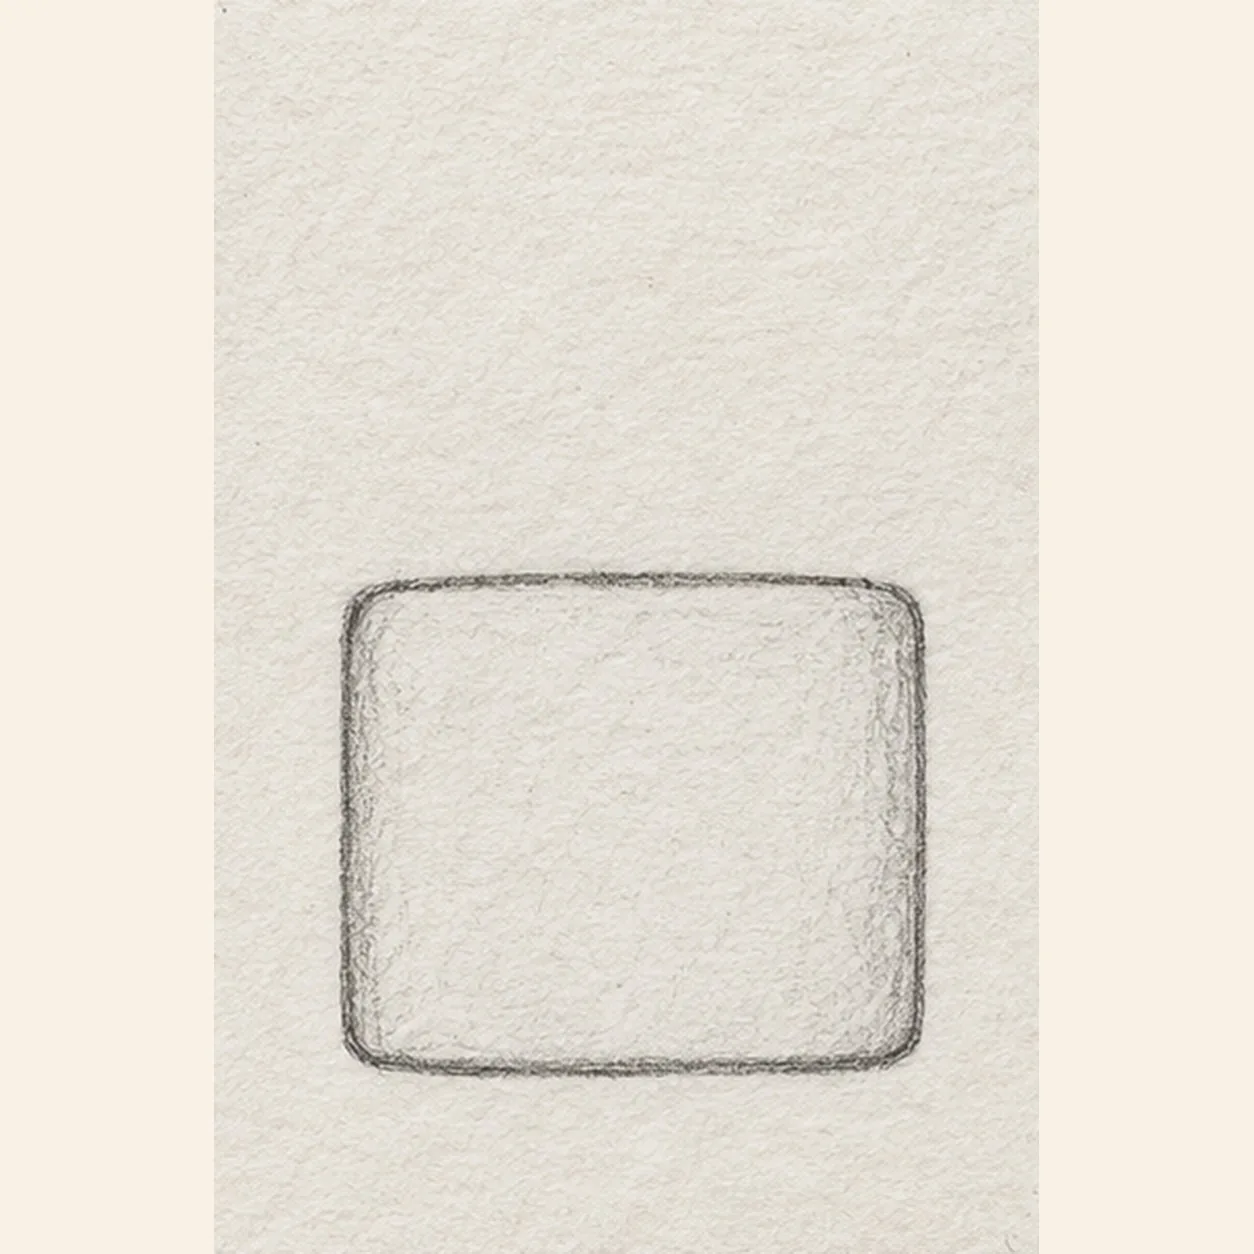
Shape the lock case
Draw a broad rounded rectangle a little below the page center. Keep its upper edge level and its corners softly curved.
Sketch tip: Make the case wider than it is tall and save open paper above for the shackle.
-
02
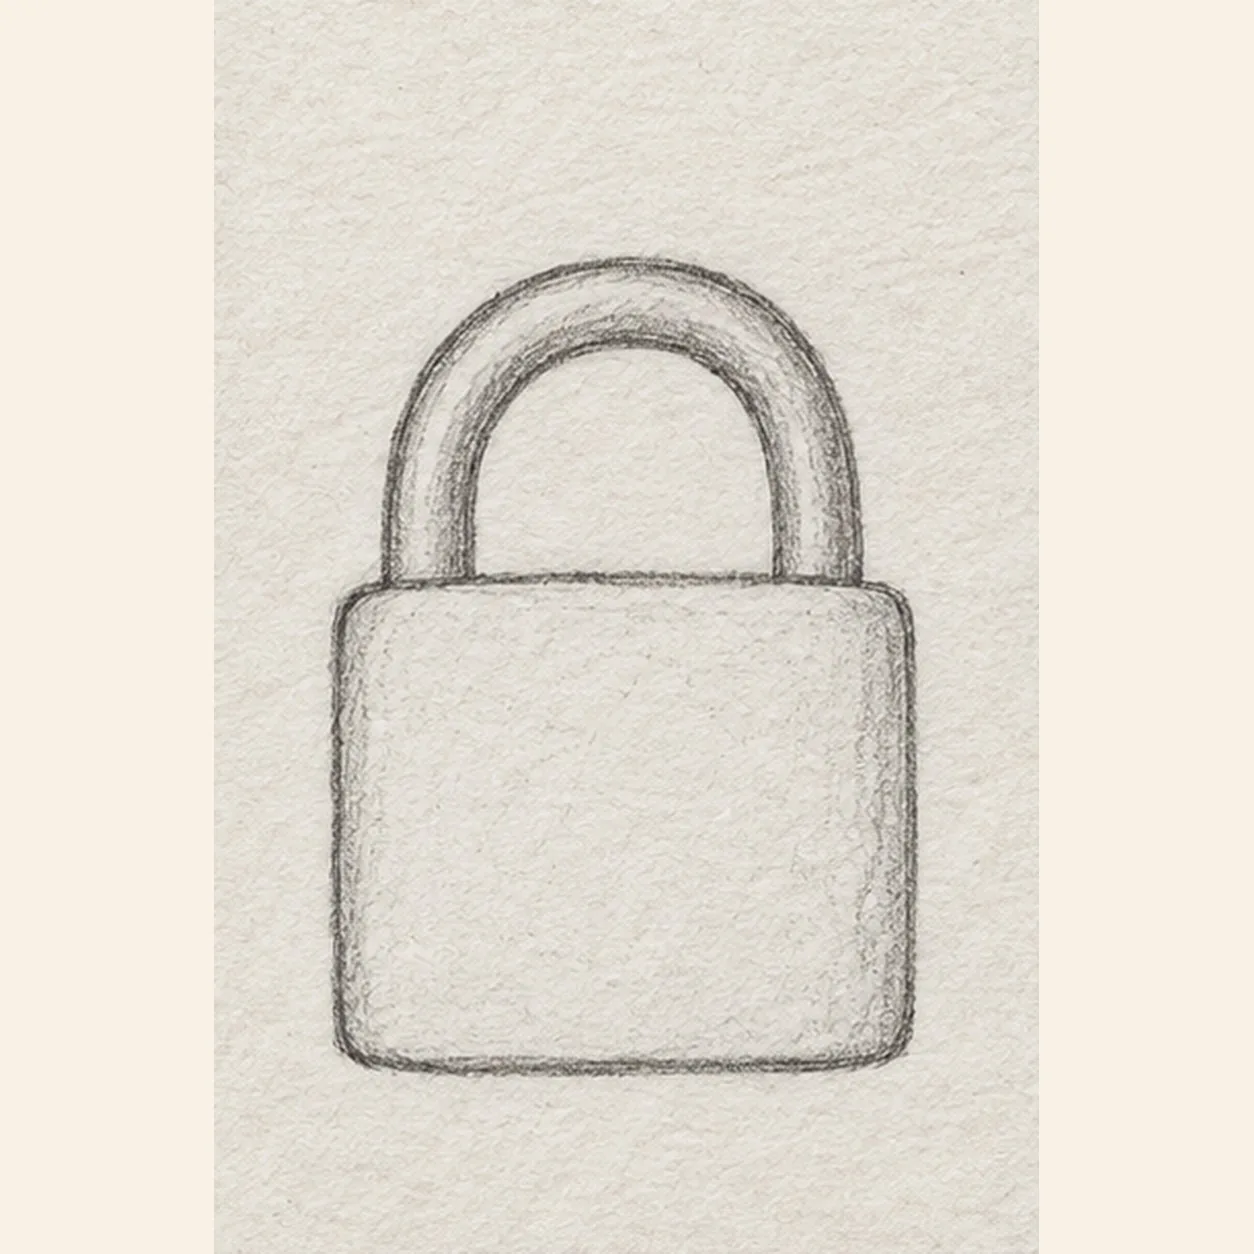
Raise the shackle
Behind the case, draw a thick upside-down U from two points along the top edge. Keep its lower ends hidden behind the case instead of crossing the front.
Sketch tip: Keep both shackle ends at equal distances from the case center.
-
03
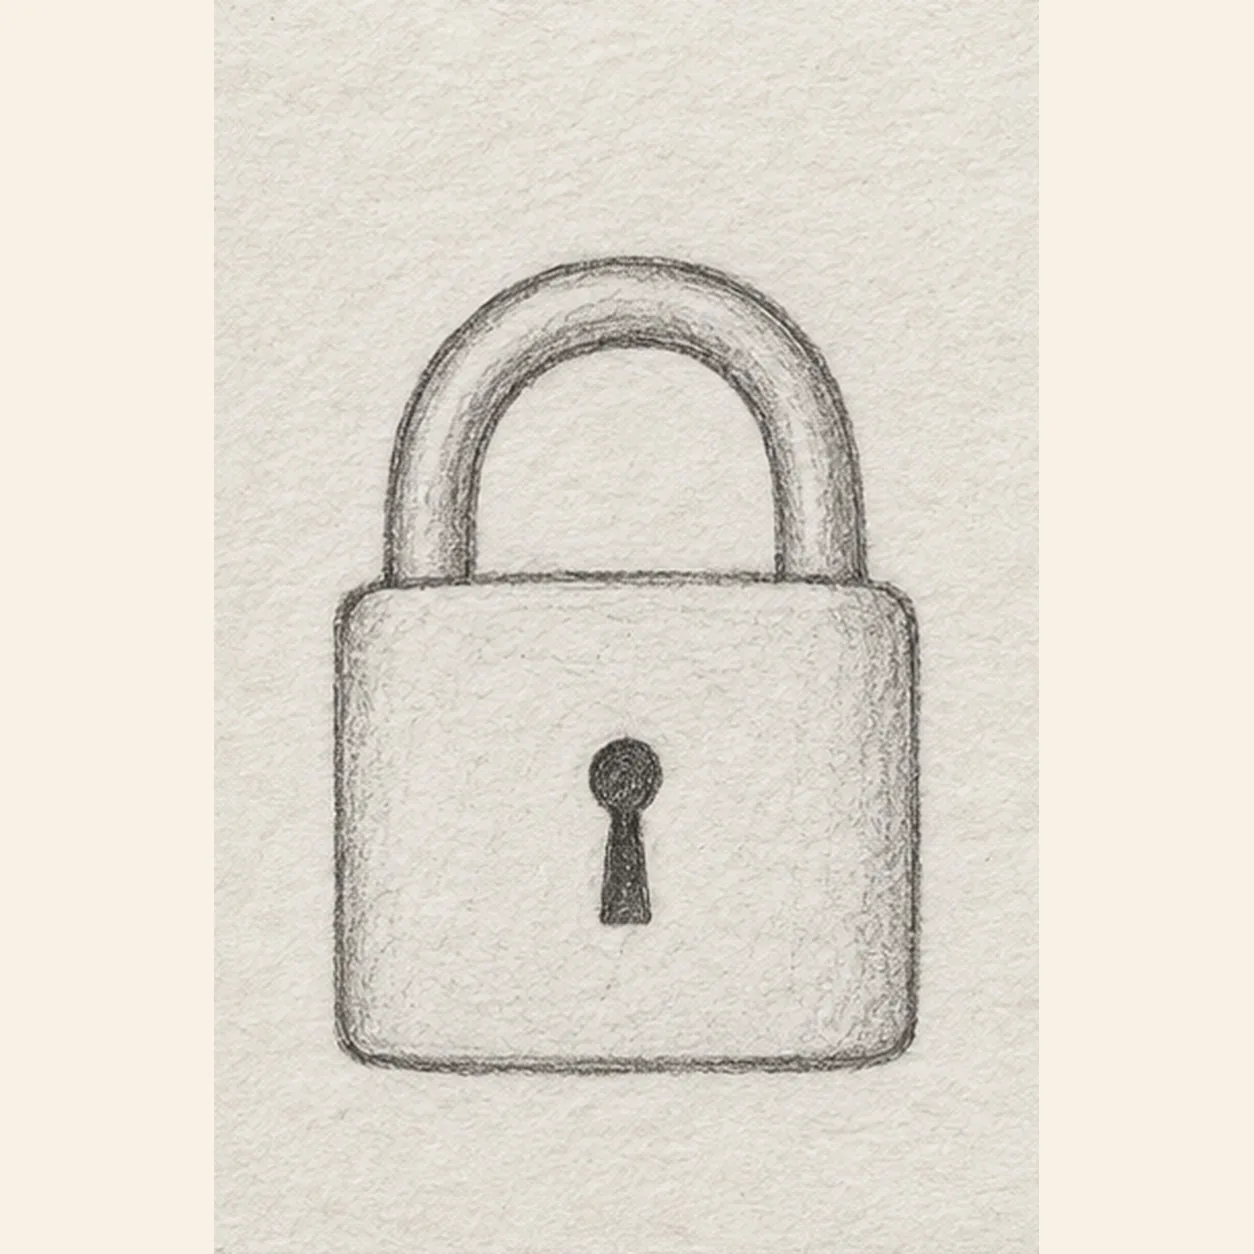
Cut the keyhole
Center a small dark circle on the case front, then hang a narrow tapered slot directly from its lower edge. Keep both shapes inside the case.
Sketch tip: Set the round opening first so the tapered slot hangs directly below it.
-
04
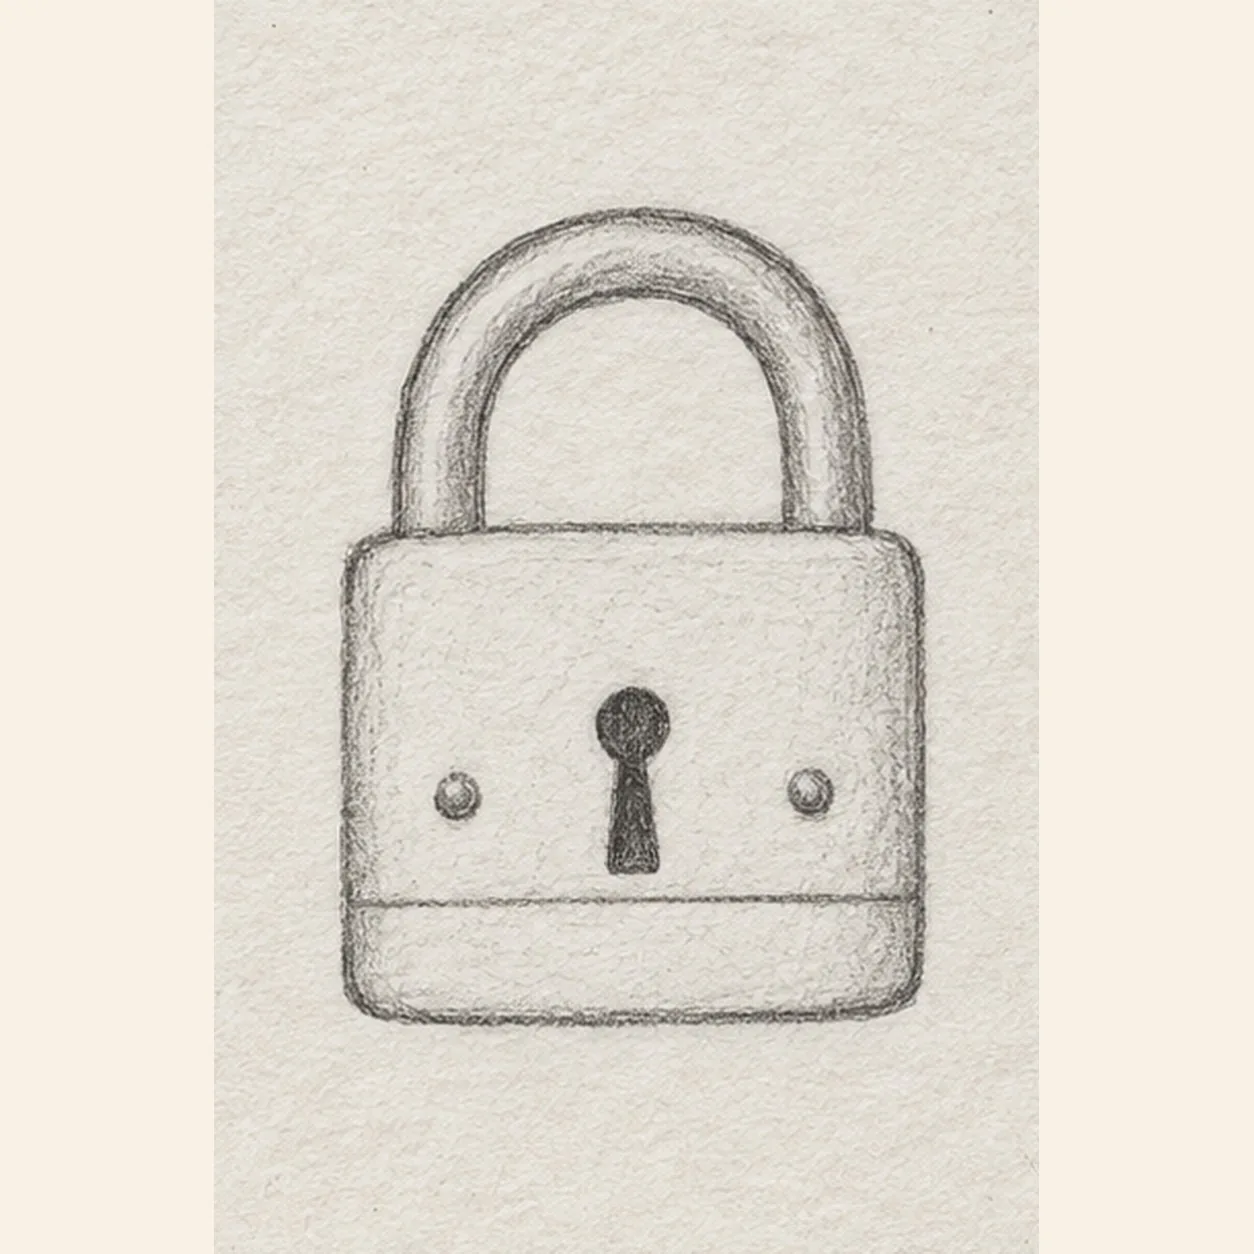
Mark seam and rivets
Run one short horizontal seam near the case bottom. Place one small rivet dot to either side of the keyhole above the seam.
Sketch tip: Keep the two rivets level and the seam below both.
-
05
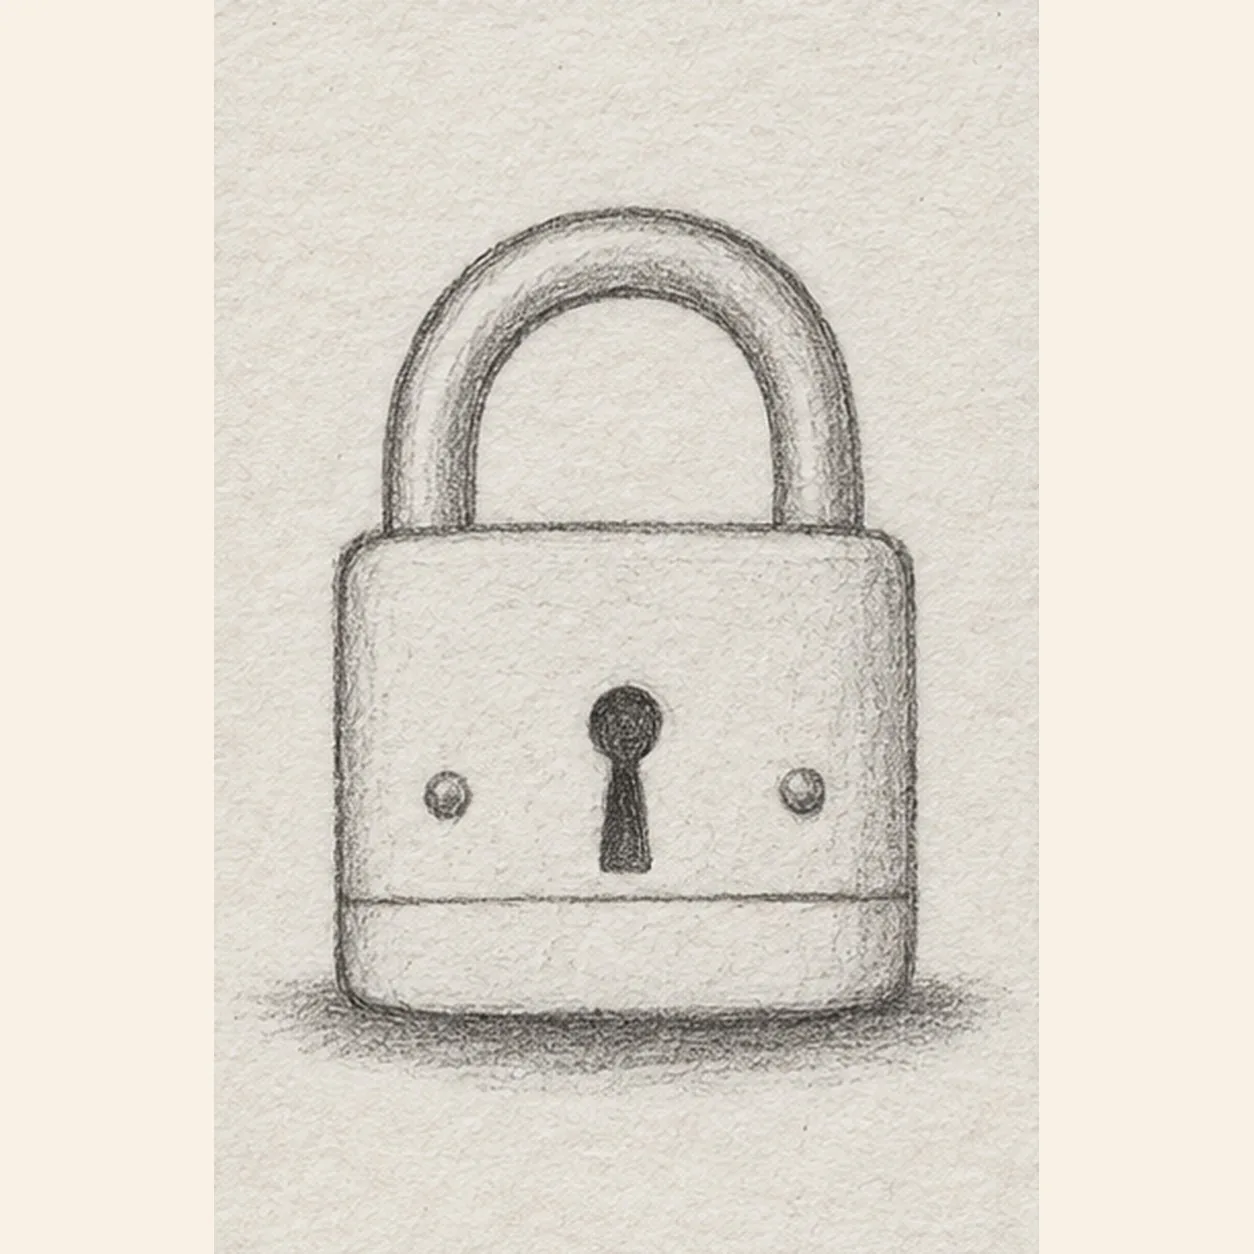
Ground the metal
Sketch one broken oval shadow directly below the case, leaving white gaps. Leave the shackle, keyhole, seam and two rivets where they are.
Sketch tip: Break the shadow around the case base rather than drawing a hard oval.
-
06
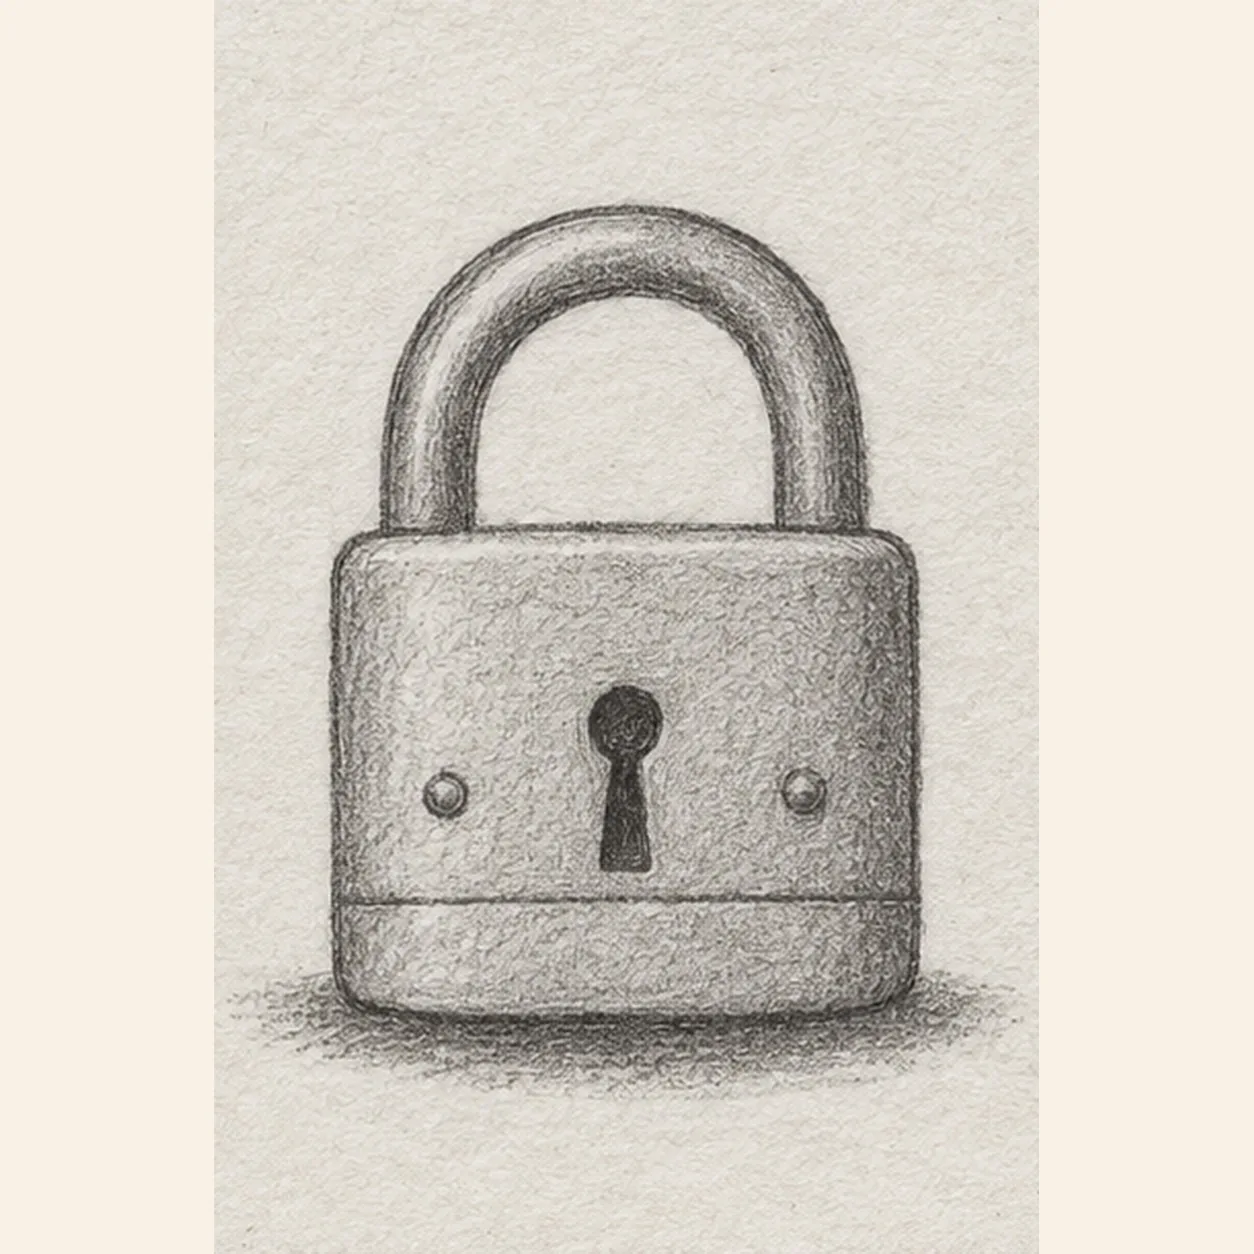
Shade the padlock
Shade the established case and shackle with warm-gray pencil, leaving a slim paper highlight along the upper right. Deepen the existing keyhole and shadow; add no new contours.
Sketch tip: Use the side of the pencil for broad metal value, keeping the keyhole darkest.