
From the archive
Let's draw an acorn with oak leaves
Treat this as one small practice round: build the subject lightly, notice the shapes, then darken only the lines that help the finished sketch.
-
01
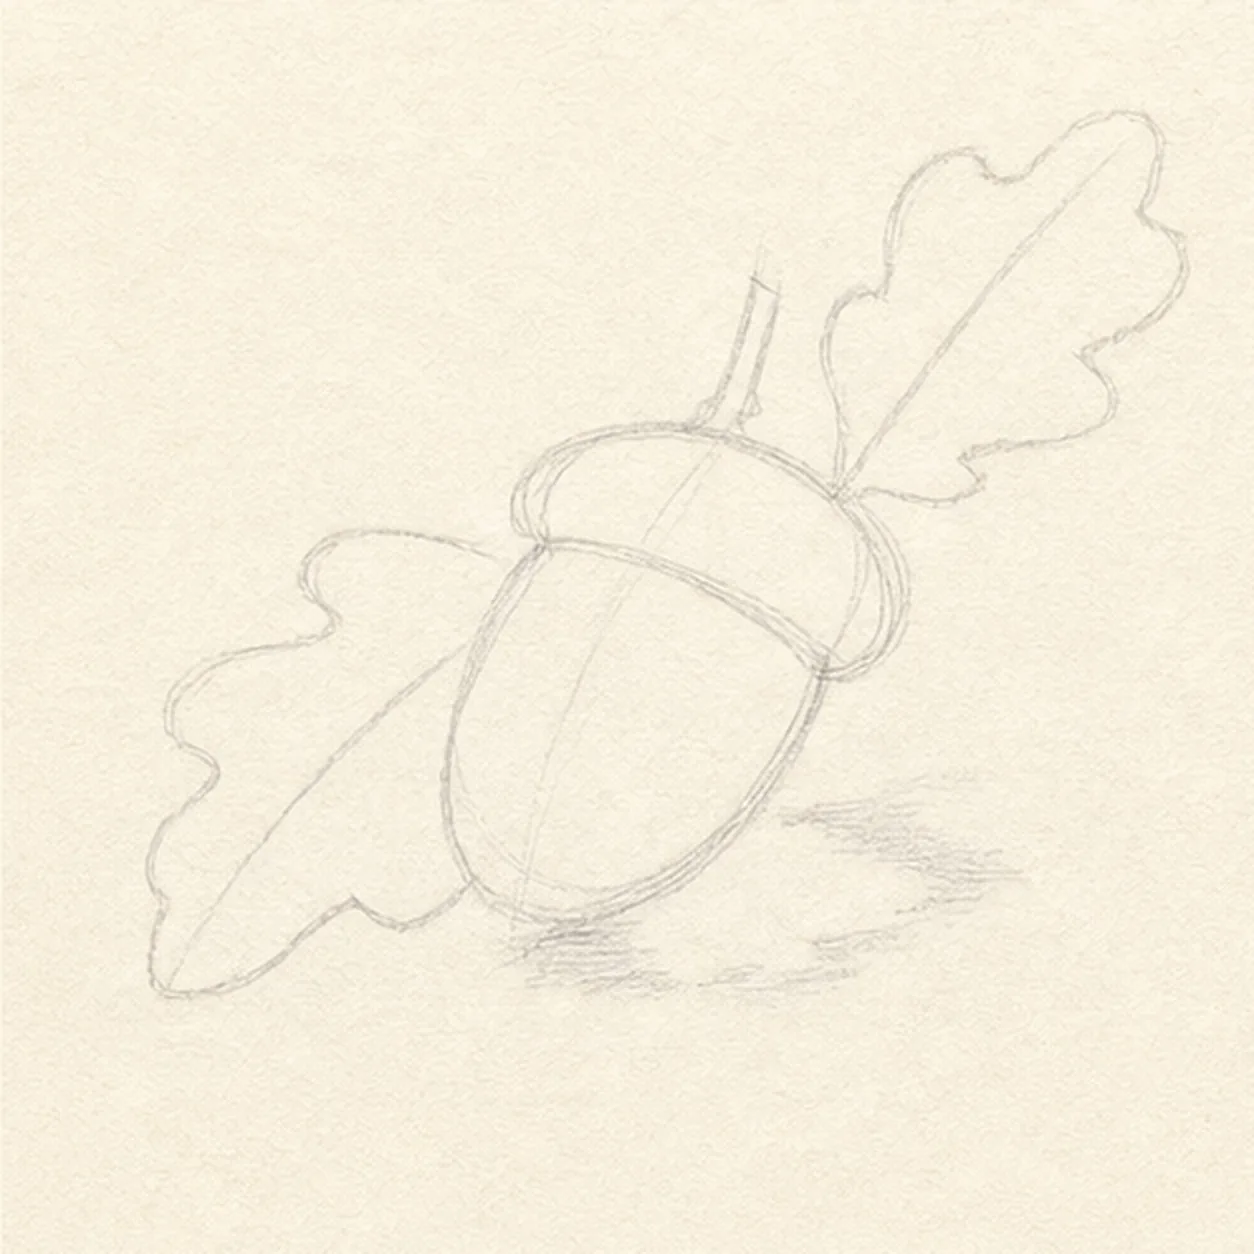
Place the acorn sprig
Draw one pale tilted acorn egg, add the cap ellipse and overlap, then map one short twig, exactly two leaf envelopes with central vein axes, and one broken shadow footprint.
Sketch tip: Compare the acorn width with the cap width before darkening anything. Reserve the cap footprint over the nut and the nut footprint over the rear leaf so you do not finish detail that will be hidden.
-
02
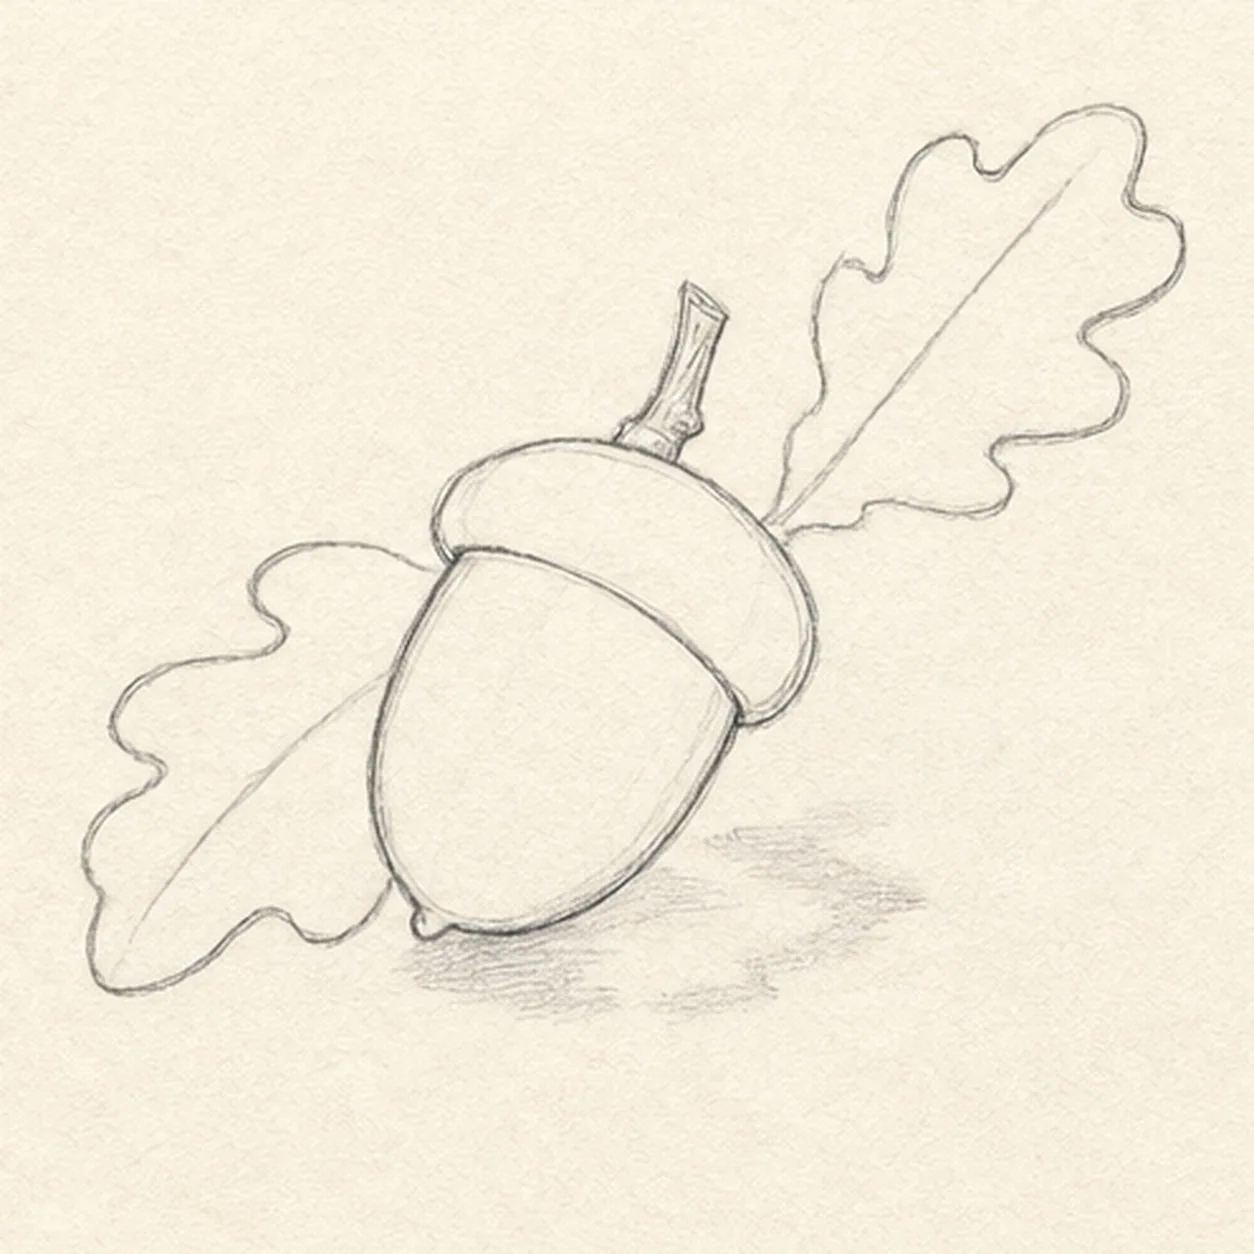
Shape the nut and leaves
Wrap the guides with the complete acorn body, the overlapping cup cap, the short twig, and two clearly different lobed oak-leaf silhouettes.
Sketch tip: Simplify each leaf edge into five or six broad lobes instead of many tiny waves. Trace the outside contour and make sure the rear leaf stops cleanly at the acorn rather than showing through it.
-
03
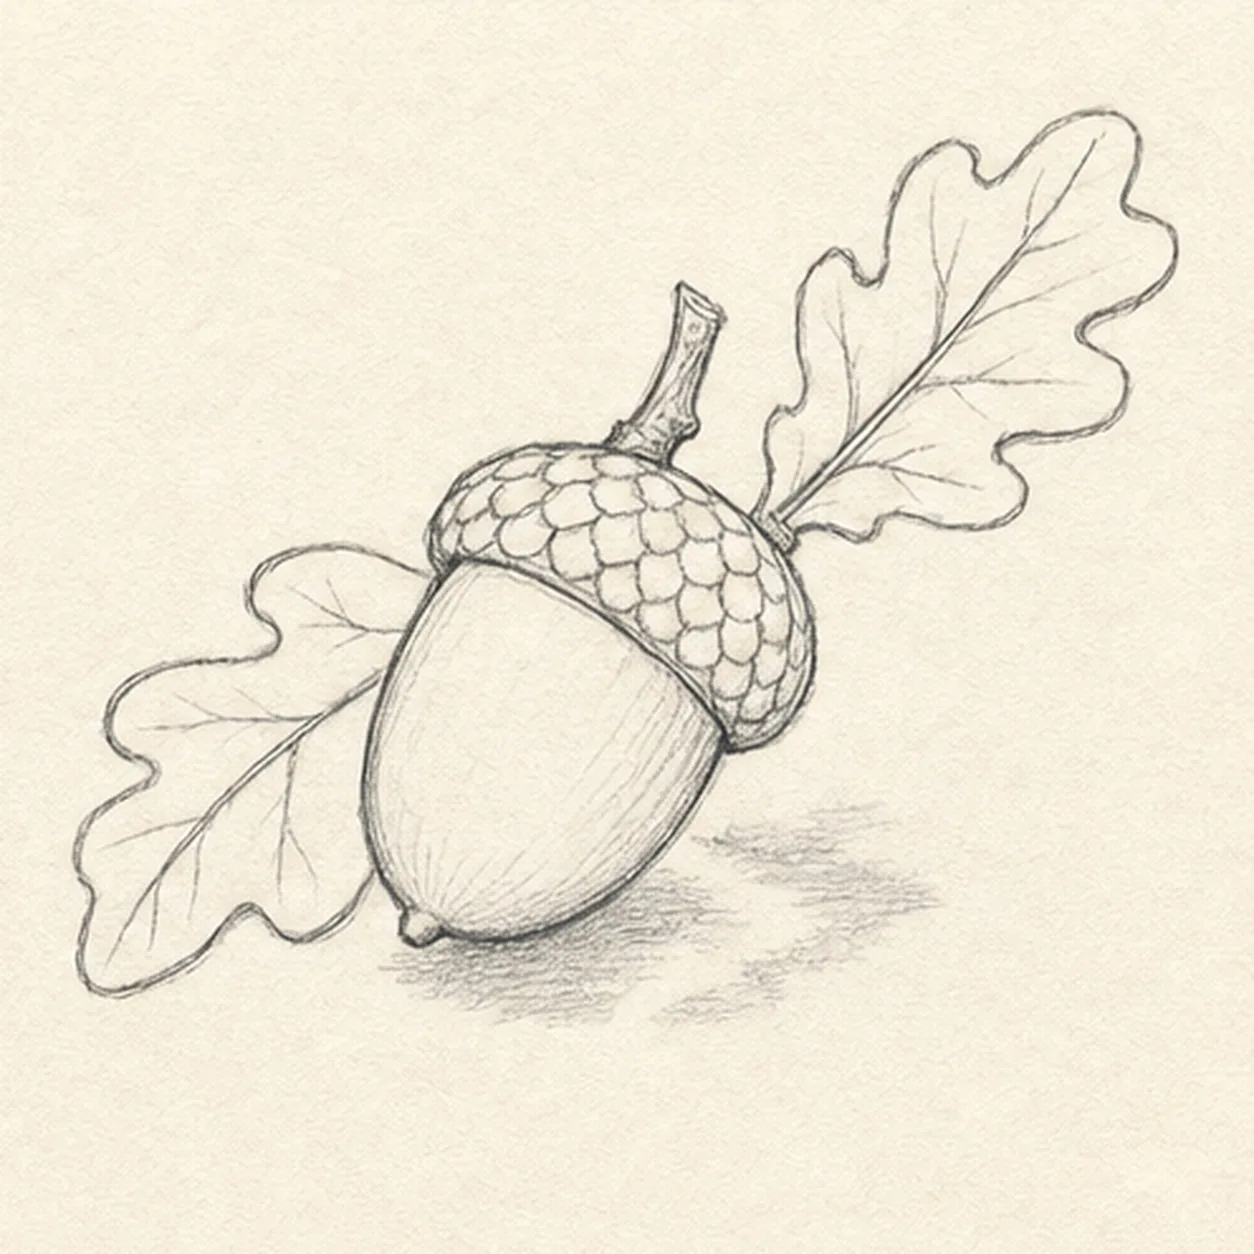
Build scales and veins
Add staggered rows of broad cup-cap scales, the small acorn tip, both leaf midribs and branching side veins, and the visible joints where the stems meet the twig.
Sketch tip: Start the cap pattern with one curved row, then offset the next row like shingles. Pull every side vein from the midrib toward a lobe so the interior structure explains the leaf edge.
-
04
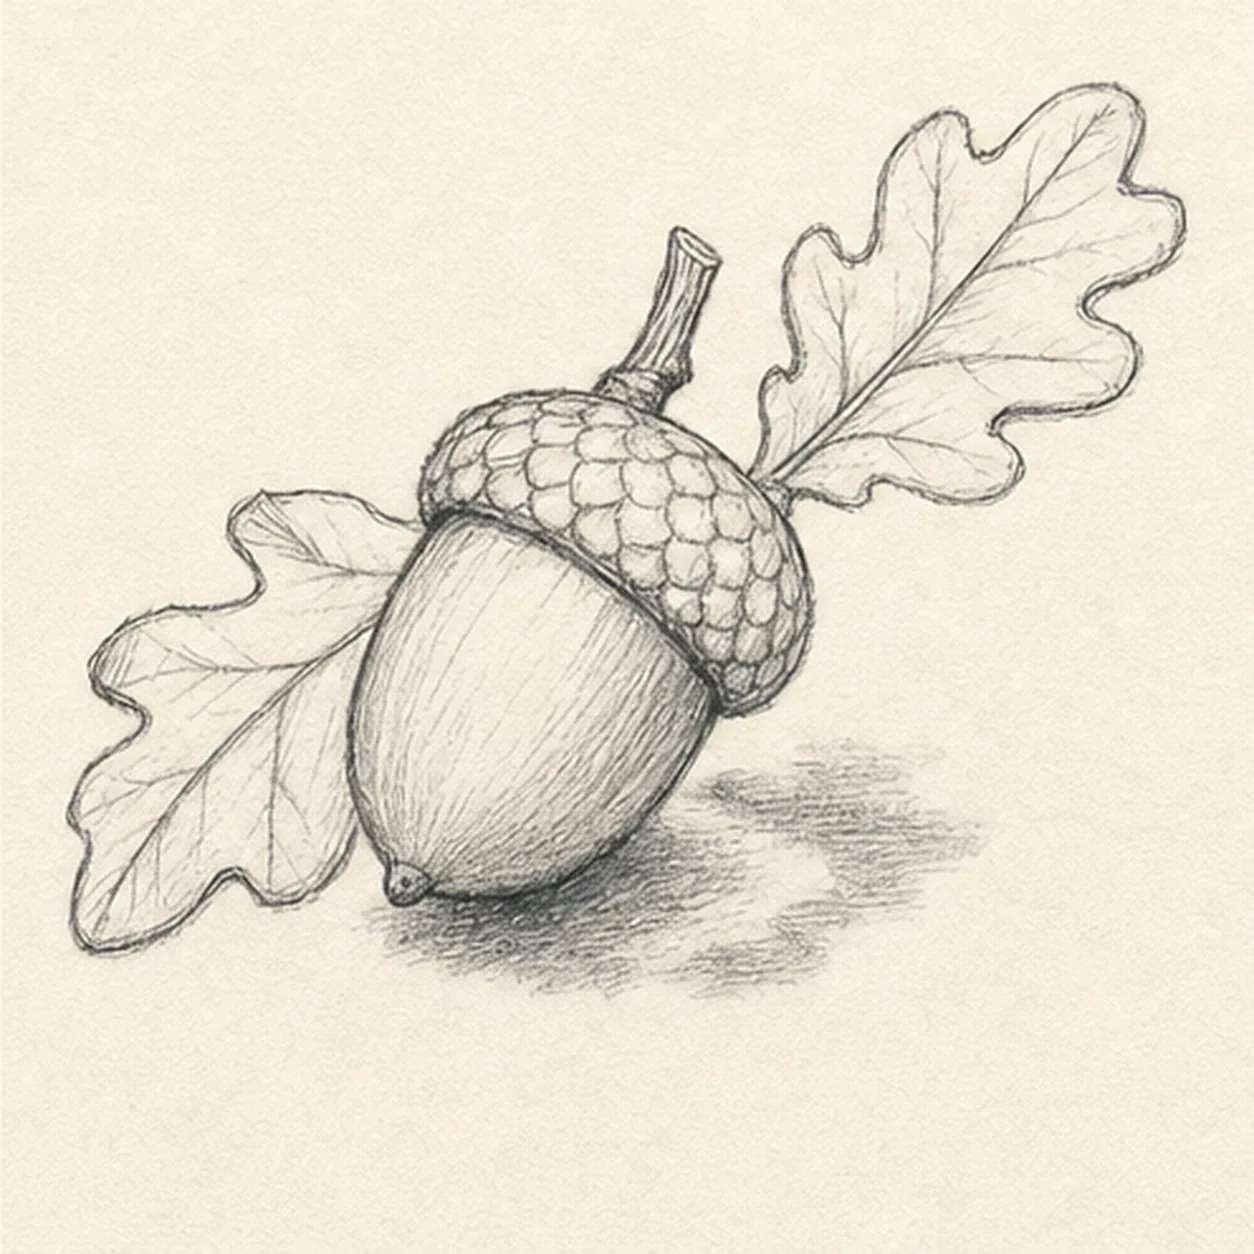
Map the woodland texture
Add a few leaf-edge creases, curved hatching on the acorn, short twig-grain marks, and the established broken cast shadow.
Sketch tip: Curve the nut hatching around its round body and vary the gaps instead of filling the whole surface. Stop twig and vein lines whenever the cap or acorn overlaps them.
-
05
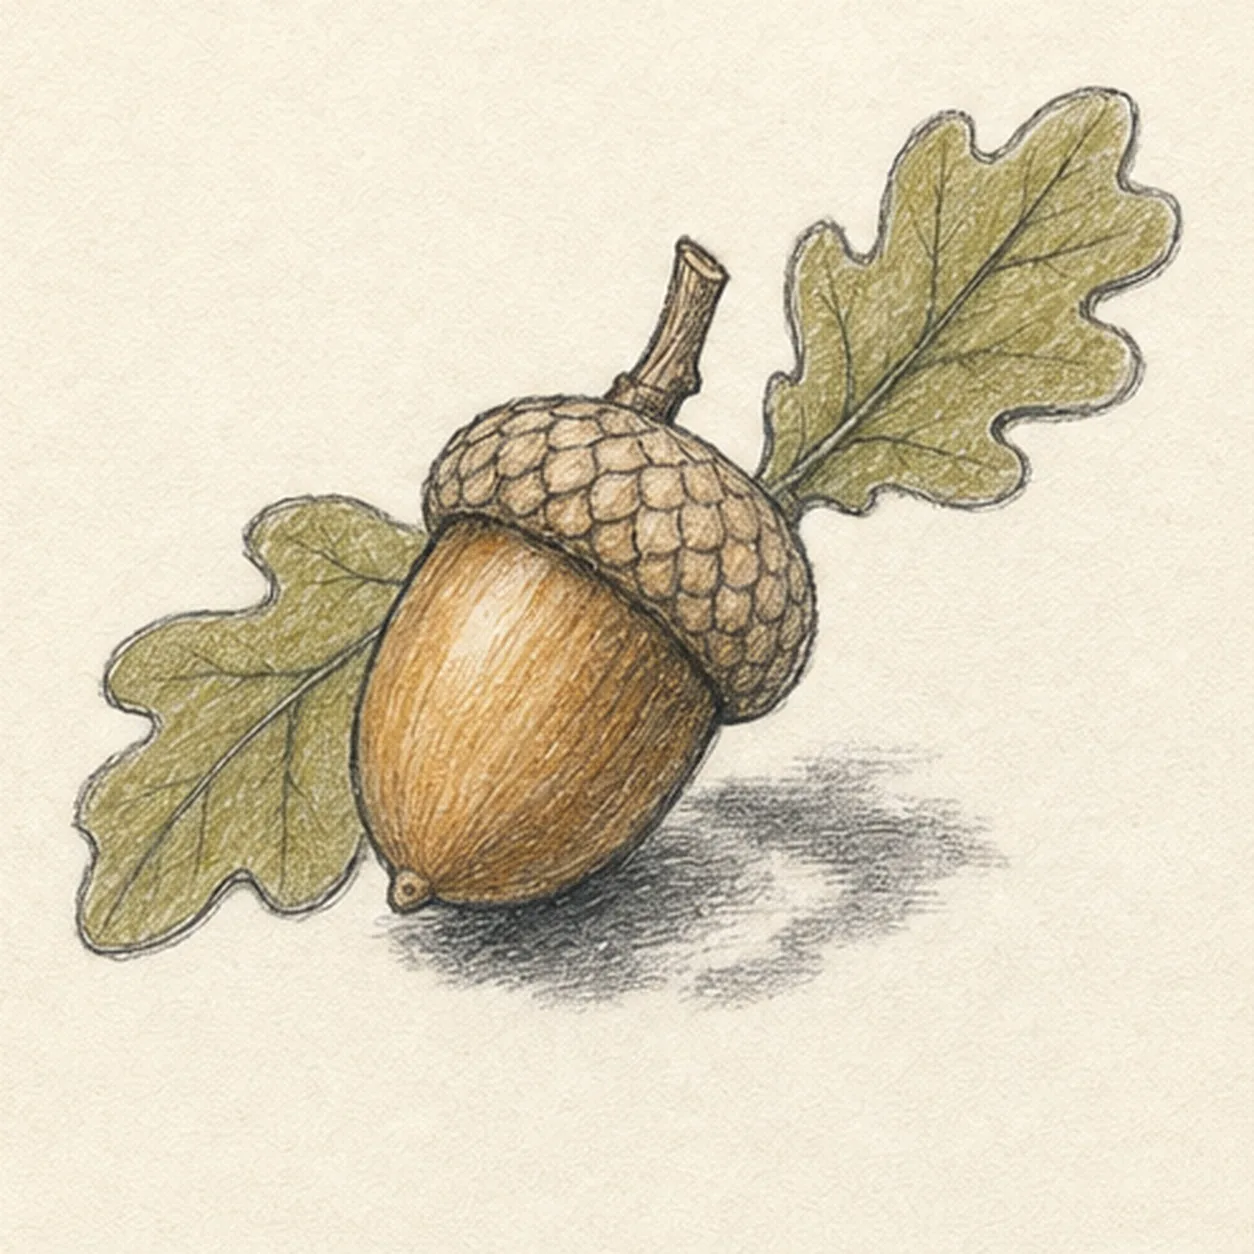
Shade the autumn forms
Layer graphite into the established forms, add warm umber and ochre to the acorn and cap, muted olive to both leaves, preserve paper highlights, and deepen the broken shadow.
Sketch tip: Pull colored-pencil strokes along the nut and outward from each leaf midrib. Leave small open-paper gaps between layers so the colors keep their dry sketchbook texture.
-
06
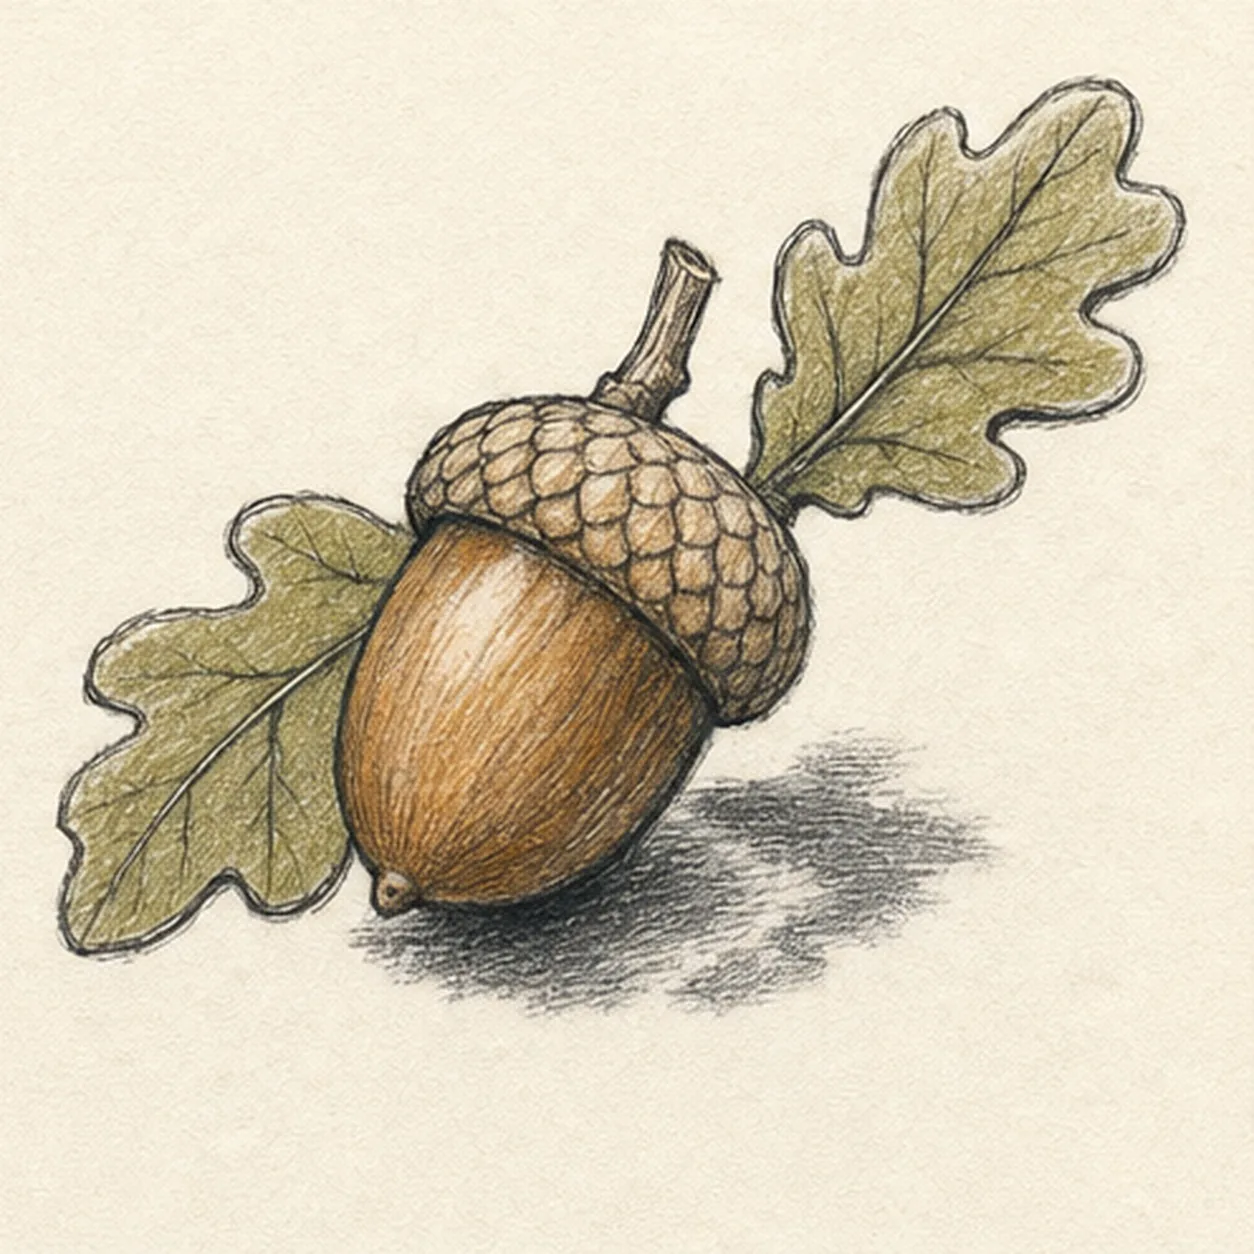
Settle the oak-sprig finish
Strengthen selected keeper contours, deepen the established graphite and colored-pencil values, clarify paper highlights, and soften only the pale construction guides that distract.
Sketch tip: Count one acorn, one cap, one twig, and two oak leaves, then check that every vein still meets a visible lobe. Your scale shapes and autumn colors can vary while the same overlap plan stays useful.


