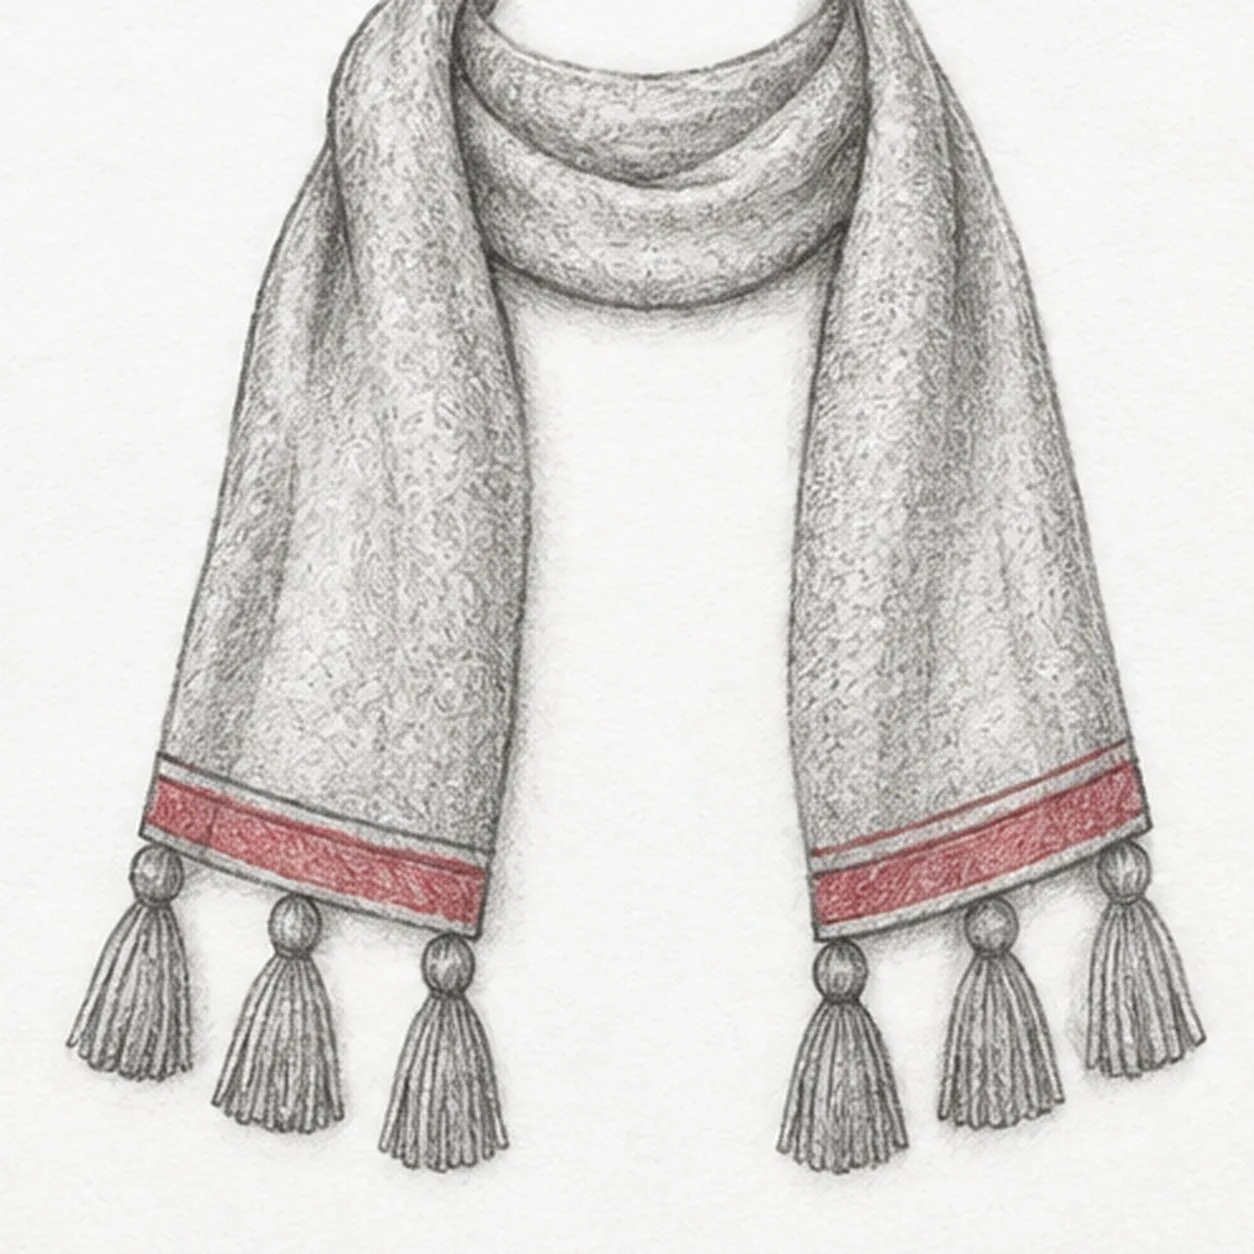
From the archive
Let's draw a crescent moon
Treat this as one small practice round: build the subject lightly, notice the shapes, then darken only the lines that help the finished sketch.
-
01
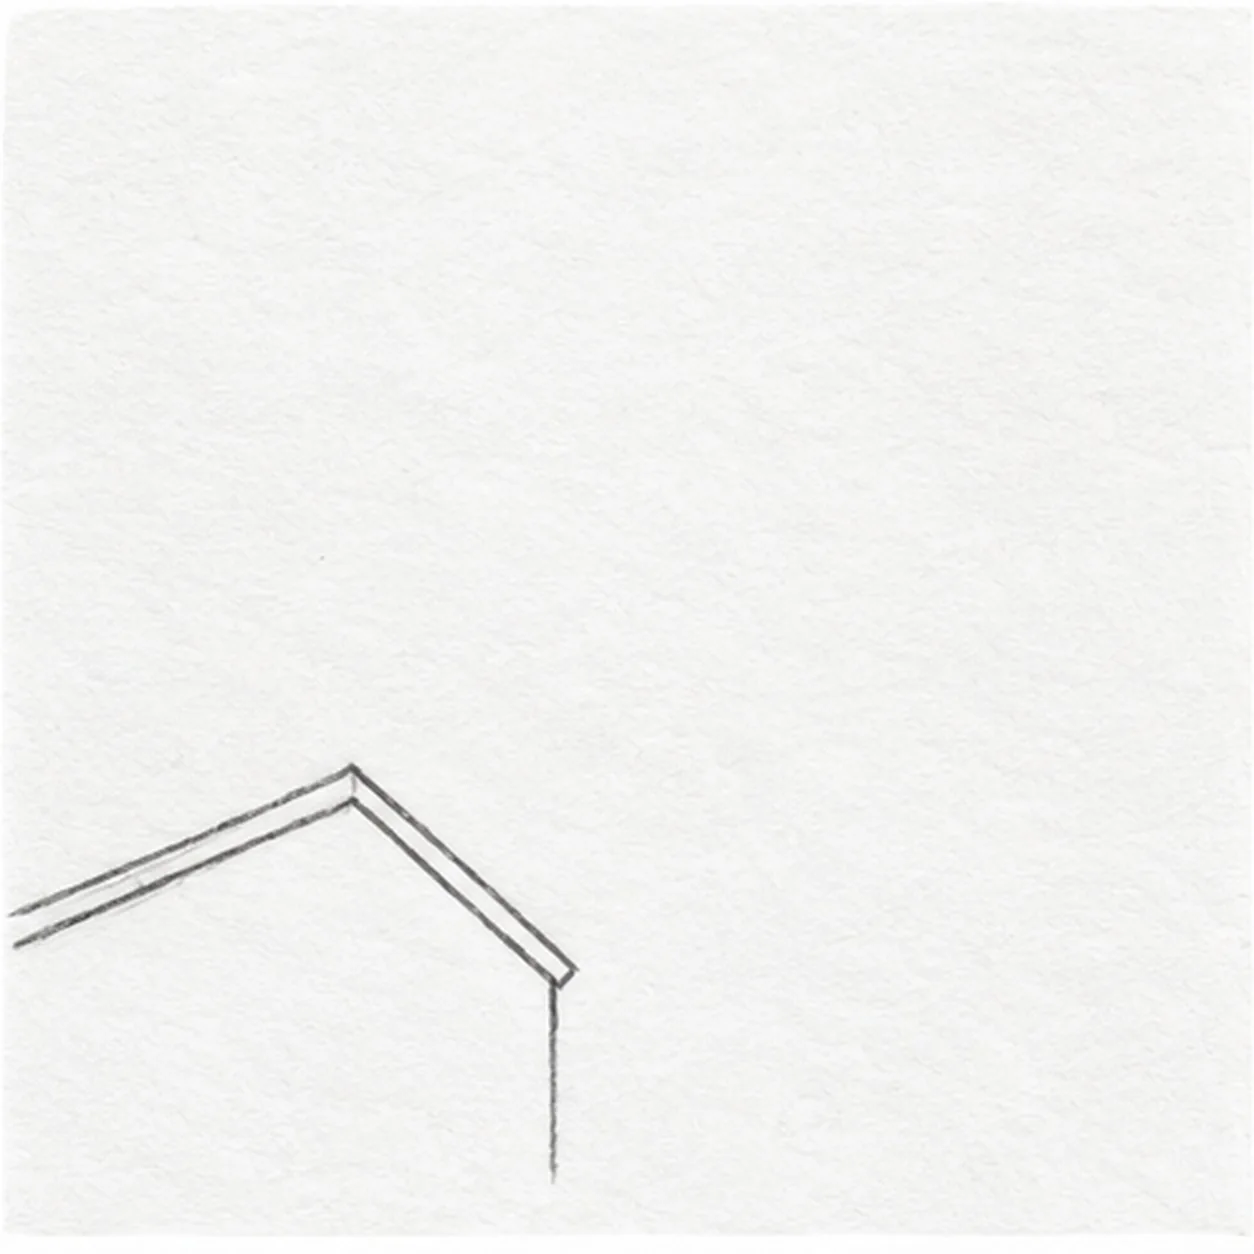
Place the left roof
Draw two close roof-edge lines rising from the left edge to a low peak, then sloping down to the right eave. Drop one short wall edge beneath it and keep the center gap open.
Sketch tip: Place the left peak low so the later right peak can rise higher.
-
02
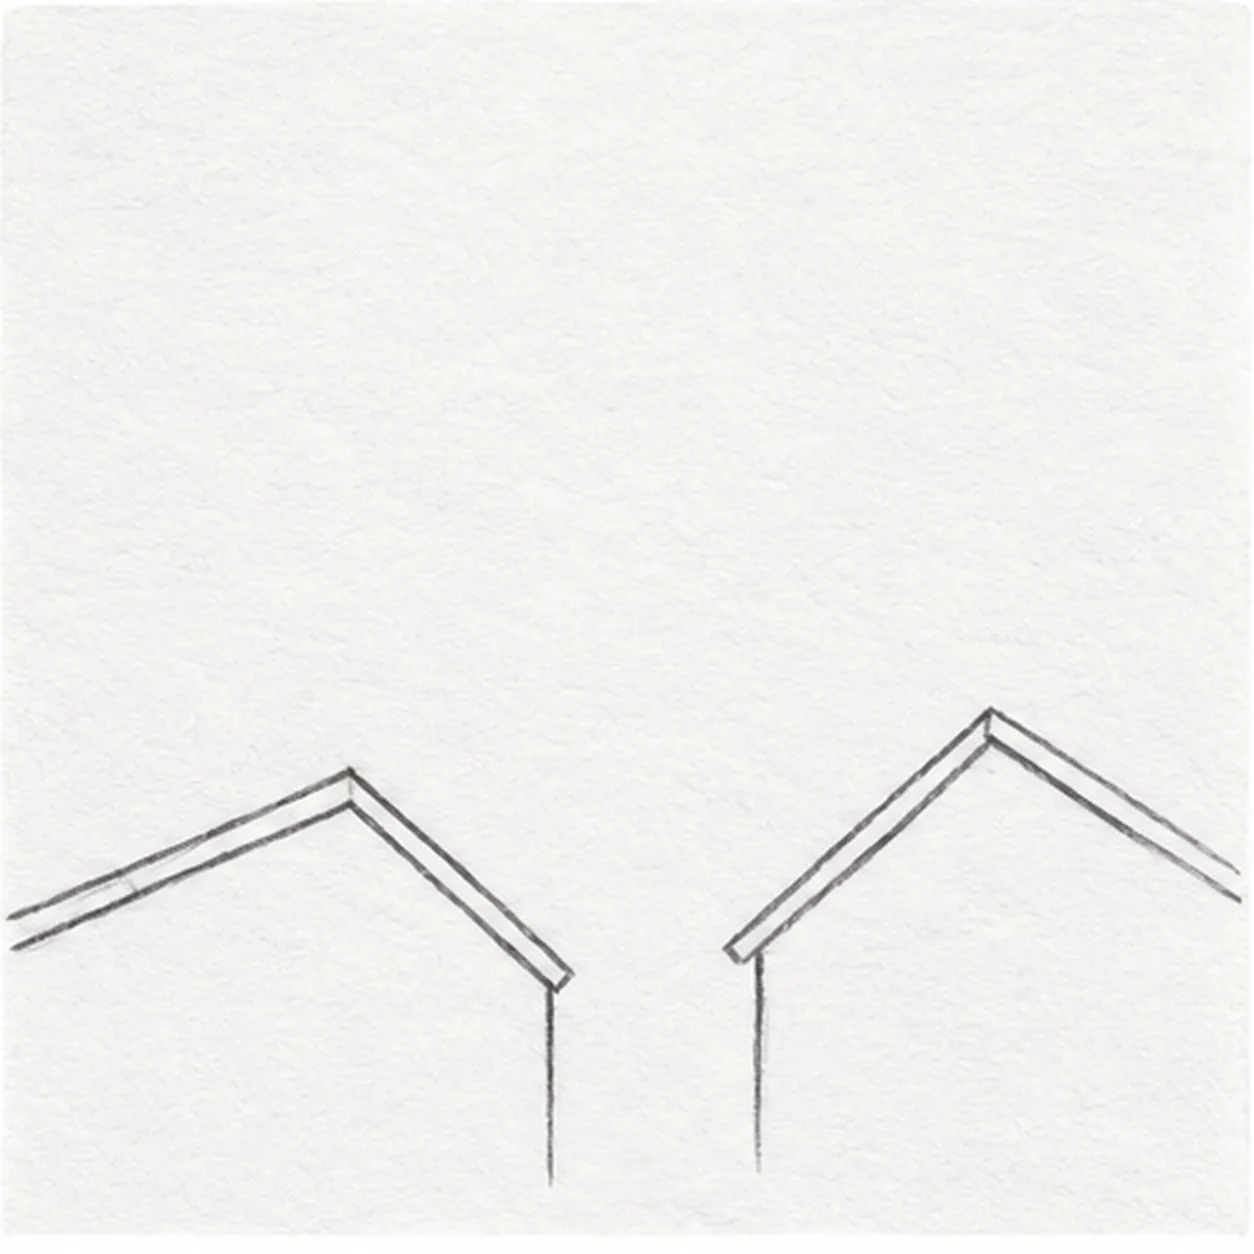
Raise the right gable
On the right, draw two close sloping roof-edge lines up to a peak higher than the left roof, then down toward the page edge. Drop a short wall edge below its left eave.
Sketch tip: Compare the open gap between the two peaks before closing either eave.
-
03
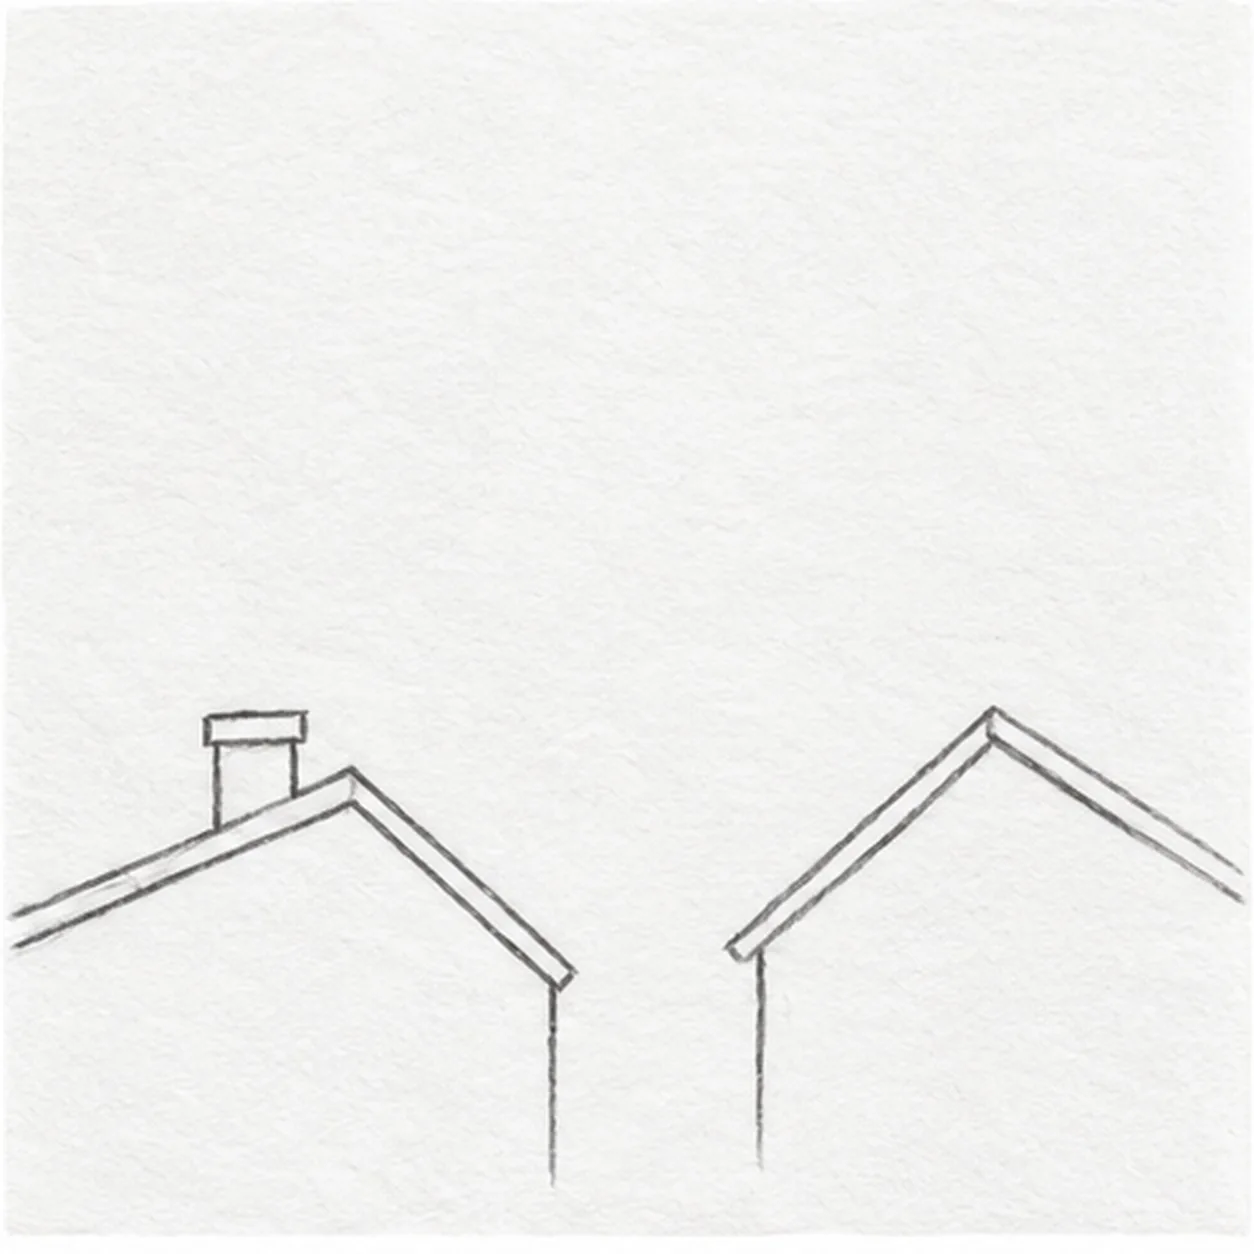
Add the chimney
On the left slope, lift two short verticals and cap them with a narrow top. Stop the roof stroke at the chimney so the lines do not cross.
Sketch tip: Stop the roof edge at the chimney rather than drawing through it.
-
04
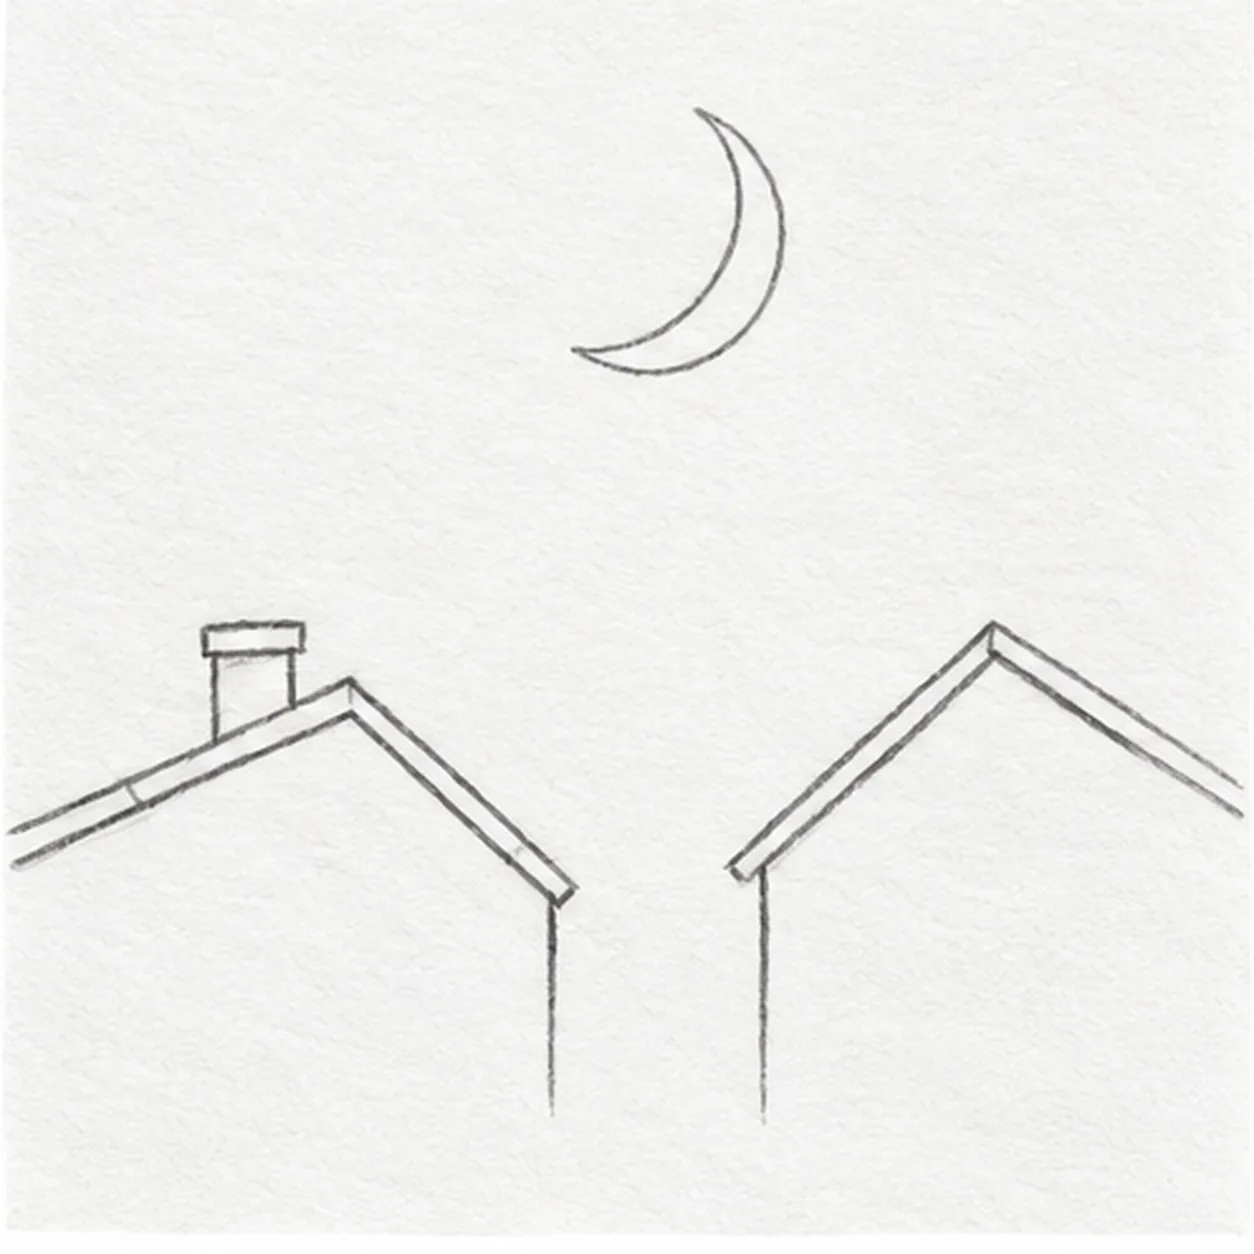
Curve the crescent
Above the gap between the roofs, sweep a broad C curve and a tighter curve that meets it at both pointed tips. Mark the first short tile seam near the left eave.
Sketch tip: Keep both crescent tips sharp; the first tile seam is a short cross-stroke.
-
05
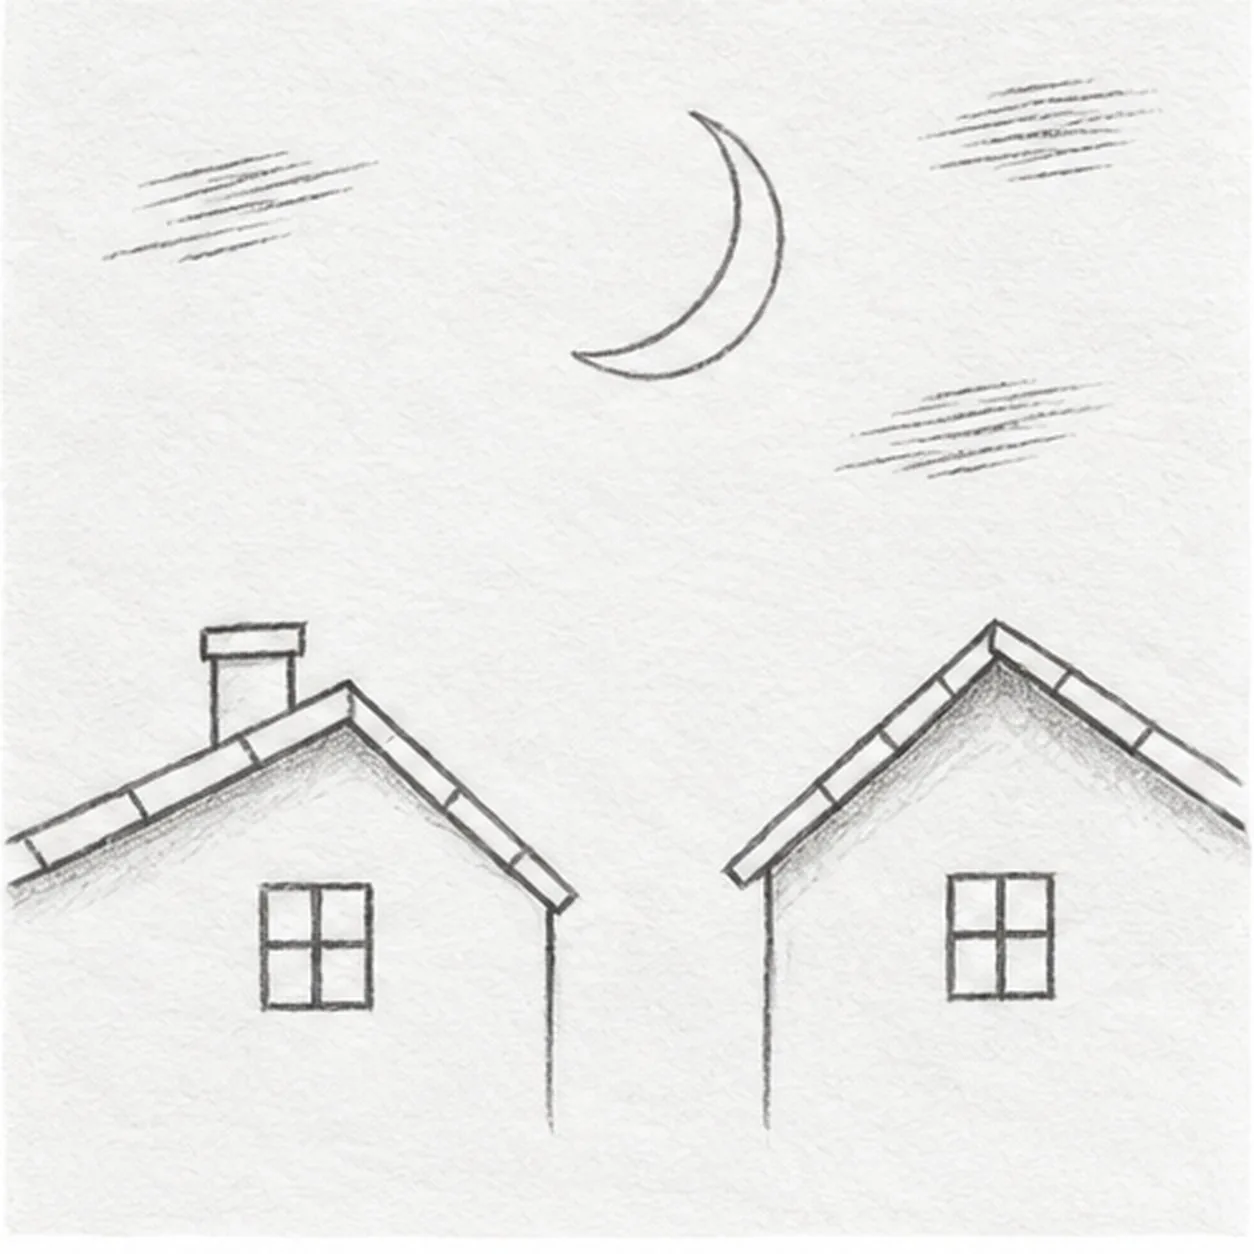
Set windows and night marks
Put one small four-pane window beneath each roof. Divide both eaves with a few short tile seams, place three loose hatch groups around the moon, and lay pale graphite just under the roof edges.
Sketch tip: Count two four-pane windows and three loose hatch groups before shading.
-
06
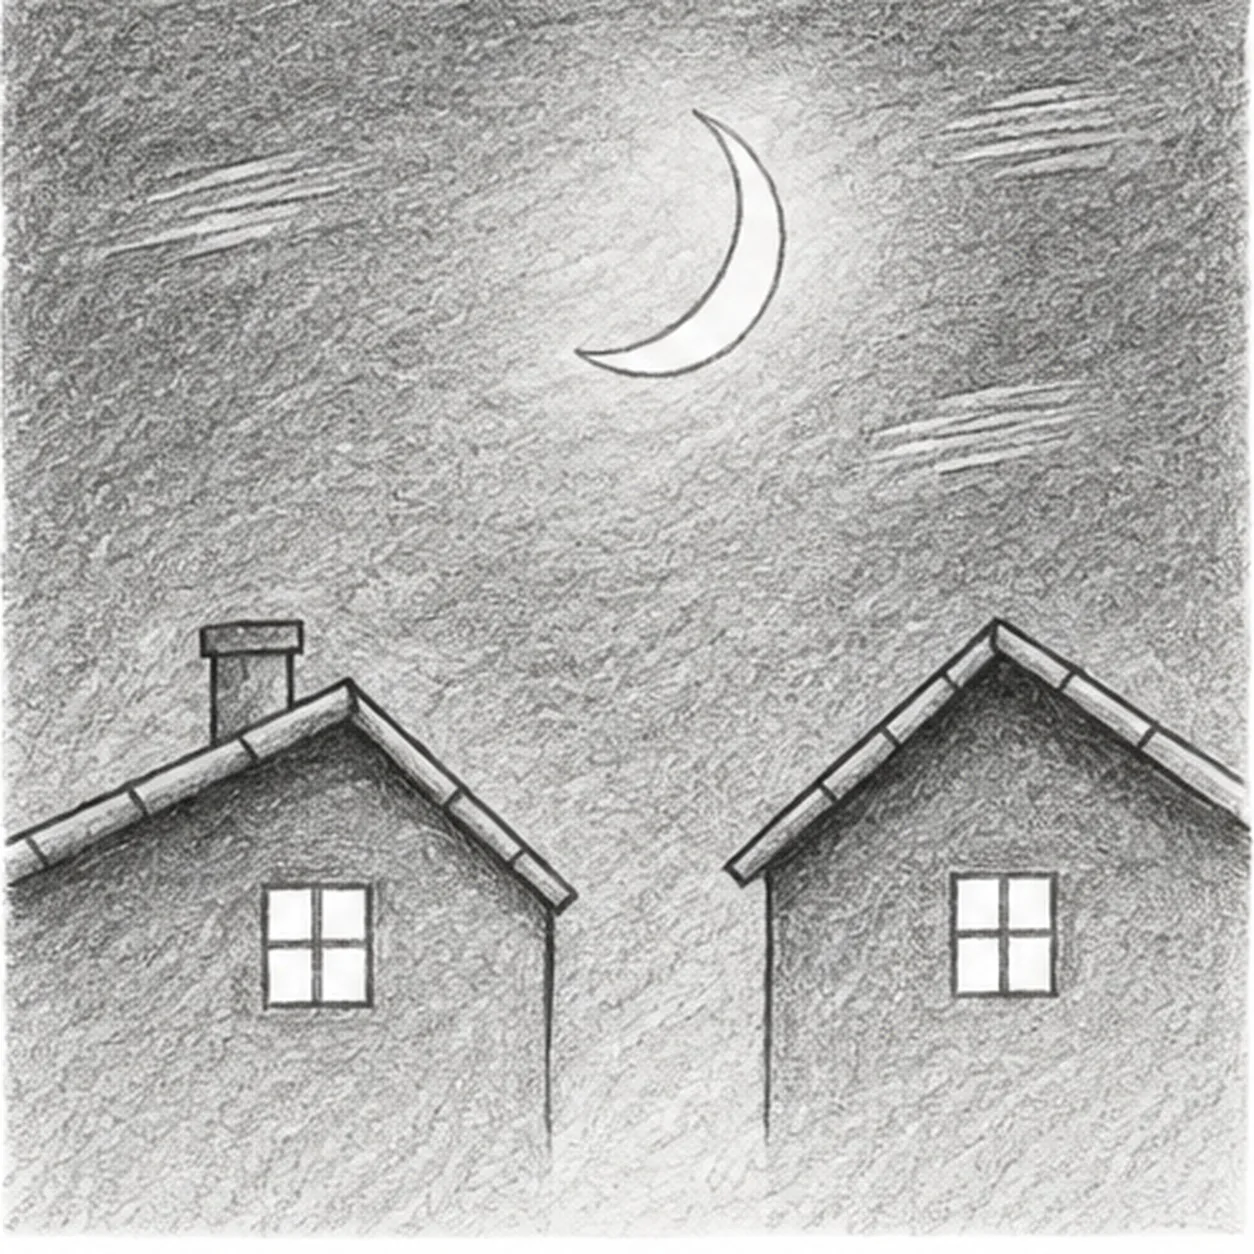
Shade the quiet night
With the side of a 2B pencil, deepen the already started shadow below both eaves and build dark graphite across the sky and house faces. Leave the crescent, its soft halo, and all eight window panes pale. Add no new contours.
Sketch tip: Shade with the pencil side and keep the eight small window panes clean.