
From the archive
Let's draw anime eyes four ways
Treat this as one small practice round: build the subject lightly, notice the shapes, then darken only the lines that help the finished sketch.
-
01
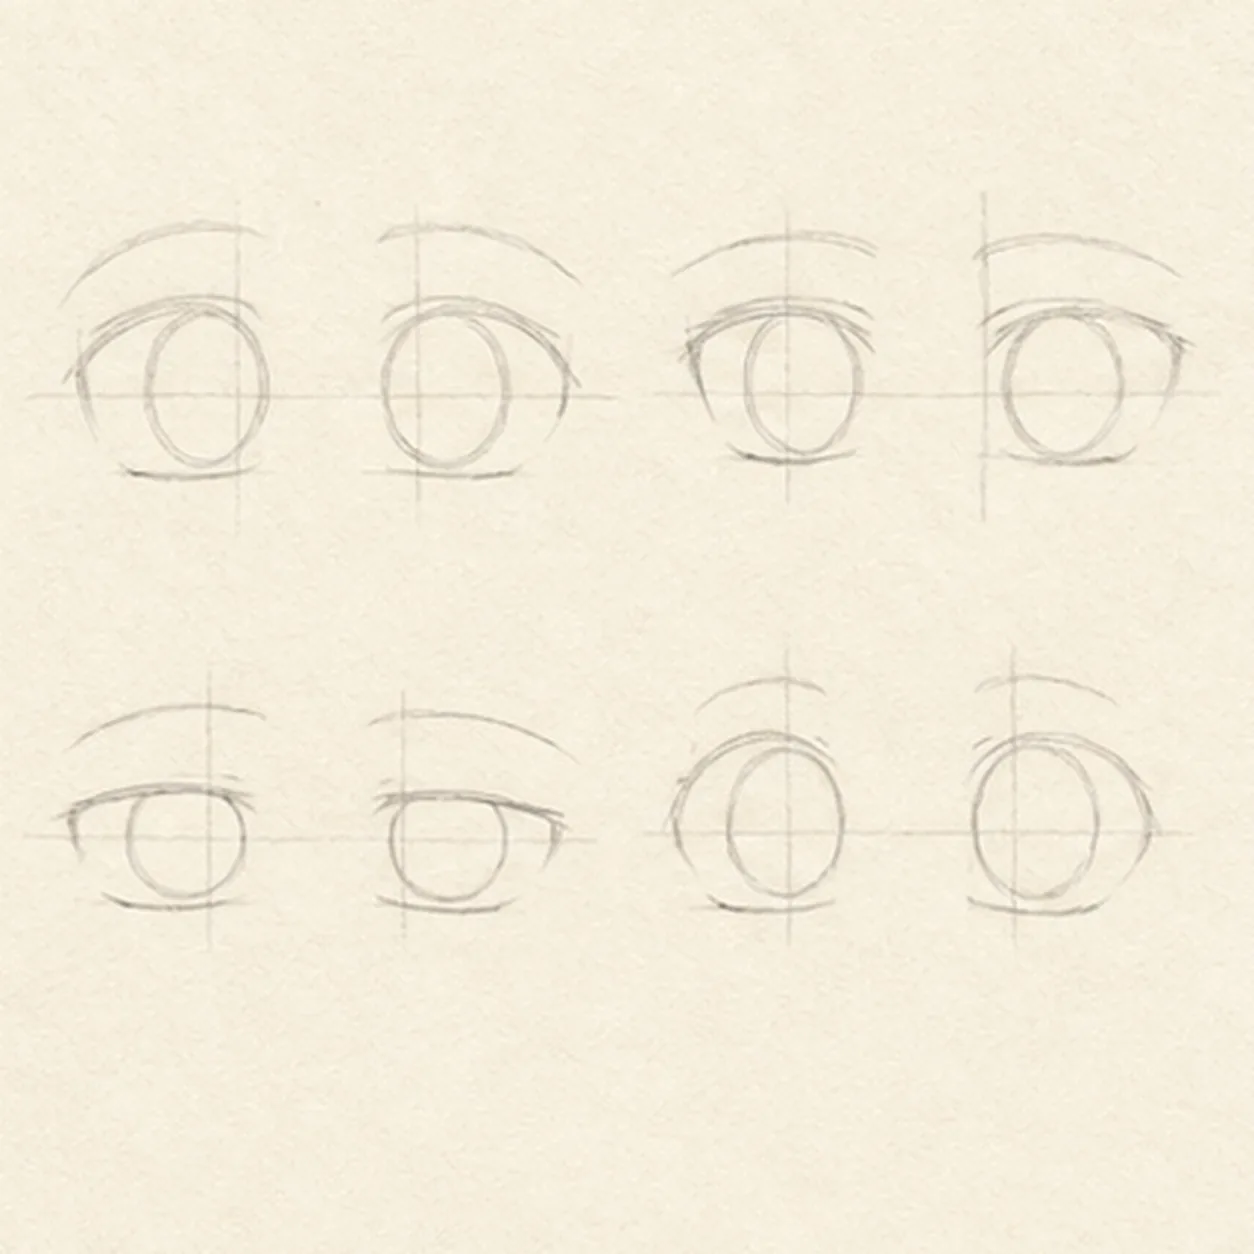
Map four eye pairs
Arrange four pale horizontal baselines in a two-by-two practice layout. On each line, mark two eye centers, a shared lid height, and one light iris-placement circle for each eye.
Sketch tip: Measure with your pencil rather than a ruler: compare the gap between each pair with one iris width, then check the empty paper around all four studies. Keep these marks light enough to erase later.
-
02
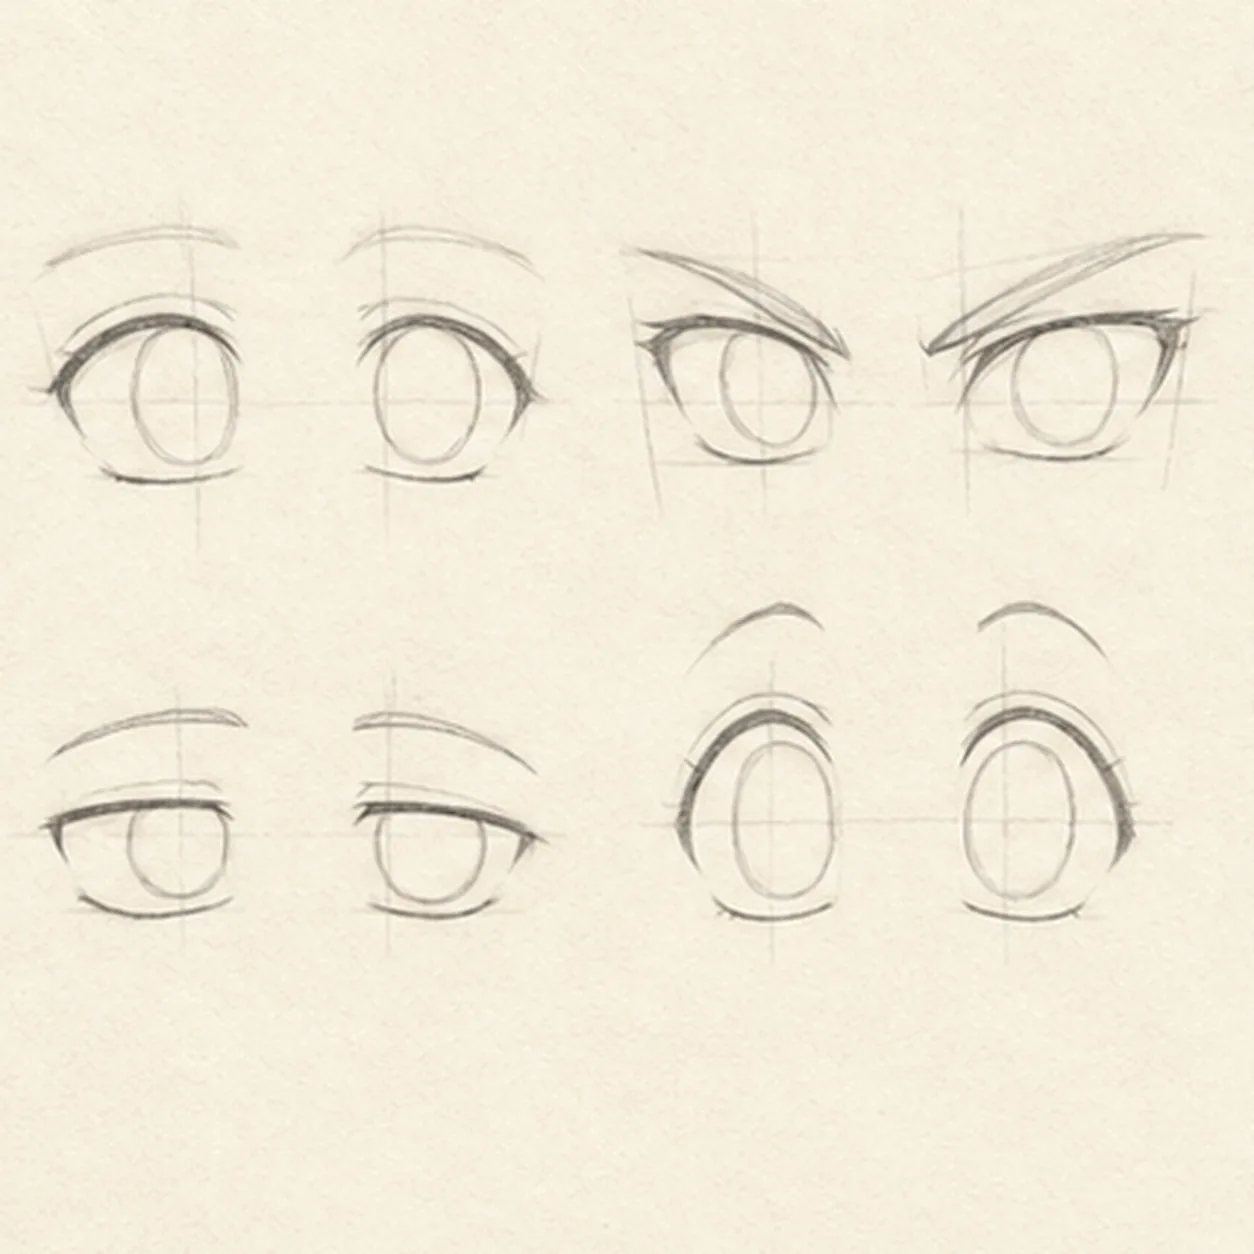
Shape four lid styles
Wrap the guides with all eight upper and lower lids: a soft rounded pair, a sharper angled pair, a sleepy half-lidded pair, and a wide surprised pair.
Sketch tip: Ghost each upper lid two or three times before drawing it in one relaxed arc. Let the upper lid carry most of the expression, and keep each lower lid lighter so the eyes do not become stiff outlines.
-
03
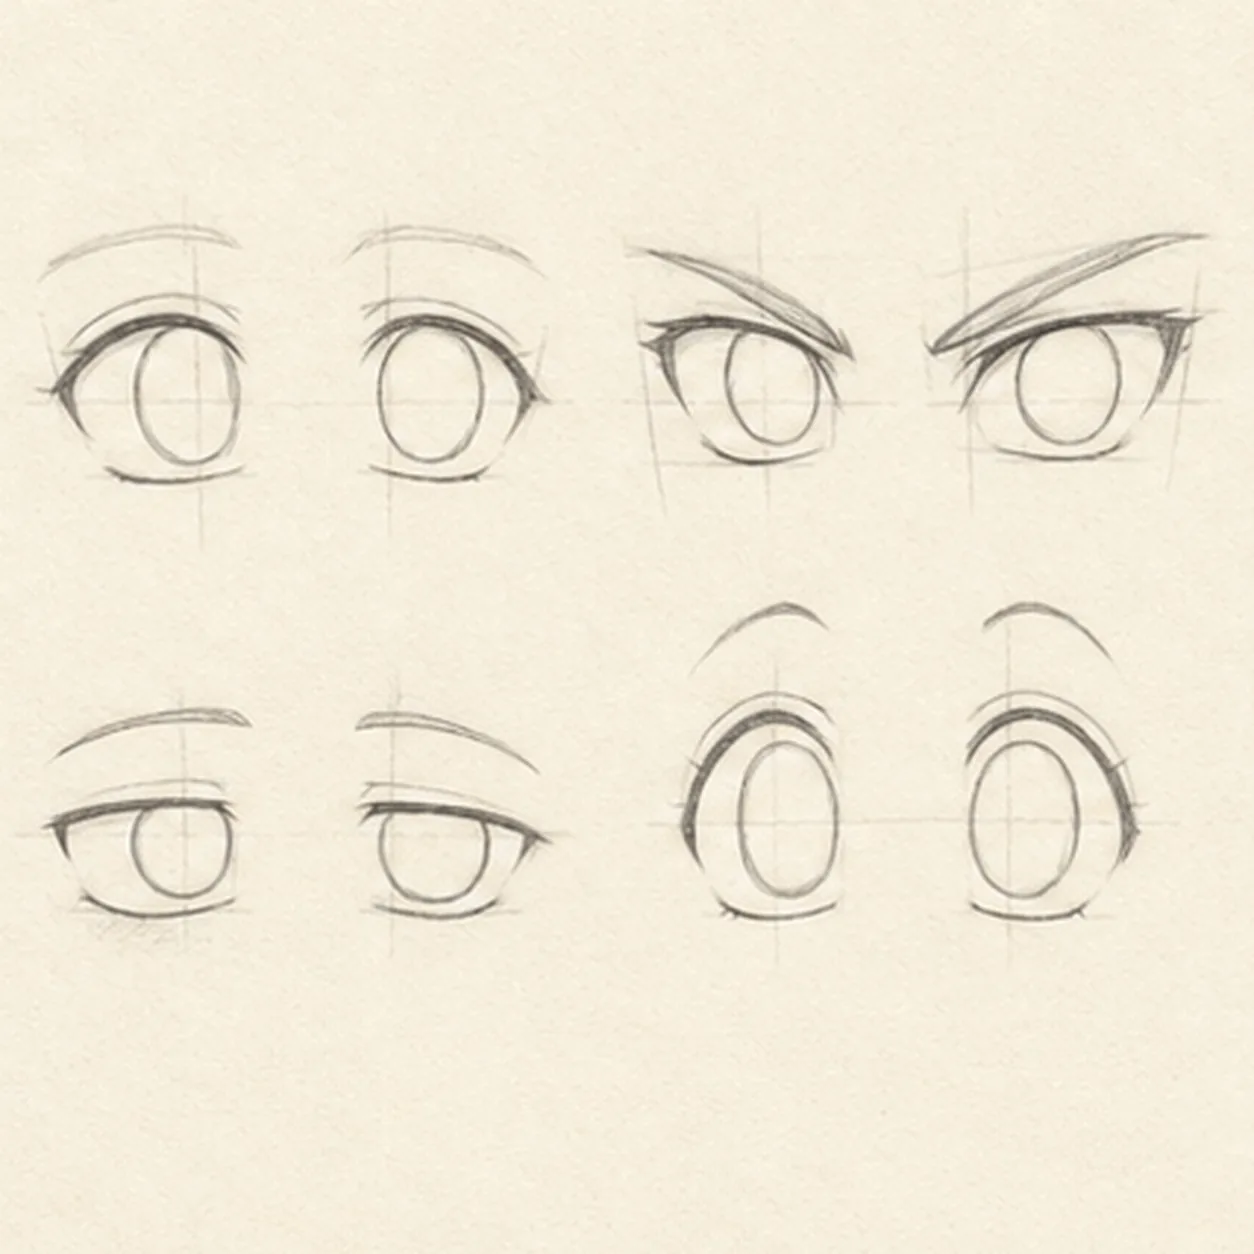
Fit the irises
Add all eight iris circles, making the soft pair large, the sharp pair slightly cropped by the upper lids, the sleepy pair more deeply covered, and the surprised pair tall and open.
Sketch tip: Turn the page for easier circles, then compare how much iris disappears under each upper lid. Matching the visible iris crop inside each pair matters more than making every circle perfect.
-
04
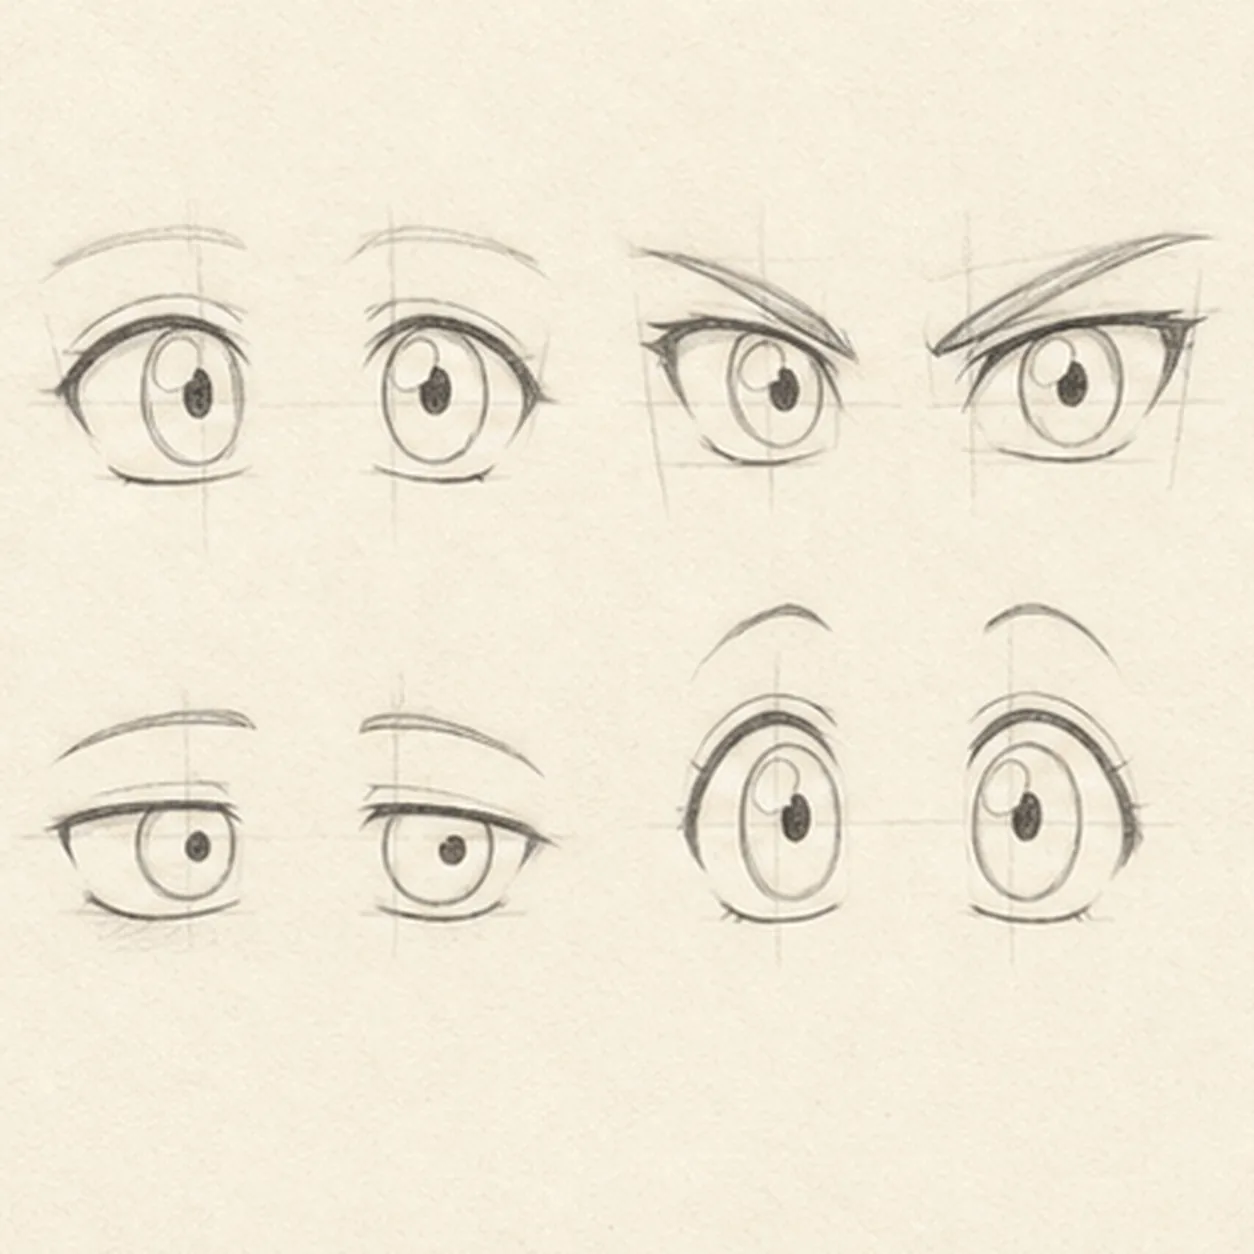
Aim pupils and highlights
Place all eight pupils slightly toward the right side of the page, then reserve one simple open-paper highlight shape inside every established iris.
Sketch tip: Set the pupil in one eye, slide your pencil horizontally to find its partner, and repeat for each pair. Keep the highlights on the same side so the gaze and light source do not wobble.
-
05
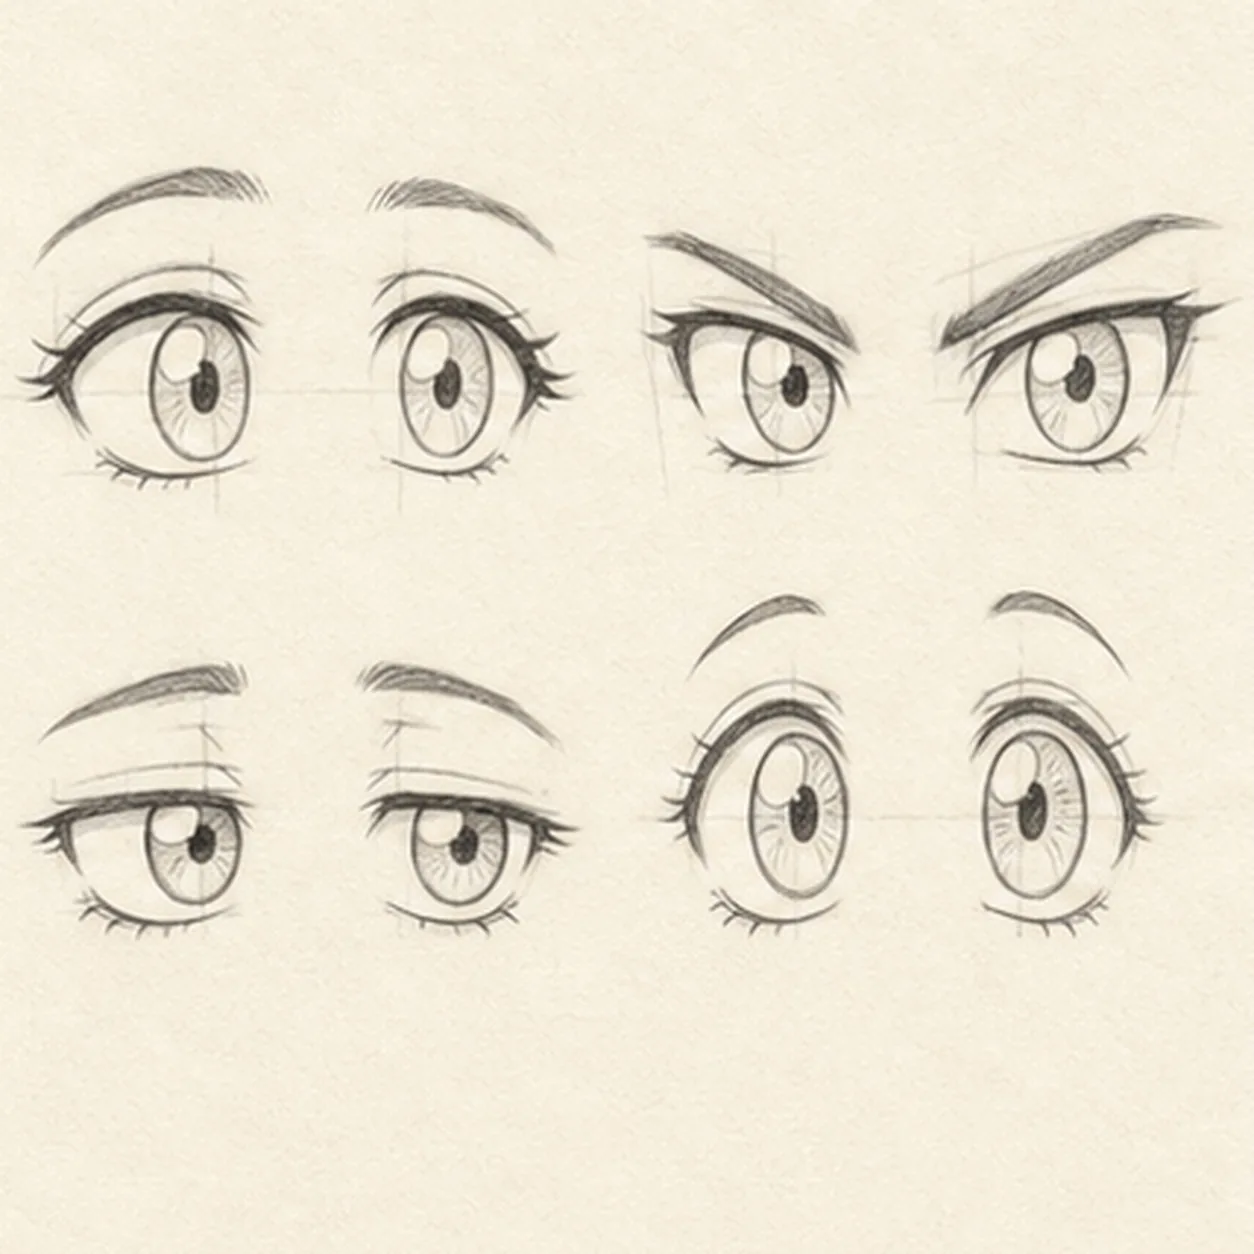
Set lashes and expressions
Vary the existing upper-lid weight, add restrained lash groups and folds, then place gentle, angled, low, and lifted eyebrow pairs above the four studies.
Sketch tip: Use pressure rather than repeated scratching to thicken a lid. Squint at the page: the four moods should read from lid and brow angles before you notice the iris detail.
-
06
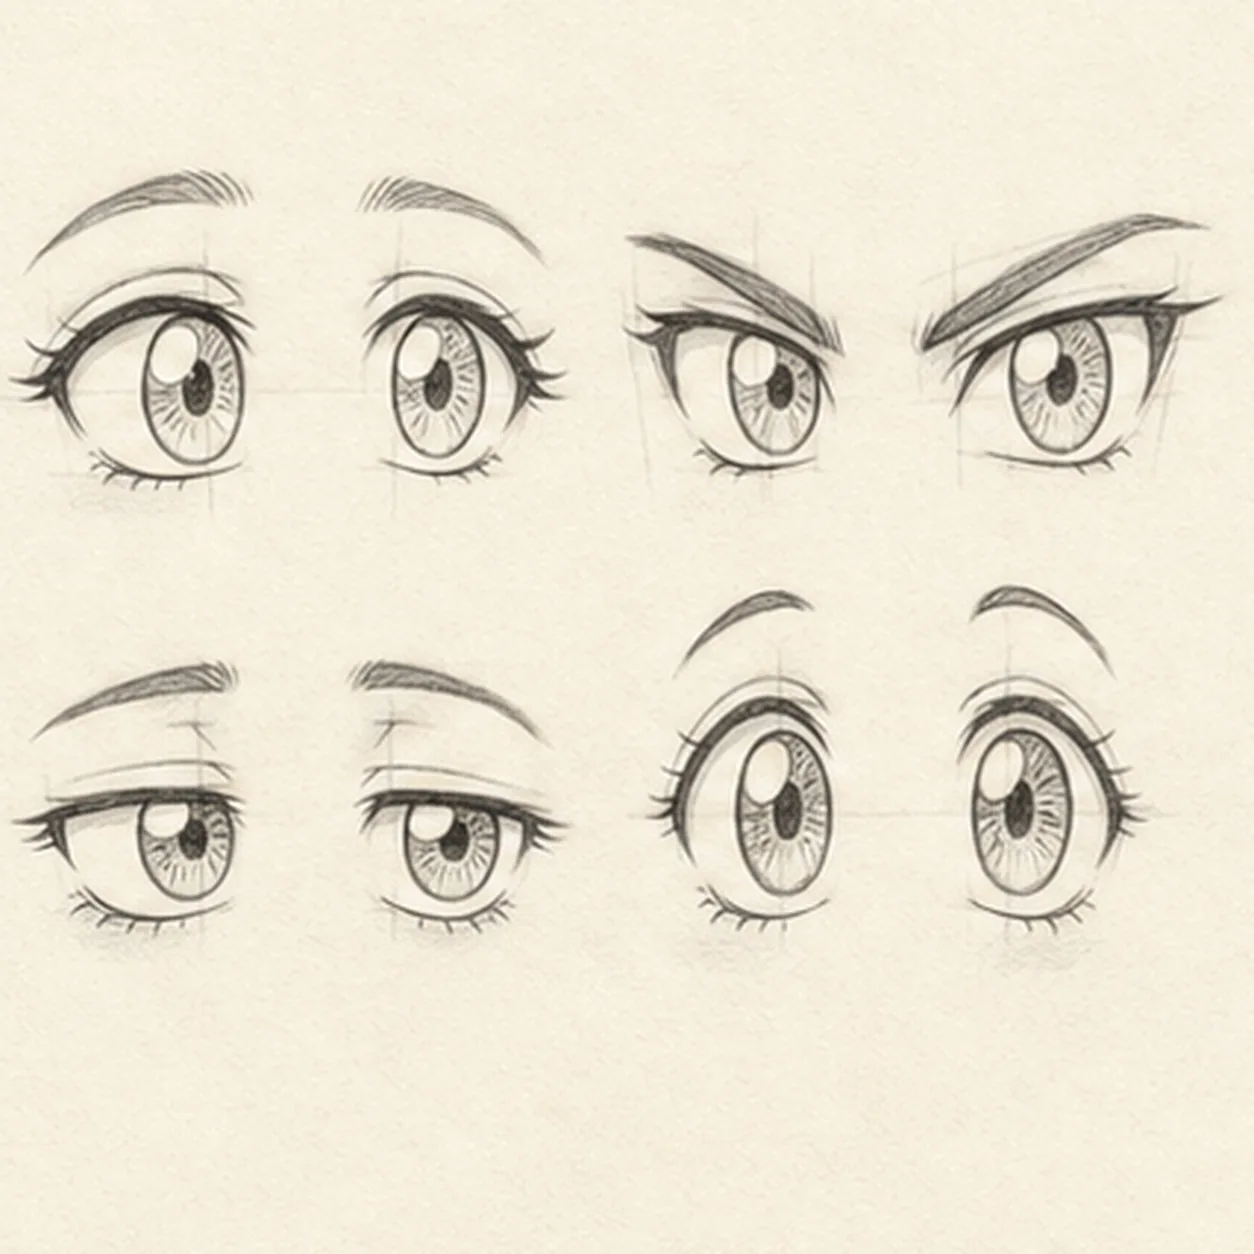
Design the iris patterns
Add simple inner iris rings, short radial hatch maps, and restrained lower-lid accents to the established eye shapes, giving each style a slightly different texture rhythm.
Sketch tip: Pull the hatch marks outward from each pupil like short sun rays, leaving open gaps around the highlights. Rotate the page as you work so the marks follow the round iris instead of becoming vertical stripes.
-
07
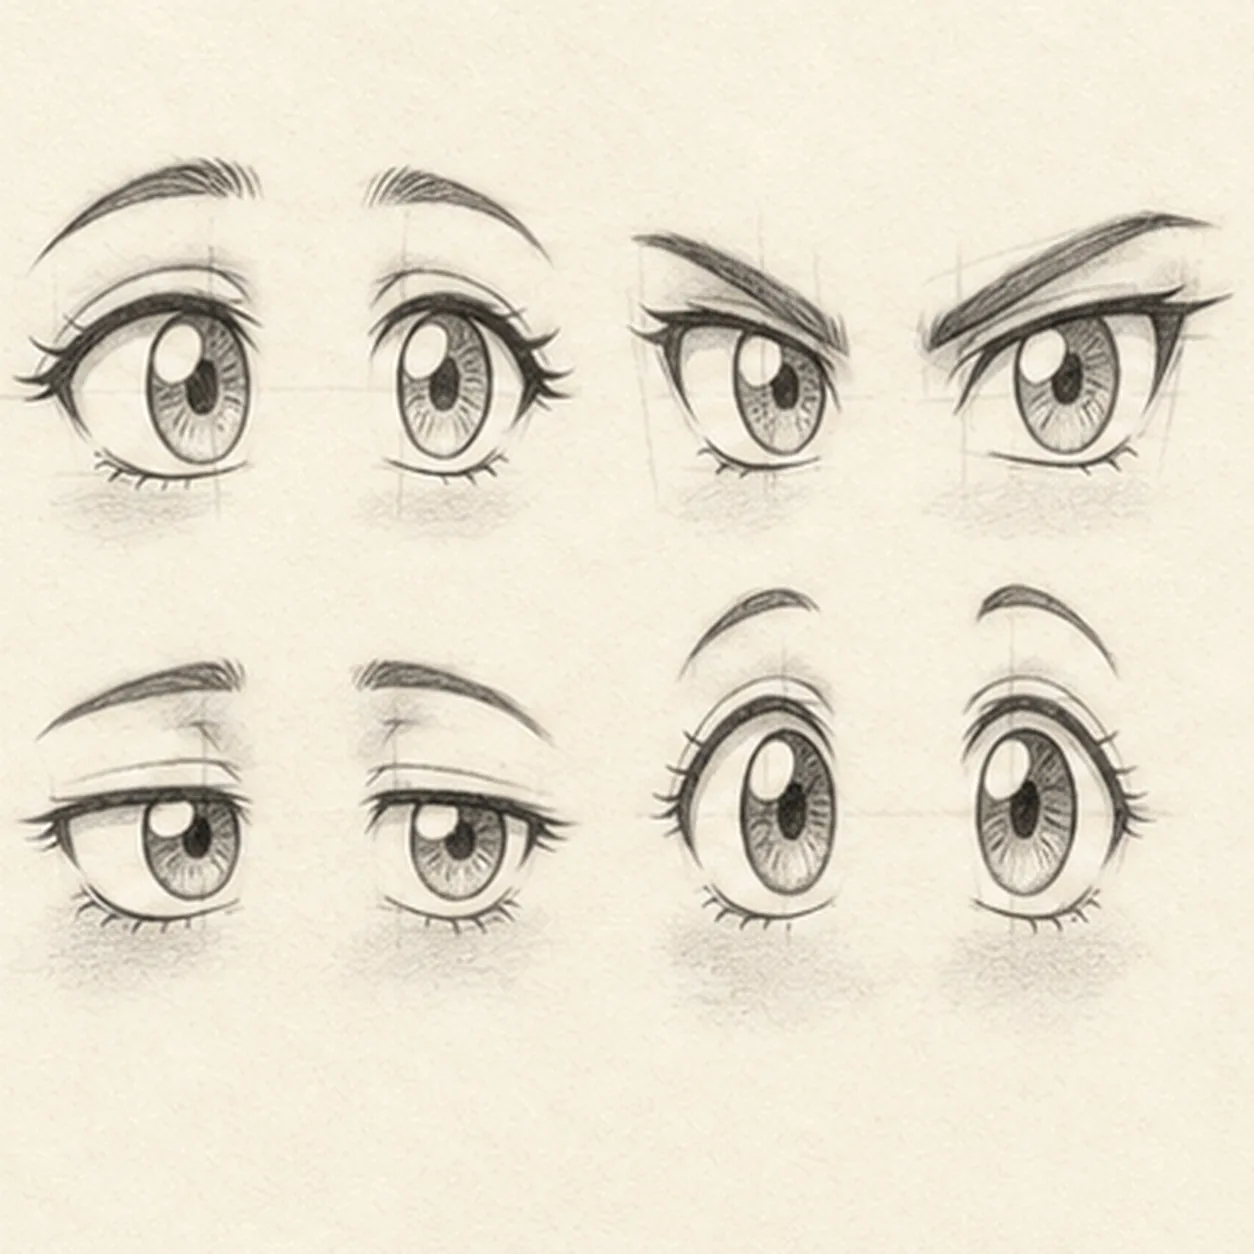
Shade without flattening
Layer graphite into the established irises and small lid shadows, keep the paper highlights bright, and add a very soft broken shadow beneath each eye study.
Sketch tip: Darken the pupil first, then fade pressure outward through the iris. Stop before the whites turn gray; the contrast between clean paper and graphite is what keeps anime eyes lively.
-
08
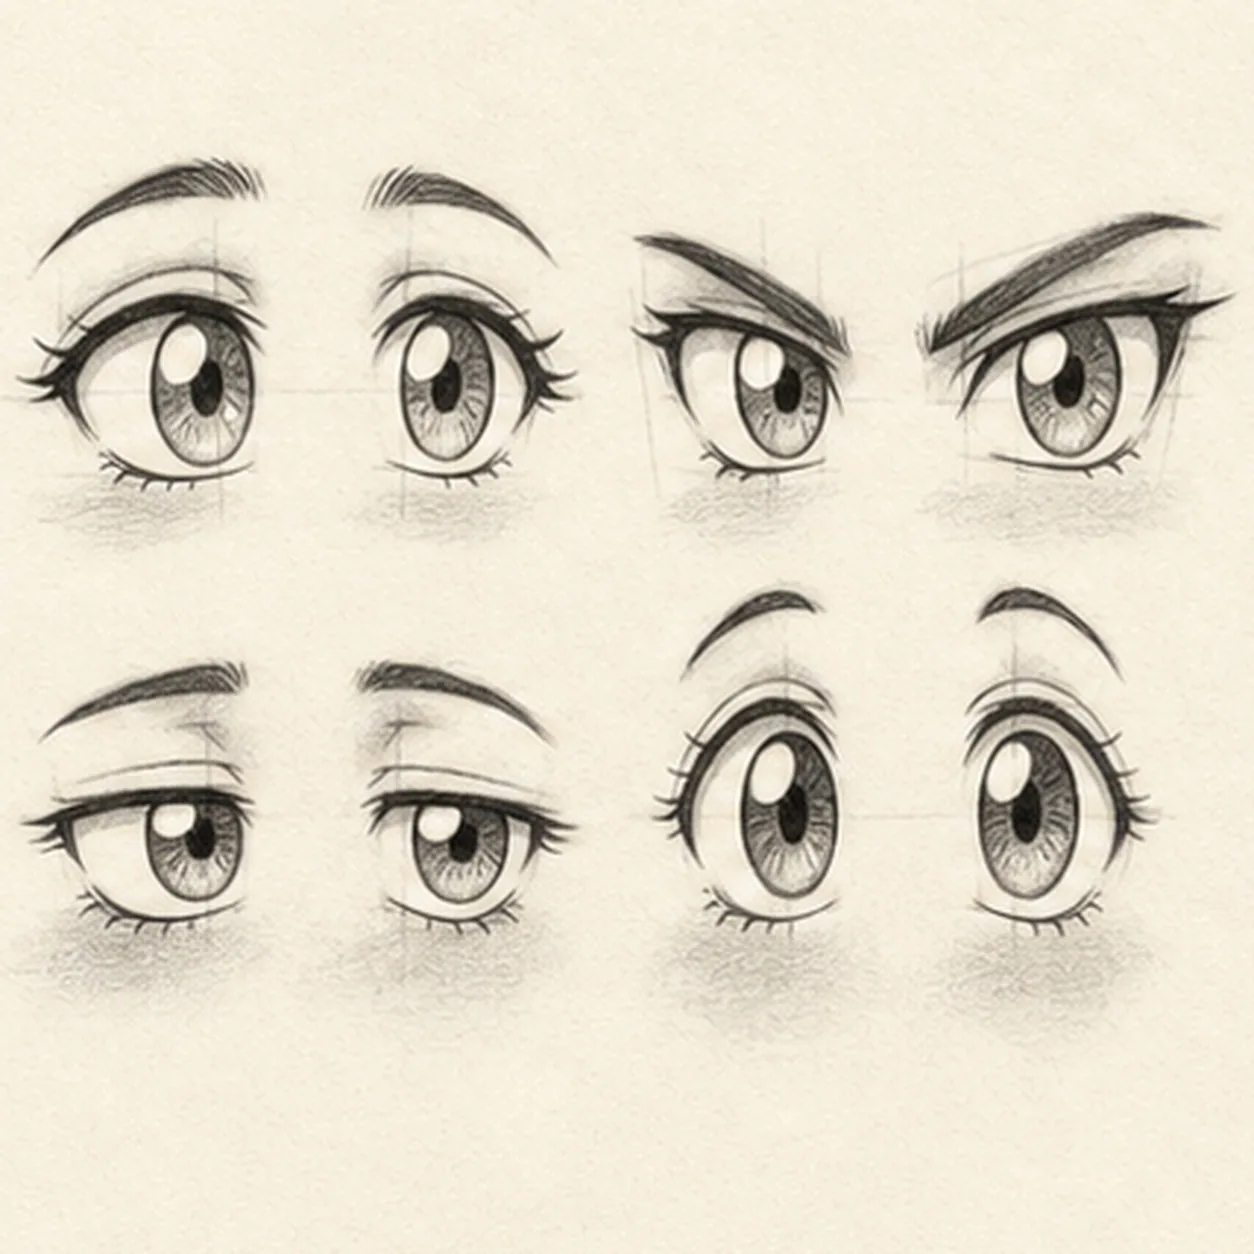
Finish the four-eye study
Strengthen selected keeper lines, deepen the established iris values and lid shadows, clarify the open-paper highlights, and lightly erase only the construction marks that distract.
Sketch tip: Count four matched pairs and trace every gaze toward the page's right, then stop while pale guides and paper grain still show. You can combine the lid, brow, and iris choices differently in your own characters once the pair alignment stays convincing.


