
From the archive
Let's draw an apple turnover on a plate
Treat this as one small practice round: build the subject lightly, notice the shapes, then darken only the lines that help the finished sketch.
-
01
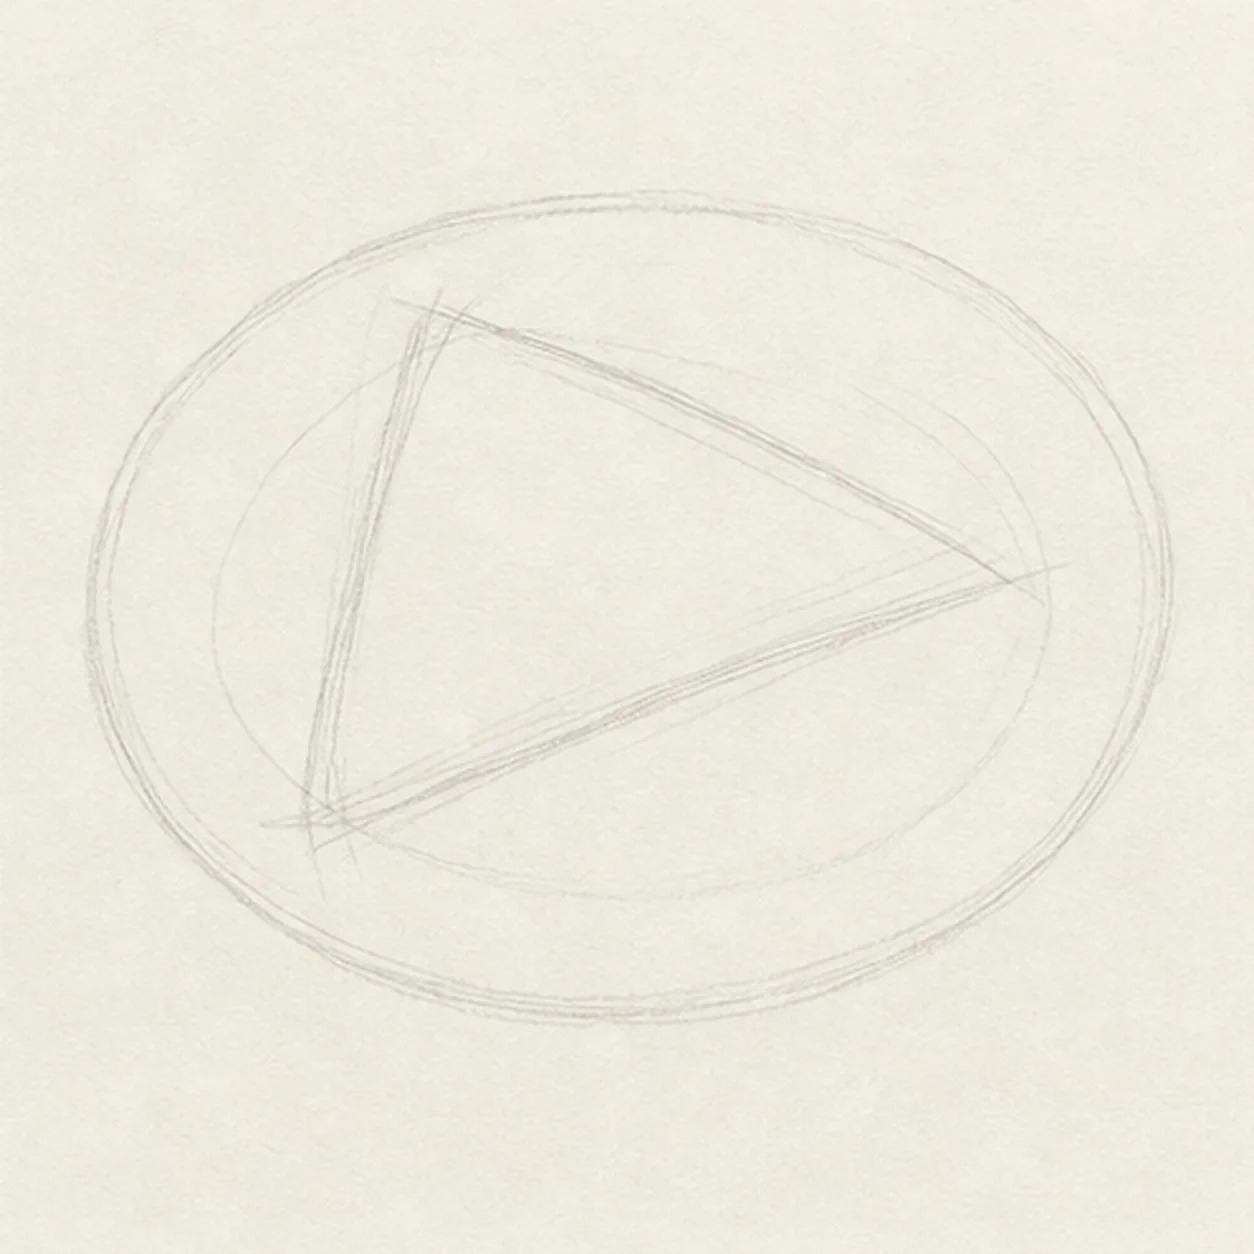
Place the plate and pastry
Draw a shallow oval for the plate, then place a light triangular turnover body inside it.
Sketch tip: Keep the triangle low and wide. A flatter pastry feels more believable on the plate.
-
02
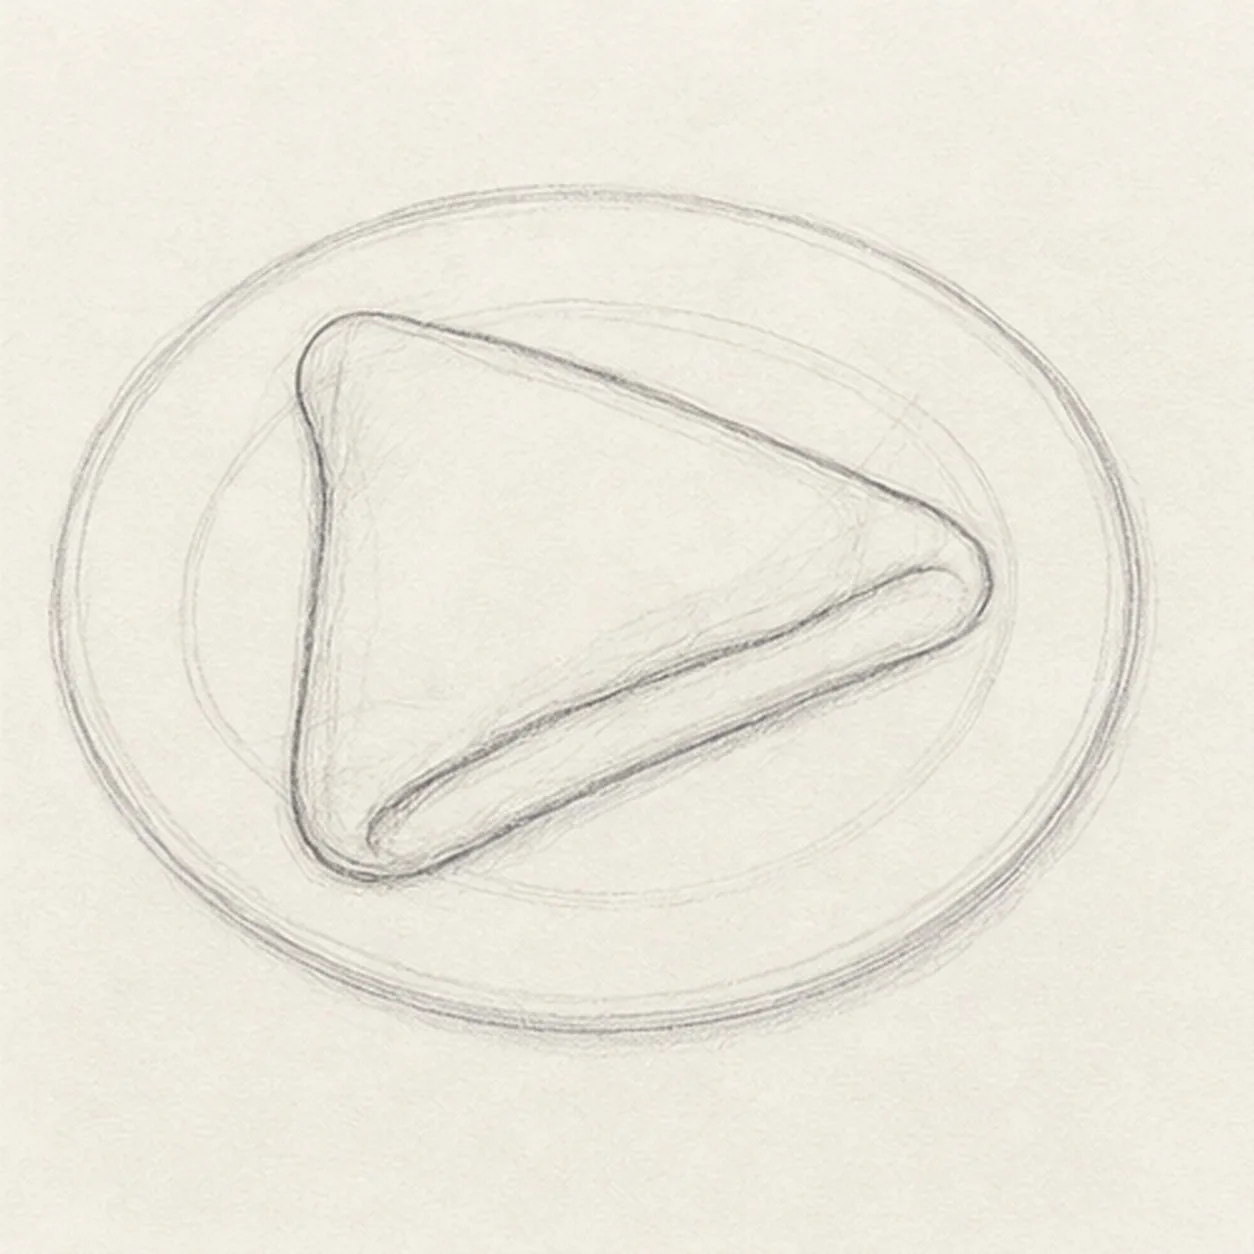
Fold the pastry form
Round the pastry corners and draw the folded seam over the construction lines.
Sketch tip: Let the seam follow the outside edge. That makes the turnover look folded instead of like a plain triangle.
-
03
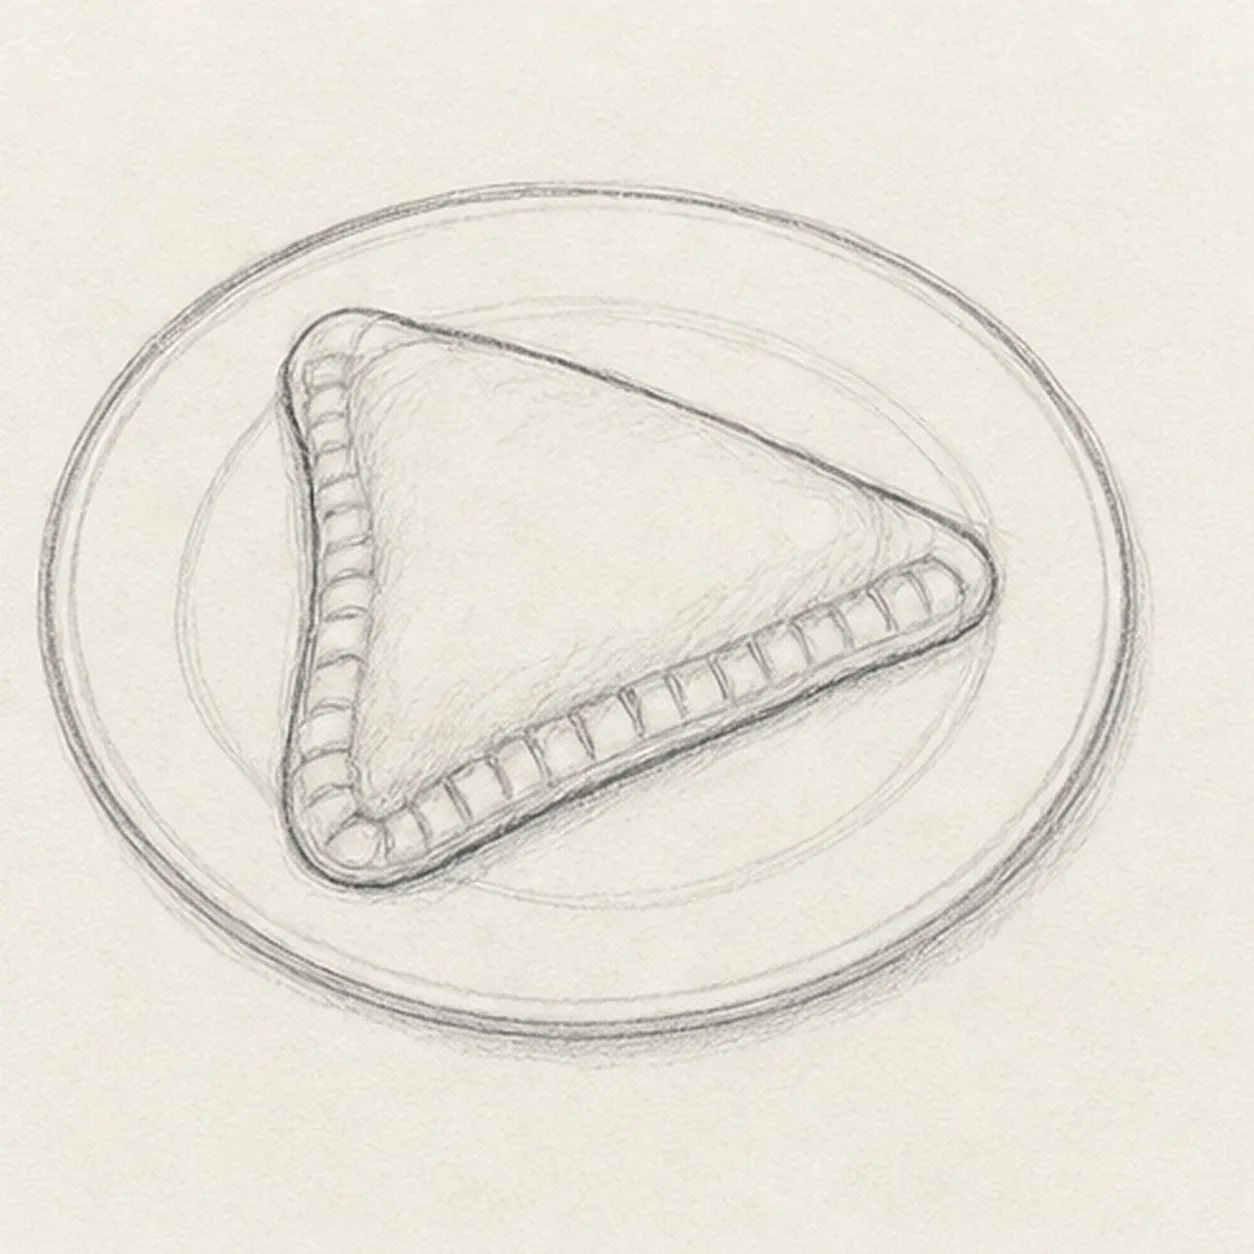
Press the edge
Add small crimp marks along the folded edge, then clean up the plate rim around the pastry.
Sketch tip: Use short repeated marks for the crimping. They do not need to be perfectly even.
-
04
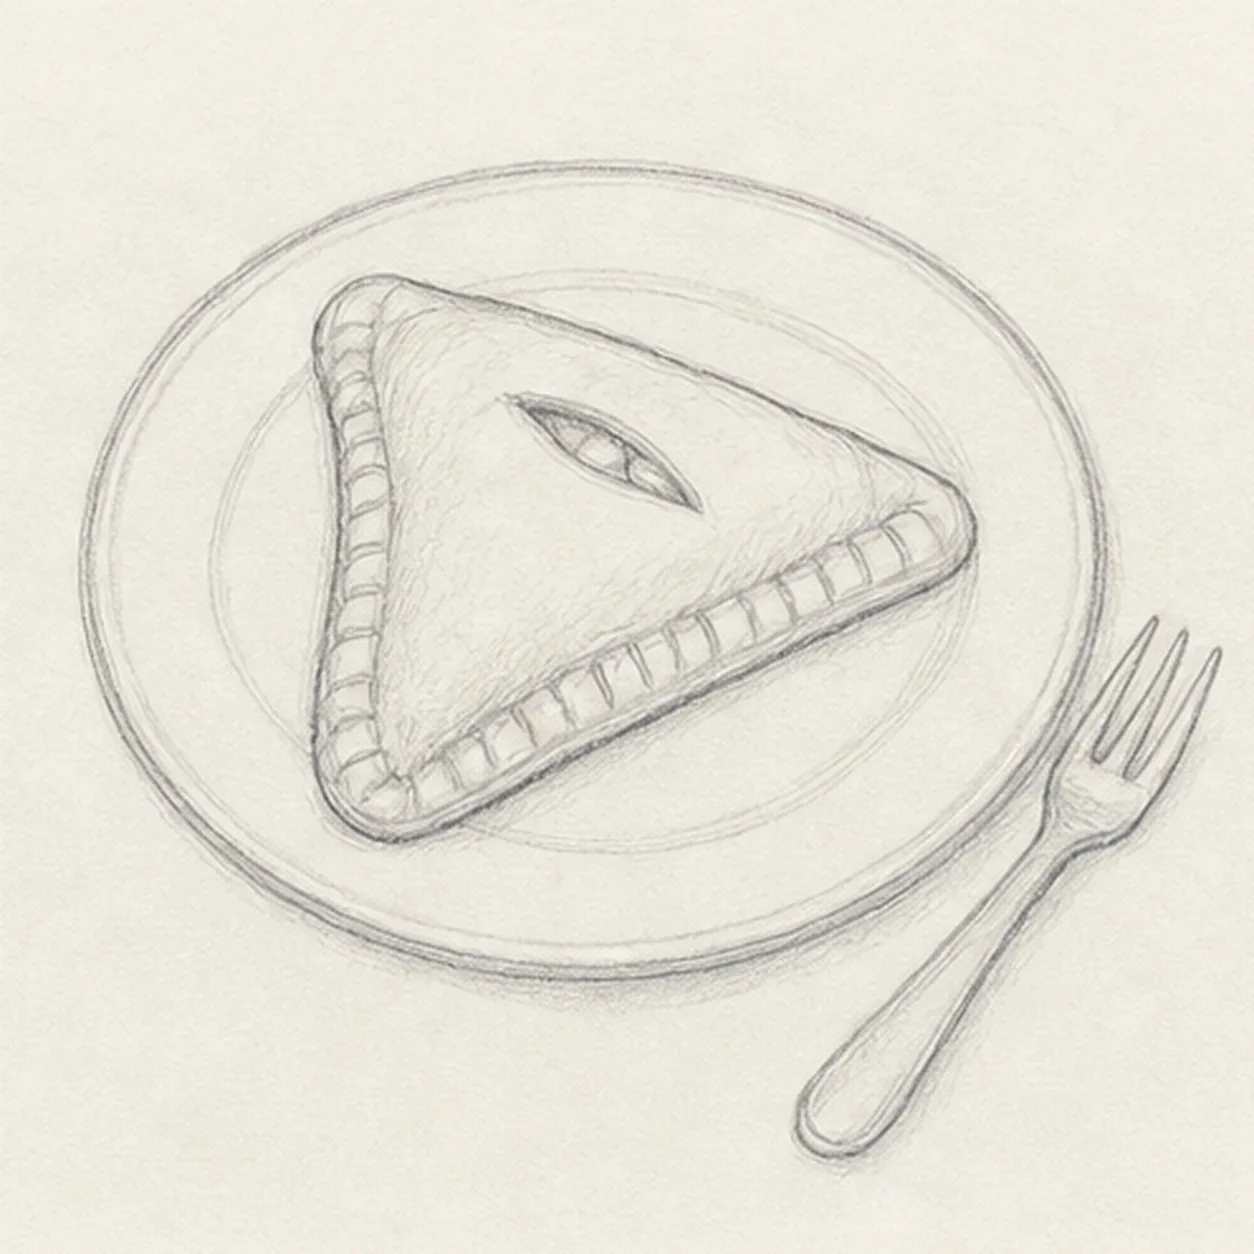
Add filling and fork
Cut a short slit near the top of the turnover, show a peek of apple filling, and angle a simple fork beside the plate.
Sketch tip: Make the fork narrow and simple. Four readable tines are enough for this sketch.
-
05
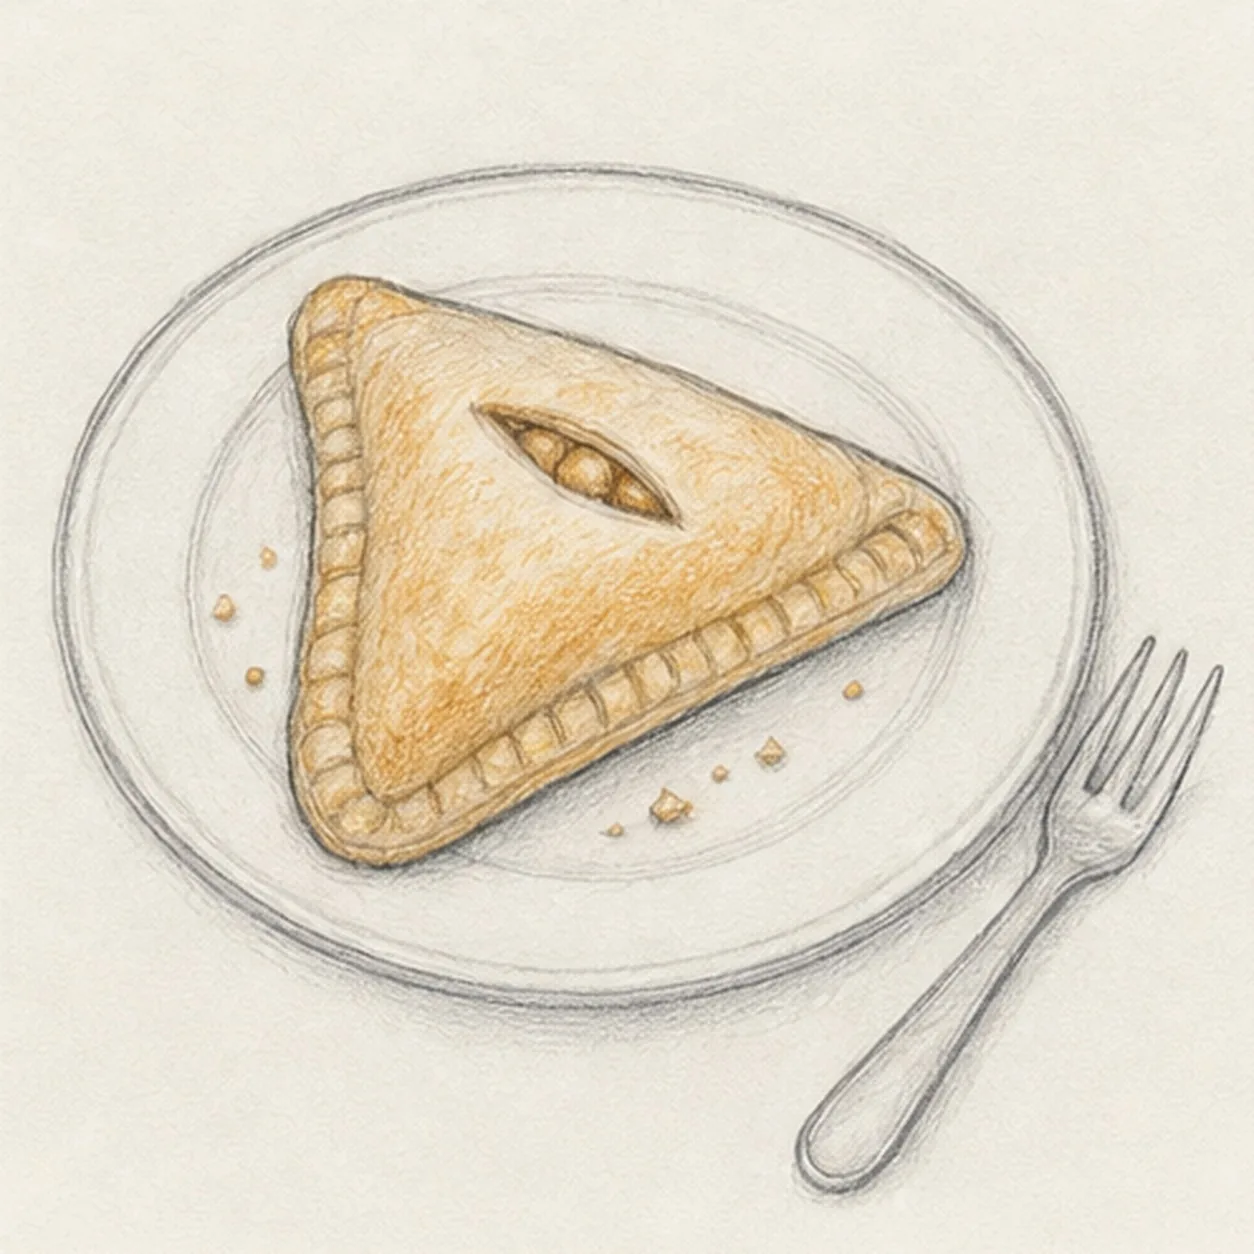
Scatter crumbs and shade
Add a few crumbs on the plate, then shade the pastry with light golden pencil and soft graphite under the rim.
Sketch tip: Leave pale paper showing through the color. Broken shading keeps the pastry sketchy and warm.
-
06
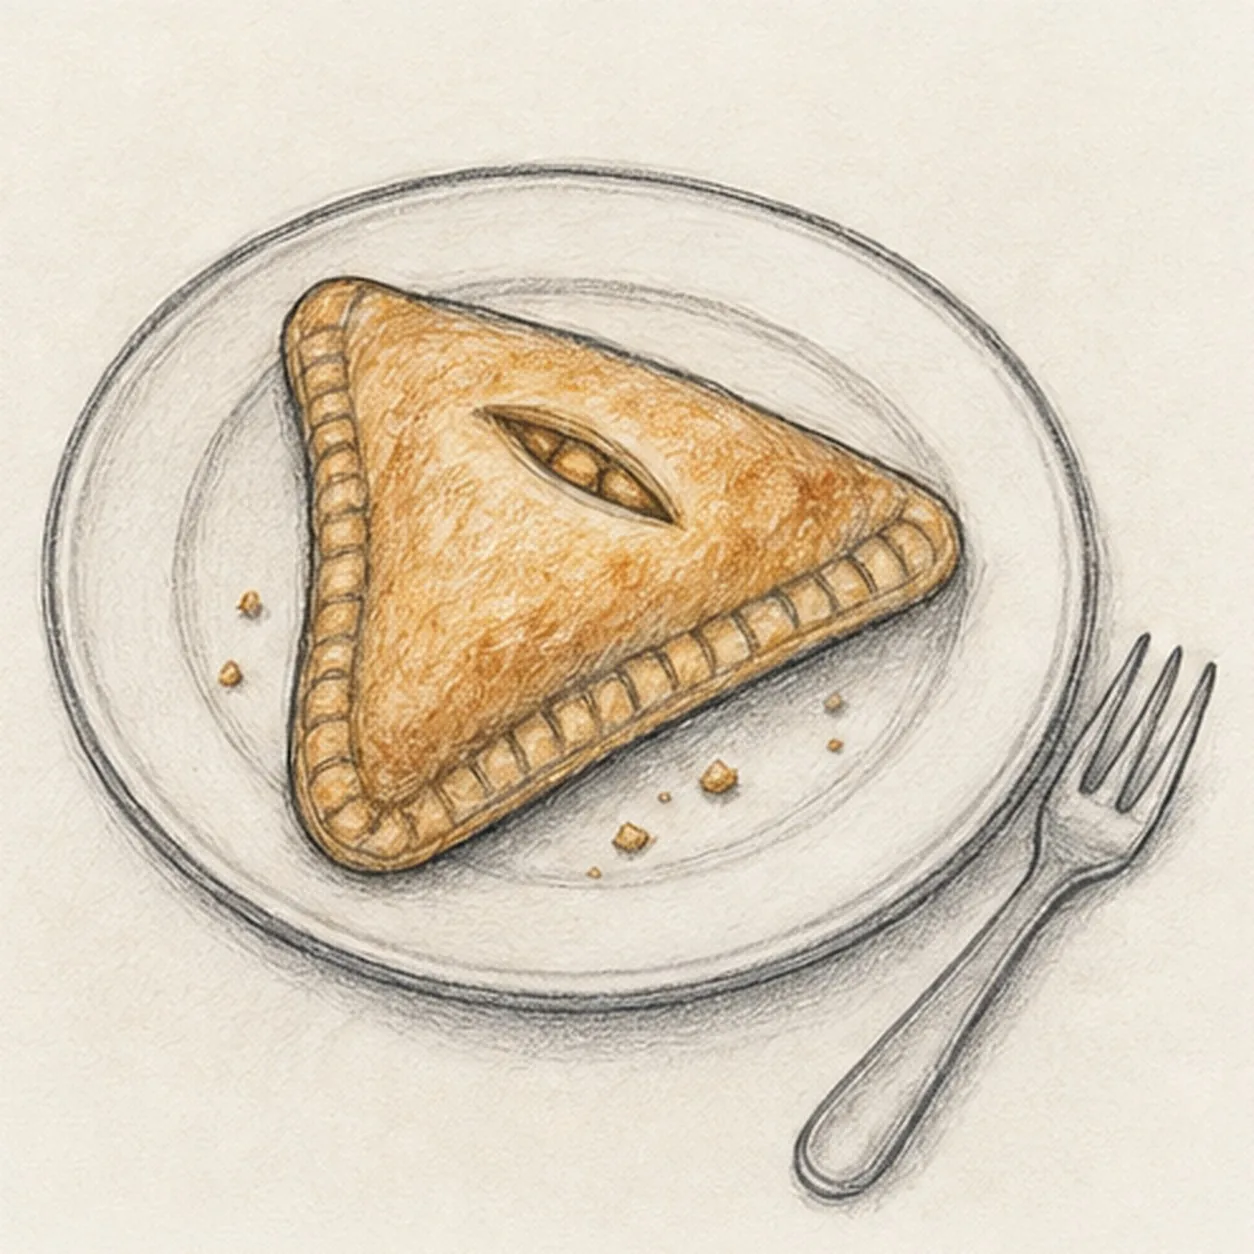
Finish the apple turnover sketch
Darken the keeper contours, sharpen the crimp marks, warm the existing pastry shading, and clarify the fork and crumbs.
Sketch tip: Stop before adding a table setting or extra fruit. The plate, fork, crimping, and filling slit already carry the subject.


