
From the archive
Let's draw a backyard telescope
Treat this as one small practice round: build the subject lightly, notice the shapes, then darken only the lines that help the finished sketch.
-
01
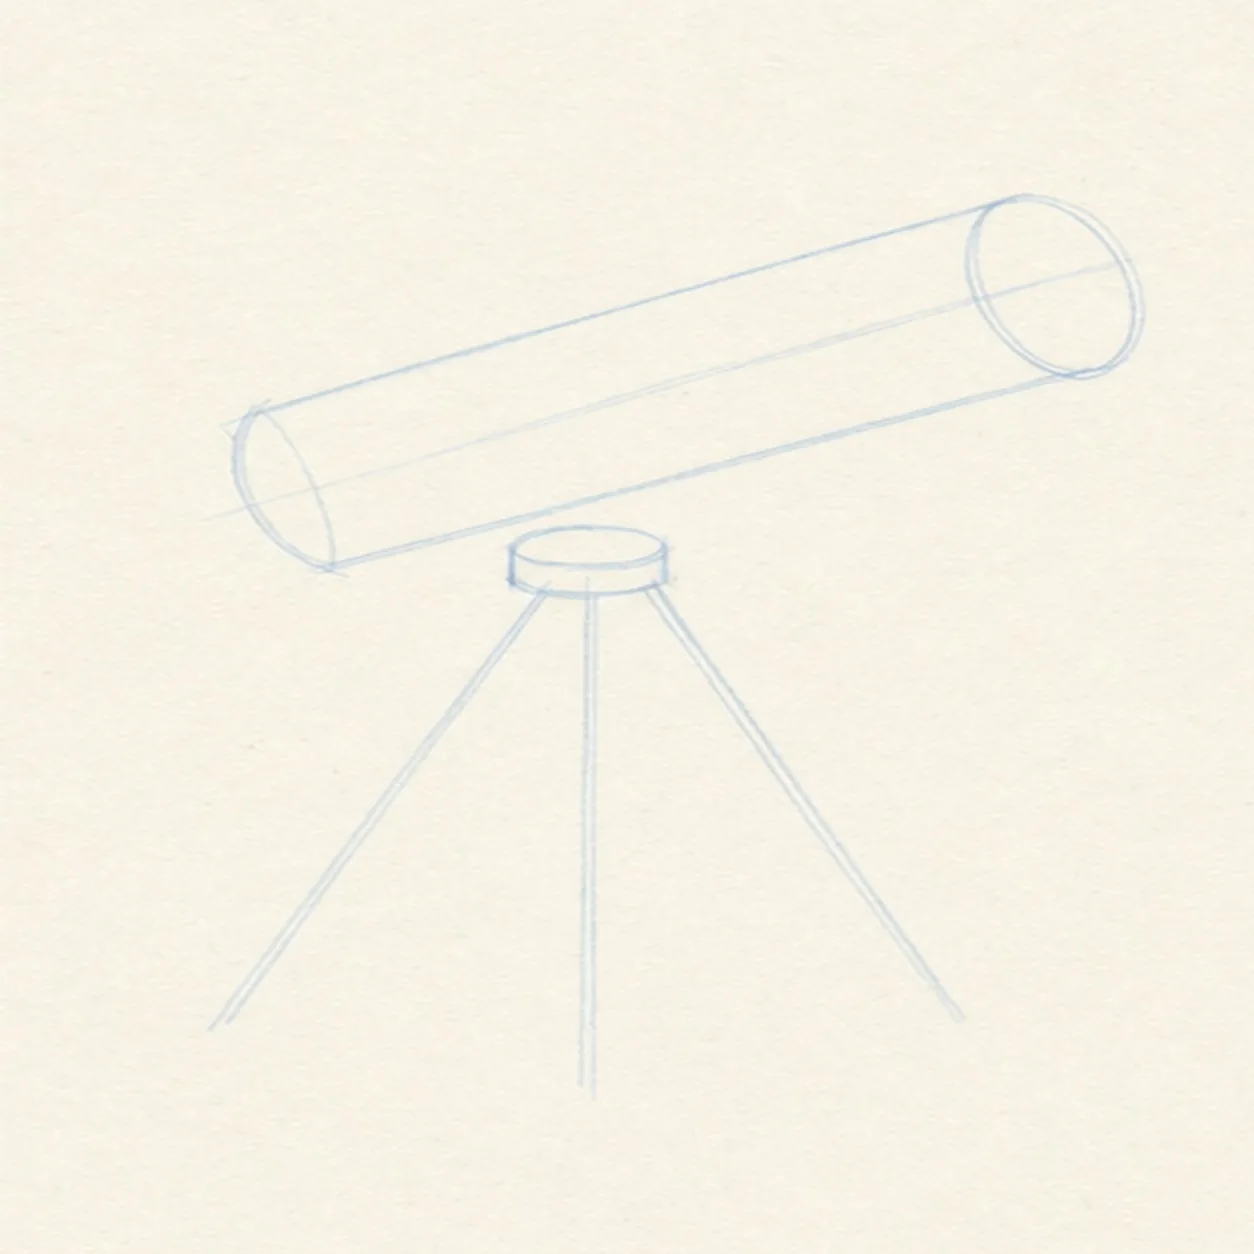
Angle the main tube
Draw a long tilted tube pointing up toward the right, then add a light center guide and a small mount circle underneath it.
Sketch tip: Keep the first tube pale and simple. The angle matters more than perfect straight edges.
-
02
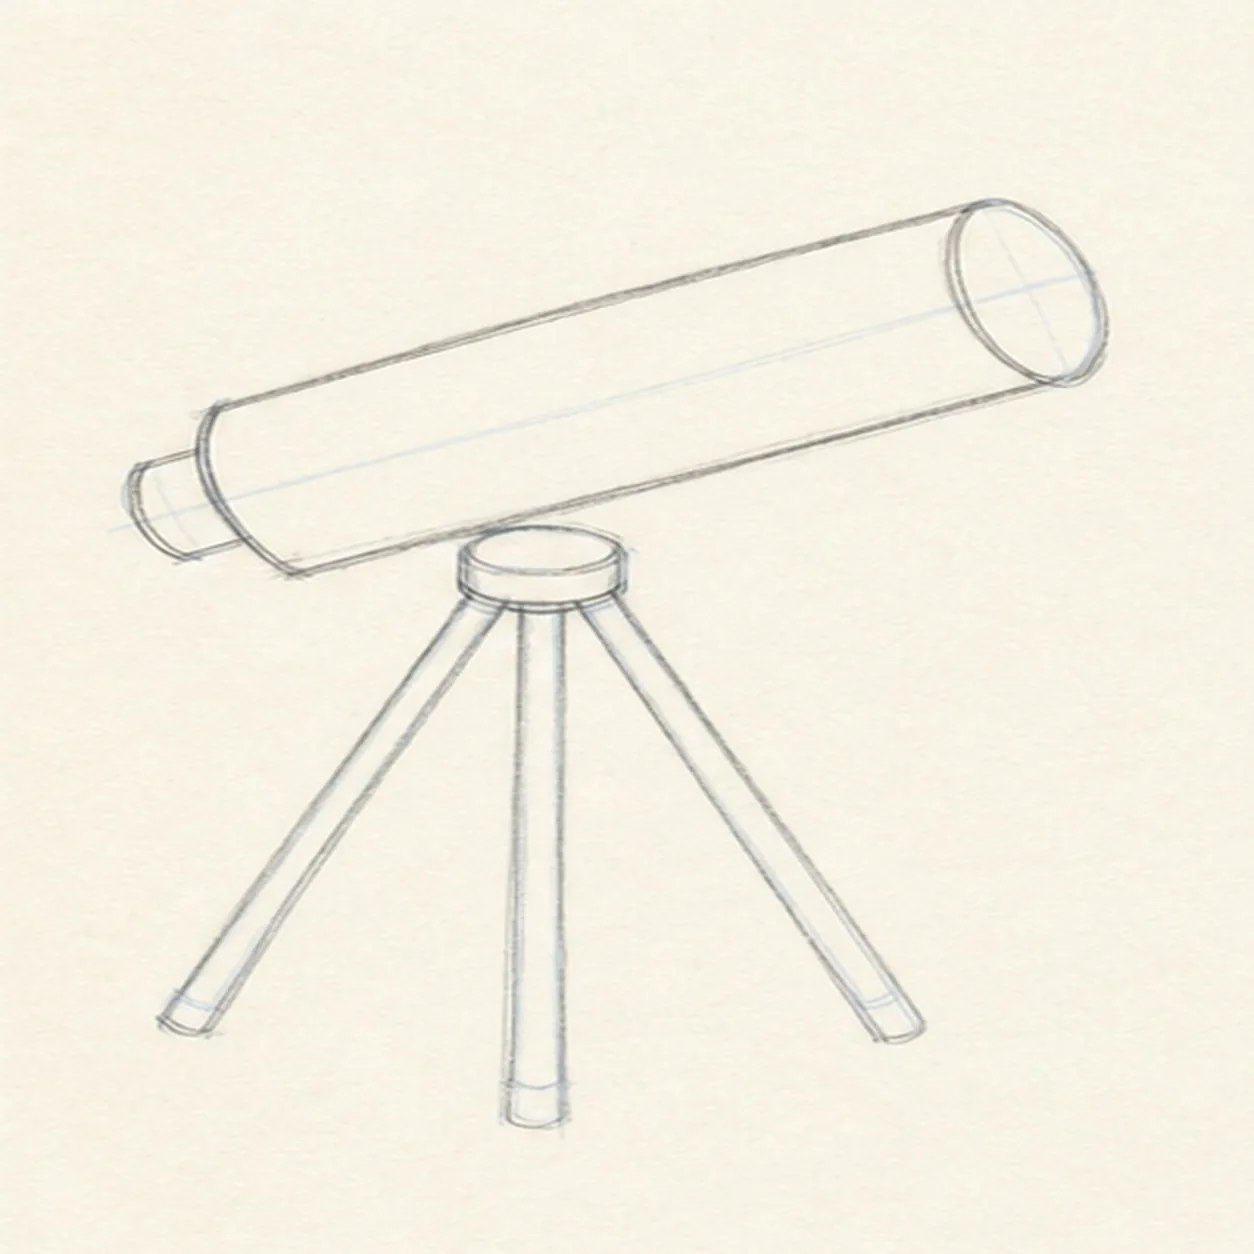
Cap the lens and eyepiece
Add a round rim at the sky-facing end, then place a small angled eyepiece at the lower end of the tube.
Sketch tip: Make the front rim wider than the eyepiece so the telescope reads quickly.
-
03
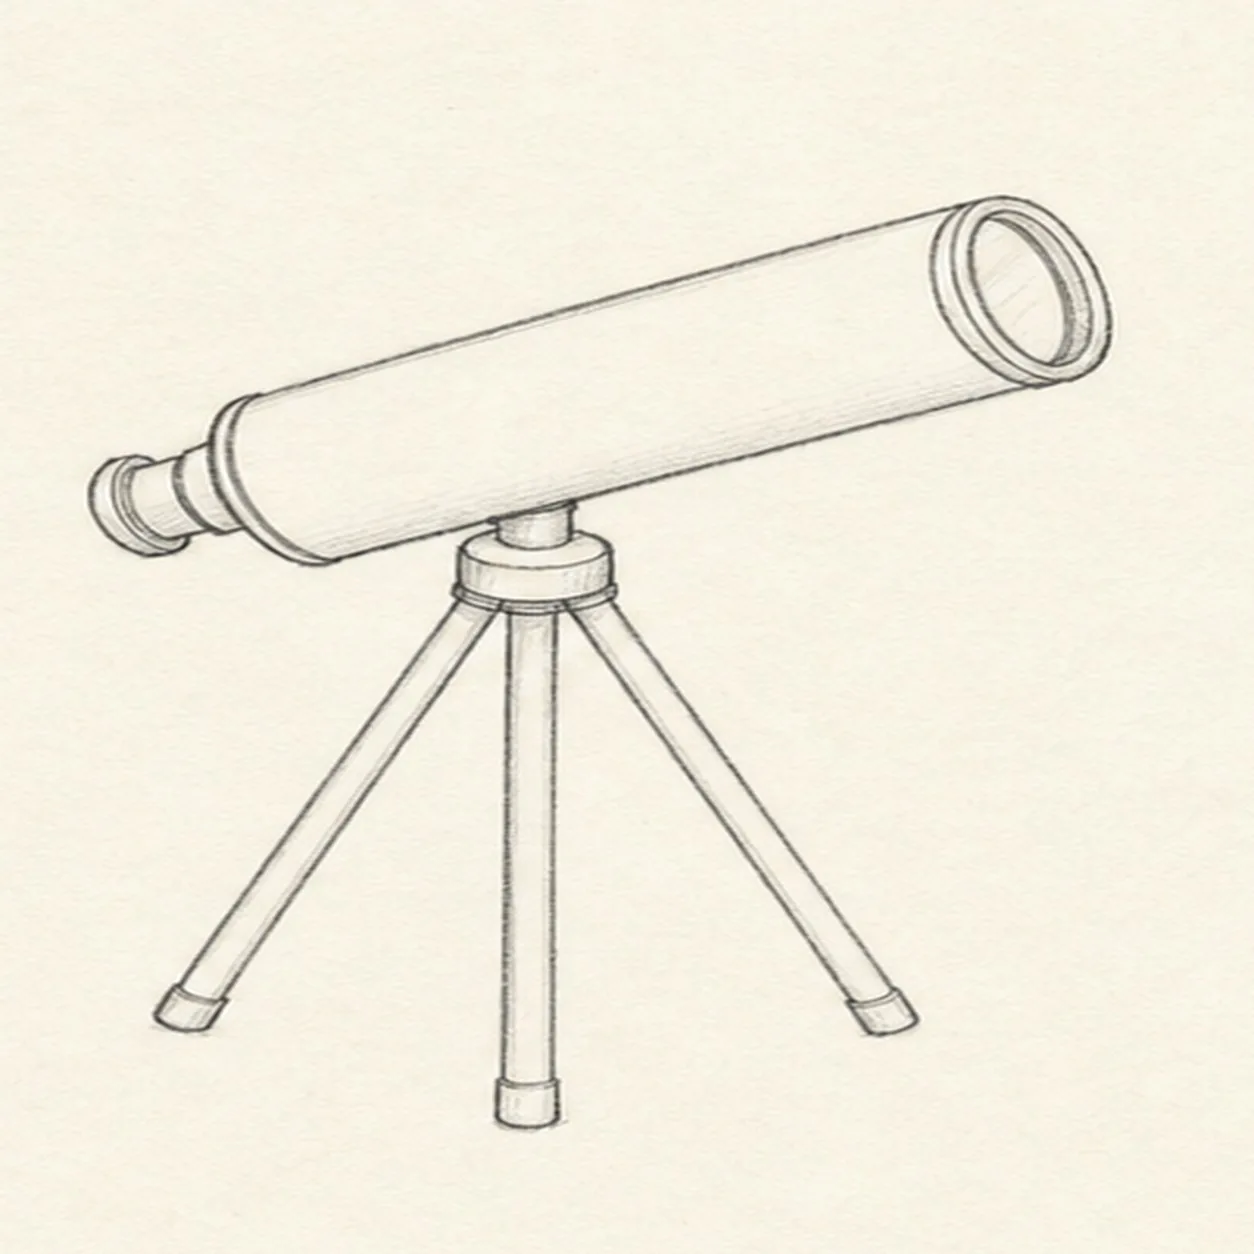
Set the finder scope
Refine the tube contour and draw a tiny finder scope resting on top of the main telescope.
Sketch tip: Let the finder scope follow the same tilt as the big tube. Parallel angles keep the drawing tidy.
-
04
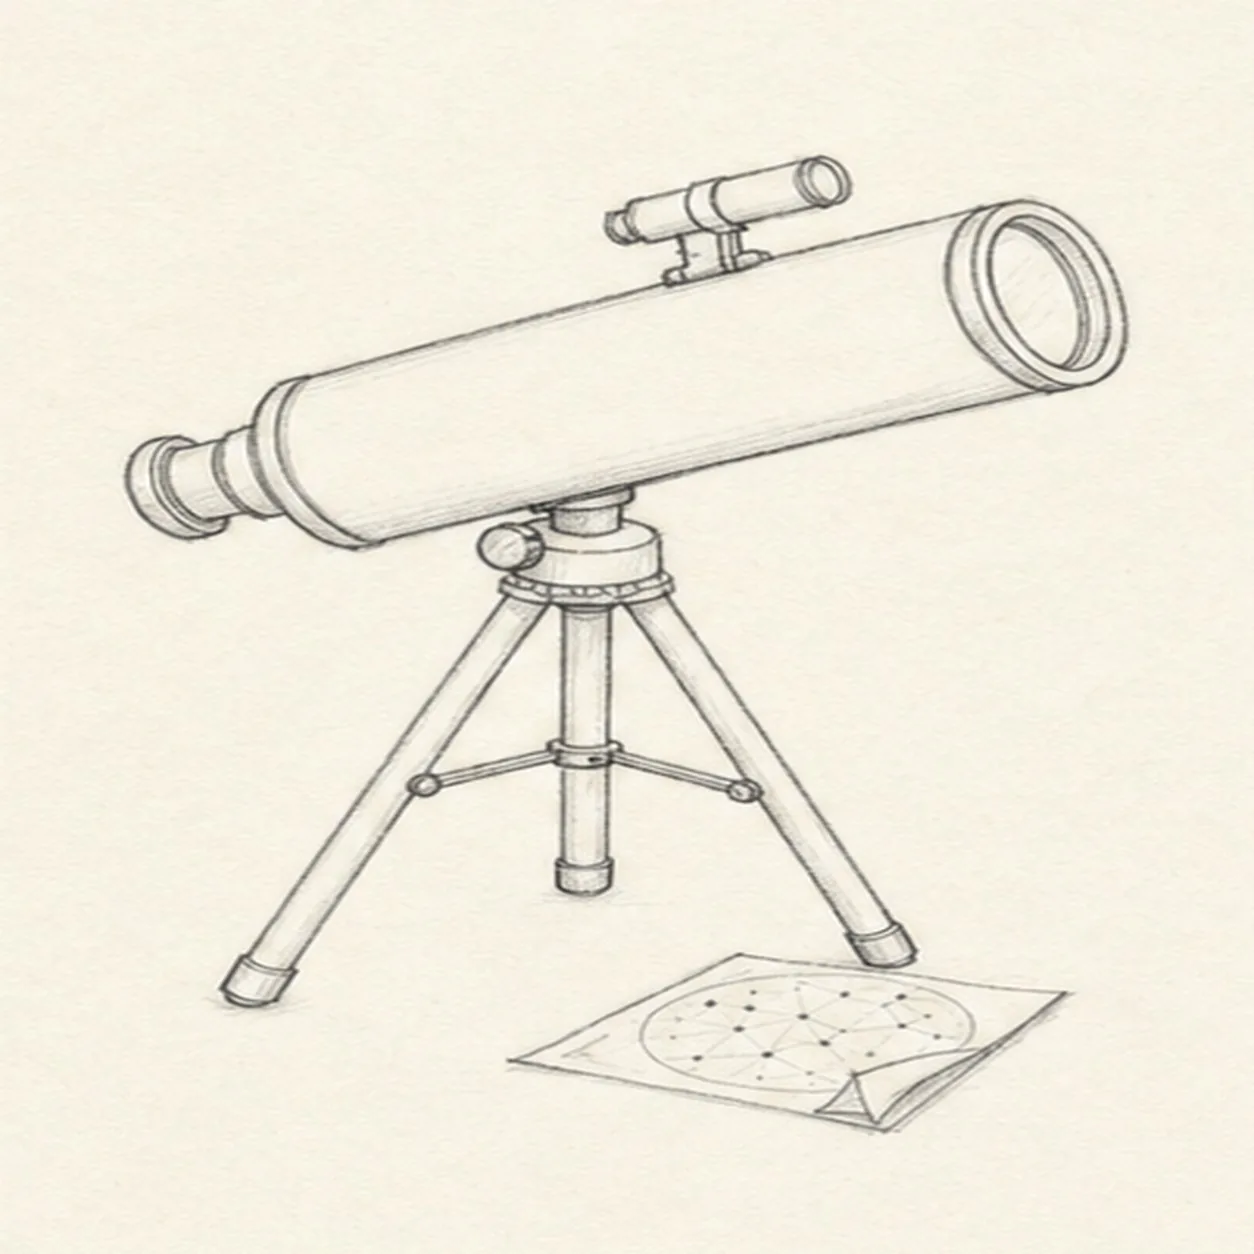
Build the tripod
Draw the central mount, then pull three tripod legs down to the ground and place a folded star chart near the feet.
Sketch tip: Spread the legs wider than the tube. A stable base makes the whole sketch feel believable.
-
05
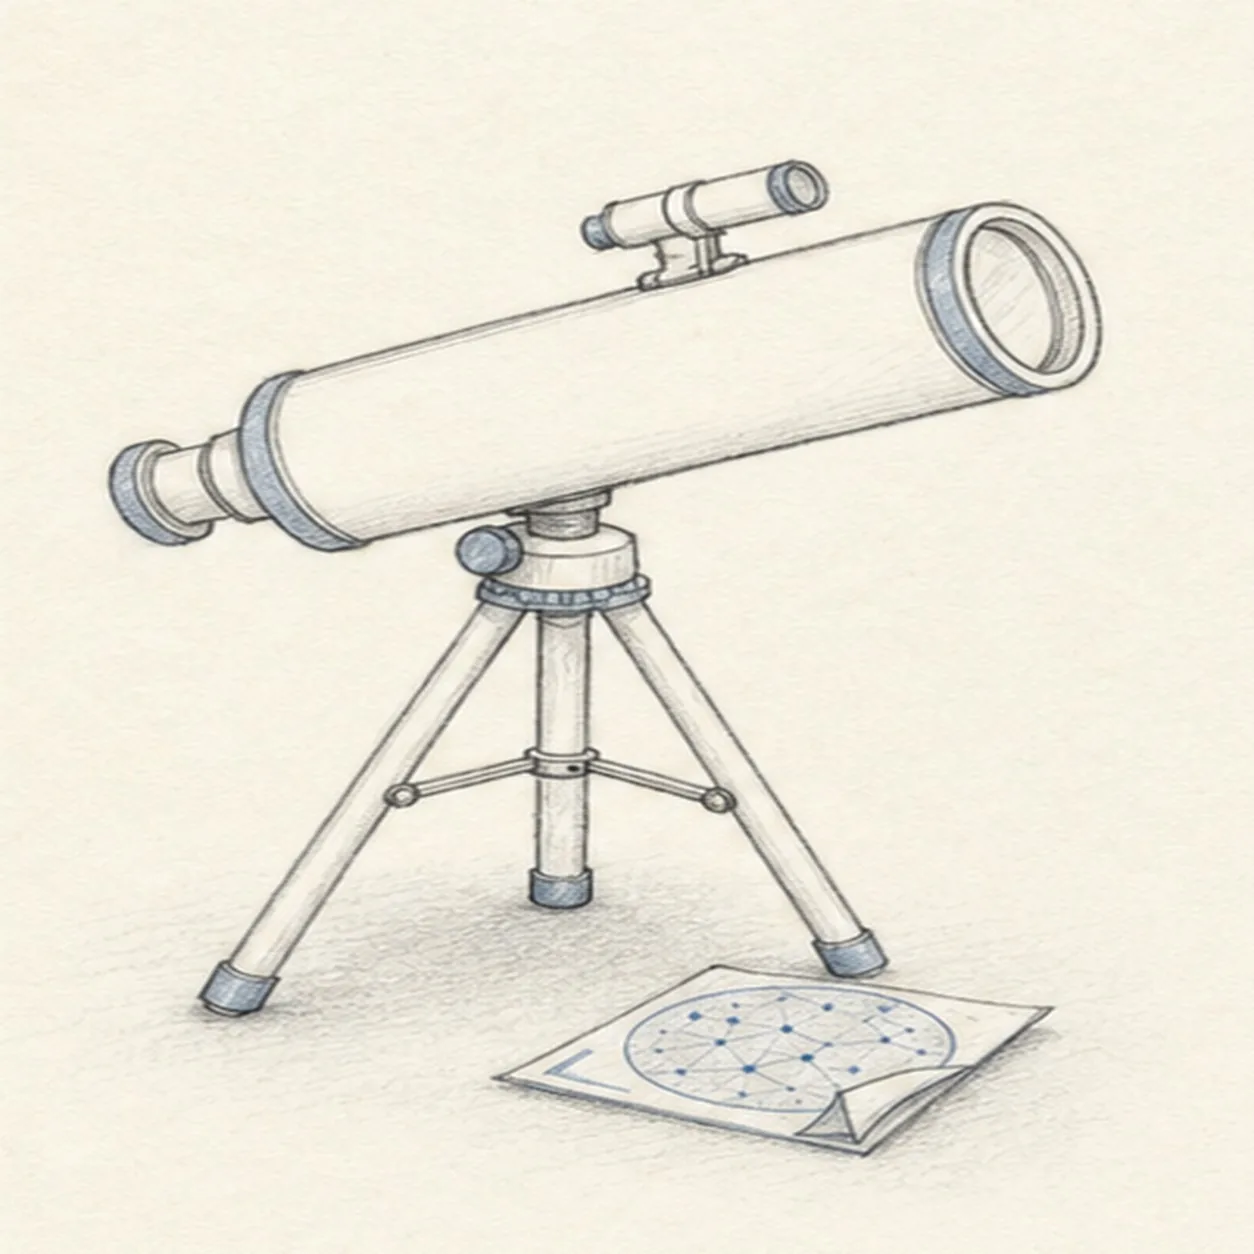
Shade the chart and lens
Add tripod braces, a few chart marks, a soft ground shadow, and pale blue-gray accents on the lens rims and folded paper.
Sketch tip: Keep the chart marks tiny and simple, or invent a different little note on the paper. The prop should support the telescope, not become a map lesson.
-
06
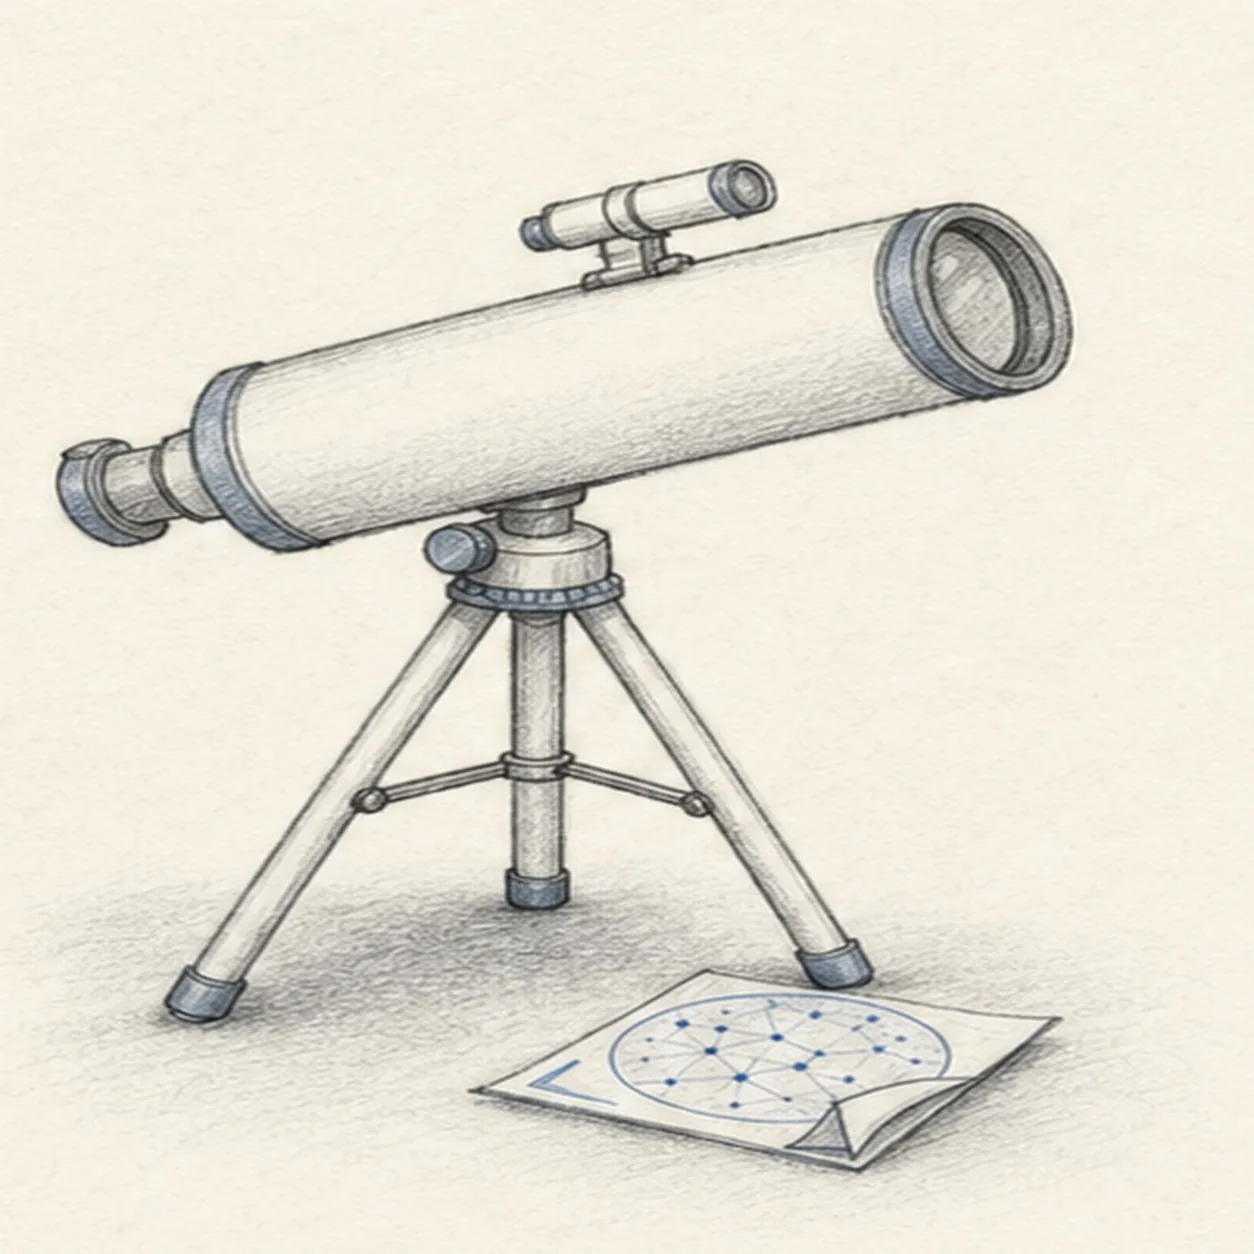
Finish the stargazing sketch
Darken the keeper contours, clarify the lens rings and tripod joints, and deepen the graphite shading already placed on the tube, mount, shadow, and star chart.
Sketch tip: Stop while some construction texture still shows. A telescope sketch feels more alive when the graphite is not over-polished.


