
From the archive
Let's draw a ceramic mixing bowl and whisk
Treat this as one small practice round: build the subject lightly, notice the shapes, then darken only the lines that help the finished sketch.
-
01
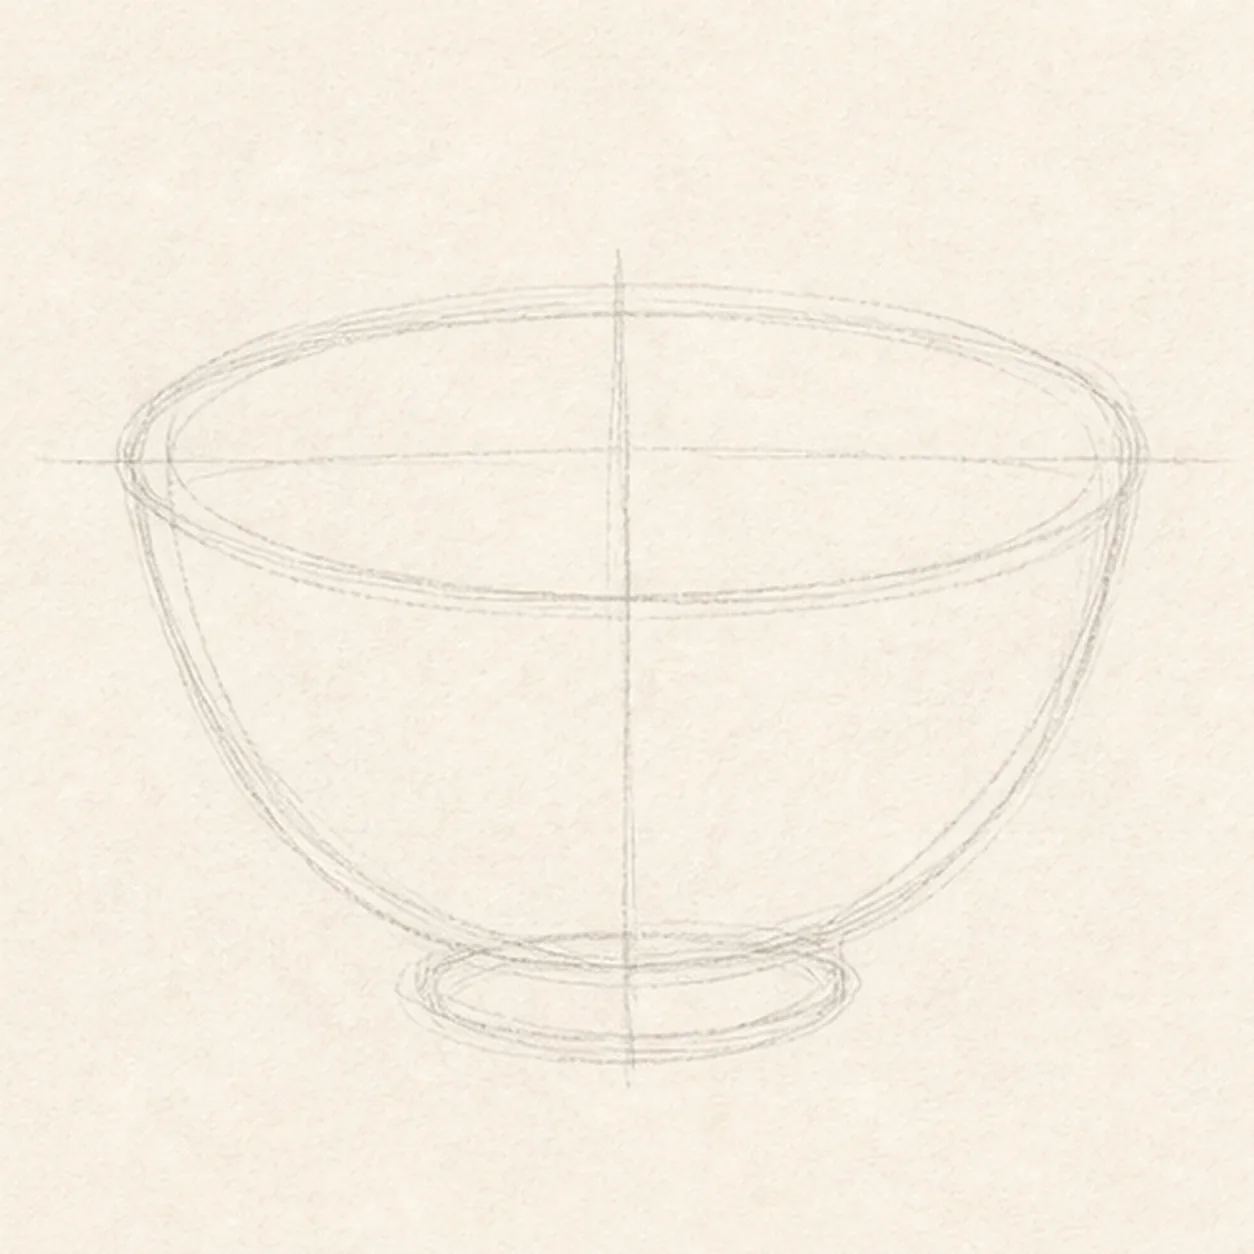
Place the bowl ellipses
Draw a light wide ellipse for the rim, add a center axis, then curve the bowl body down to a small foot guide.
Sketch tip: Ghost the rim several times before committing. Keep the back half of the ellipse a little lighter so the front edge reads clearly.
-
02
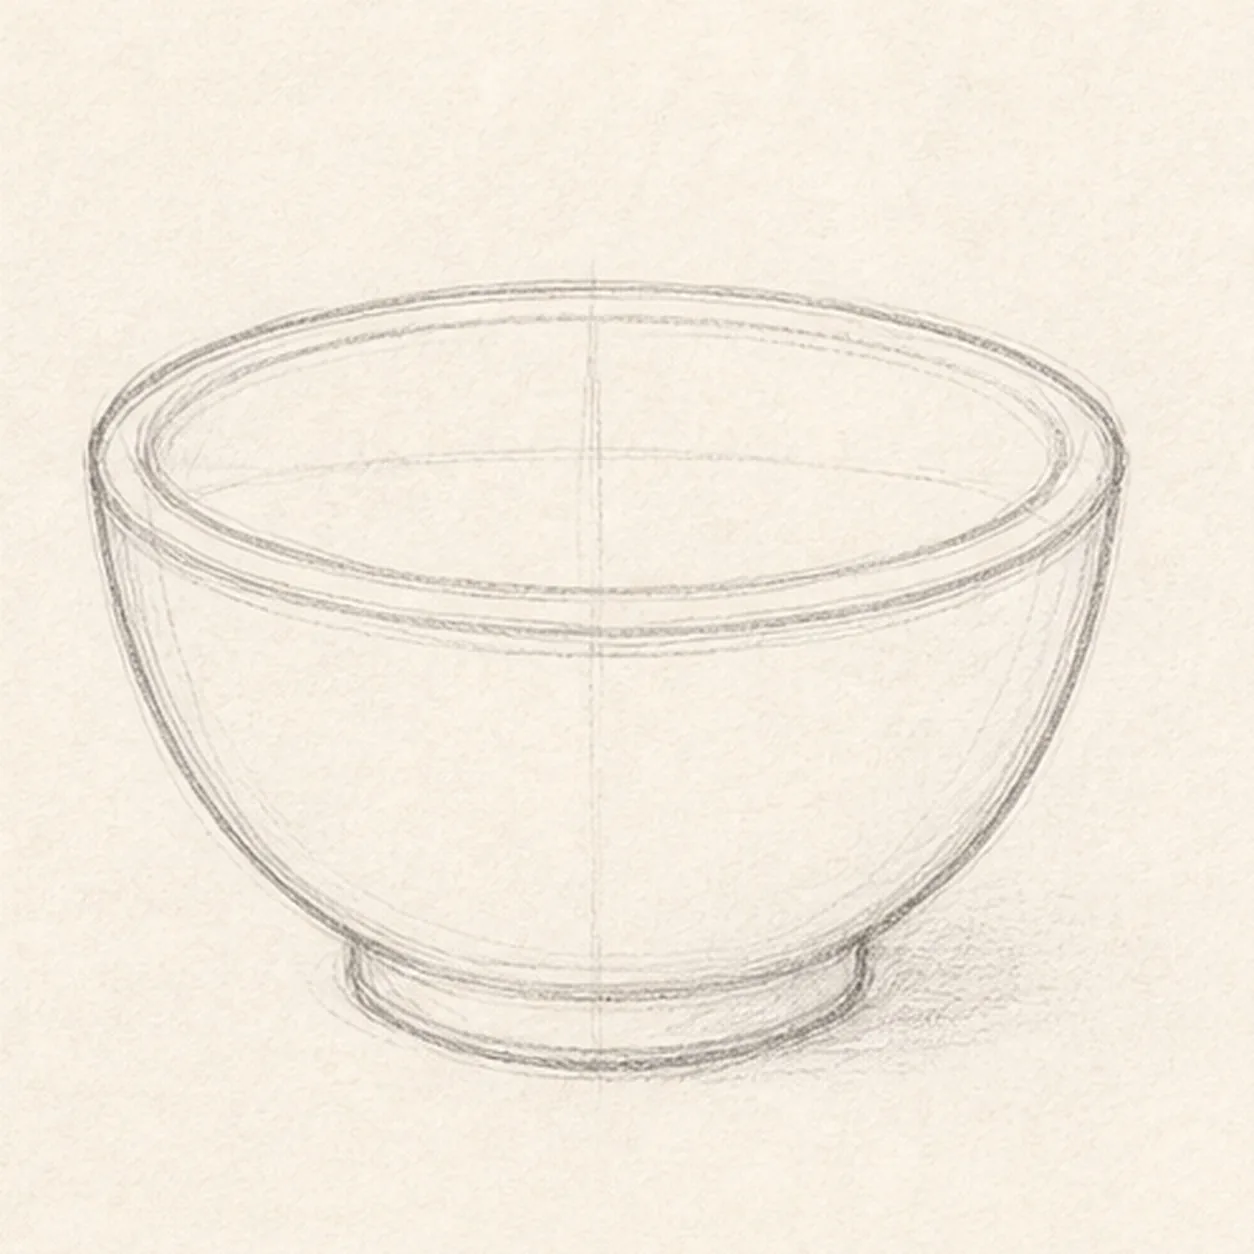
Shape the ceramic bowl
Build the thick rim, rounded body, and small foot inside the guides, then add a faint grounding shadow beneath the bowl.
Sketch tip: Compare the left and right curves against the center axis. They can stay handmade, but both should arrive at the foot without a sudden flat spot.
-
03
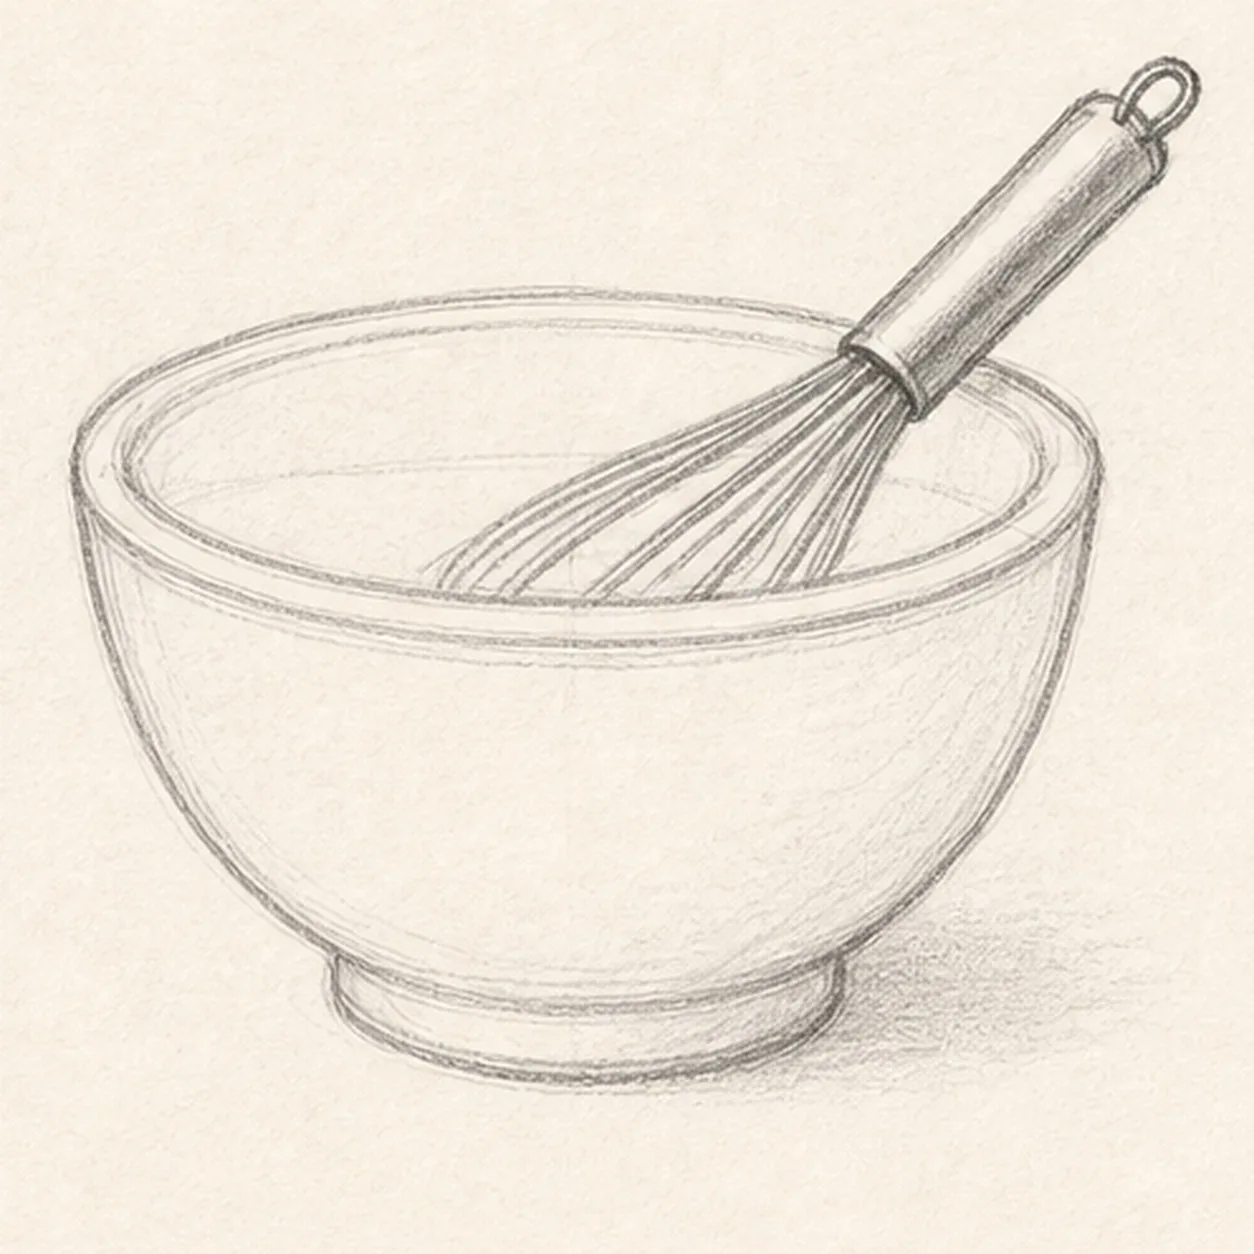
Rest the whisk inside
Angle the whisk handle up to the right and fan several looped wires into the established bowl.
Sketch tip: Place the handle first, then draw the outer whisk wires before fitting the inner loops between them. Keep every wire aimed toward the same handle joint.
-
04
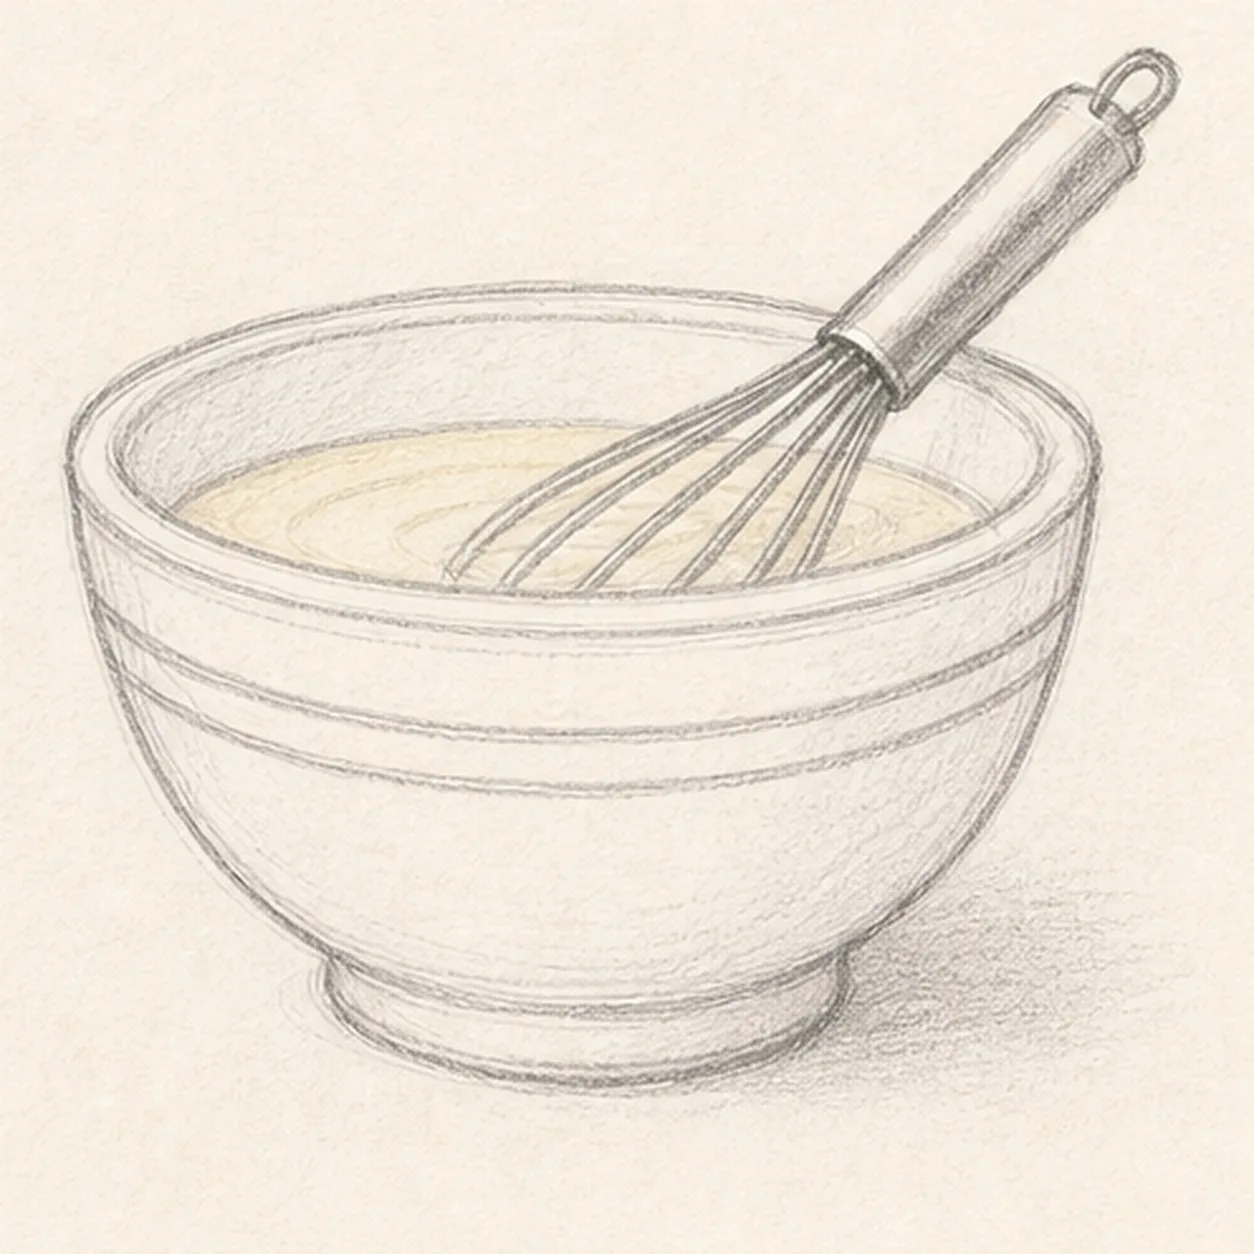
Add batter and bands
Draw the visible batter surface inside the rim and add two simple ceramic bands around the existing bowl.
Sketch tip: Echo the rim ellipse for the batter and let the bands follow the bowl's curve. Straight horizontal stripes would flatten the rounded form.
-
05
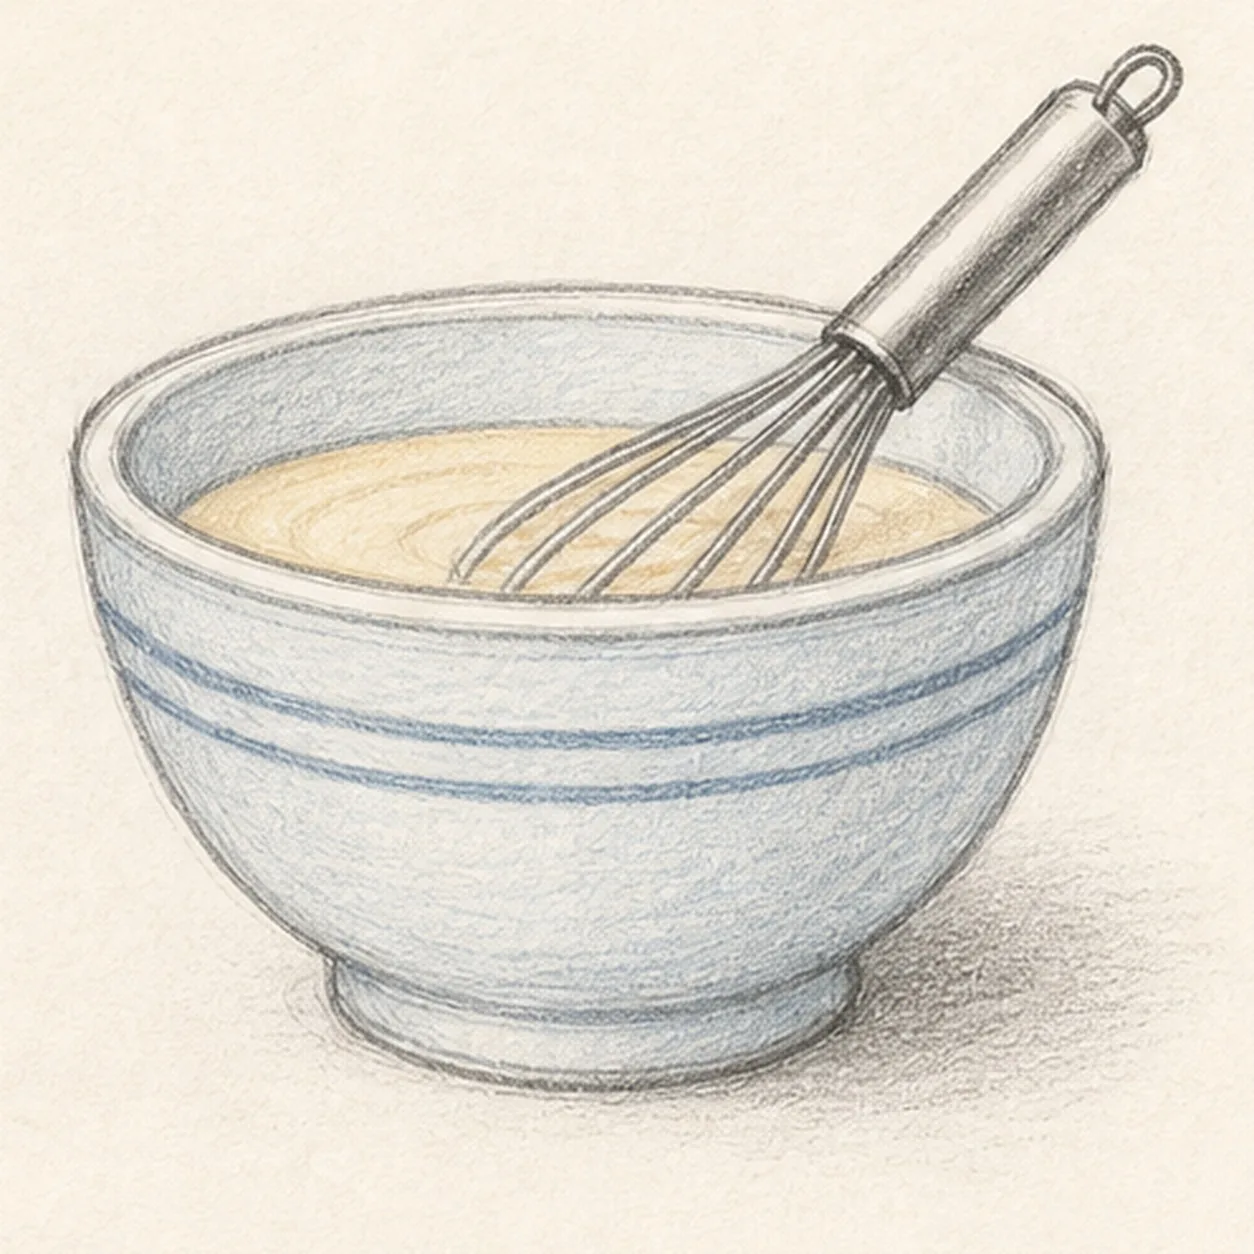
Shade the kitchen tools
Add pale blue to the bowl, warm ochre to the batter, subtle graphite on the whisk, and strengthen the established ground shadow.
Sketch tip: Use curved color strokes that wrap around the ceramic body. Leave some paper showing so the bowl still feels like a quick sketch rather than a painted object.
-
06
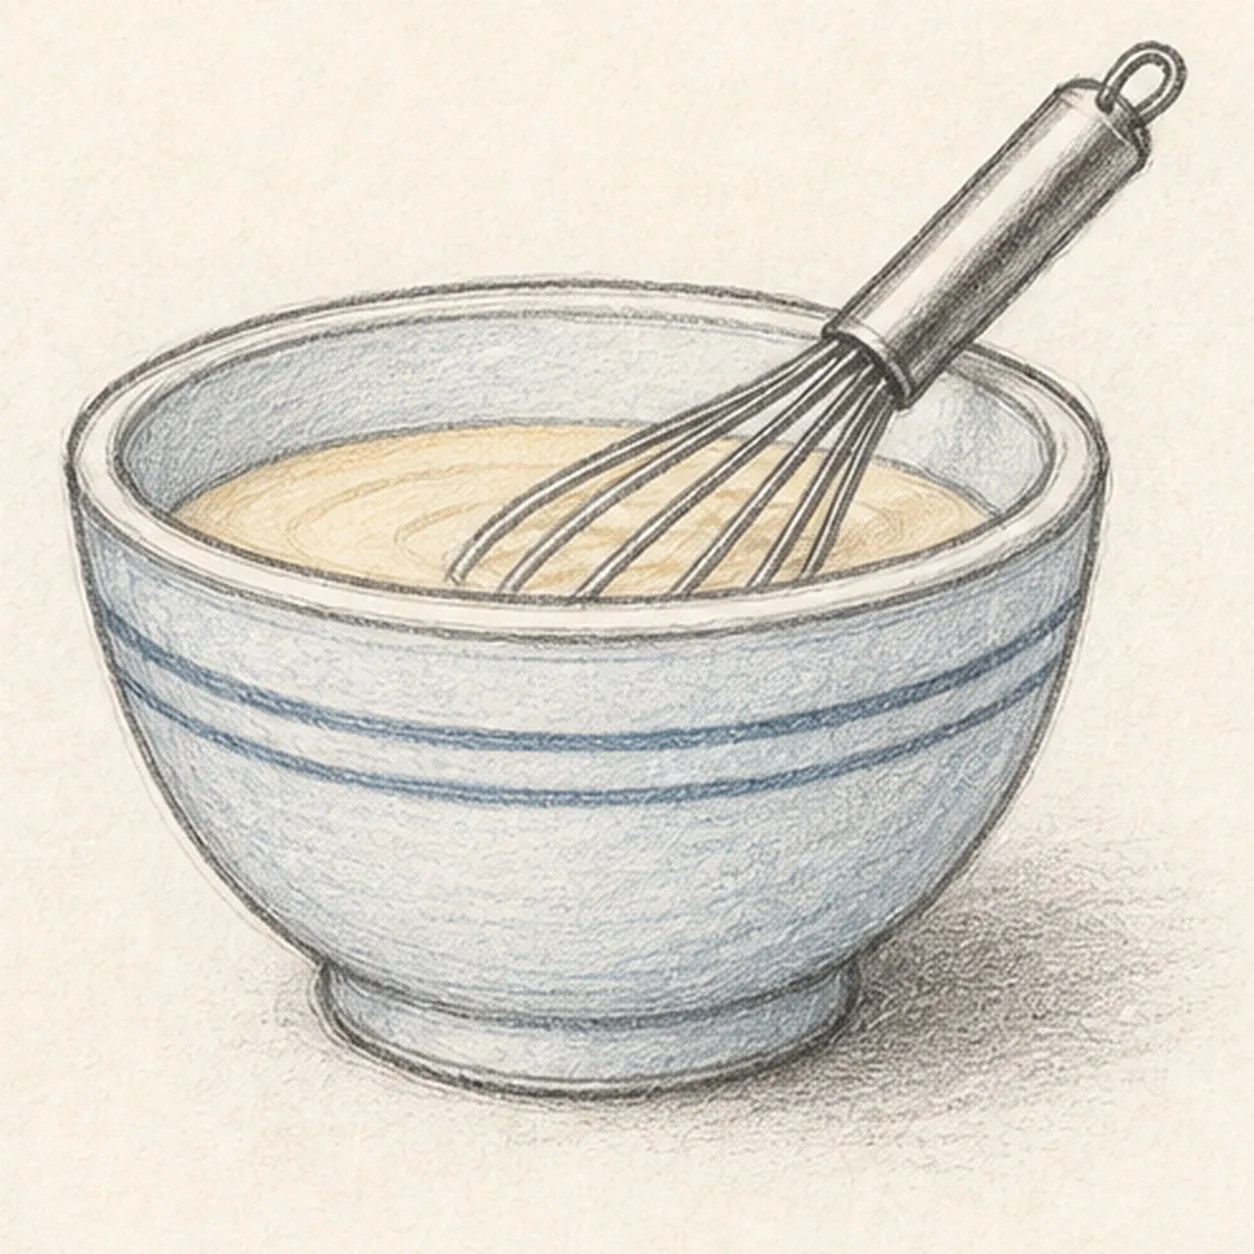
Finish the mixing sketch
Strengthen the keeper contours and clarify the established whisk wires, batter, ceramic bands, pale color, metal shading, and shadow.
Sketch tip: Stop before adding flour bags, eggs, towels, or a countertop scene. The bowl, batter, and whisk already give you a complete kitchen study.


