
From the archive
Let's draw a clawfoot bathtub
Treat this as one small practice round: build the subject lightly, notice the shapes, then darken only the lines that help the finished sketch.
-
01
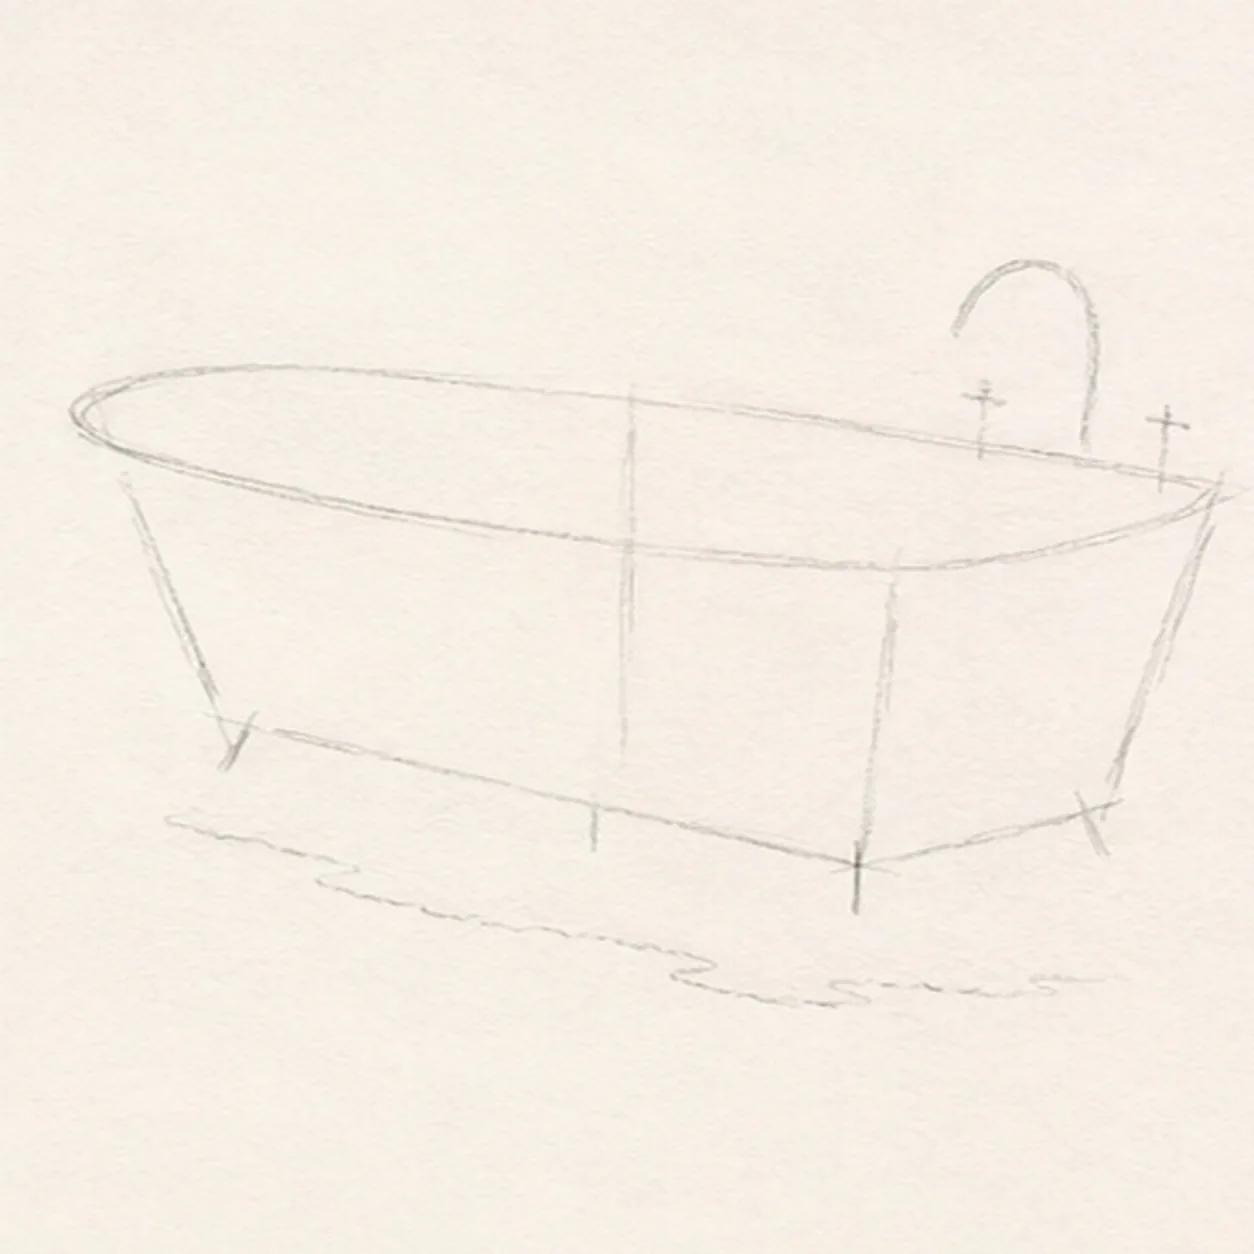
Map the tub in perspective
Use pale HB to place one tilted rim ellipse, a shallow three-quarter tub box with a center axis, exactly three foot ticks, one curved faucet route with two handle ticks, and one broken shadow route.
Sketch tip: Keep this first map under two minutes. Make the left end slightly narrower and the right end broader, then preserve that same ellipse angle through every step.
-
02
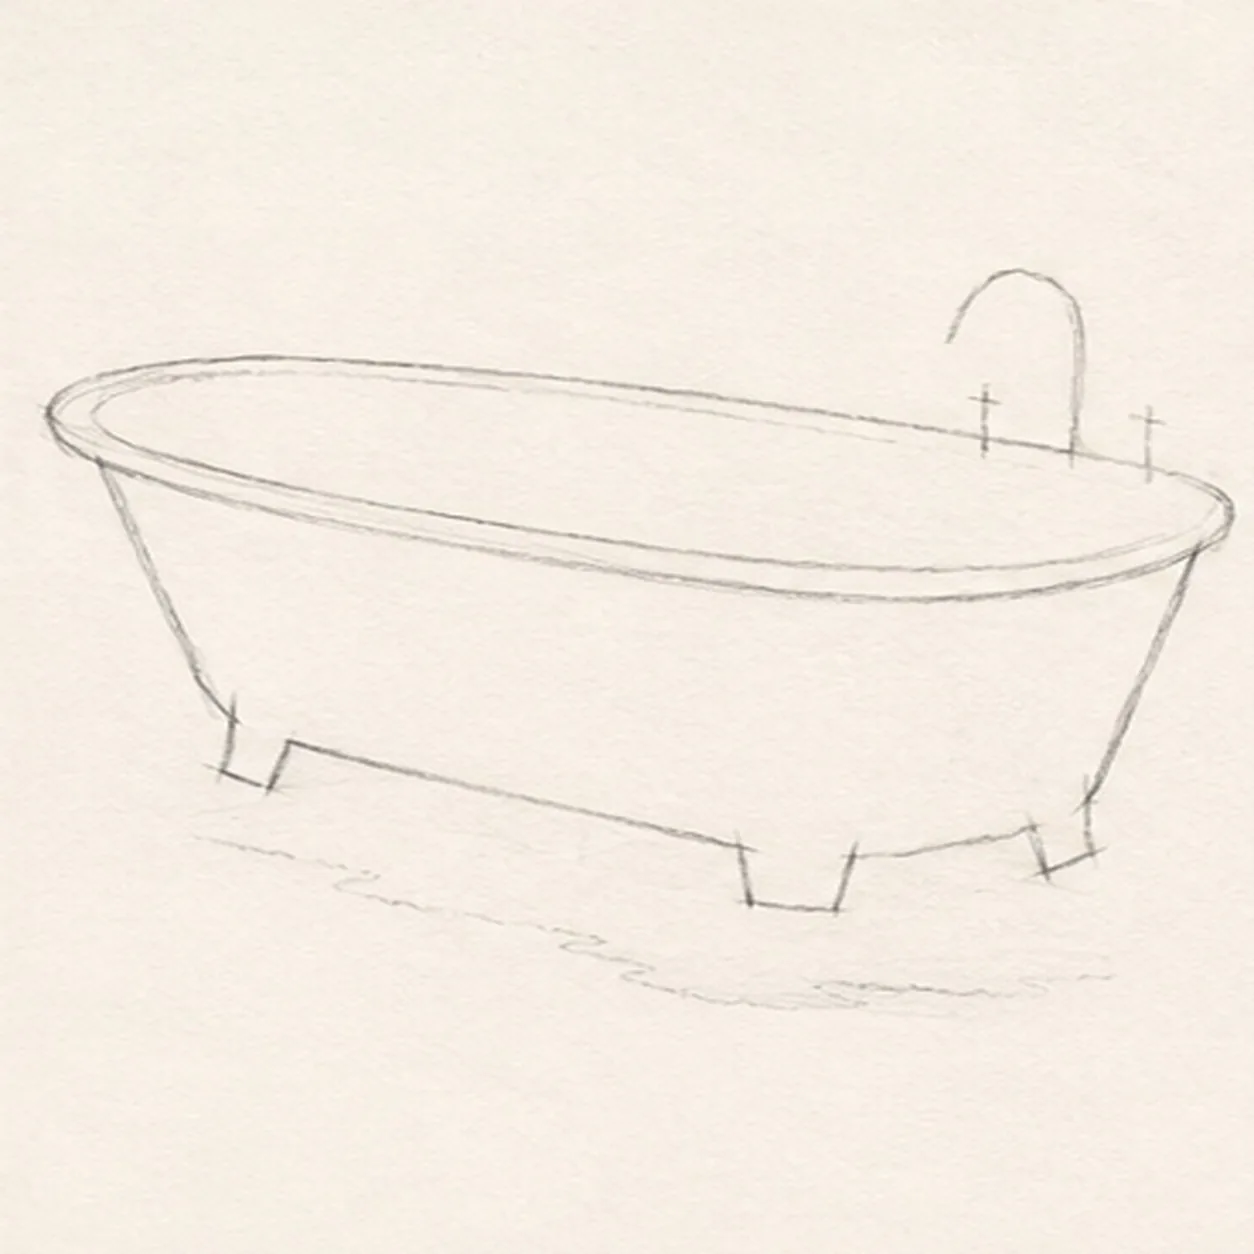
Shape the rim basin and body
Wrap the guides with one doubled oval rim, one nested inner basin, and one tapered outer tub wall, leaving gaps at all three foot ticks and around the far-right fixture anchors.
Sketch tip: Draw the outer and inner rim as a matched pair. Stop the lower wall at each foot tick so no finished keeper line must be erased later.
-
03
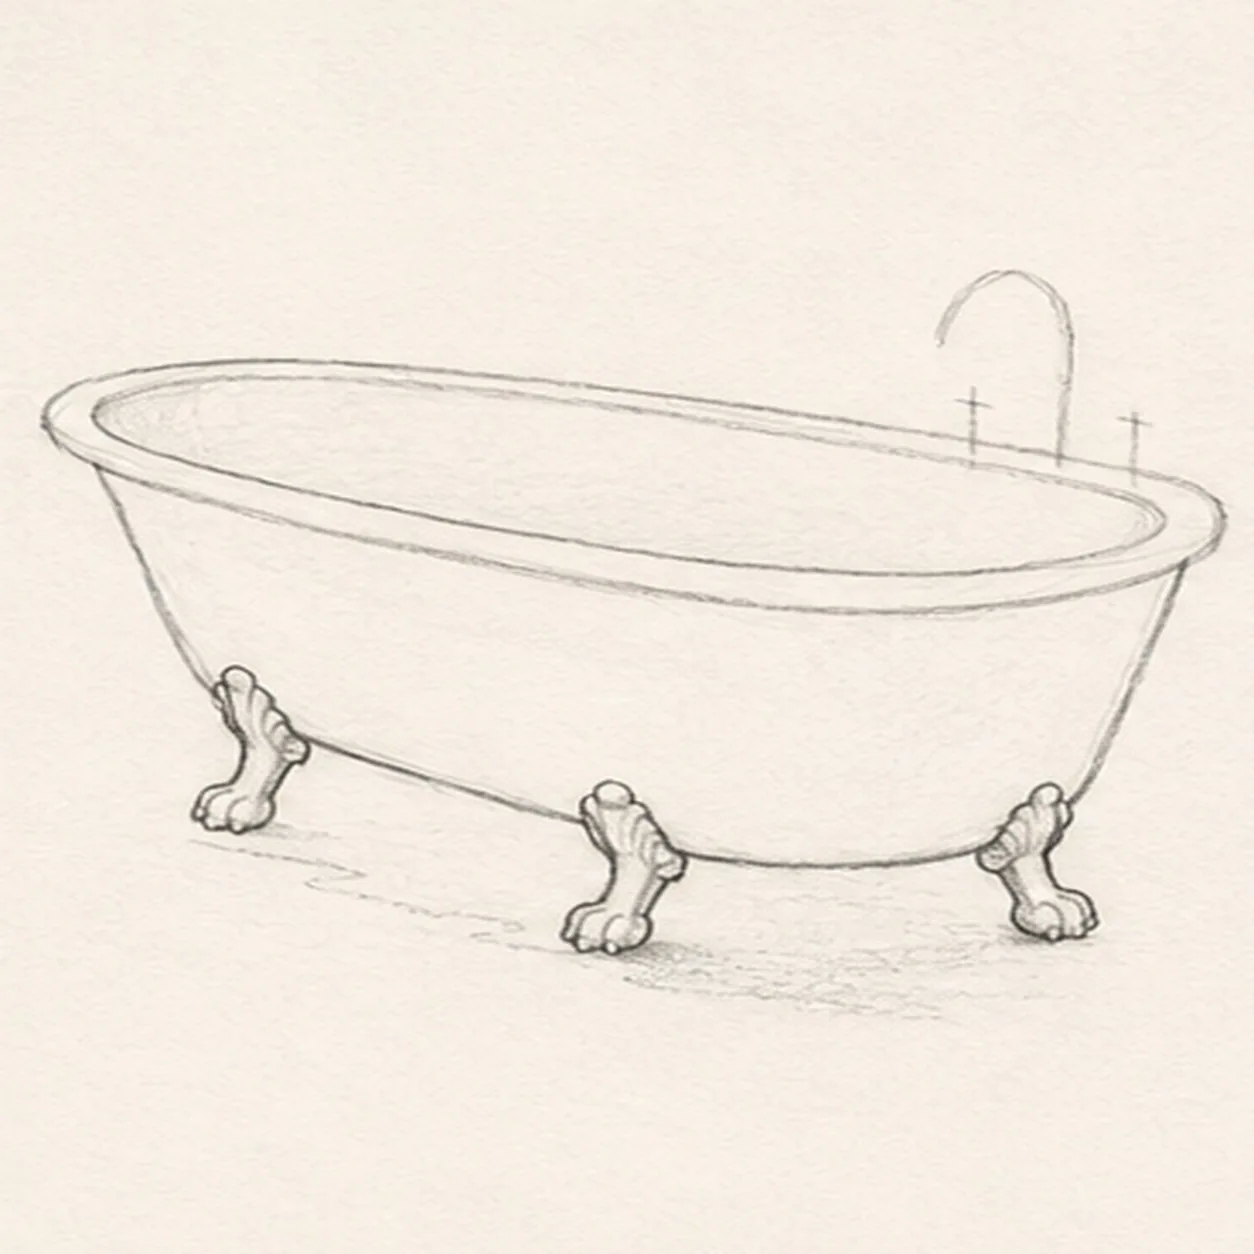
Add the three claw feet
Wrap exactly three curved claw feet into the reserved lower-wall gaps while keeping the tub rim, basin, and body unchanged.
Sketch tip: Place two feet along the nearer edge and one toward the far-left end. Check that all three connect to the same body and touch the ground before adding hardware.
-
04
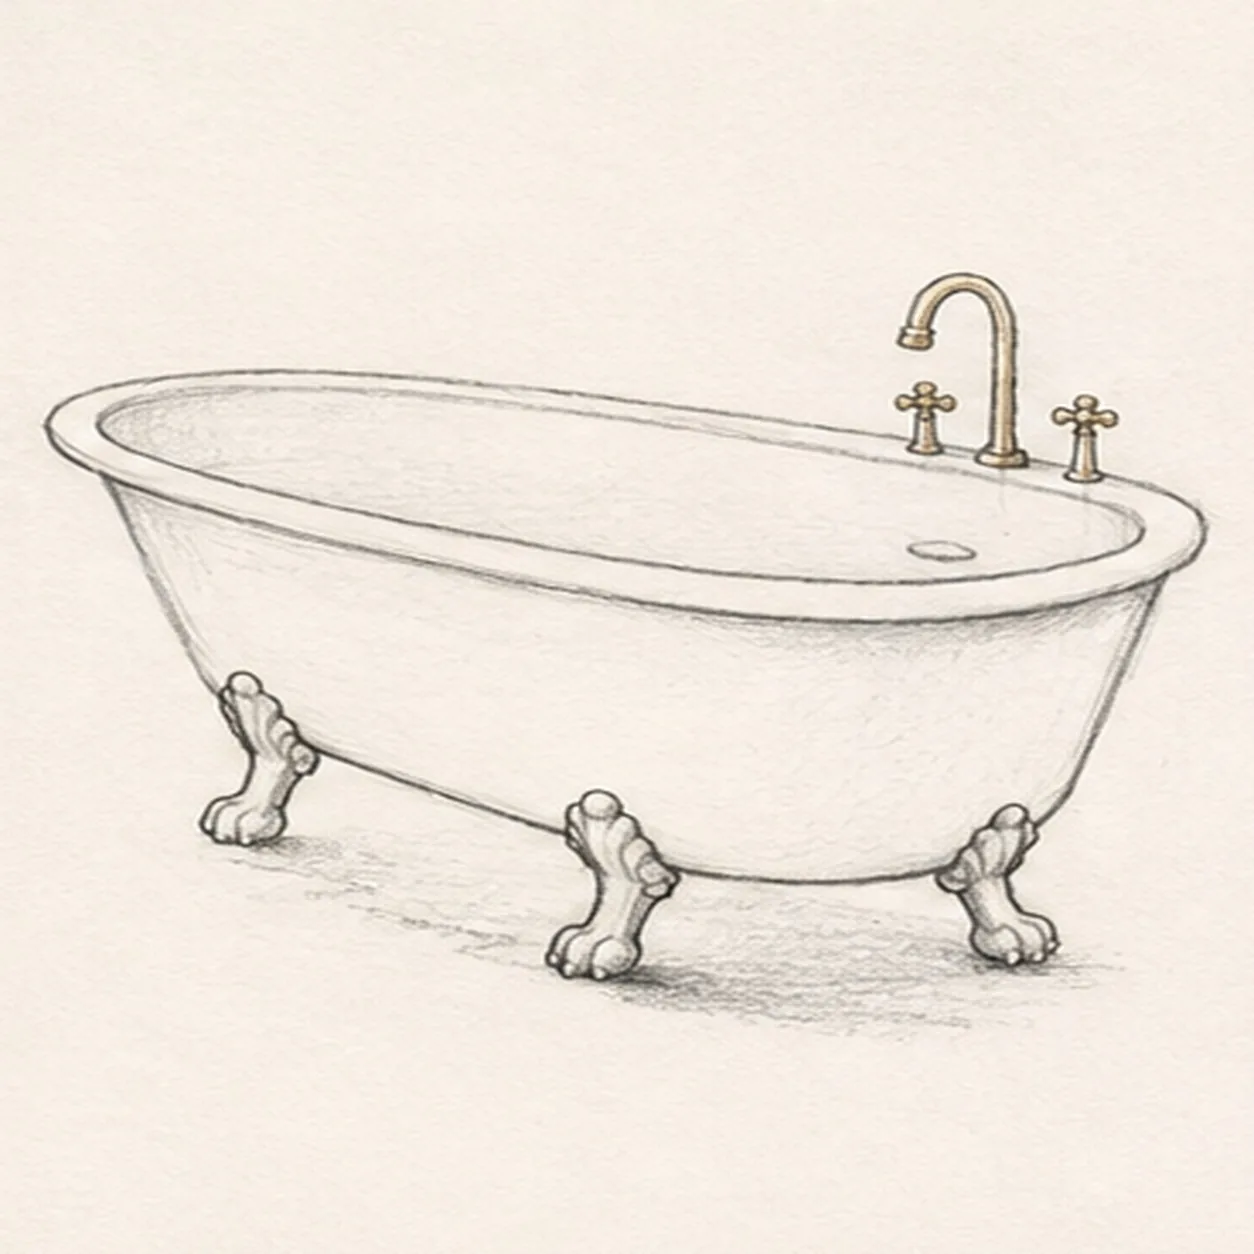
Fit the faucet and handles
Shape one arched faucet and exactly two cross handles on the reserved far-right rim deck, then add one small drain ellipse inside the basin.
Sketch tip: Keep the faucet centered between the two handles and seated on the rim deck. The drain belongs inside the basin, not on the outer enamel wall.
-
05
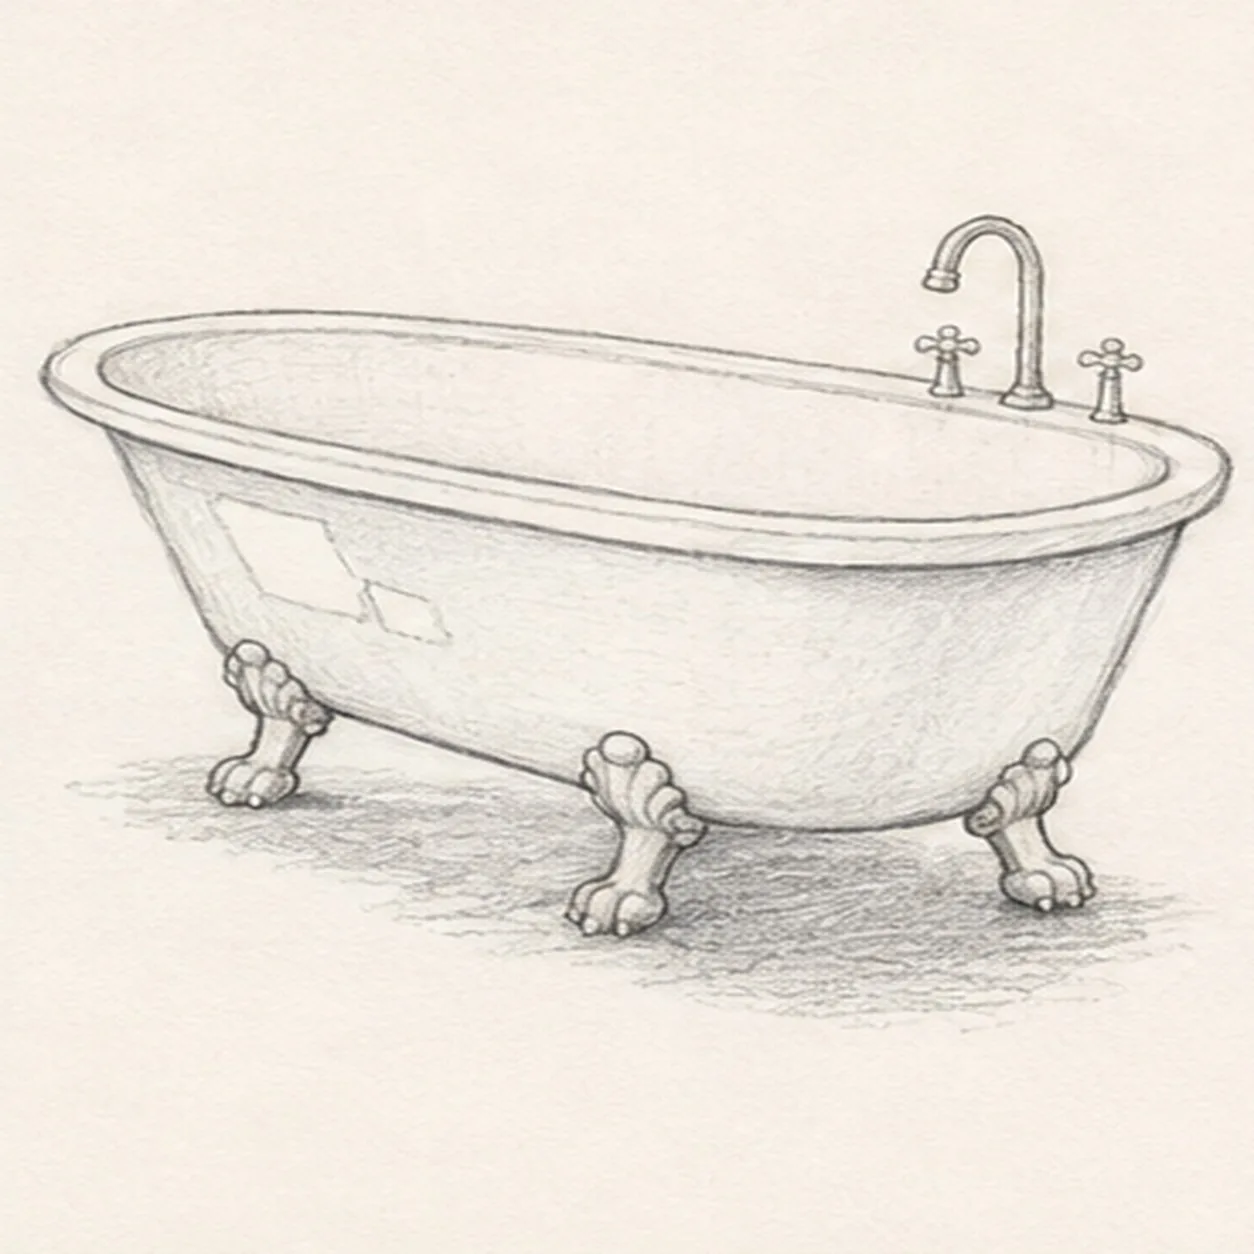
Reserve shine and ground
Add exactly two open-paper enamel highlight shapes, small joints on the same three feet, and the established broken ground shadow.
Sketch tip: Keep both highlights simple and angular so they survive the color pass. Let the broken shadow touch all three foot contacts without becoming a solid gray slab.
-
06
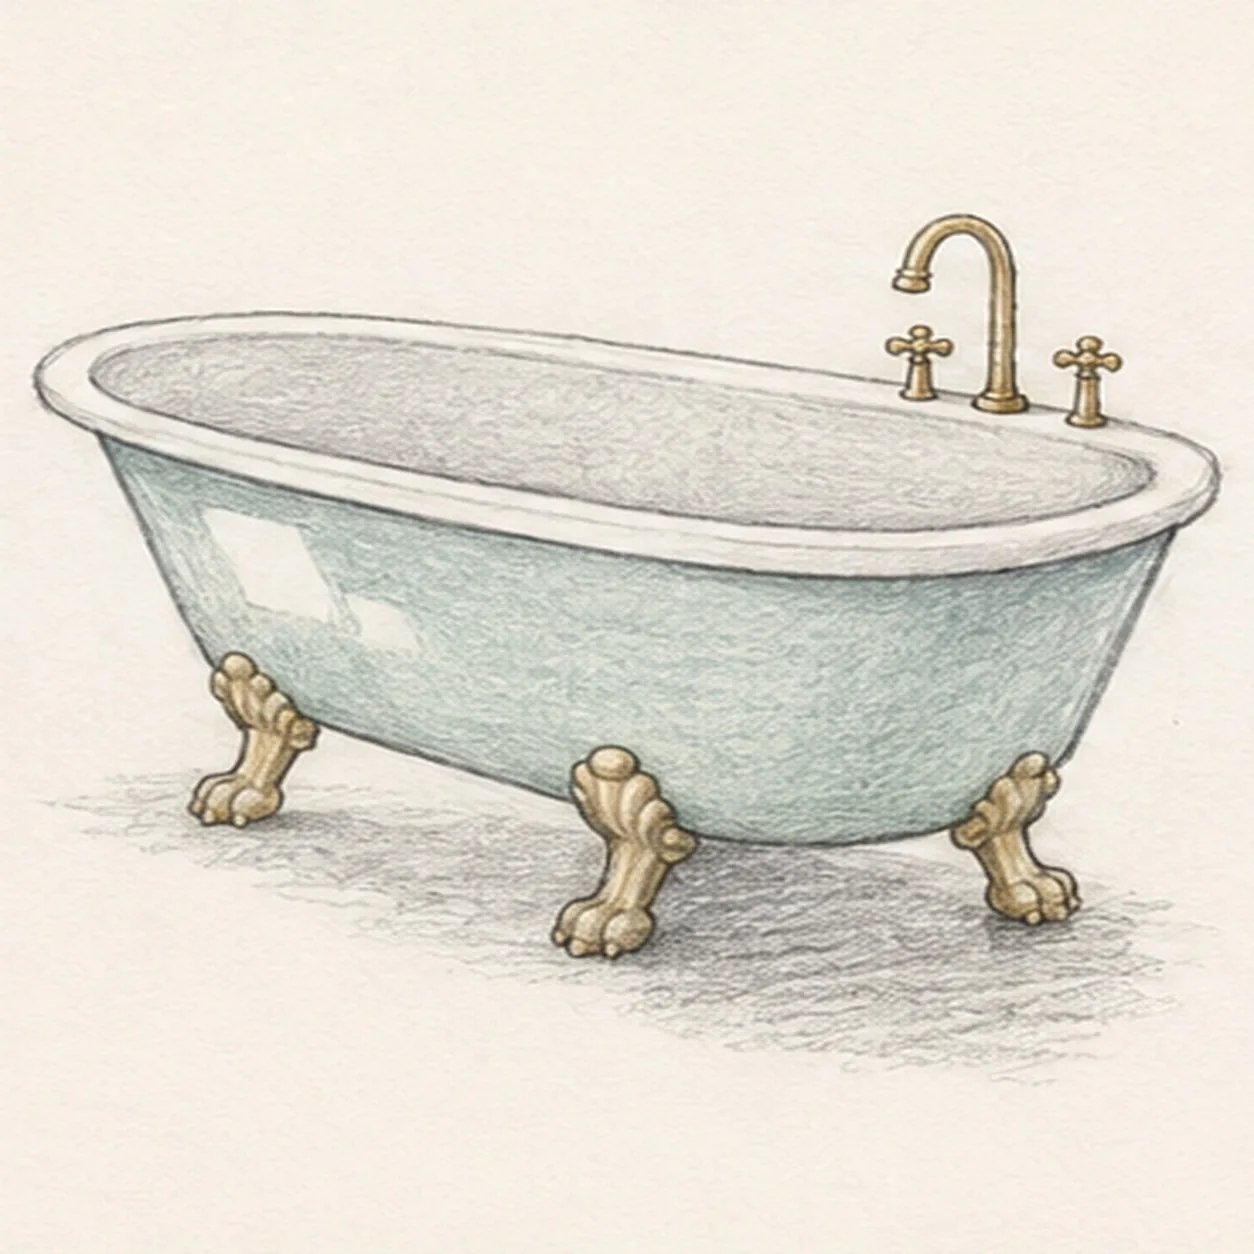
Layer enamel and metal color
Map directional graphite, pale seafoam over the established enamel, restrained warm brass on the faucet, two handles, and three feet, and cool gray inside the basin and shadow.
Sketch tip: Follow the long tub curve with light colored-pencil strokes. Leave the rim pale and work around both highlights so the enamel still looks reflective.
-
07
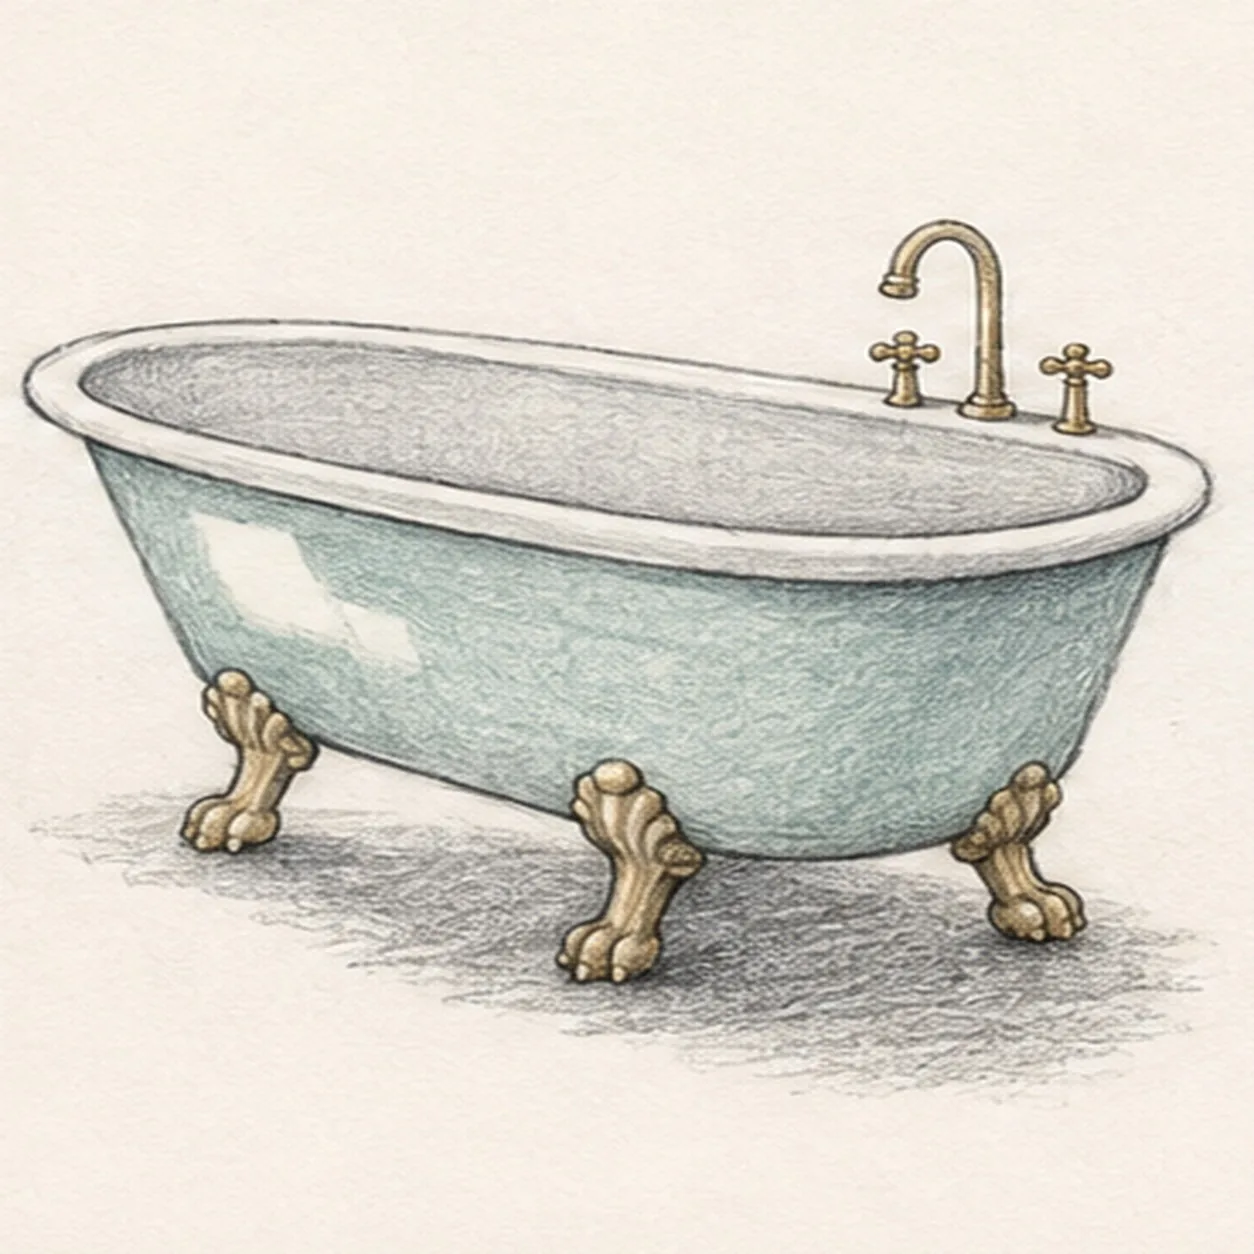
Build enamel and metal depth
Deepen only the established rim shadows, foot contacts, fixture accents, graphite grain, and open-paper highlights.
Sketch tip: Keep the basin darker than the outer wall and use the deepest accents where metal meets enamel. Avoid polishing away the visible pencil texture.
-
08
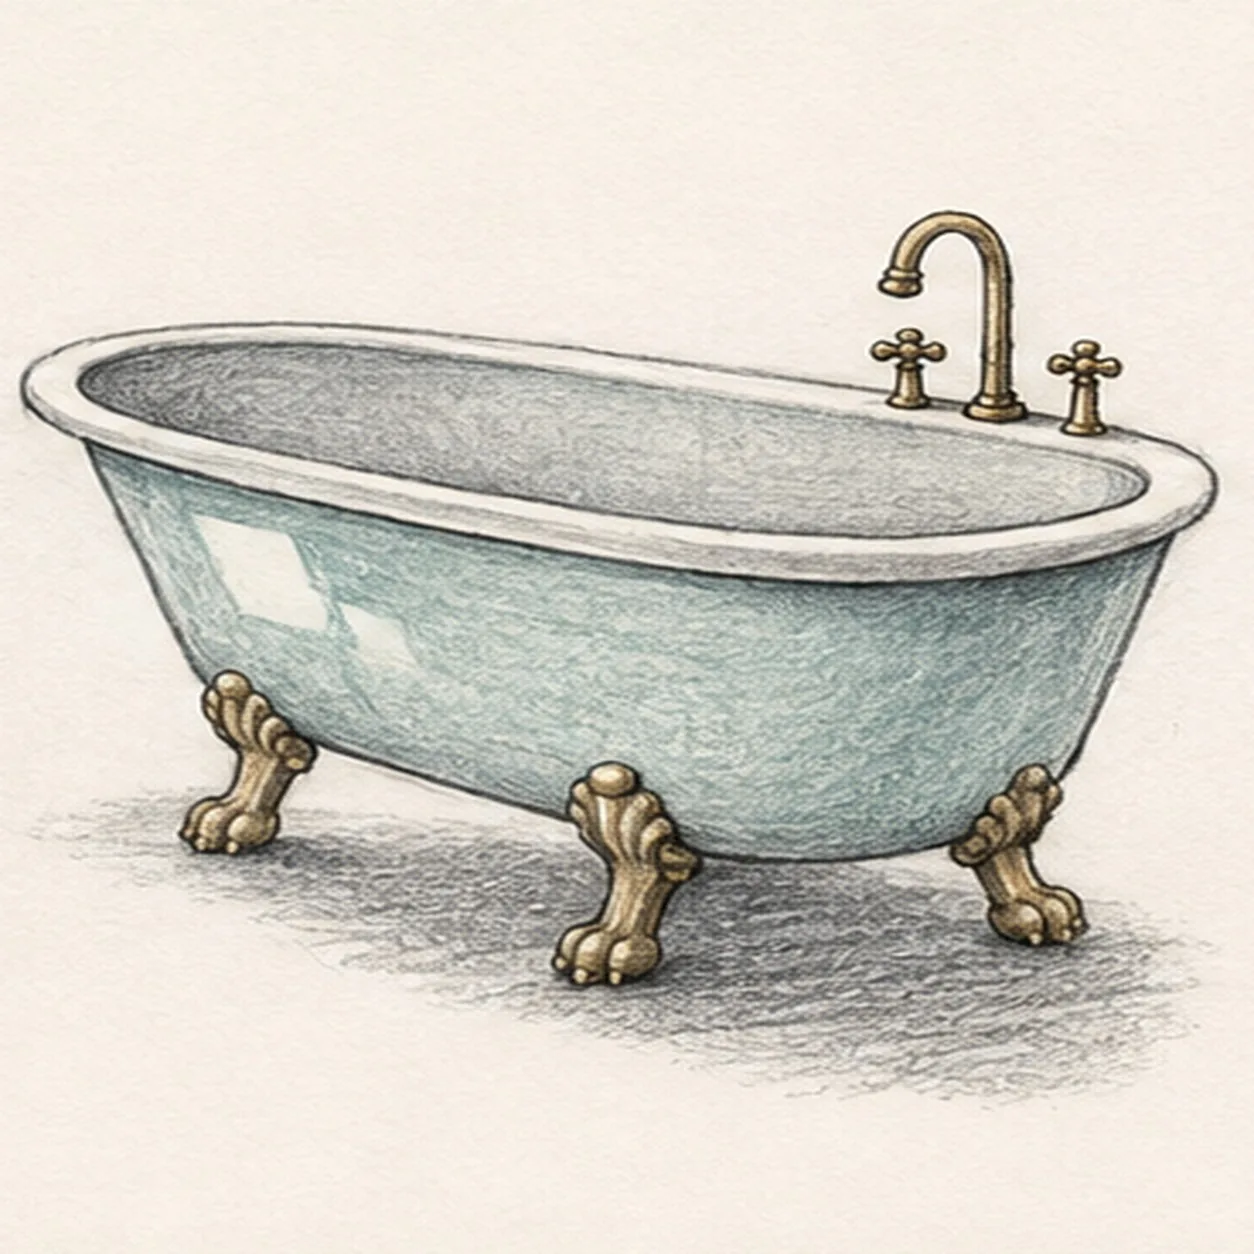
Finish the clawfoot bathtub
Strengthen selected keeper contours and gently deepen the same graphite, restrained color, fixtures, feet, highlights, basin, and broken shadow.
Sketch tip: Count one tub, three visible feet, one faucet, two handles, one drain, and two highlights, then stop while the drawing still feels attainable and hand sketched.


