From the archive
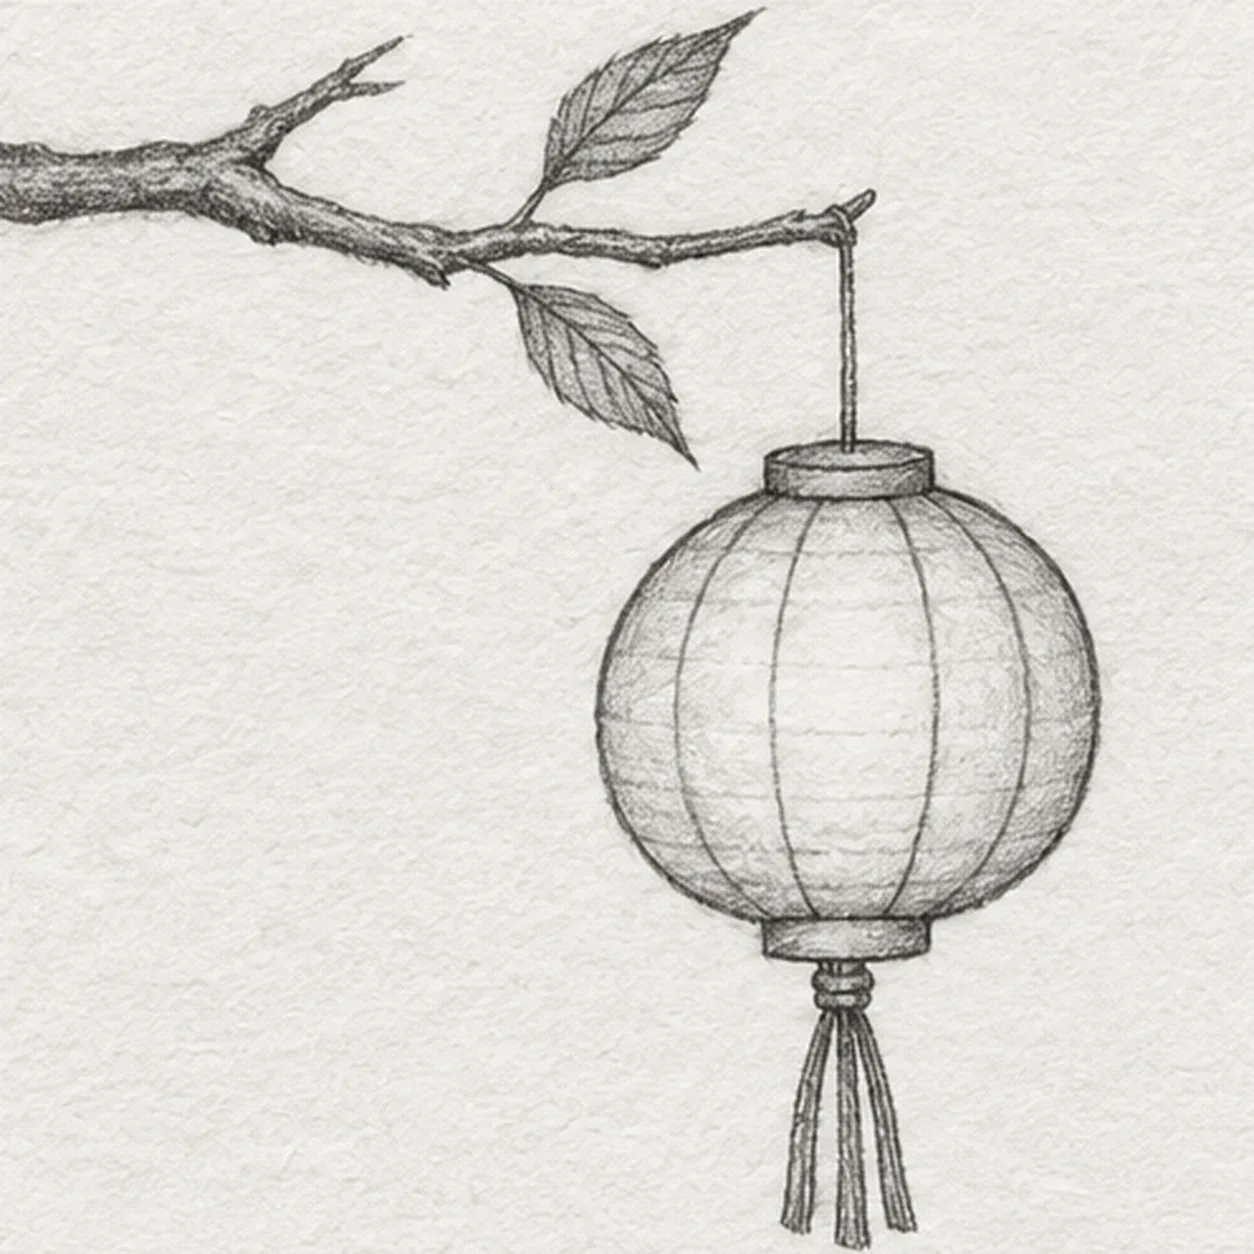
Let's draw a paper lantern
Treat this as one small practice round: build the subject lightly, notice the shapes, then darken only the lines that help the finished sketch.
-
01
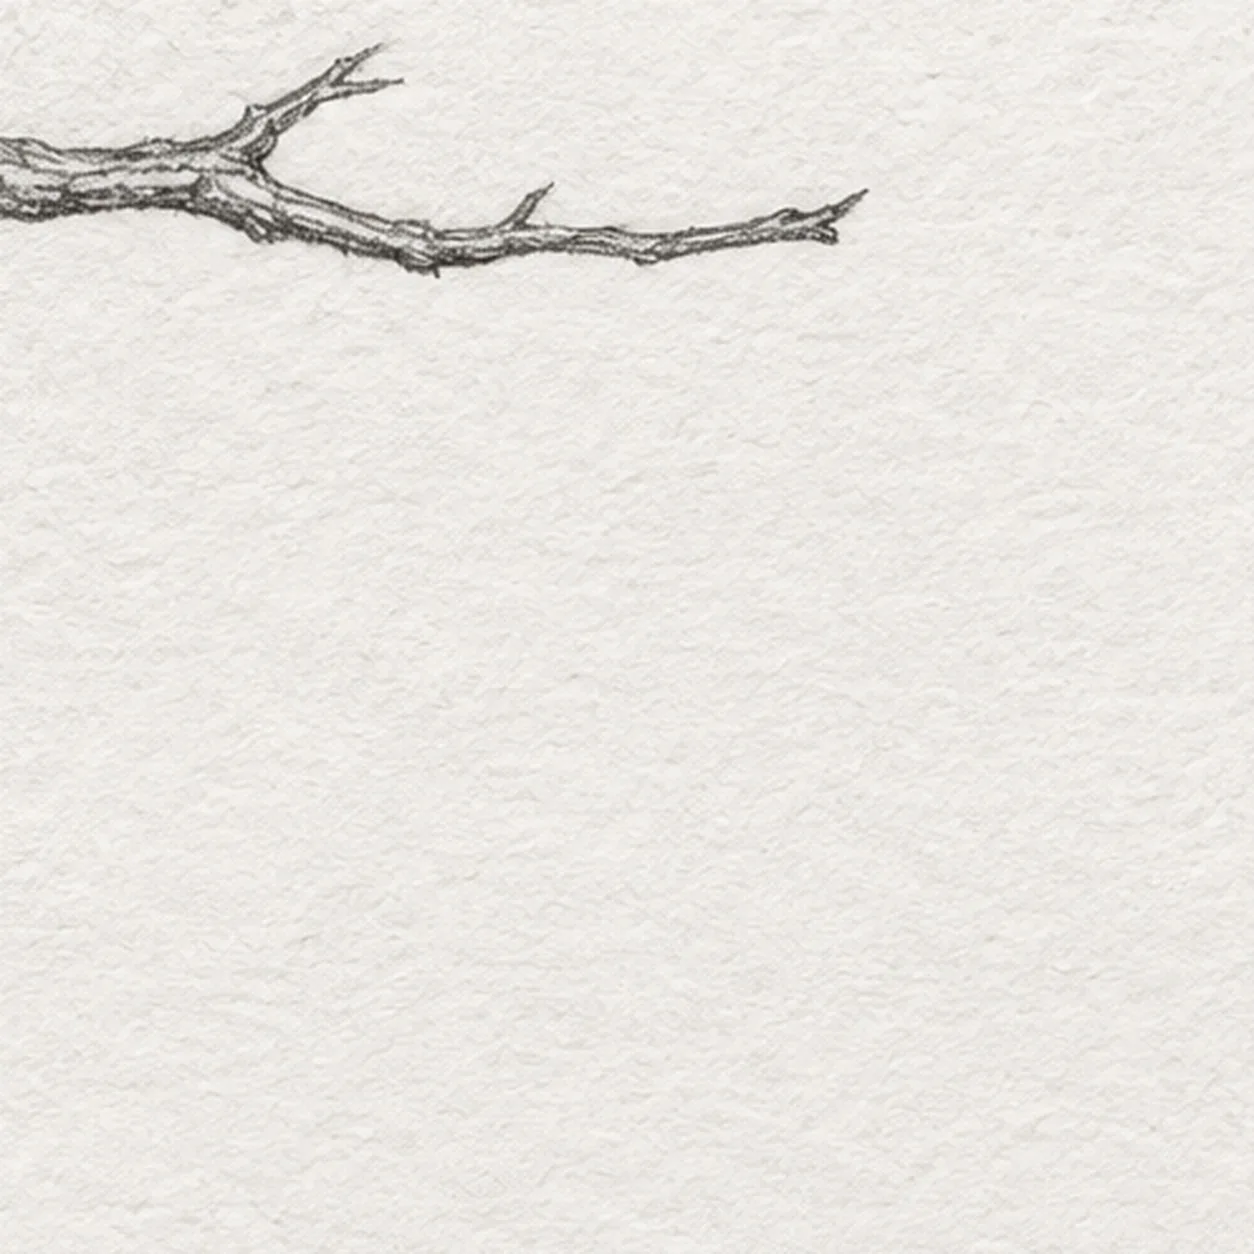
Set the branch
Pull a slightly bowed branch from the upper left toward the page center, stopping above the open space for the lantern.
Sketch tip: Keep the forked branch high on the page and leave the lower right open.
-
02
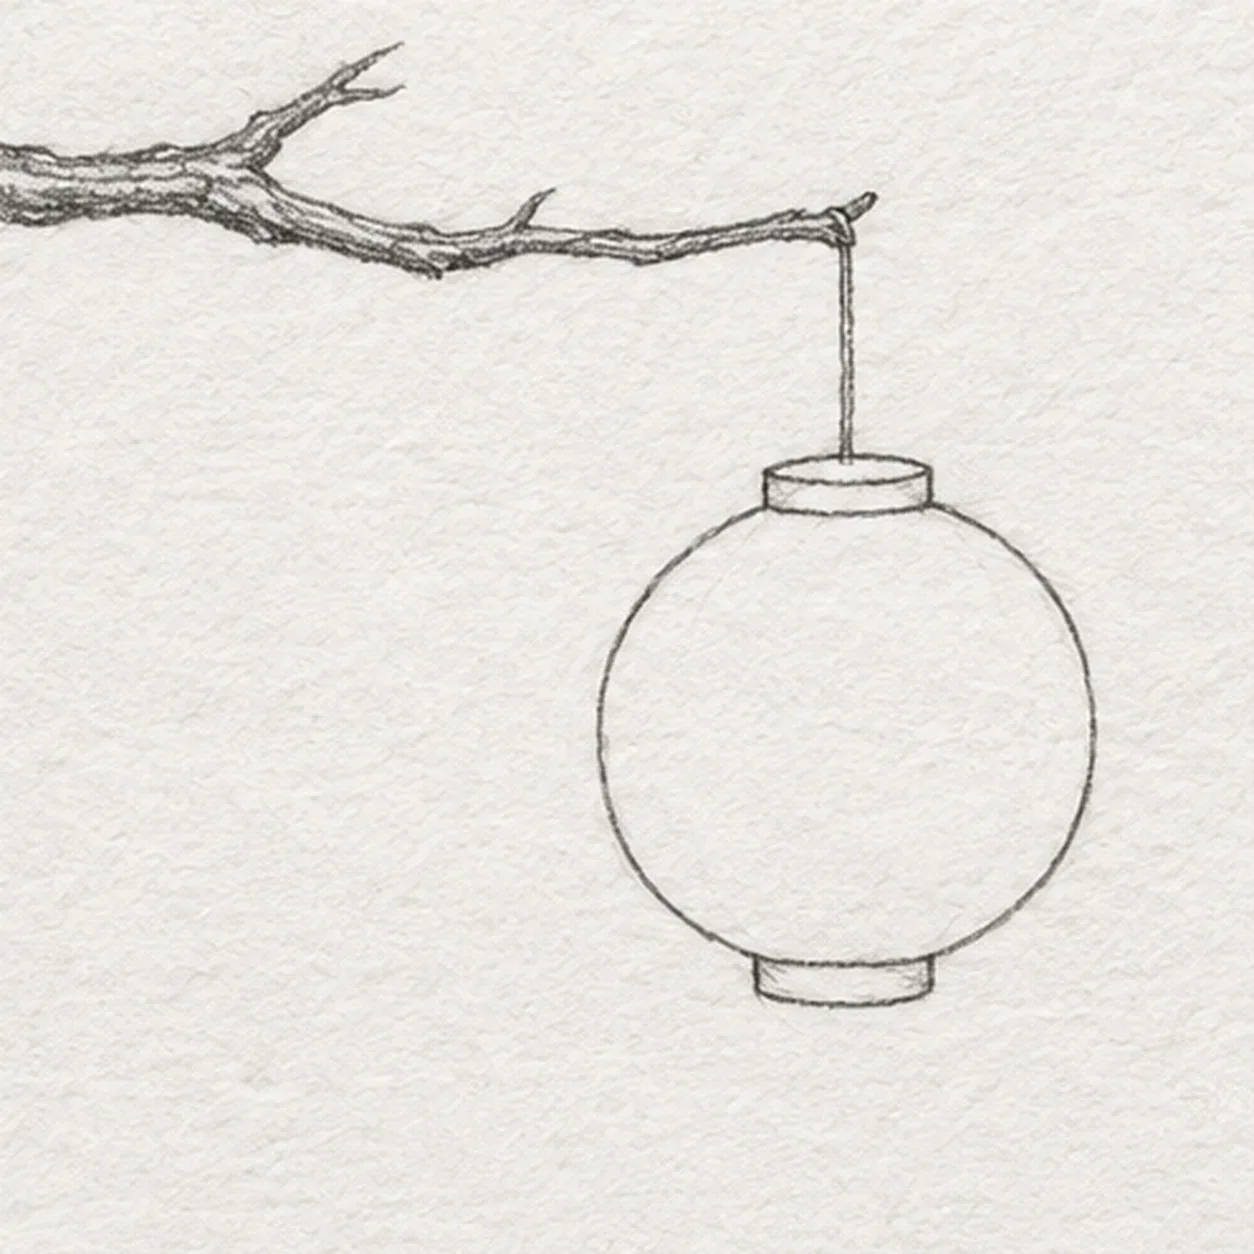
Hang the lantern
From the branch tip, drop a short vertical cord. Place a small top rim below it, bow both sides out into a round lantern and meet a smaller bottom rim.
Sketch tip: The cord should meet the top rim, and the round body should leave room below for a tassel.
-
03
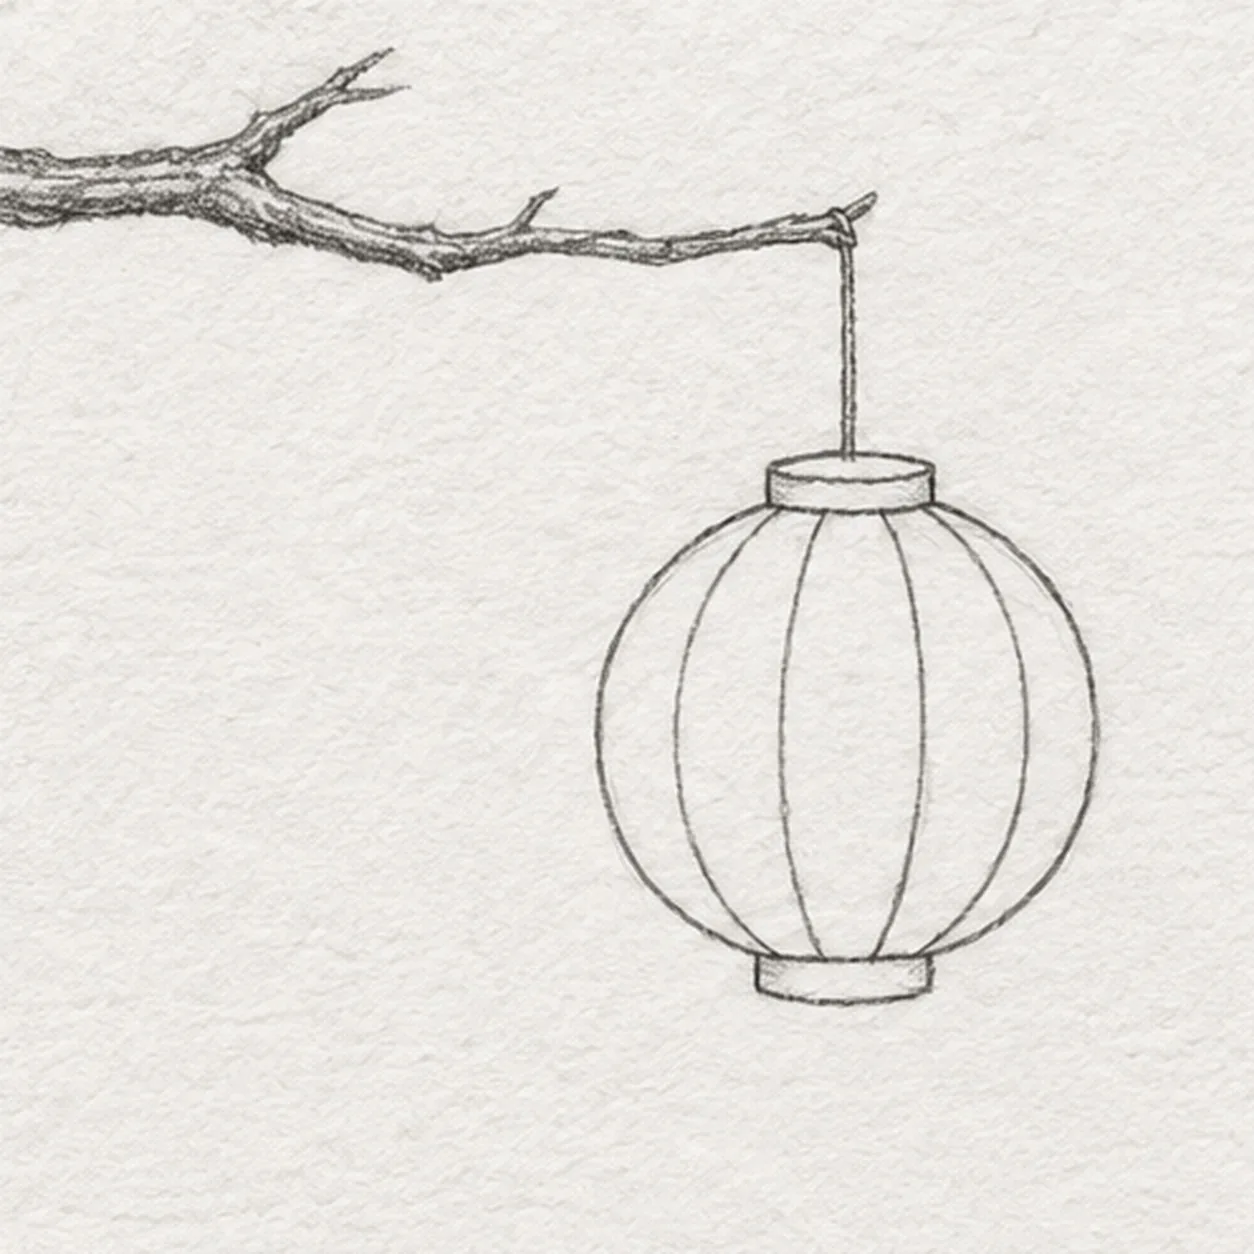
Curve the paper ribs
Run four light curved ribs from the top rim down to the bottom rim, spacing them across the rounded body.
Sketch tip: Count four inner ribs and keep each attached to both rims.
-
04
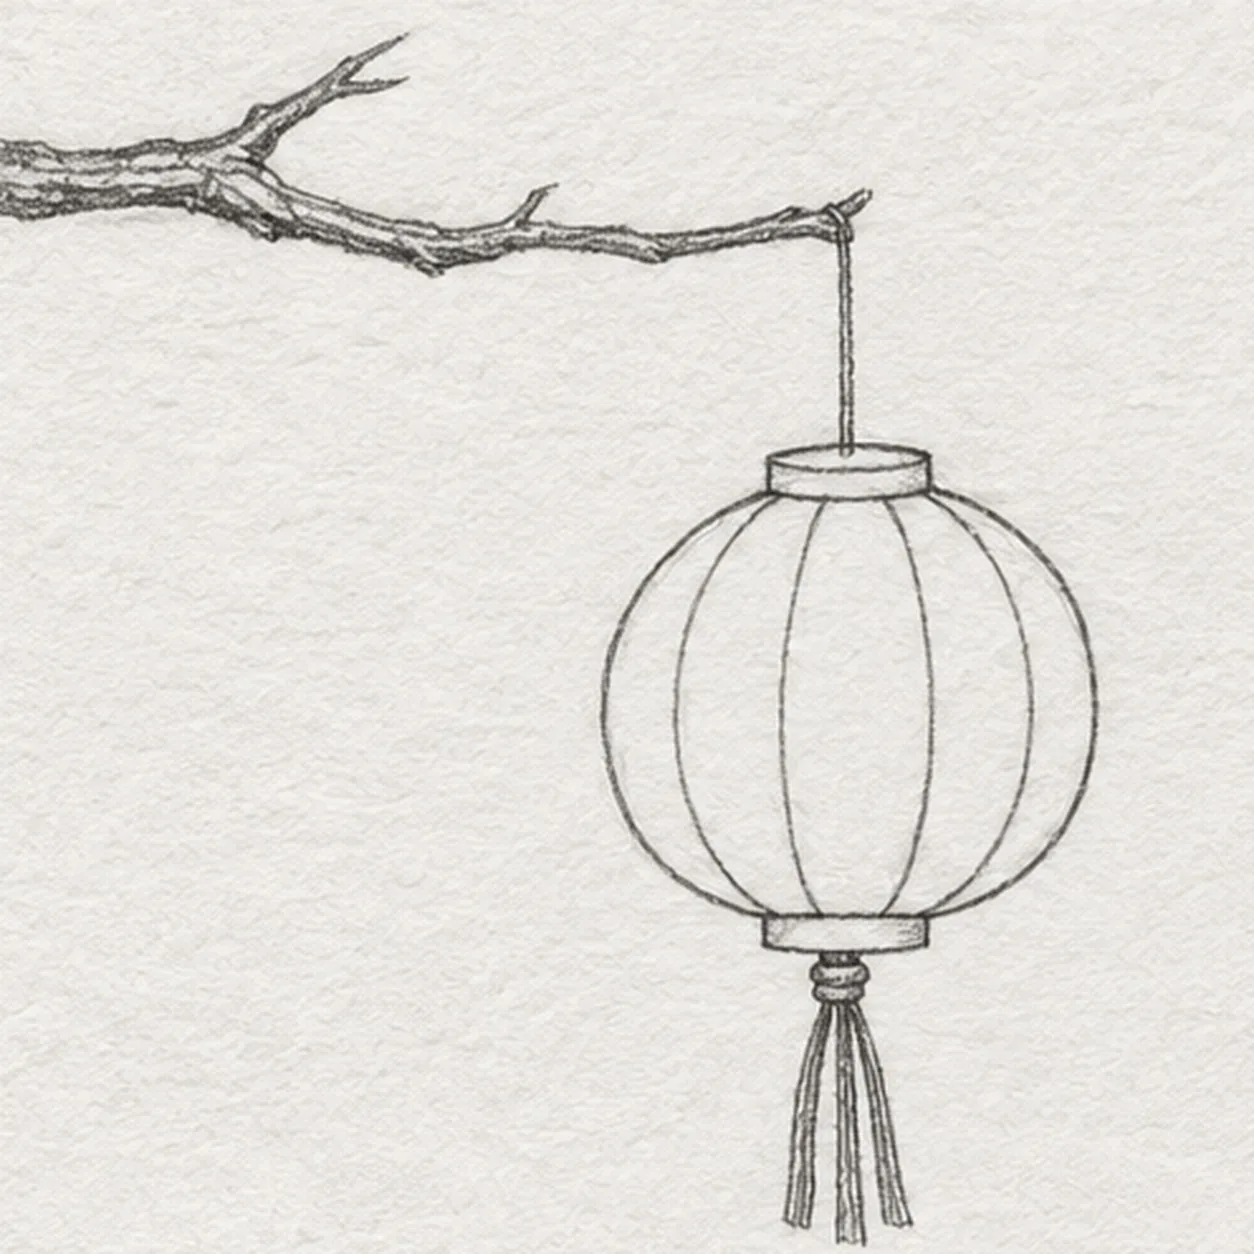
Add the tassel
From the lower rim, draw a short knot and three hanging strands that taper at different lengths.
Sketch tip: Count the three hanging strands beneath the knot.
-
05
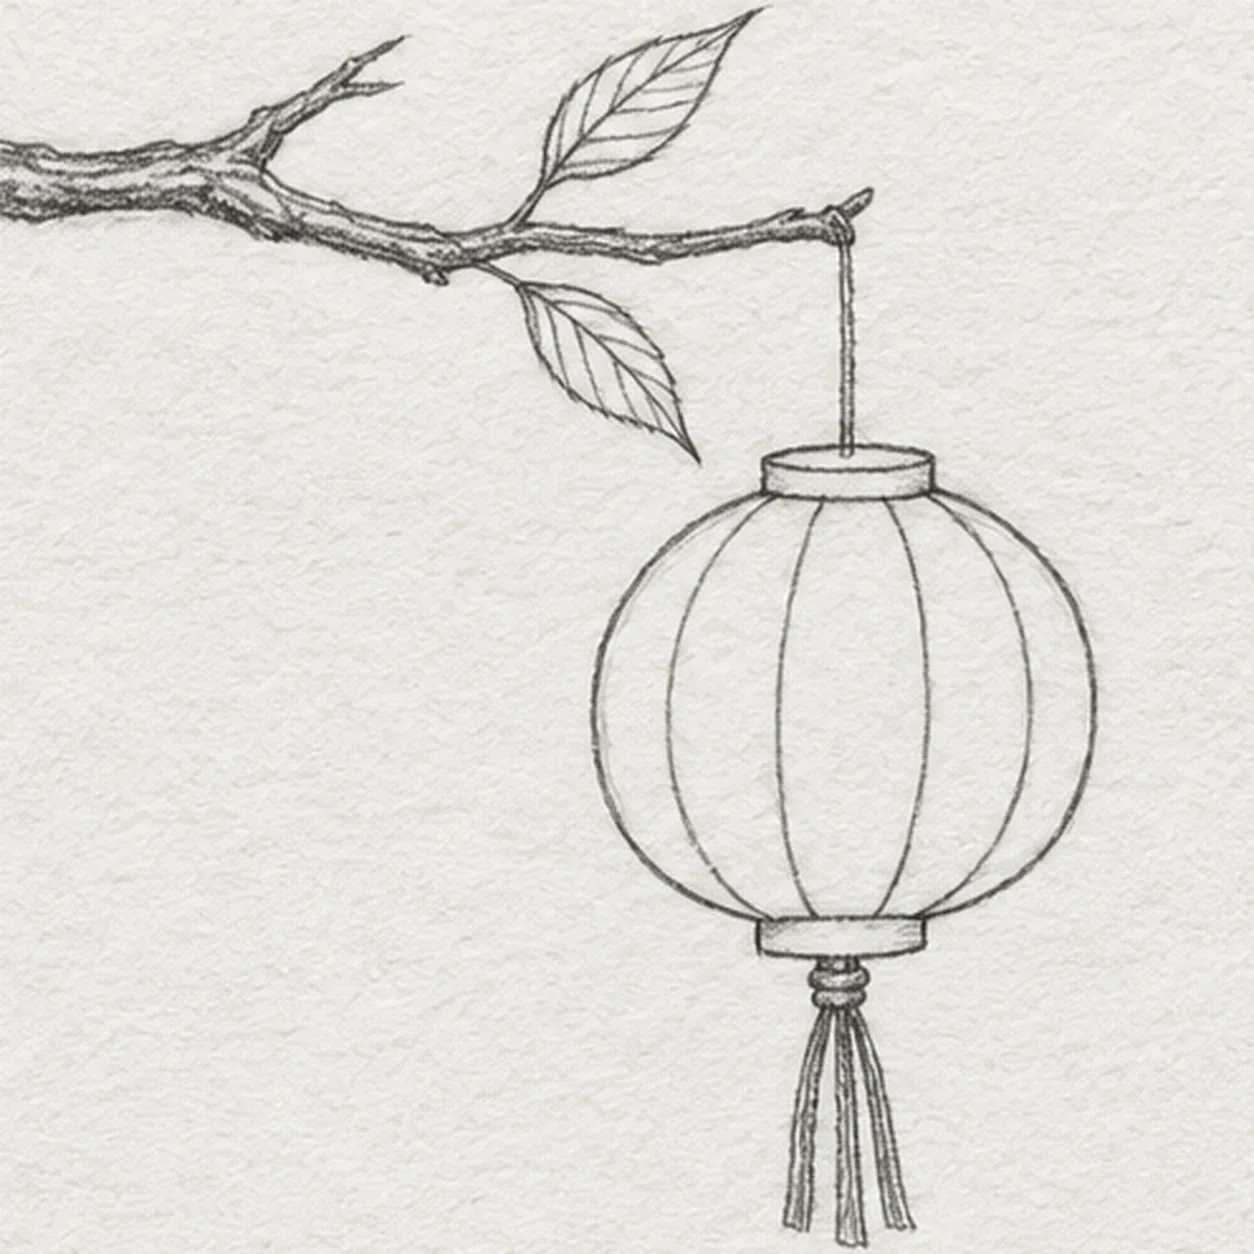
Leaf the branch
Attach two small pointed leaves to the branch left of the hanging cord; keep their stems short and their tips facing outward.
Sketch tip: Put one leaf above and one below the branch; keep the lantern clear.
-
06
Shade the lantern
Use soft graphite across the existing lantern ribs, deepen the branch underside and tassel, and leave a pale central paper glow.
Sketch tip: Use light side-of-pencil strokes so paper tooth and a pale center remain.