Pencil ready?
Let's draw a volcano
Treat this as one small practice round: build the subject lightly, notice the shapes, then darken only the lines that help the finished sketch.
-
01
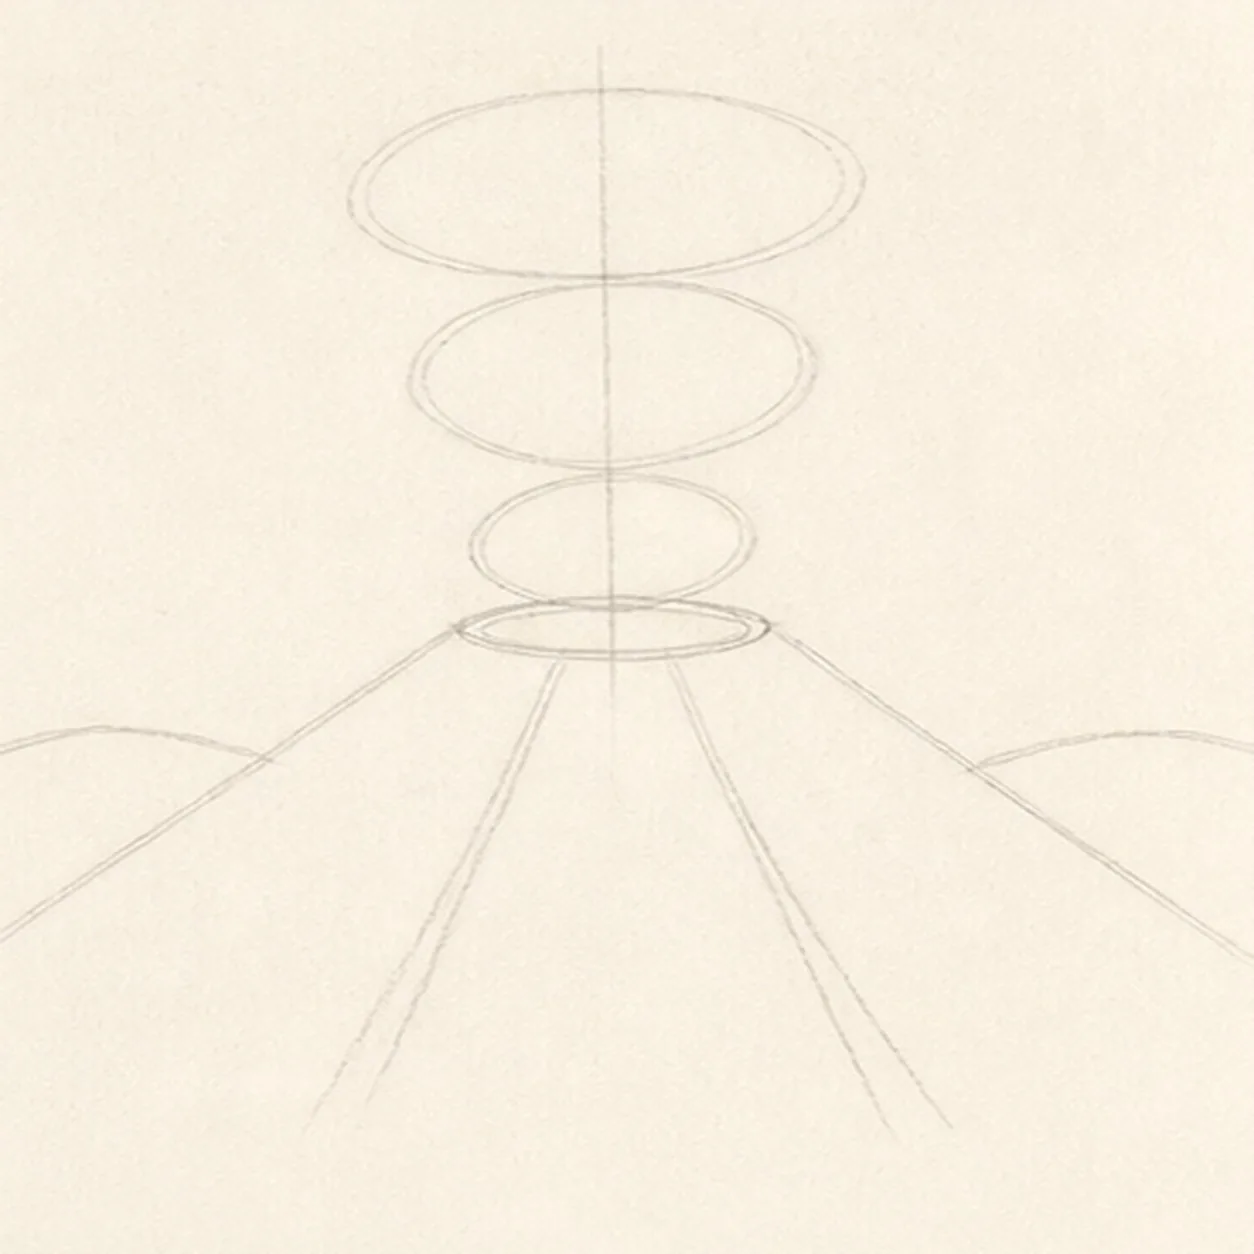
Map the cone and eruption
Use pale HB to place one wide mountain envelope, a shallow centered crater ellipse, one vertical plume spine with three widening oval guides, exactly two lava routes, and two low ground arcs.
Sketch tip: Ghost both mountain slopes before touching down. Keep the crater centered over the cone and trace each lava route from inside the rim to its fixed lower-cone anchor.
-
02
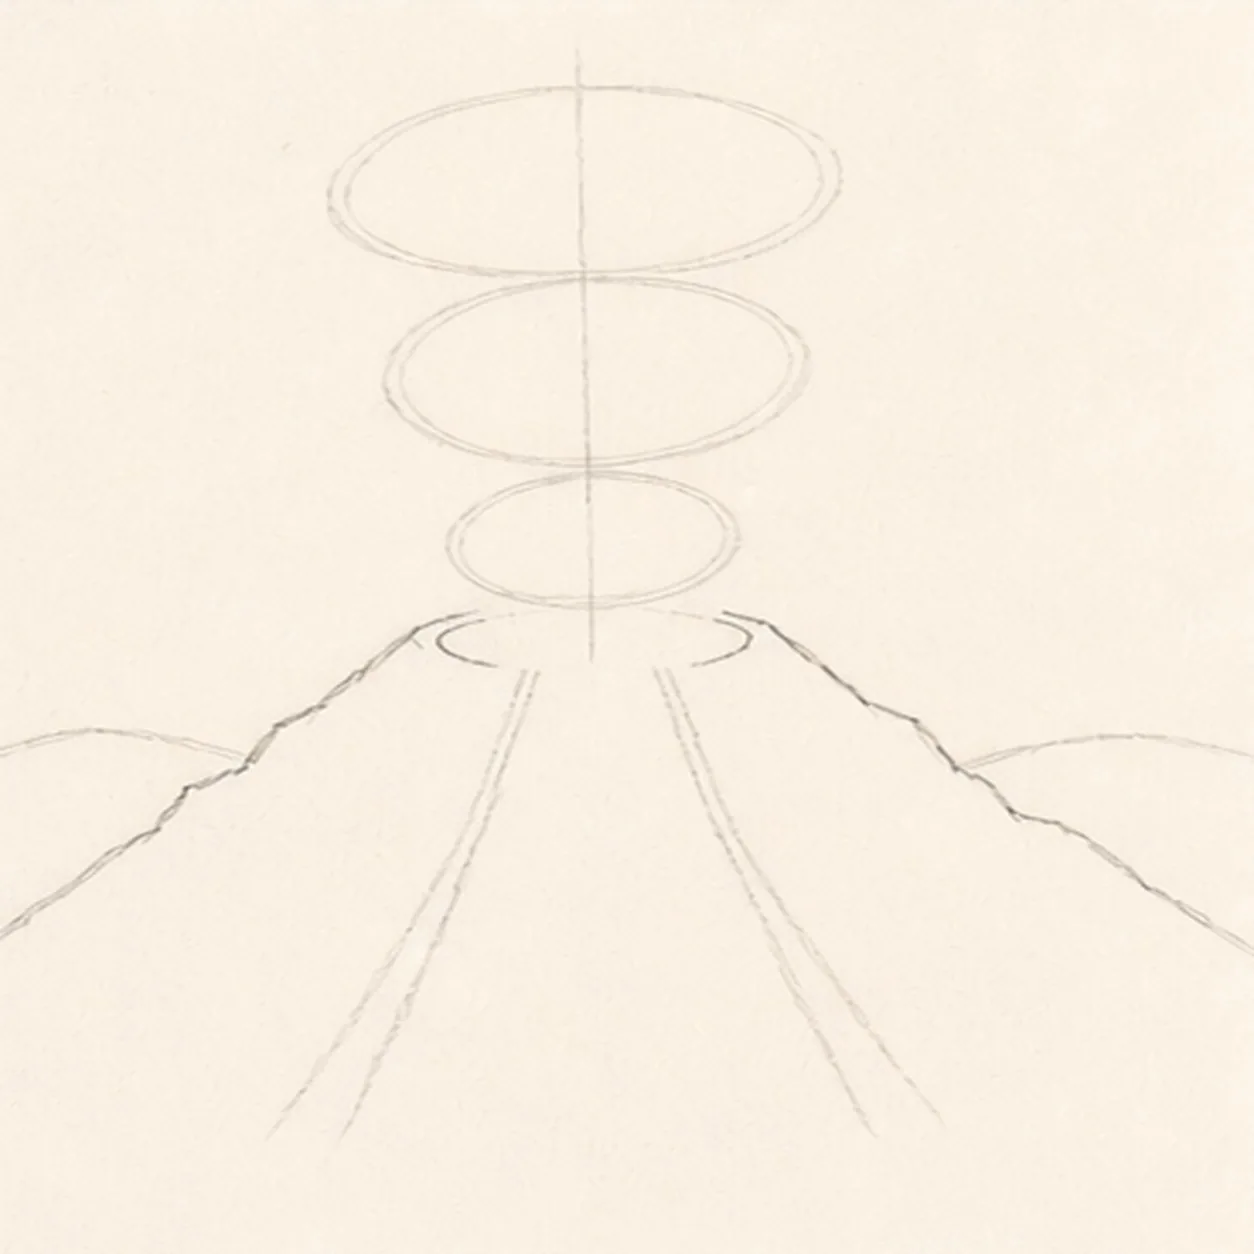
Shape the cone and crater
Wrap the envelope with two broken rocky mountain shoulders and shape the centered crater as an open rim while preserving the plume, lava, and ground guides.
Sketch tip: Rotate the page for each long slope. Let the two shoulders differ slightly, but keep their ground anchors and the crater center fixed.
-
03
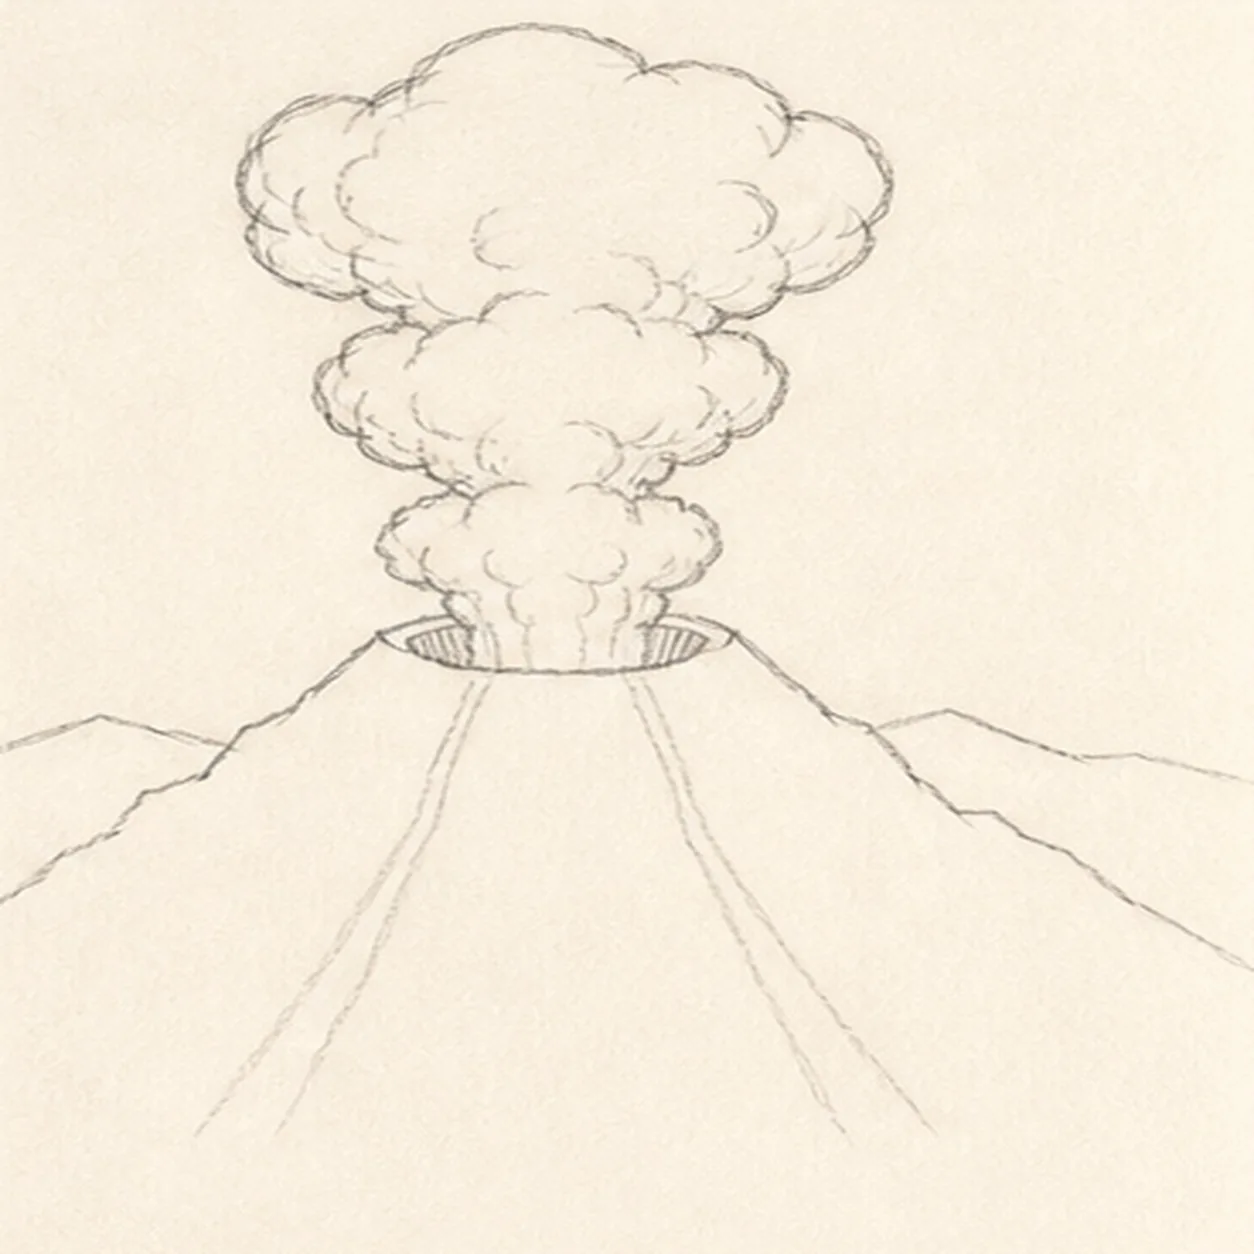
Build the plume and landscape
Turn the plume guides into three stacked cloud tiers attached to the crater, then clarify the two low ground ridges behind the cone.
Sketch tip: Overlap rounded smoke lobes around the same center spine. Stop each ground-ridge line at the cone silhouette instead of drawing through the volcano.
-
04
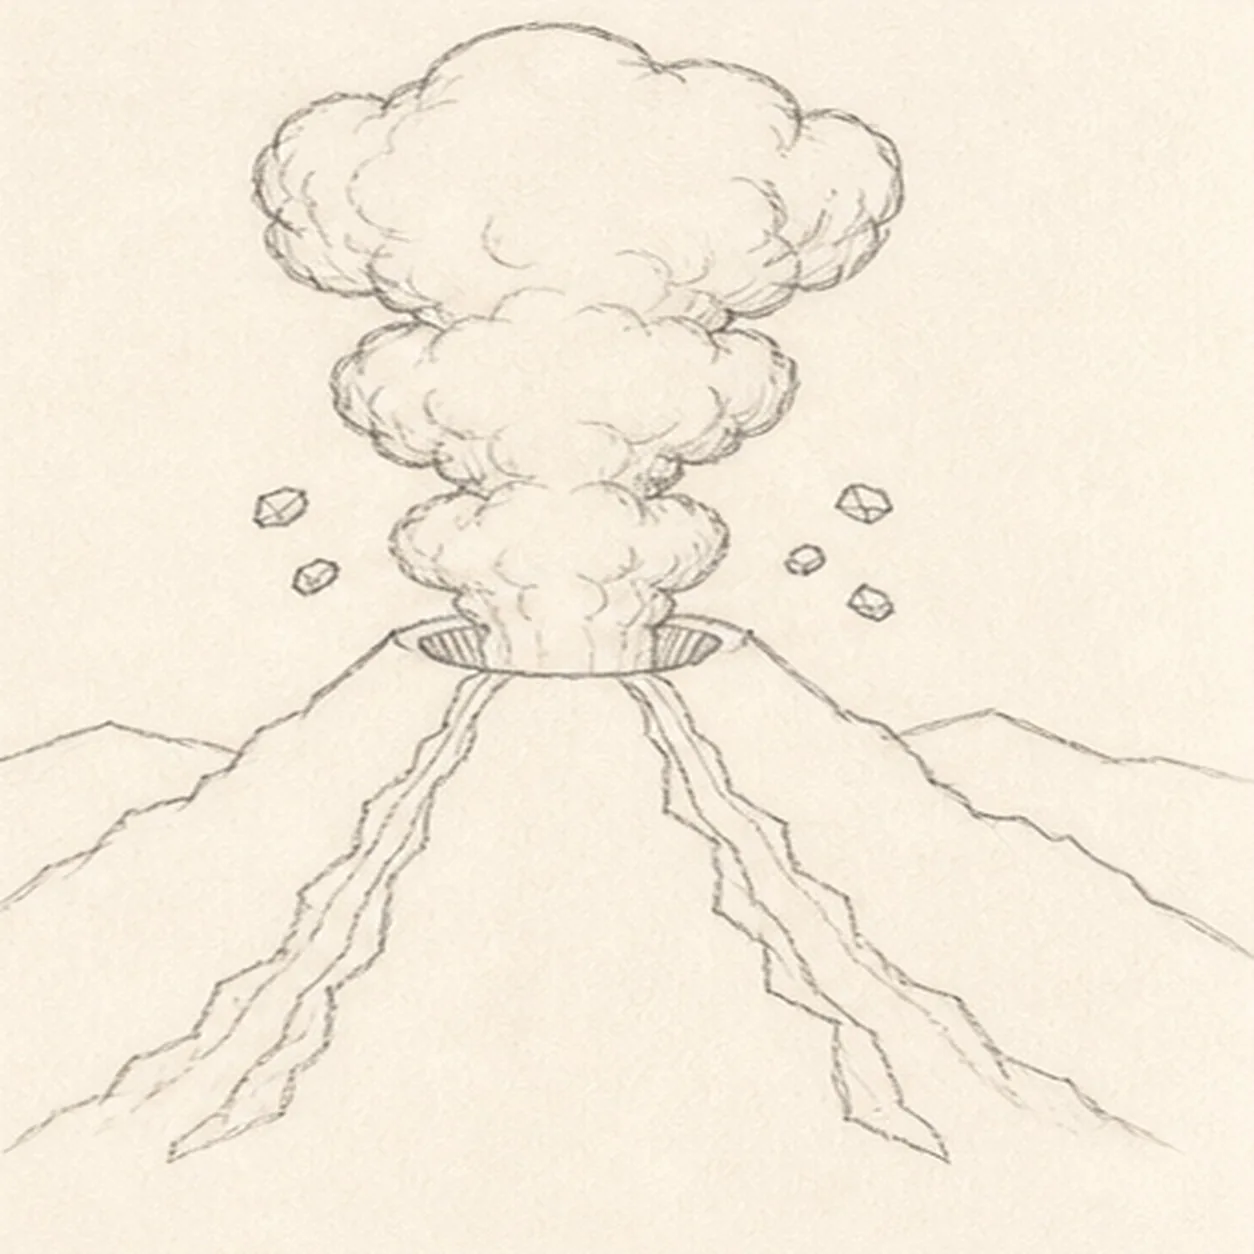
Add lava and flying rocks
Give the two planned lava routes narrow banks and place exactly five small ejected rocks in two arcs beside the plume.
Sketch tip: Keep both lava streams narrower near the crater and wider near the base. Count two rocks on the left and three on the right before moving on.
-
05
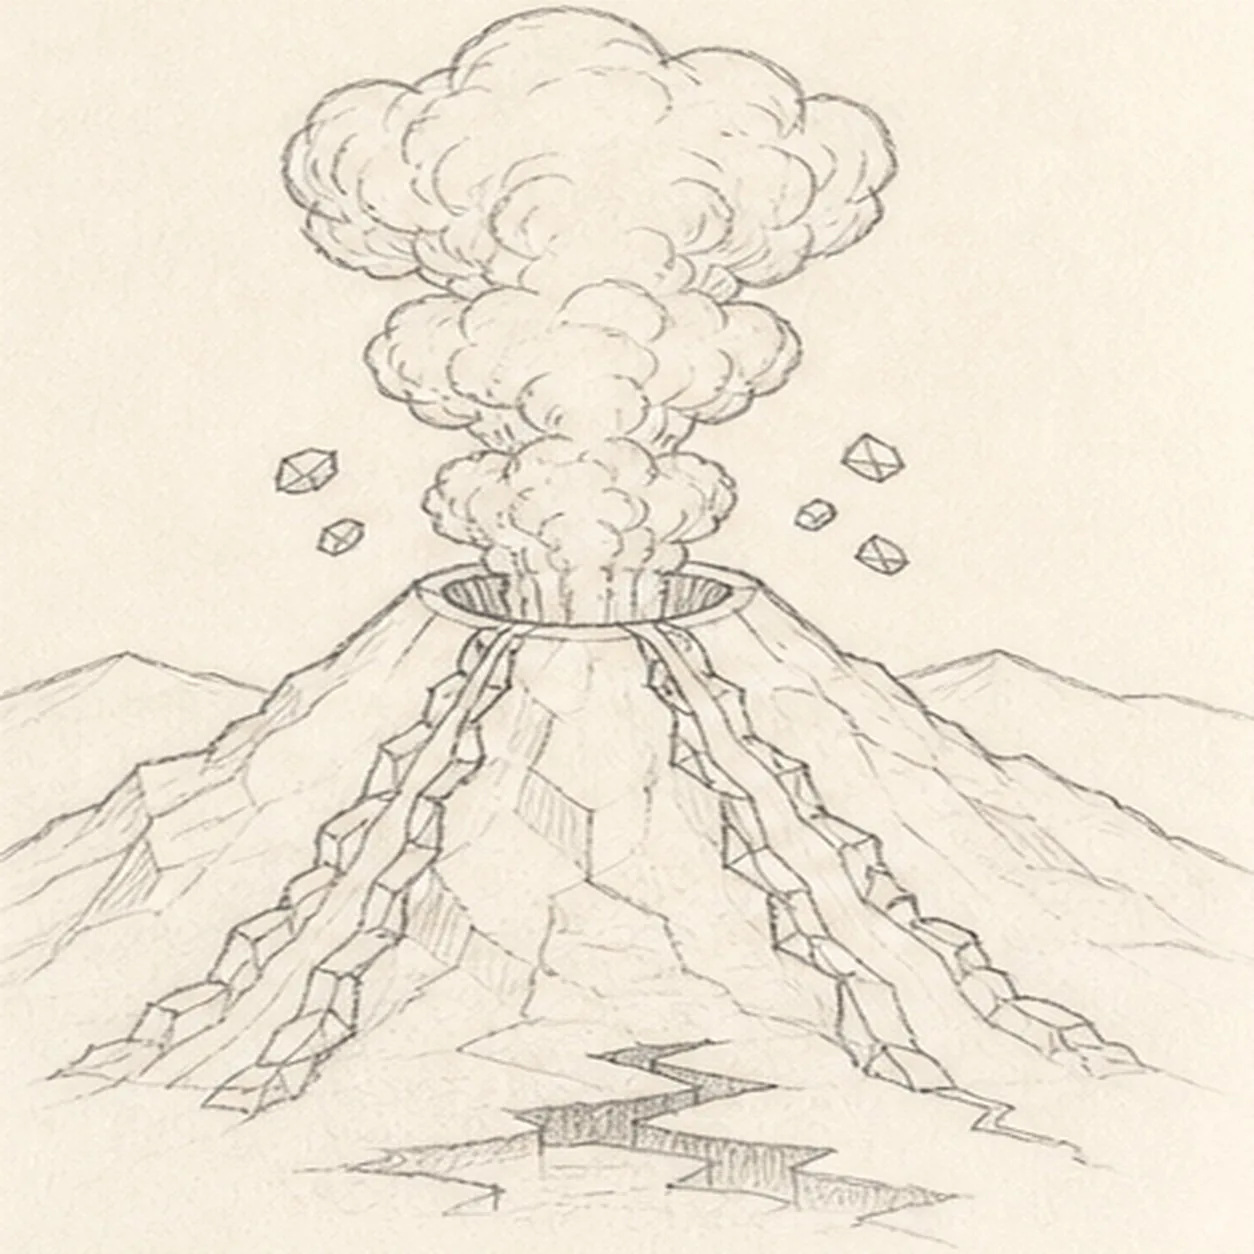
Map rock and smoke texture
Add sparse angular rock planes, inner plume curls, crater-lip hatching, and the established broken foreground shadow without filling them solid.
Sketch tip: Aim rock hatching down the cone rather than across it. Leave open paper between groups so the mountain does not become one gray triangle.
-
06
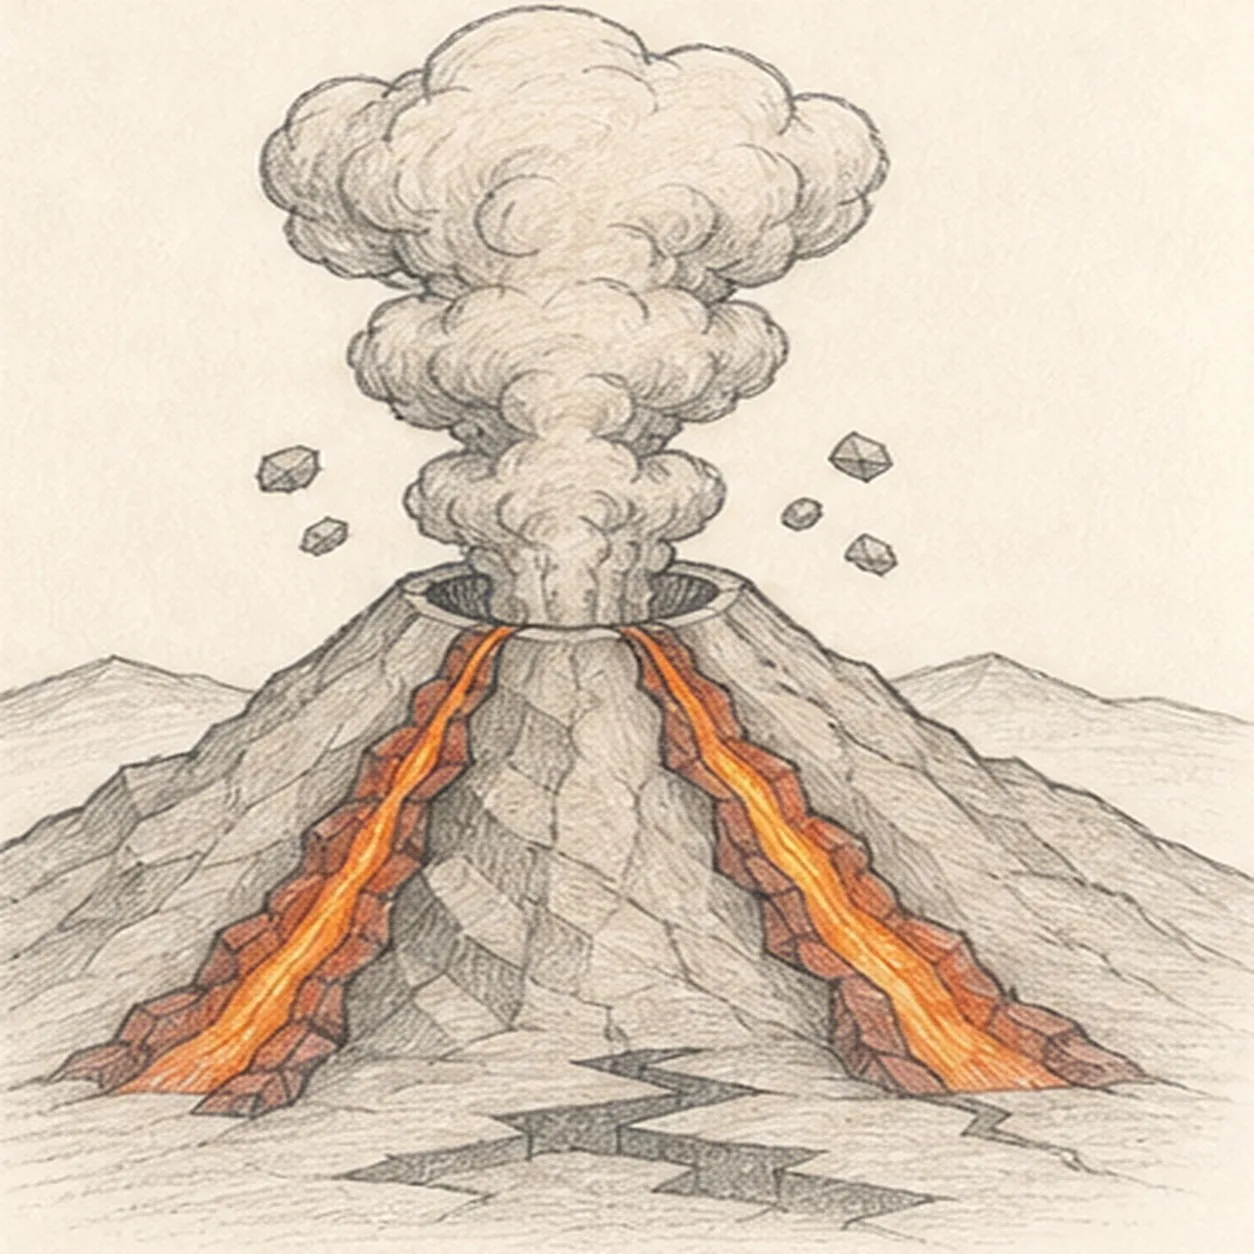
Layer value and lava color
Map directional graphite, warm-gray ash, muted rust-red lava banks, orange-yellow lava cores, and cool-gray shadow over only the established forms.
Sketch tip: Build color with two light layers that follow each lava stream. Keep the hottest center strip brightest and let graphite carry most of the mountain texture.
-
07
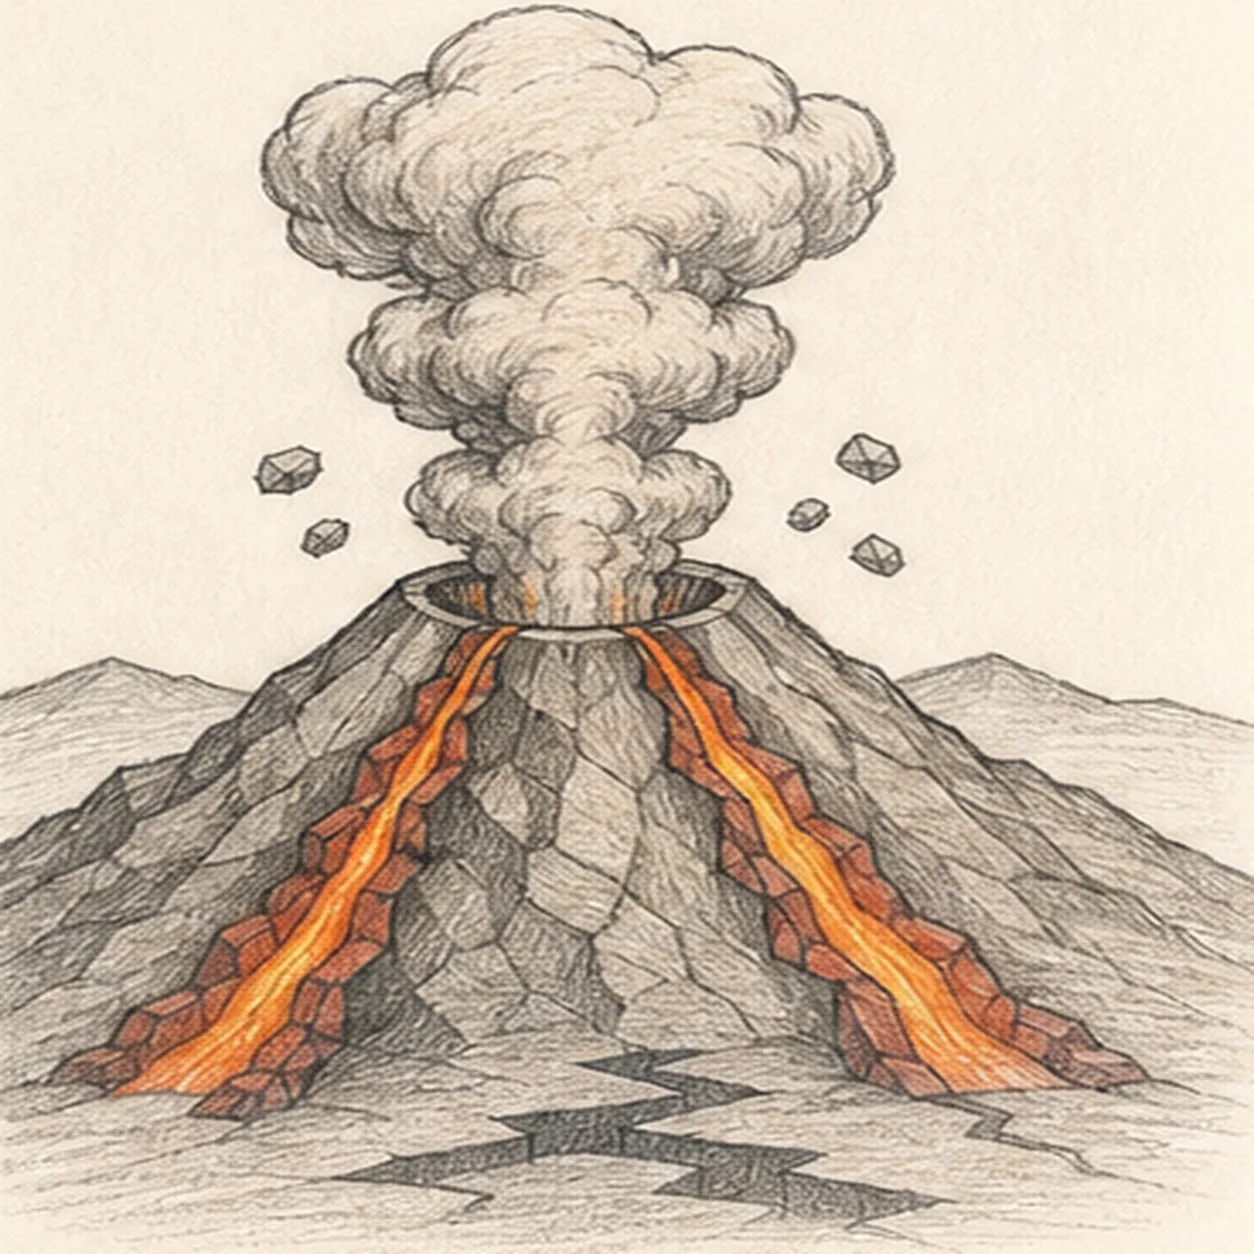
Clarify ash and rock depth
Deepen the established ash shadows, lava edges, rock hatching, graphite grain, and open-paper highlights without adding forms.
Sketch tip: Squint at the page before darkening. The bright twin lava routes and open crater should read first, with the plume remaining lighter than the cone.
-
08
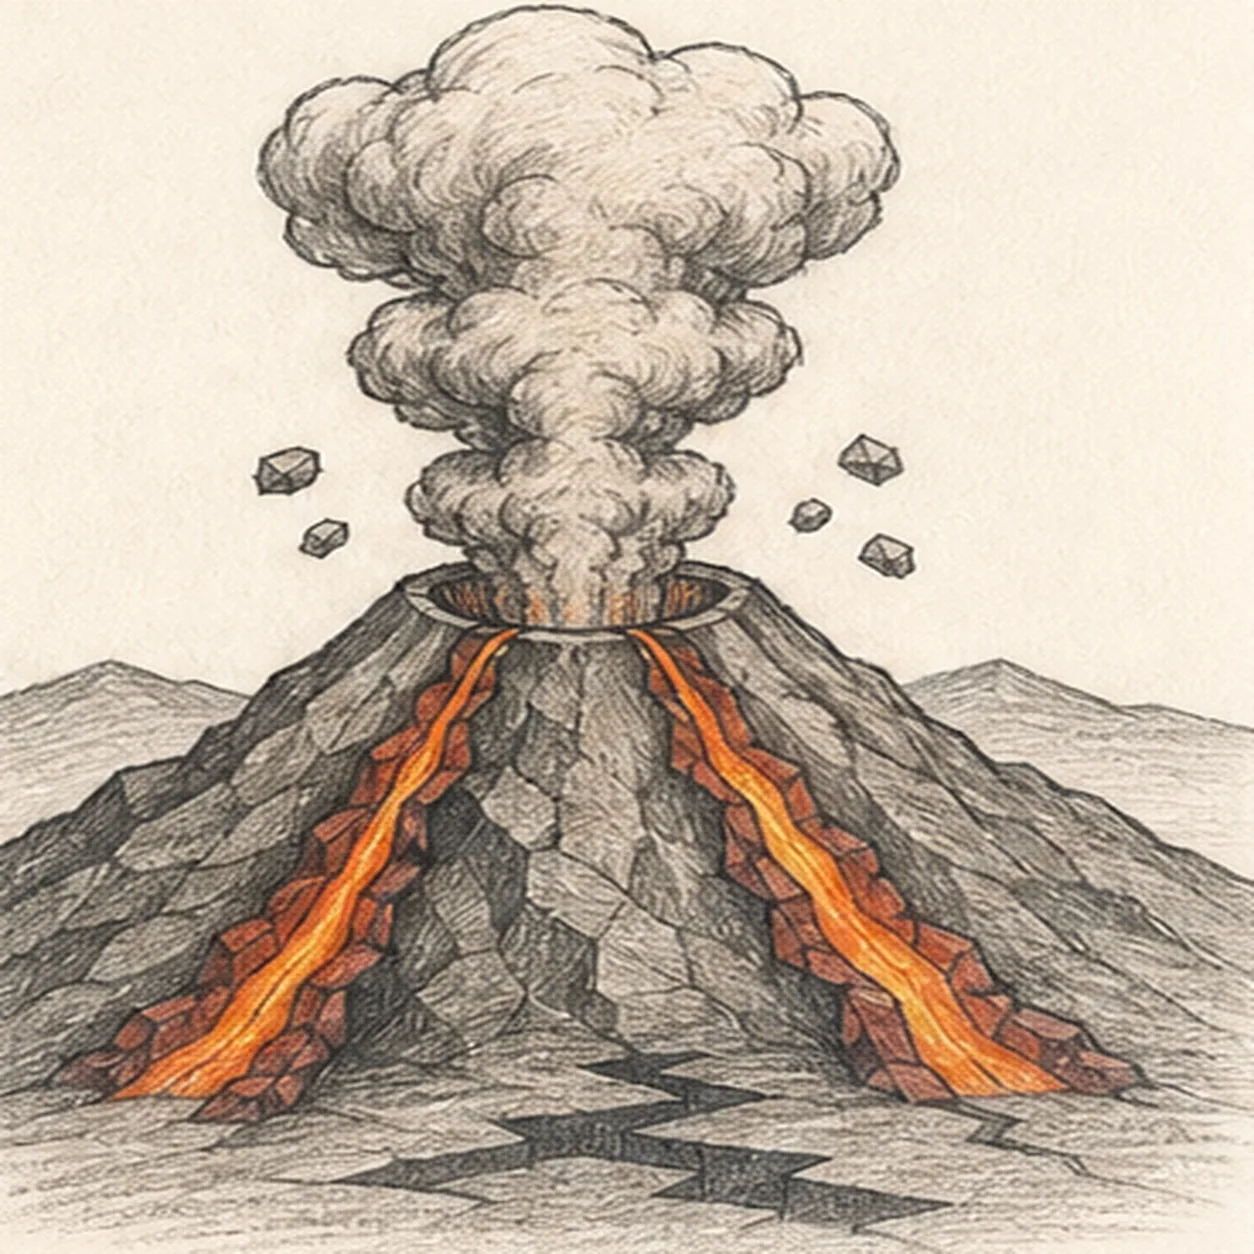
Finish the volcanic landscape
Strengthen selected keeper contours, deepen the same mapped graphite and restrained colors, and clarify only the existing plume, lava, rocks, highlights, and shadow.
Sketch tip: Count one crater, three plume tiers, two lava streams, five flying rocks, and two ground ridges, then stop while the paper tooth still breaks through the shading.