From the archive
Let's draw a garlic bulb
Treat this as one small practice round: build the subject lightly, notice the shapes, then darken only the lines that help the finished sketch.
-
01
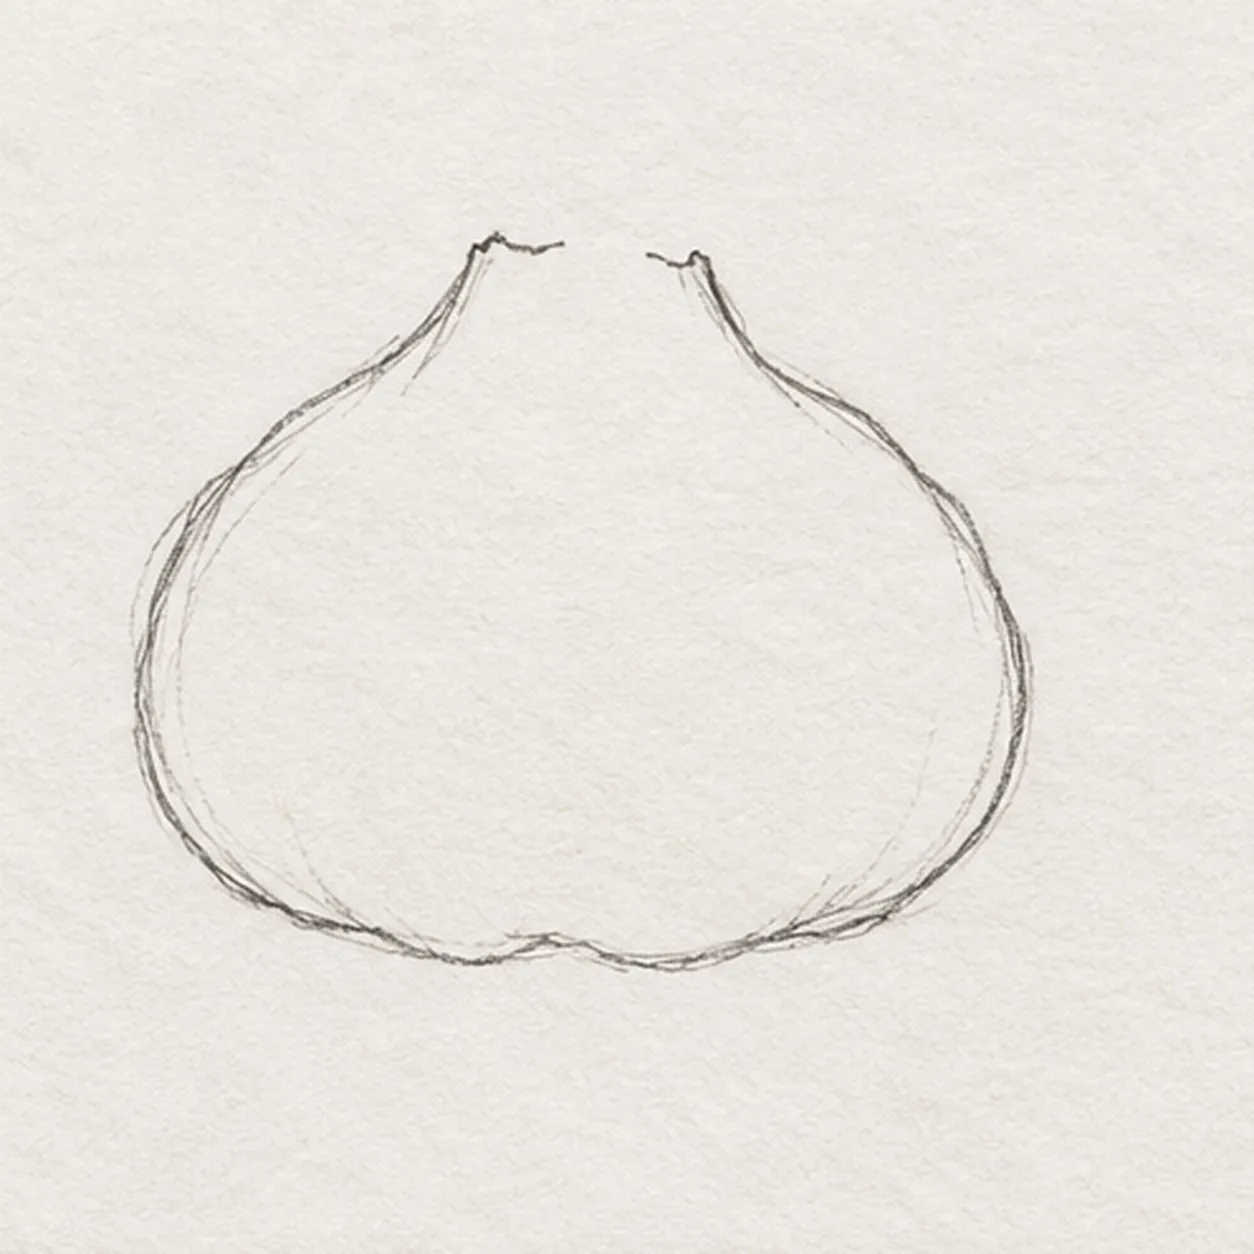
Shape the garlic bulb
Start near the upper center, curve out to a broad left shoulder and rounded base, then rise around the right shoulder. Leave a short opening for the neck.
Sketch tip: Make the bulb wider at its base and leave room to its lower right for the loose clove.
-
02
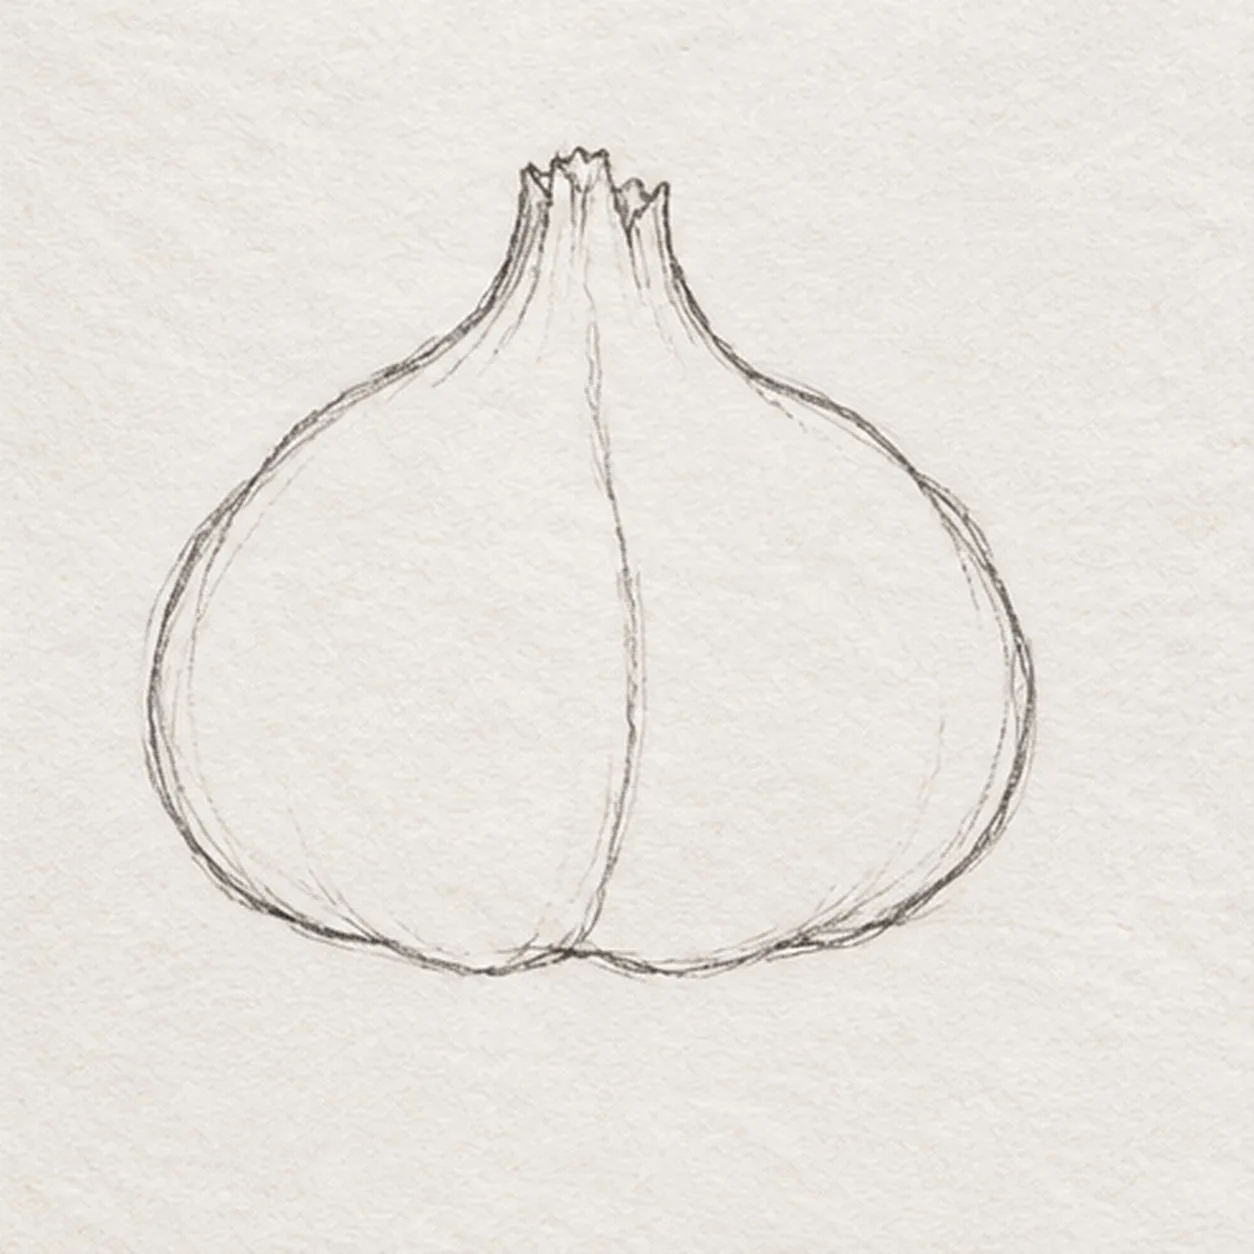
Lift the papery neck
Join the two upper ends with a short jagged neck. Pull one curved center seam down from the neck to the low center of the bulb.
Sketch tip: Let the seam follow the rounded form instead of drawing a rigid straight stripe.
-
03
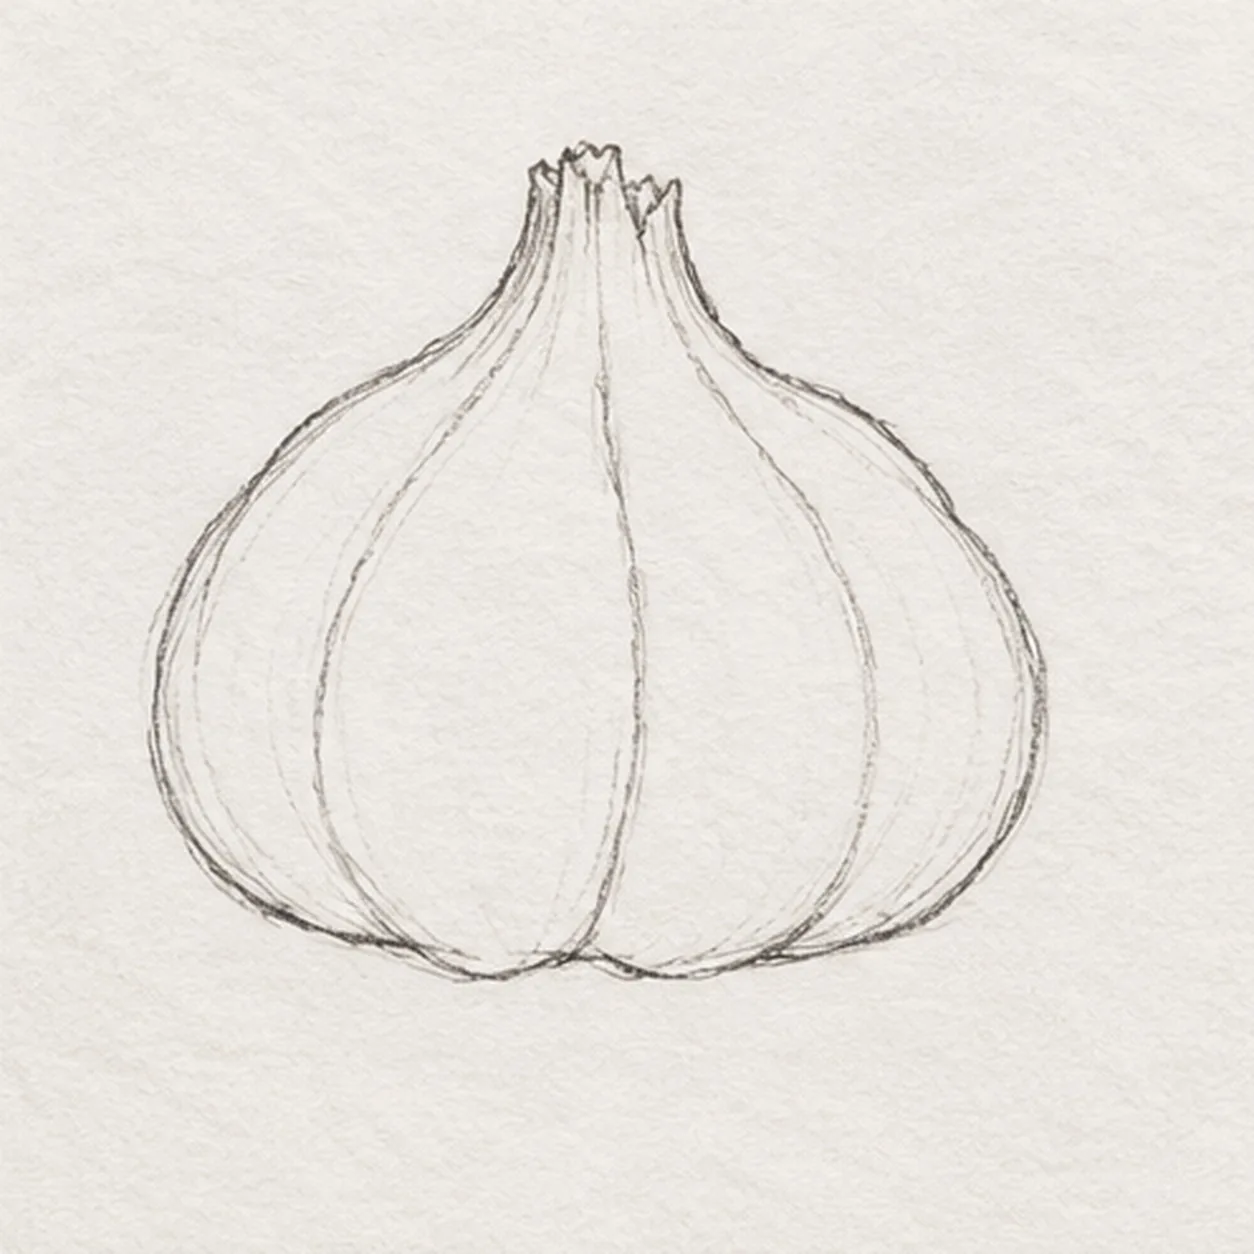
Divide the outer cloves
Add one bowed seam from each side of the neck toward the bulb base. Keep both inside the original outline and the central lobe widest.
Sketch tip: Use a lighter pencil touch for these side seams so the outer silhouette remains strongest.
-
04
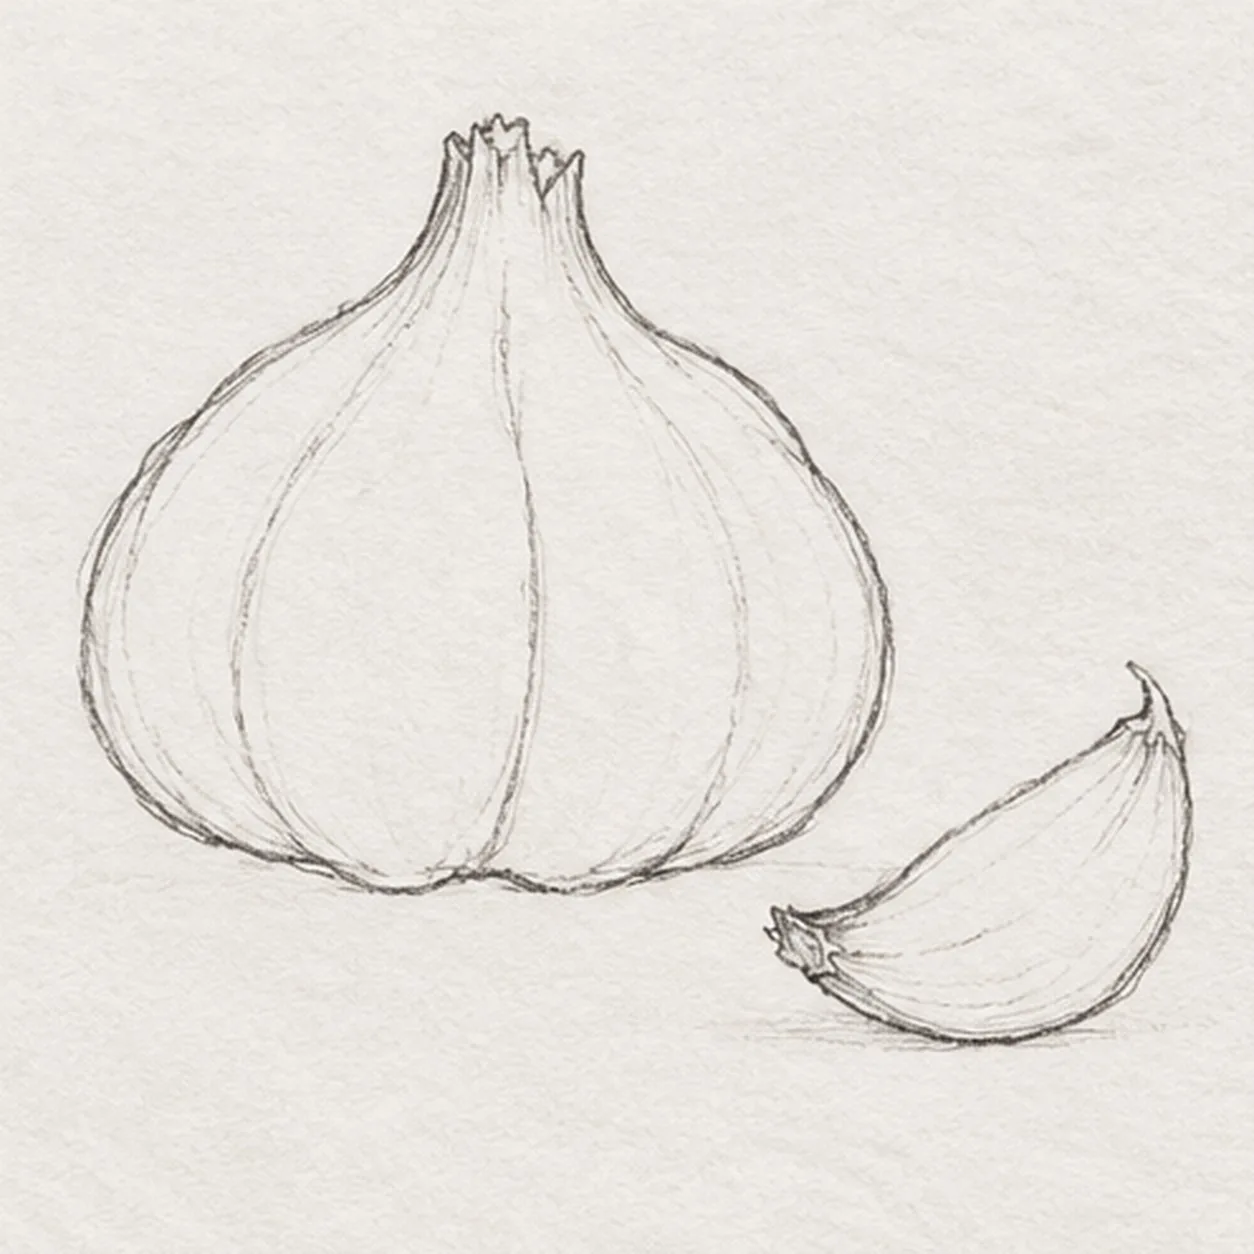
Set one loose clove
At the lower right, draw a small crescent clove with its pointed tip angled up and its blunt root end aimed toward the bulb. Leave a clear paper gap between them.
Sketch tip: The clear gap keeps the two forms separate and saves the bulb outline you already drew.
-
05
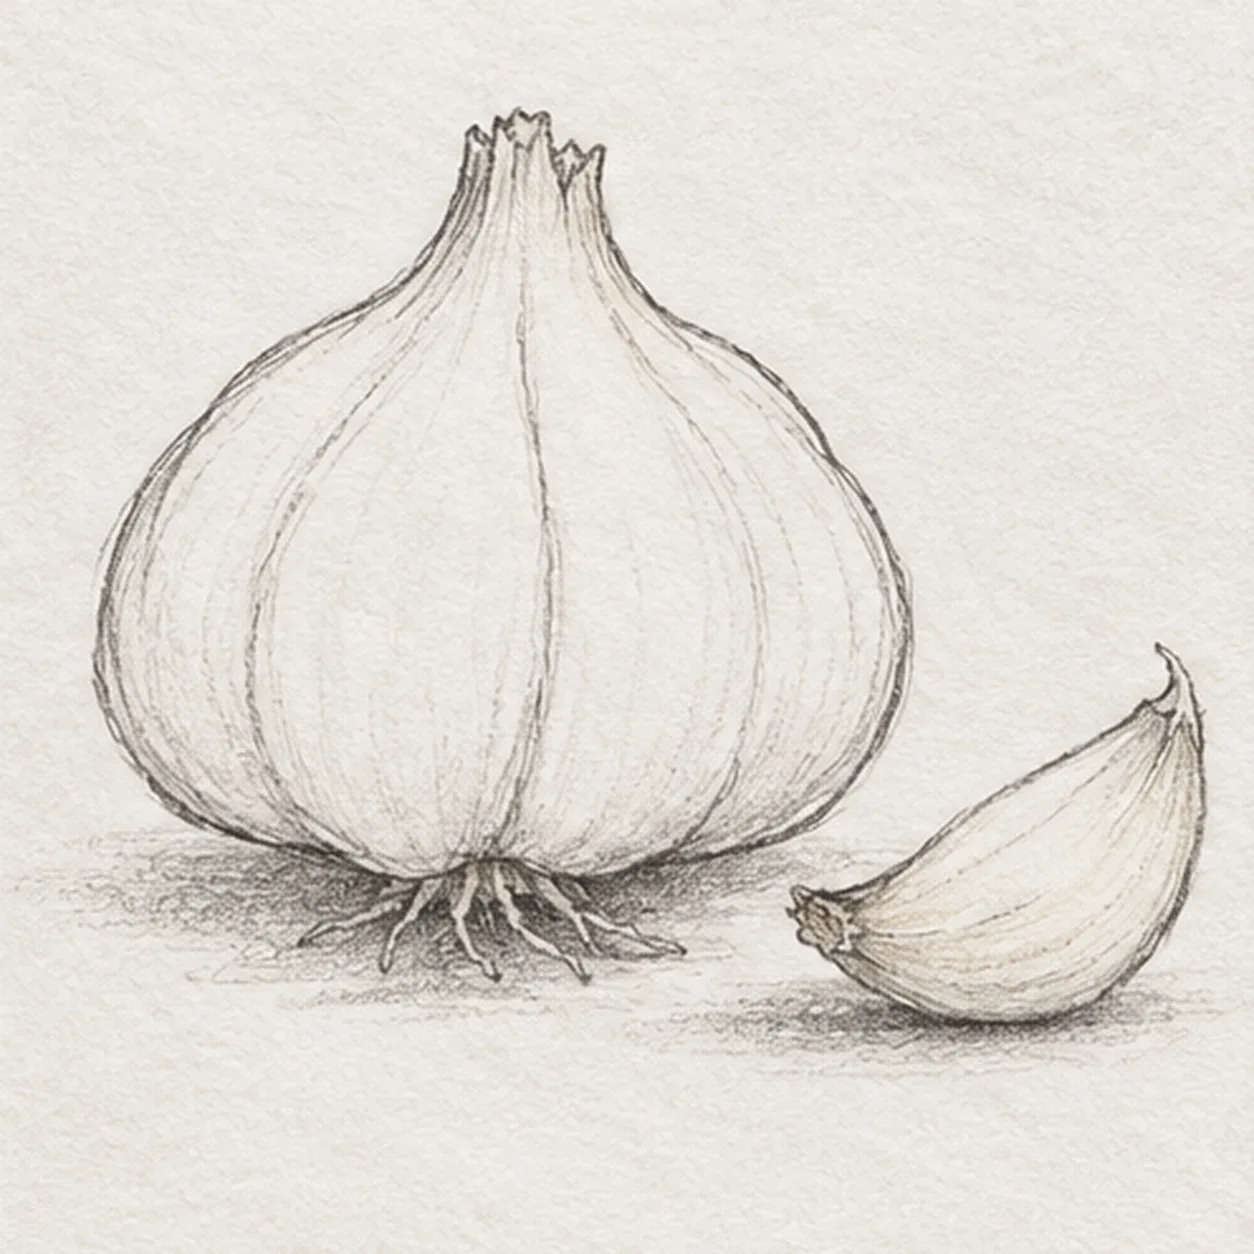
Root the study
Pull a small tuft of short root strokes from the bulb base. Add a broken pencil shadow under the bulb and separate clove without joining their outlines.
Sketch tip: Keep the shadow broken and lighter than the contours; let the roots overlap only the shadow.
-
06
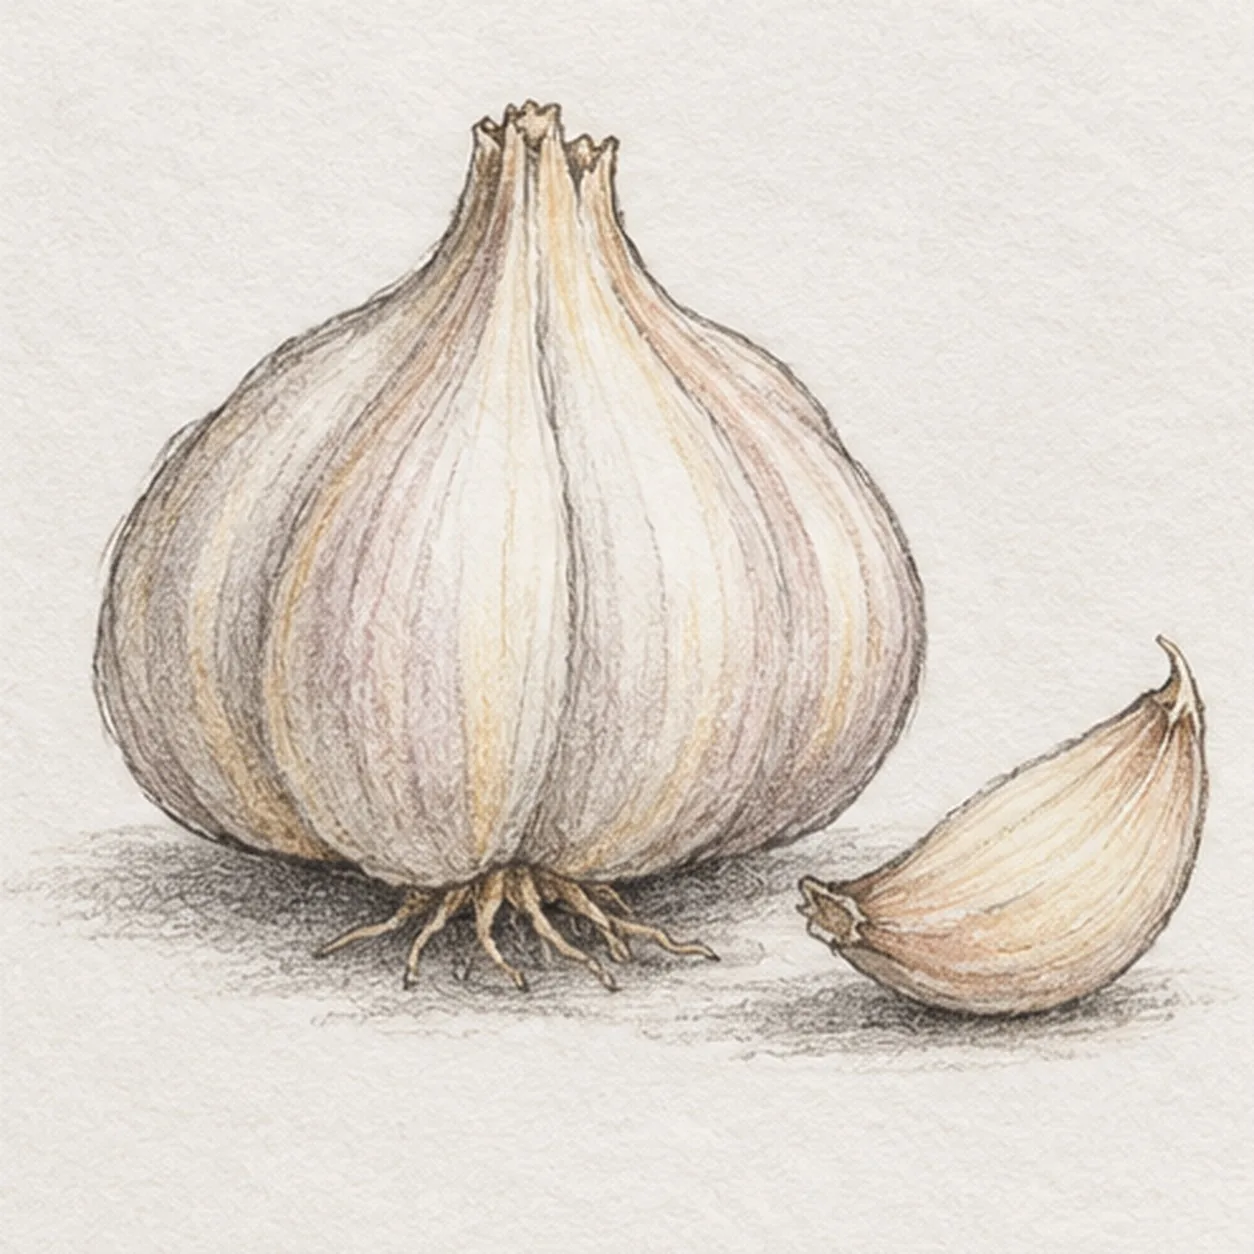
Shade the papery garlic
Shade the established bulb and loose clove with soft graphite and a little warm ochre pencil. Preserve pale paper on their raised faces and deepen the existing shadow.
Sketch tip: Pull light strokes down each lobe, following its curve rather than filling it flat.