
From the archive
Let's draw a hiking backpack with a rolled blanket
Treat this as one small practice round: build the subject lightly, notice the shapes, then darken only the lines that help the finished sketch.
-
01
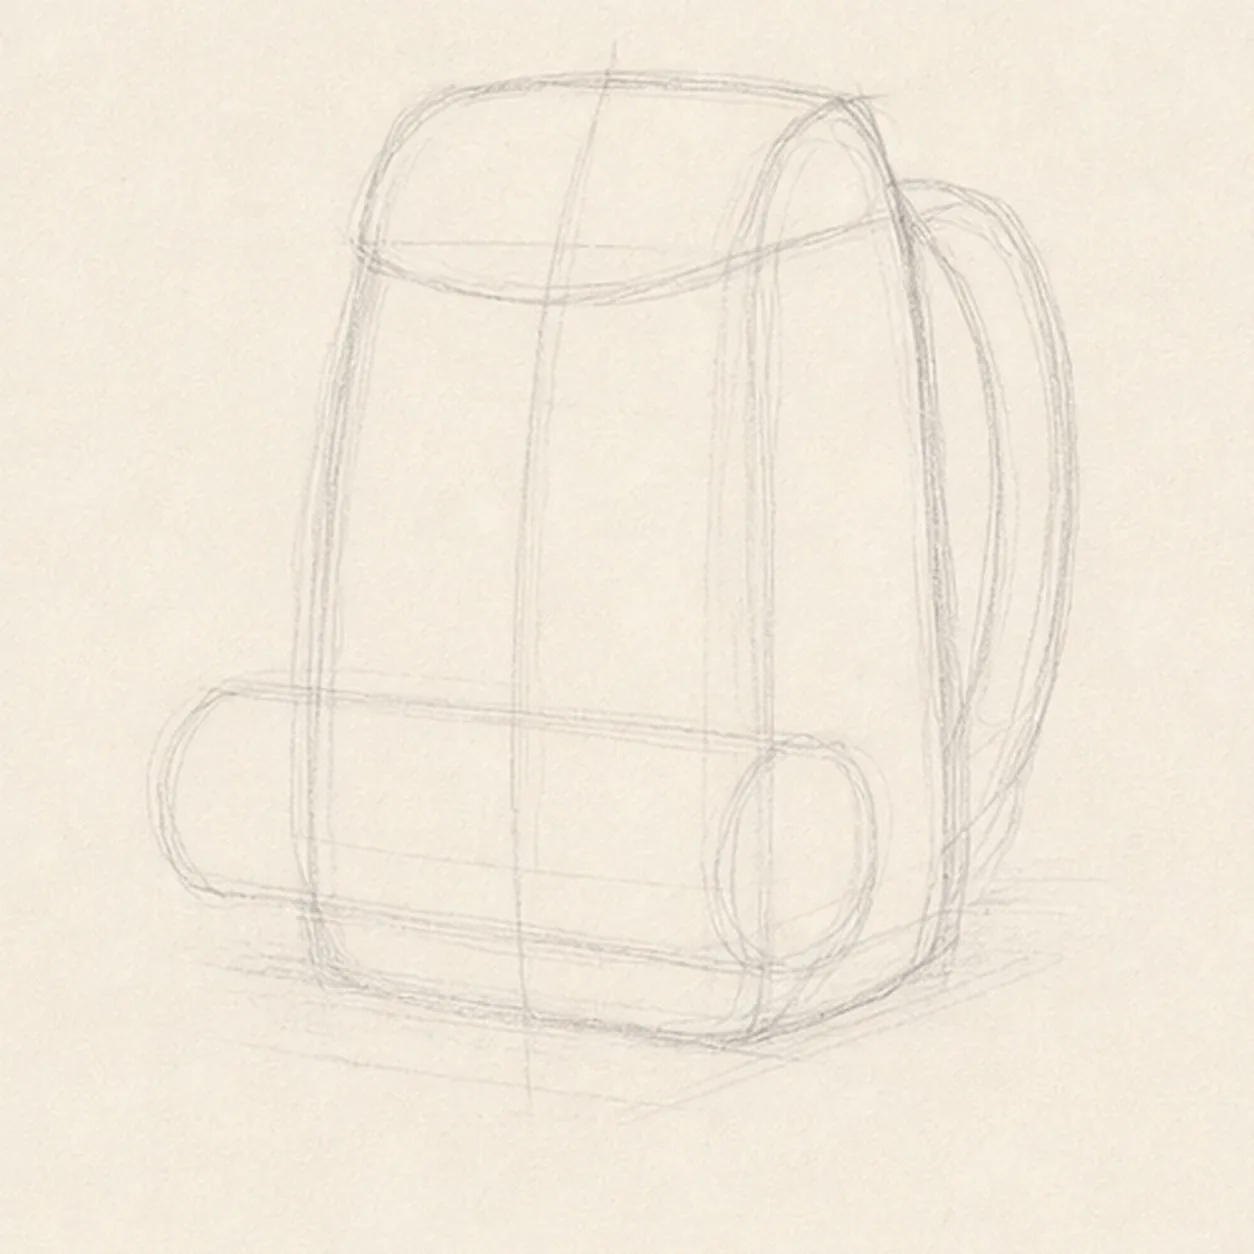
Block the pack and blanket
Draw a pale upright soft box in three-quarter view, add the rounded top and flap line, ghost the visible shoulder strap, then reserve one full horizontal blanket cylinder across the lower front.
Sketch tip: Ghost the two long side edges before touching down and compare their slight convergence. Keep the blanket footprint pale and blank so you do not finish bag detail that it will cover.
-
02
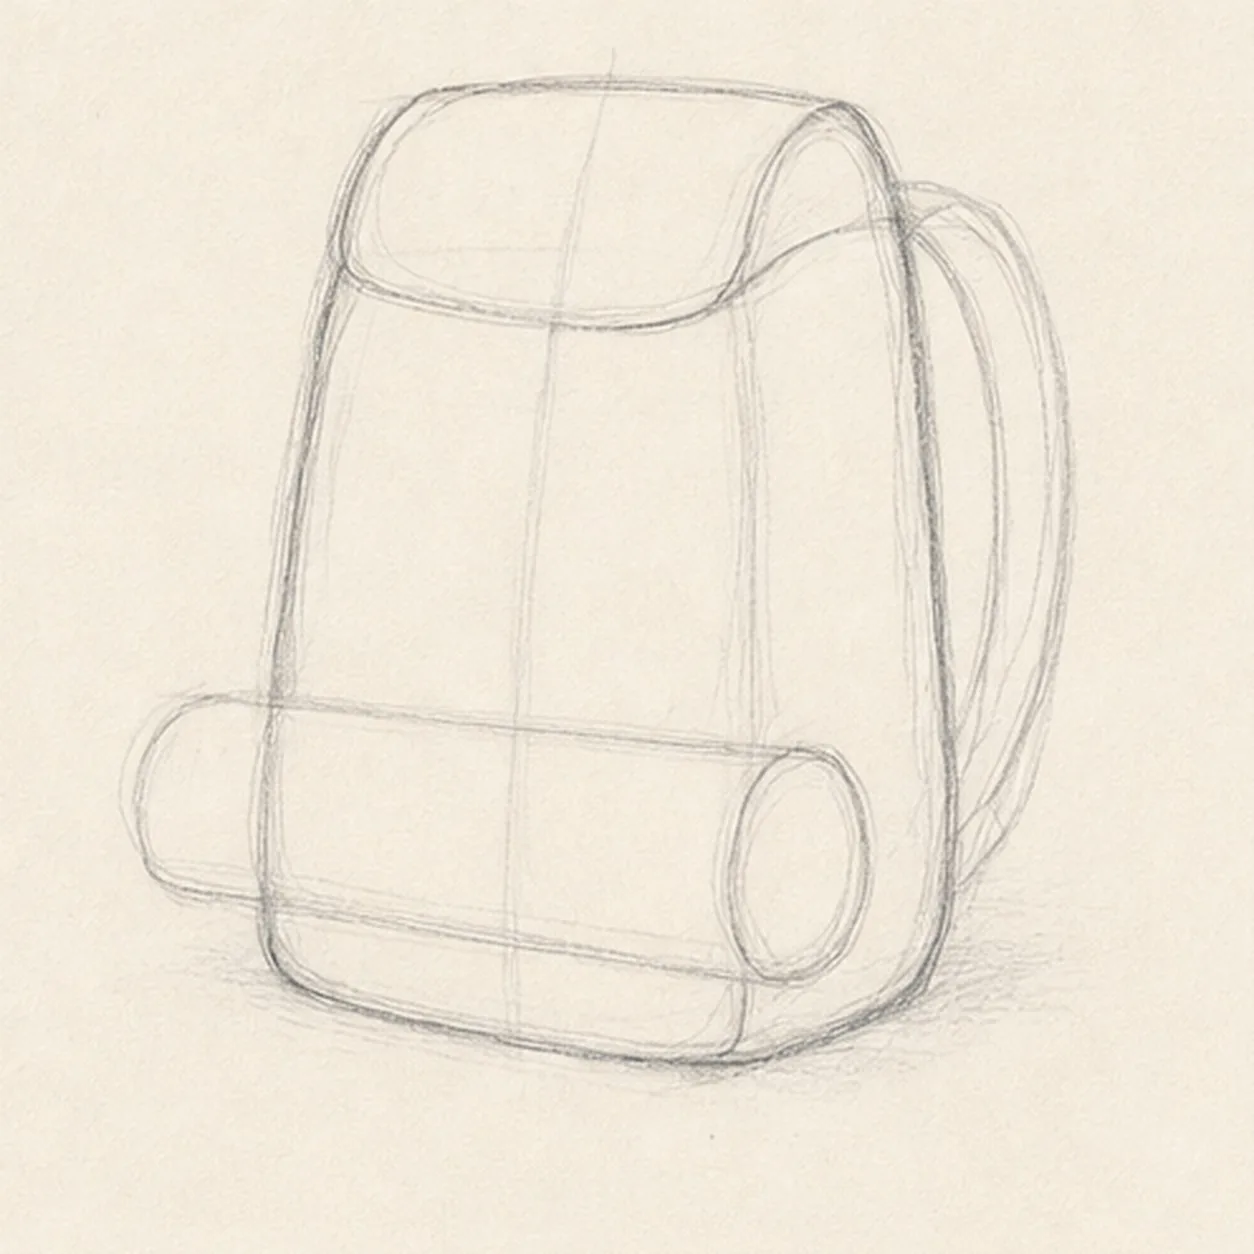
Shape the pack silhouette
Wrap the guides with the rounded bag body, top flap, lower base, and one rolled blanket cylinder with a visible end ellipse.
Sketch tip: Rotate the page for the long bag edges and pull them in relaxed passes. Check the cylinder end against the pack side plane so the blanket feels strapped on, not pasted flat.
-
03
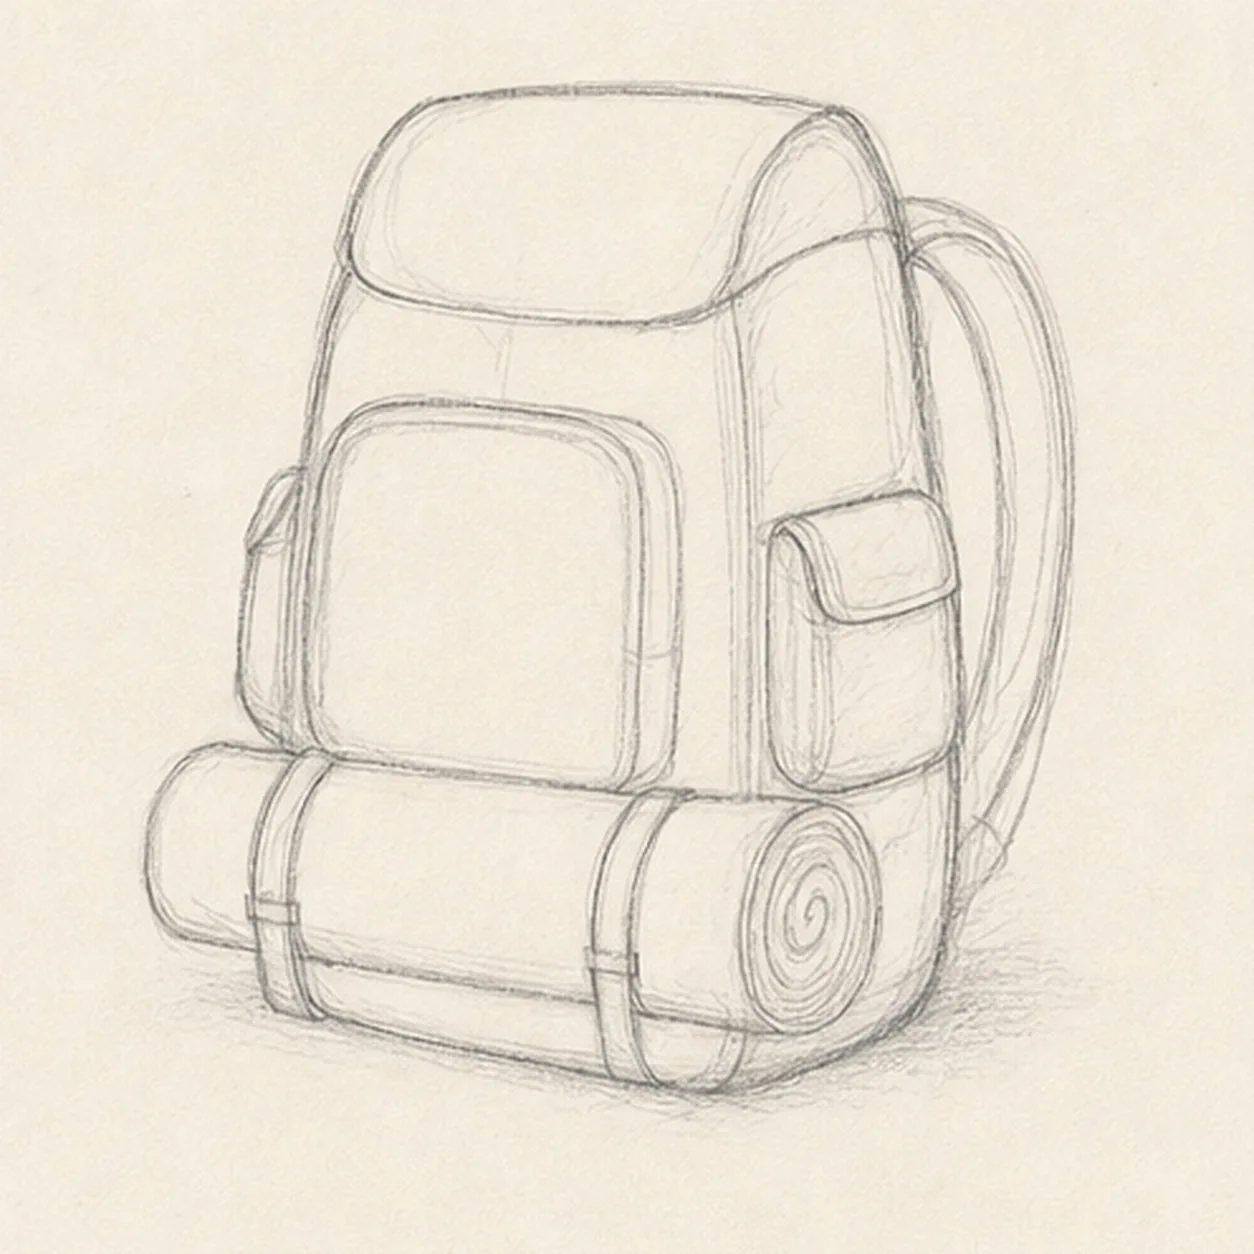
Attach pockets and straps
Add one large front pocket, two asymmetric side pockets, one broad shoulder strap behind the bag, and exactly two narrow retaining bands over the established blanket.
Sketch tip: Draw the pocket openings before their outer edges, then break hidden bag lines cleanly behind them. Place both blanket bands around the same cylinder before darkening either one.
-
04
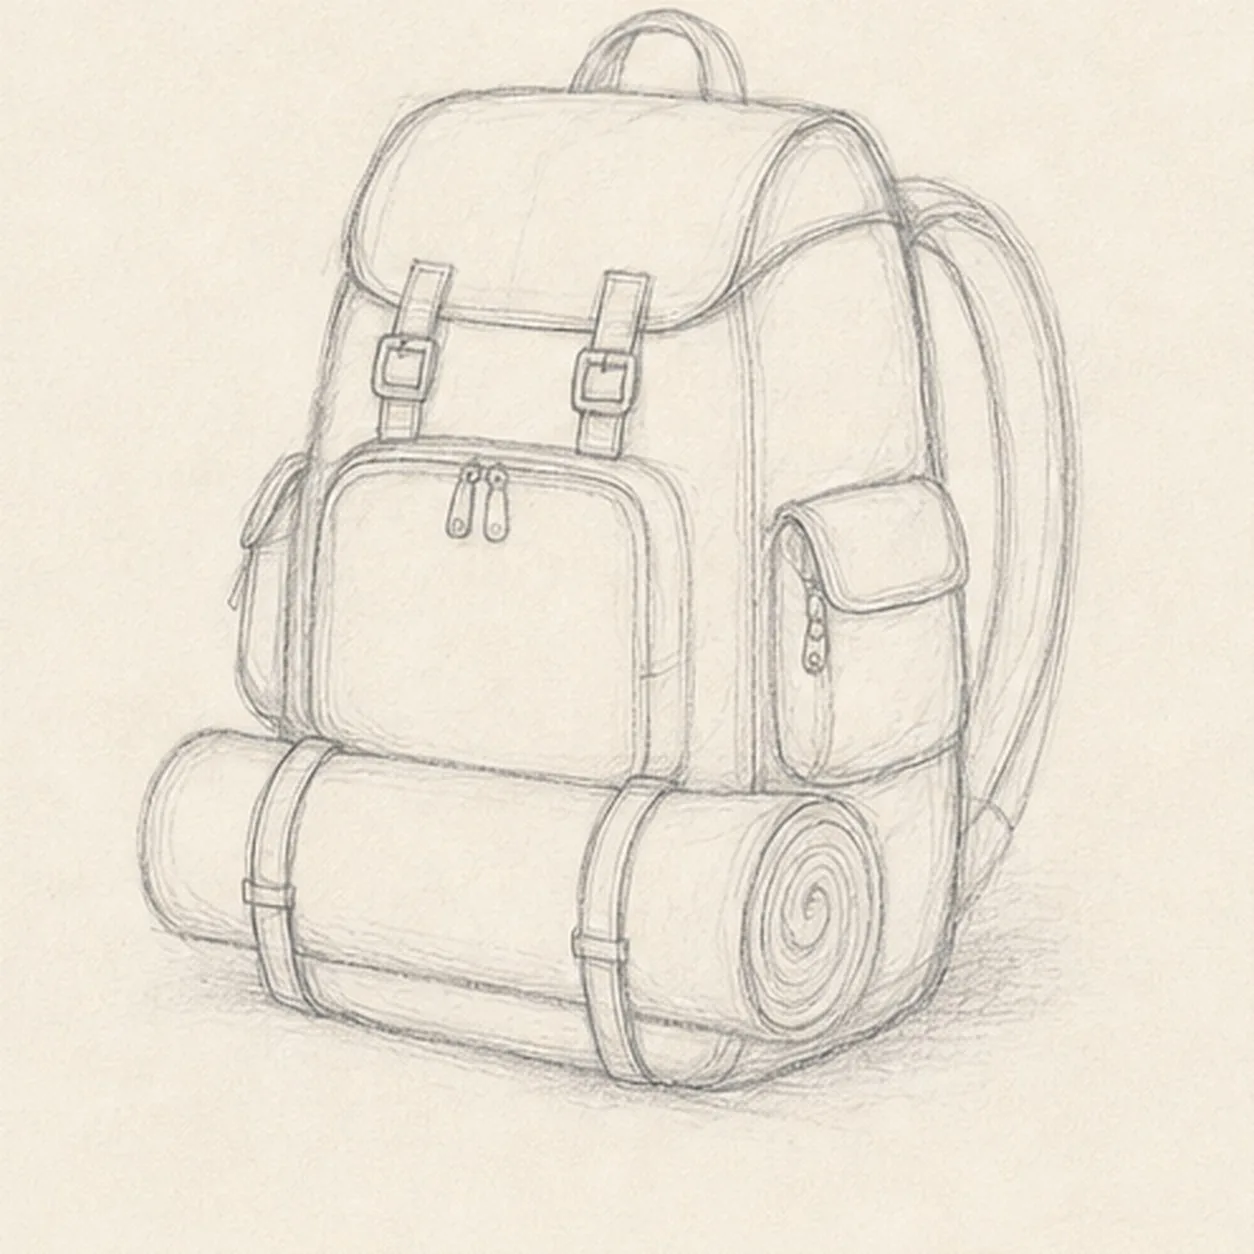
Add the trail hardware
Draw one top handle, two flap buckles, pocket seams, two small zipper pulls, and the spiral on the existing blanket end.
Sketch tip: Set the two buckle rectangles on the same flap arc, but let their tiny differences stay handmade. Wind the blanket spiral inward gradually and stop before the rings become crowded.
-
05
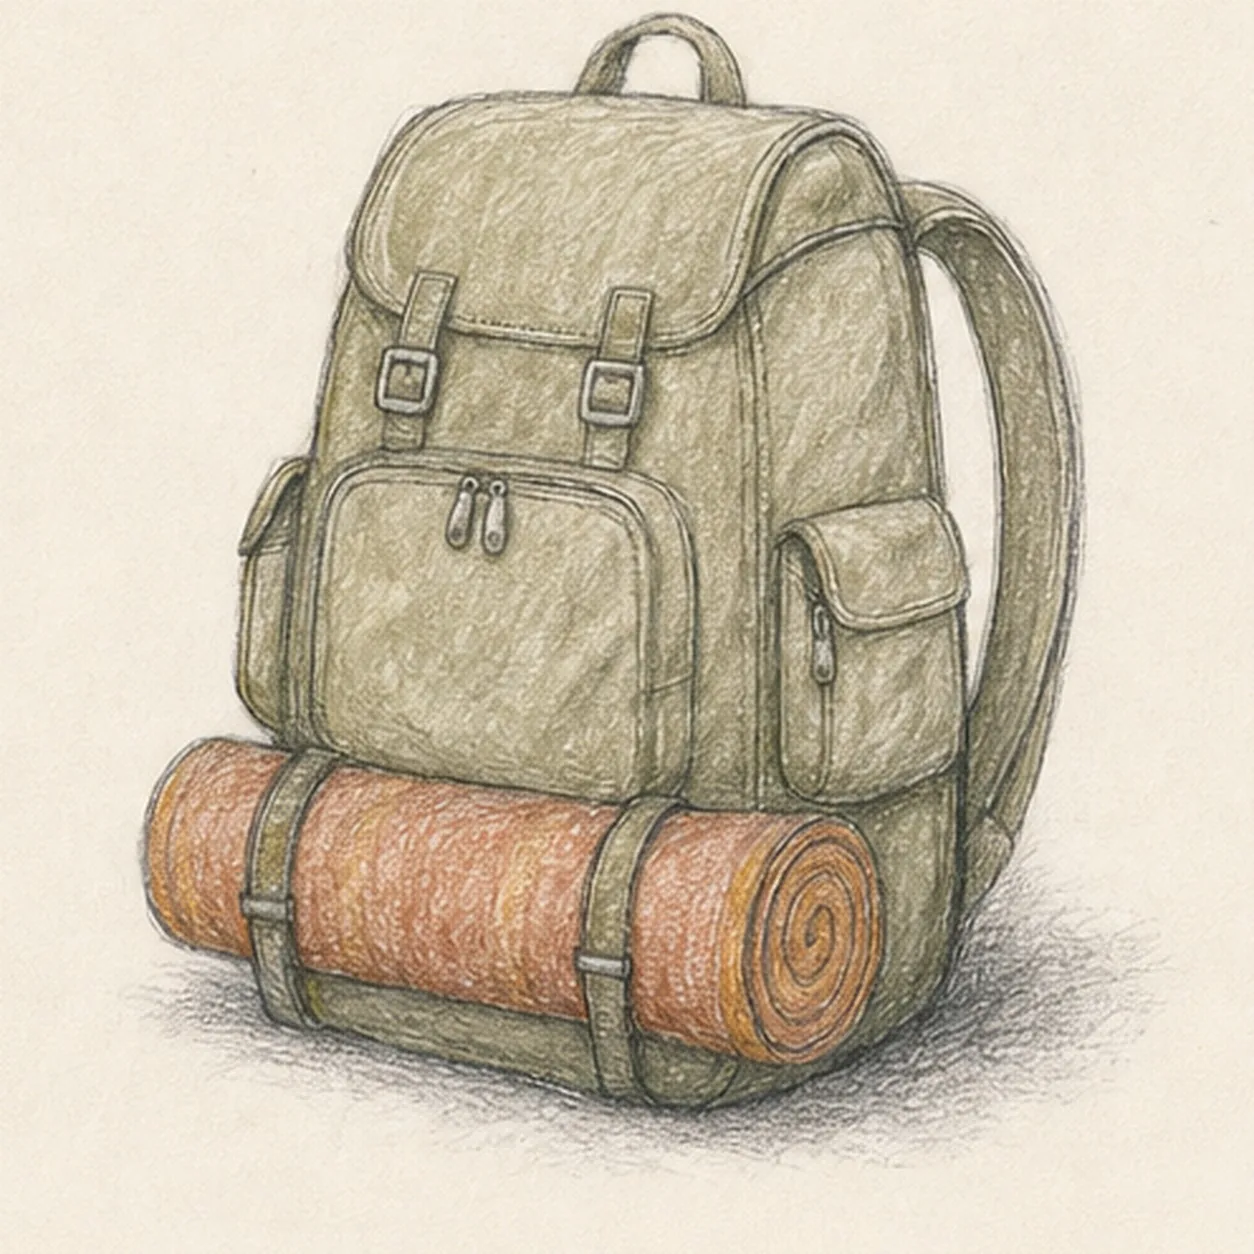
Show canvas, wool, and weight
Add restrained fabric creases, muted olive pencil to the pack, rust and ochre pencil to the blanket, paper highlights, and one broken graphite shadow.
Sketch tip: Pull color strokes with each material: broad broken strokes across canvas and curved strokes around the blanket cylinder. Build the ground shadow lightly from the contact points outward.
-
06
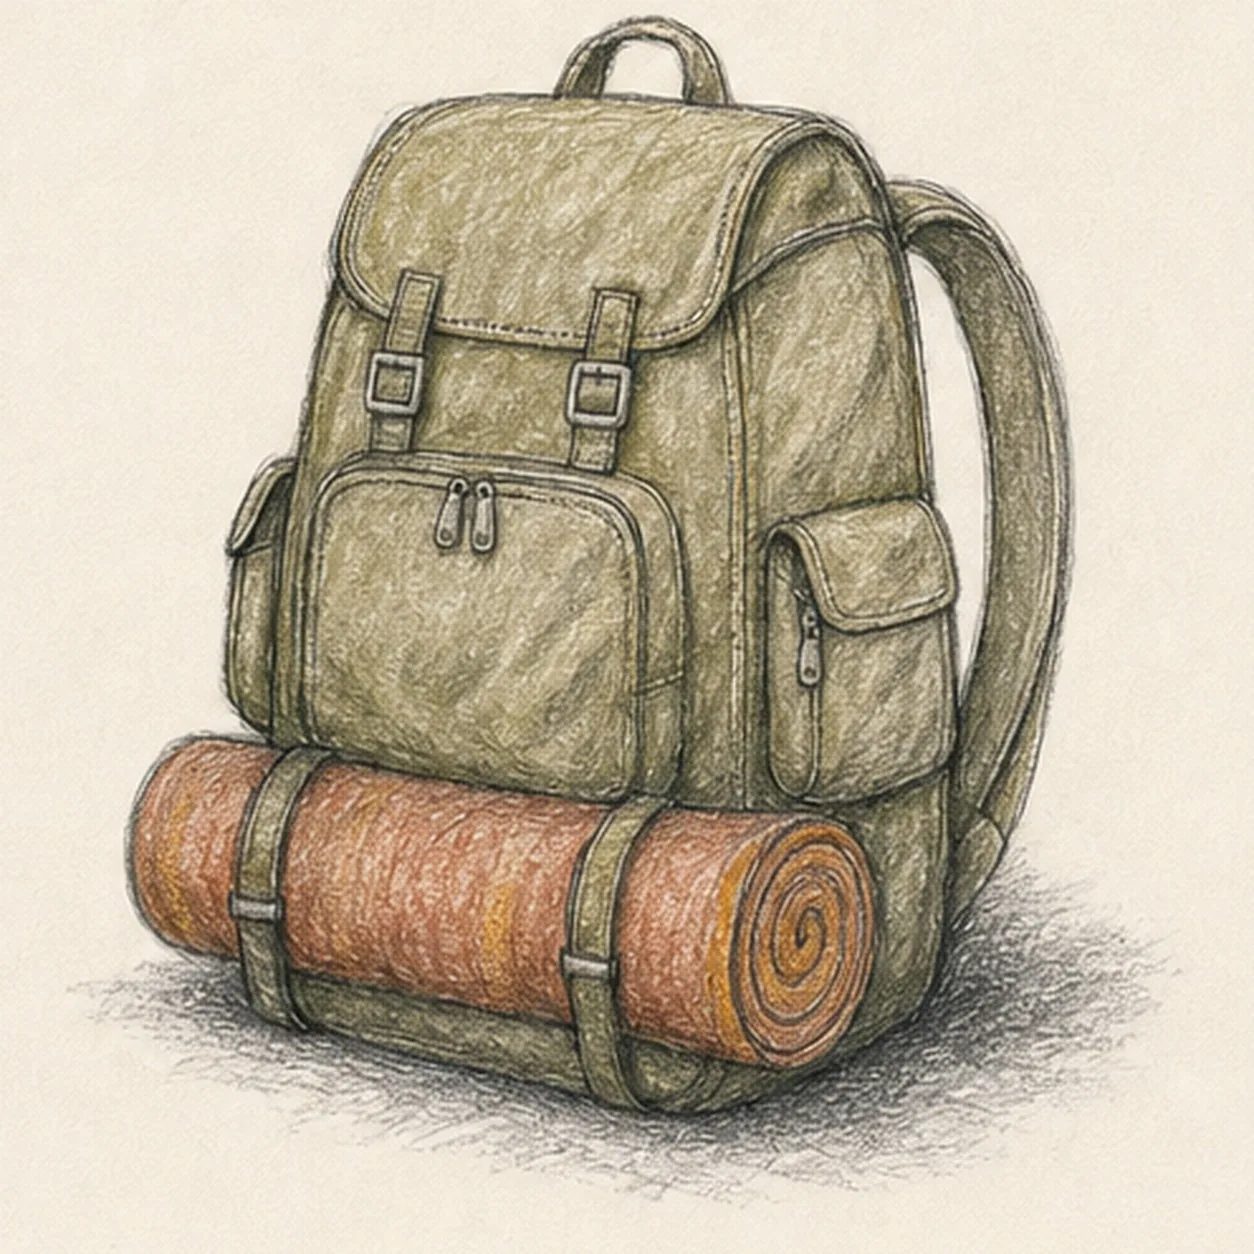
Tighten the trail-ready finish
Strengthen the keeper contours and clarify the established pack, pockets, visible shoulder strap, handle, buckles, zipper pulls, rolled blanket, two retaining bands, material textures, restrained colors, highlights, and shadow.
Sketch tip: Count two flap buckles and two blanket bands, trace the spiral end, and stop while the bag still feels sketched. Your pockets and colors can change, but extra gear or a whole trail scene would turn this into a different lesson.


