Pencil ready?
Let's draw a hot-air balloon over hills
Treat this as one small practice round: build the subject lightly, notice the shapes, then darken only the lines that help the finished sketch.
-
01
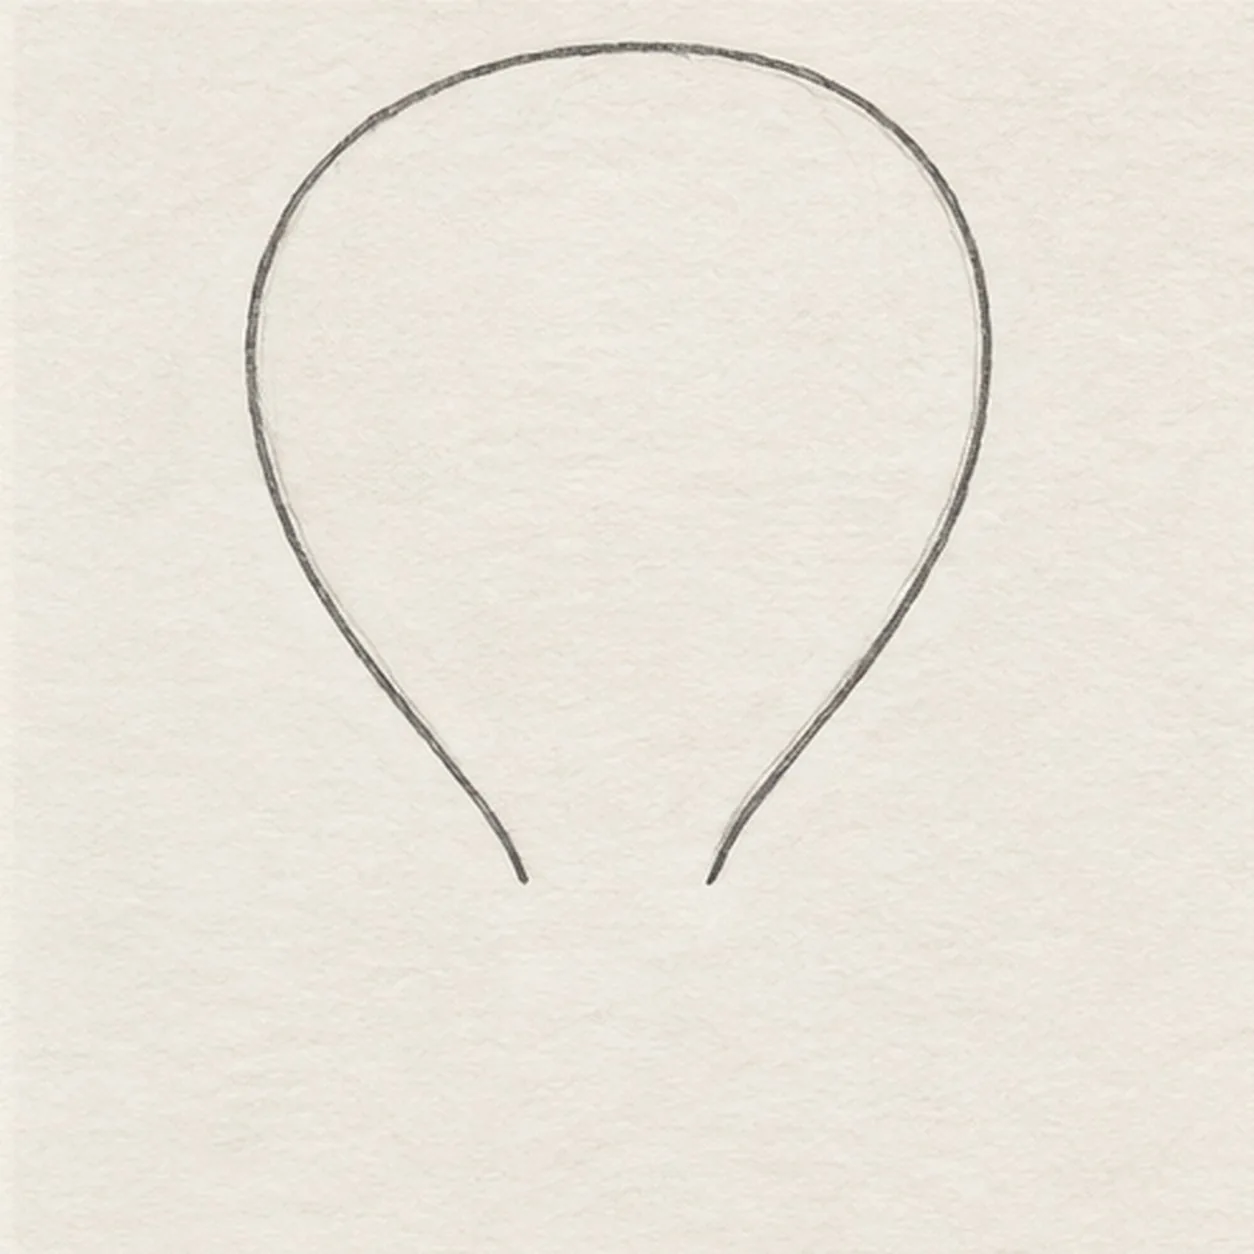
Shape the balloon
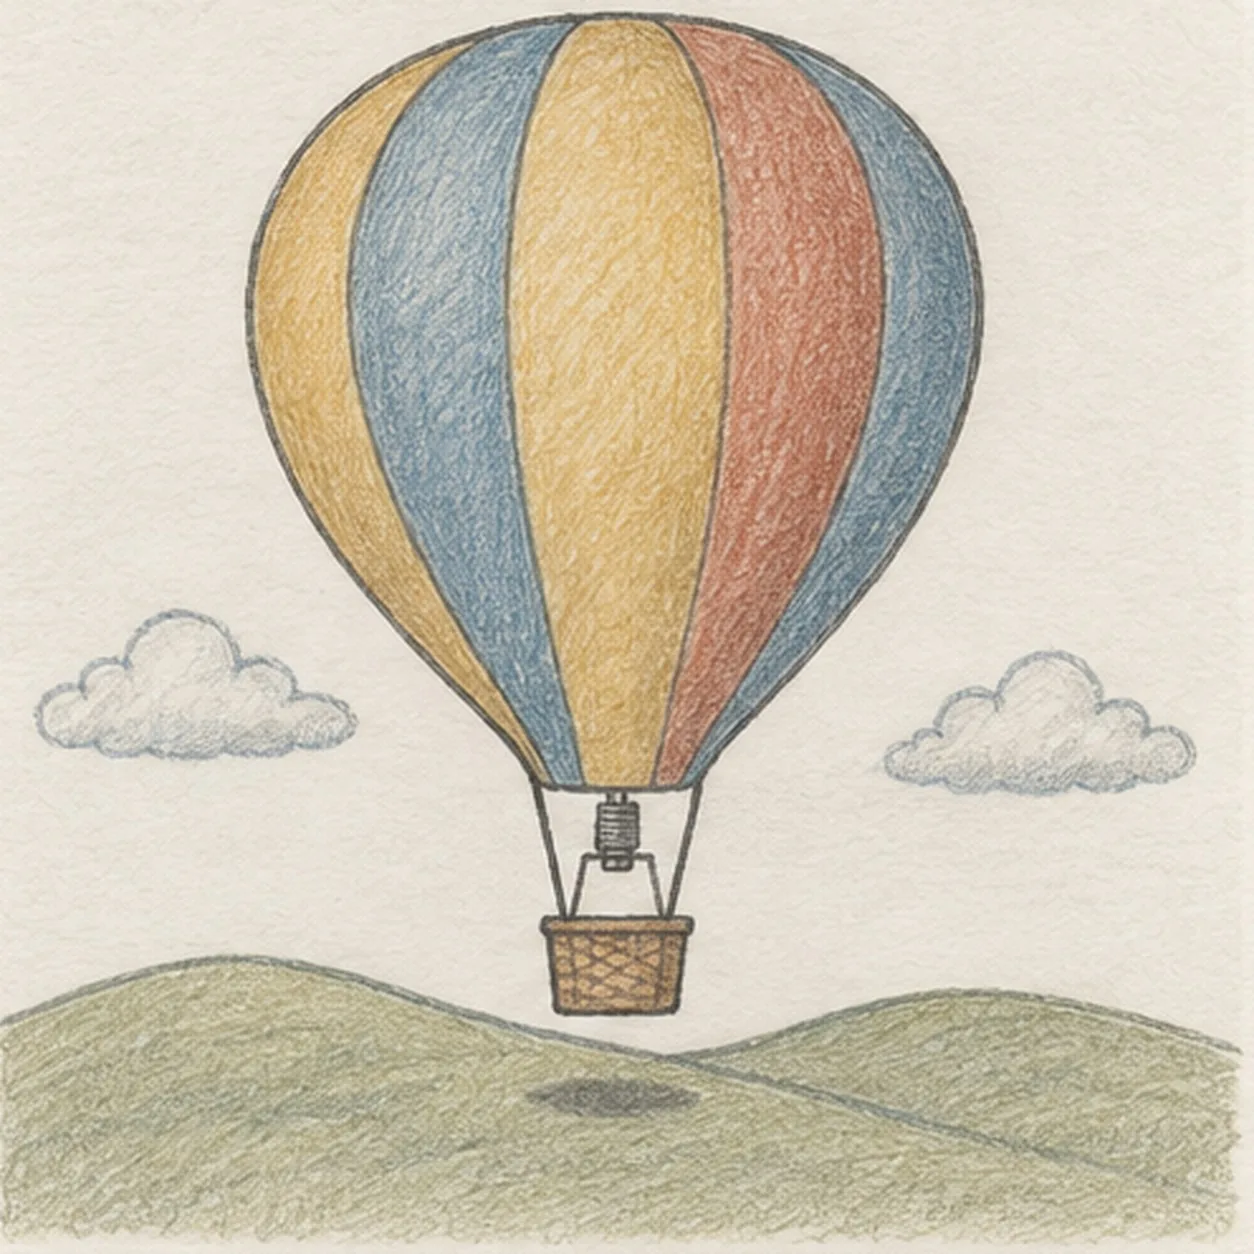
Start at the rounded crown, curve down both sides to a narrow open neck, and leave the bottom center clear for the basket connection.
Sketch tip: Ghost the two long sides before touching down. Keep their open ends level so the hanging basket will sit centered below.
-
02
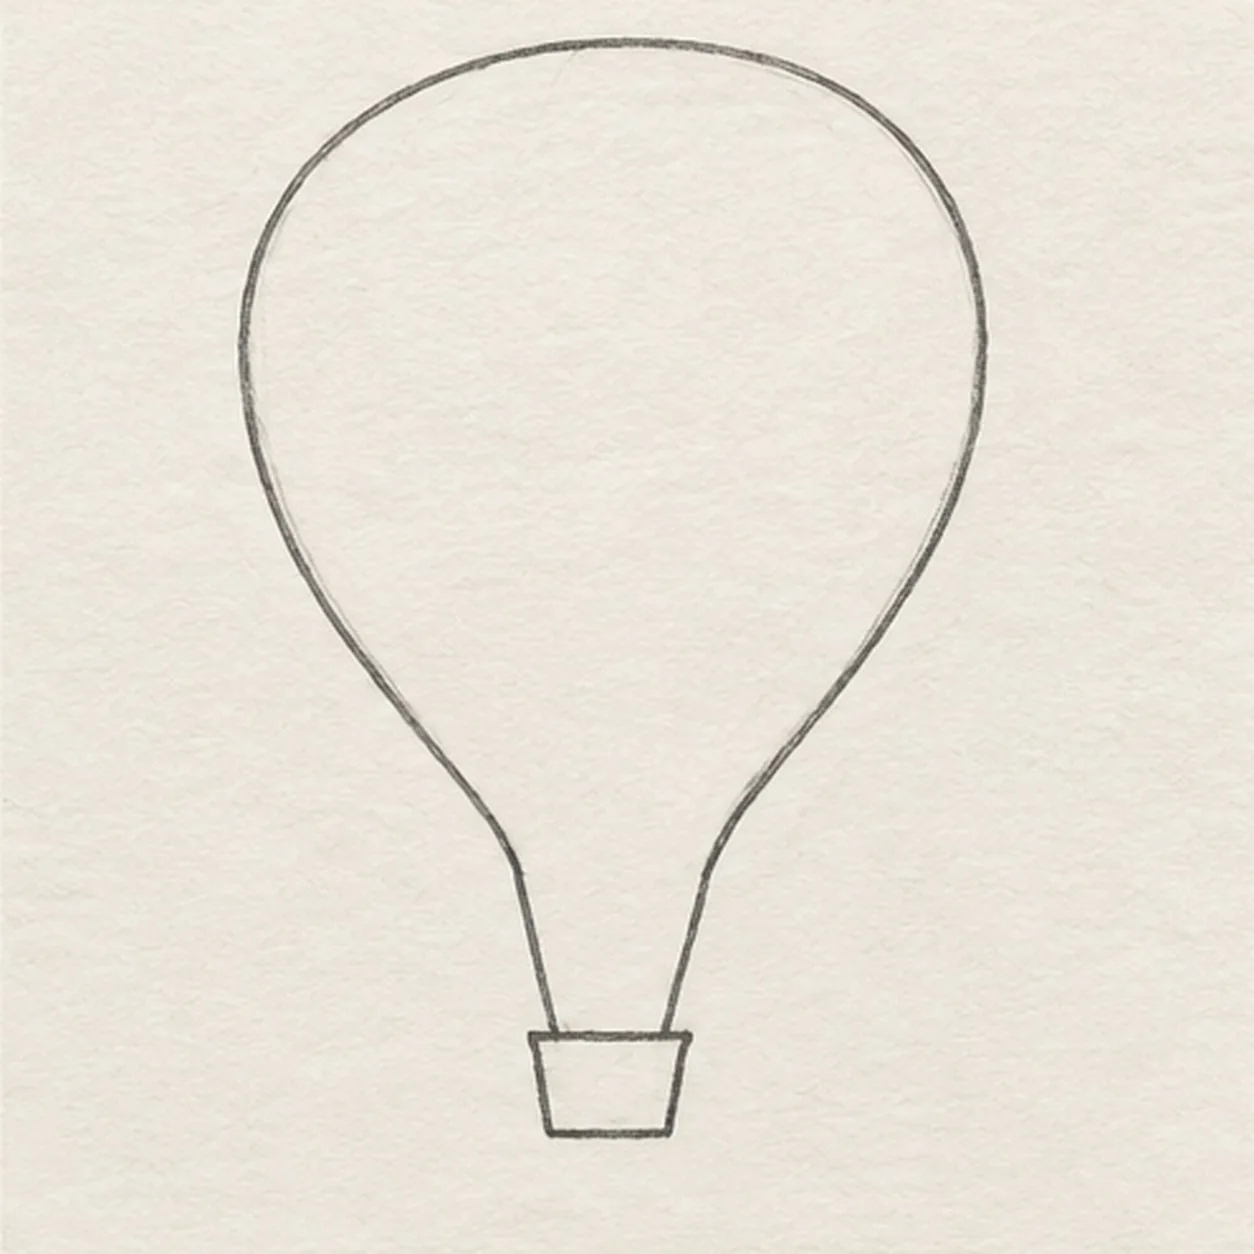
Hang the basket
Place a small tapered basket directly below the open neck. Join its top corners to the neck with two sloping ropes, keeping the space between them open.
Sketch tip: Compare the left and right rope angles. Both should meet the basket rim without changing the envelope above.
-
03
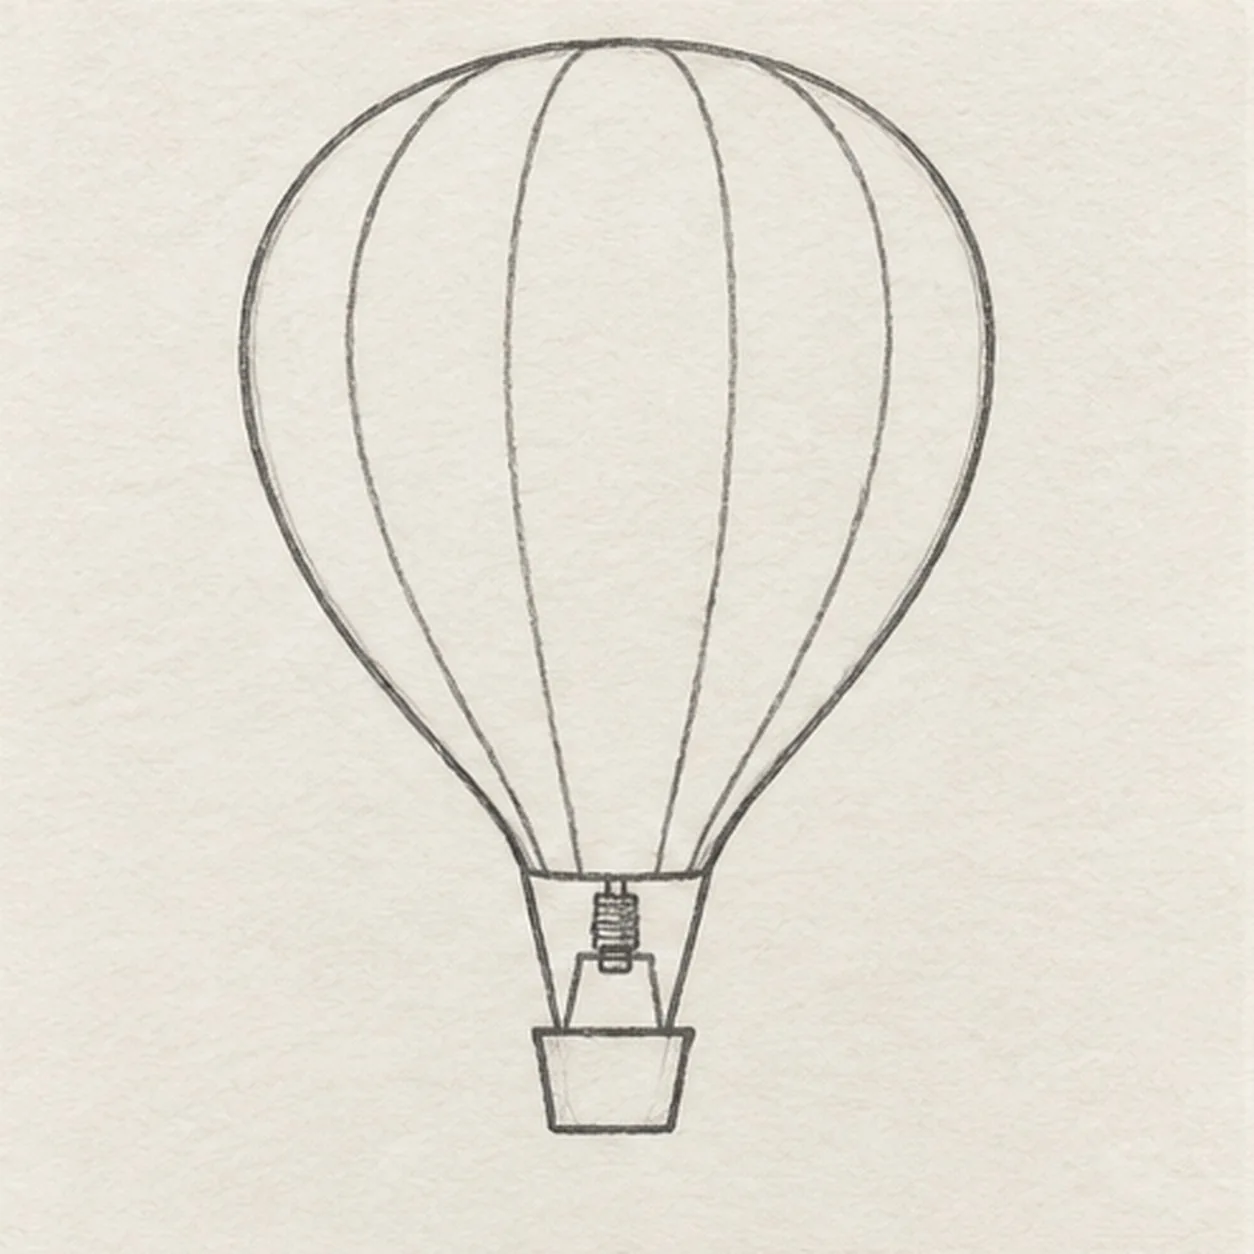
Divide the envelope
Pull four long curved seams from the crown toward the neck, following the round form. Set a small burner directly above the basket between the two ropes.
Sketch tip: Start each seam at the crown and curve it toward the neck. Keep the center panels broader than the edge strips.
-
04
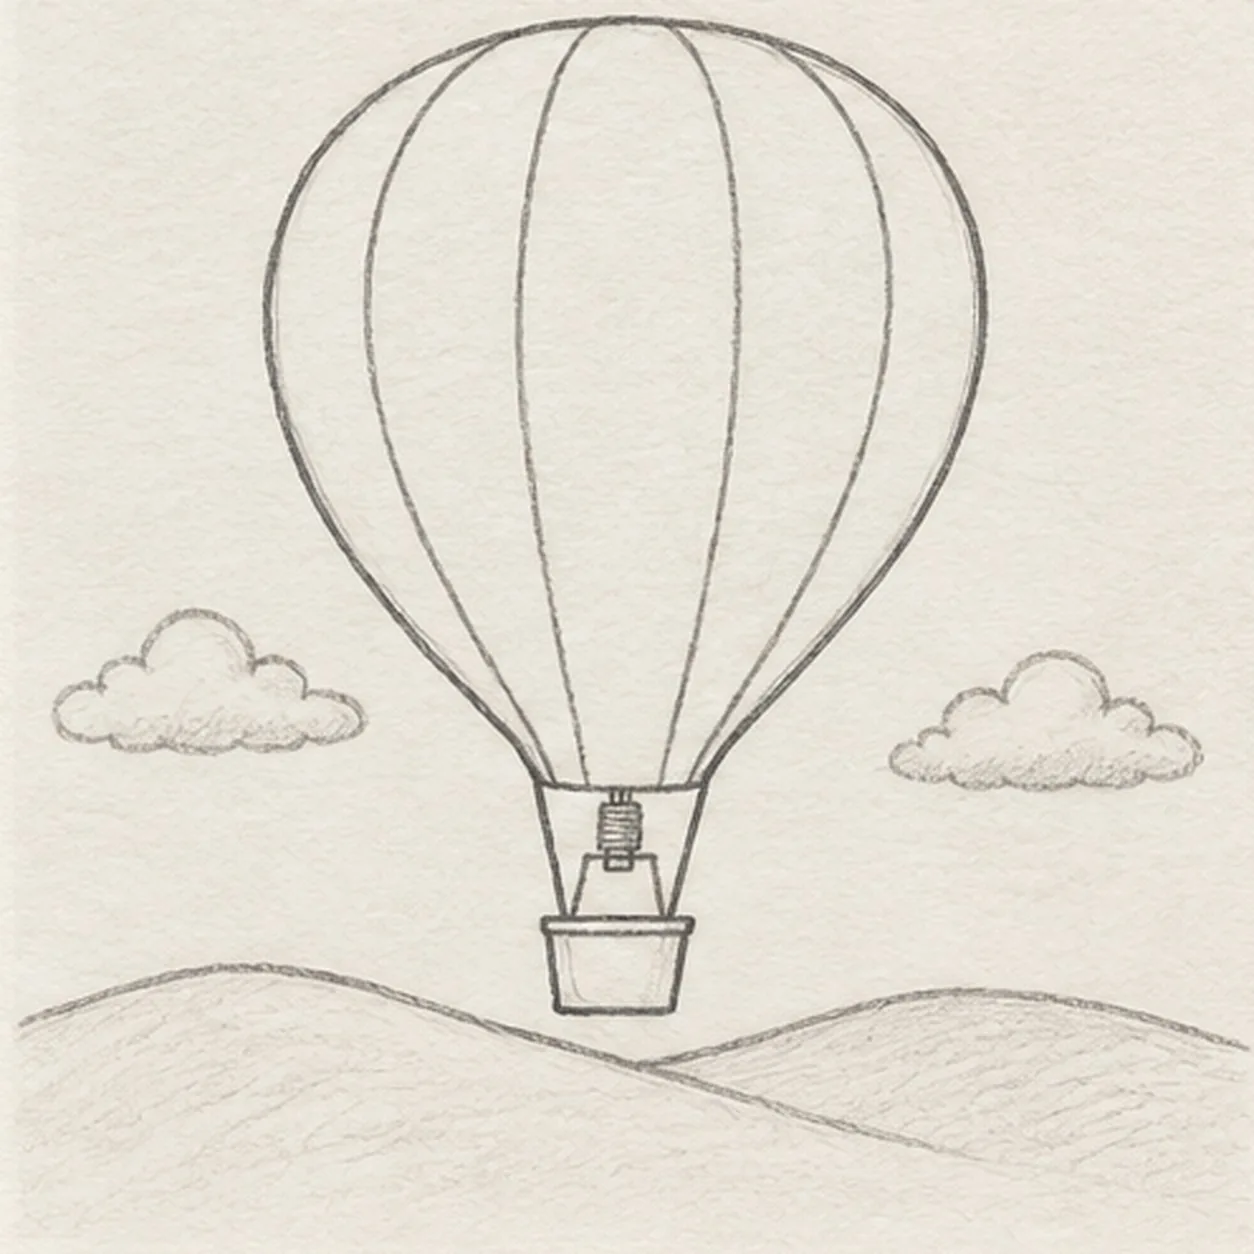
Place the hills
Sweep two gently overlapping hill lines across the lower paper below the basket. Draw one cloud to each side of the balloon, then add a narrow rim to the existing basket and lightly shade inside the clouds and hills.
Sketch tip: Place the clouds outside the balloon silhouette and let the two hills overlap low enough to keep the basket clear.
-
05
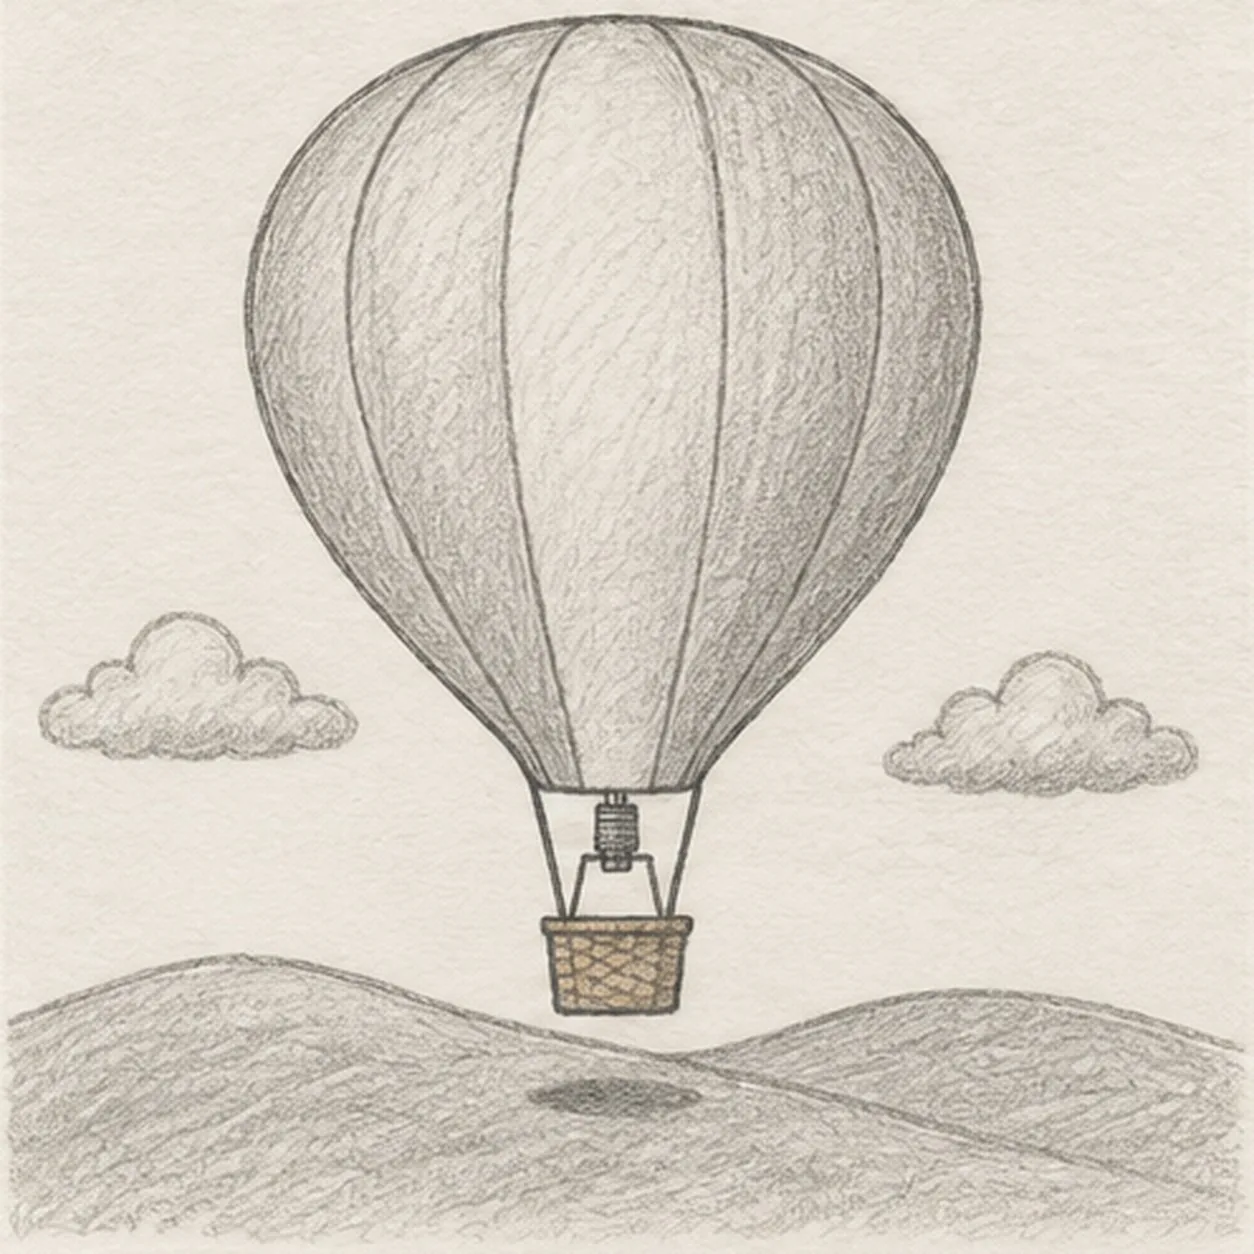
Add pencil texture
Cross a few short pencil strokes on the basket, darken the existing hill hatching and add light strokes along each balloon panel, then place one short shadow directly beneath the suspended basket.
Sketch tip: Follow the balloon curve with short loose strokes. Keep the basket weave sparse enough to read at thumbnail size.
-
06
Color the flight
Use muted ochre, rust, and blue pencil inside the existing balloon panels, warm brown in the basket, and pale green on the two hills. Deepen selected graphite edges without adding new forms.
Sketch tip: Use light layers so the graphite seams and paper grain still show. Count four seams, two ropes, two clouds, and one basket before stopping.