Pencil ready?
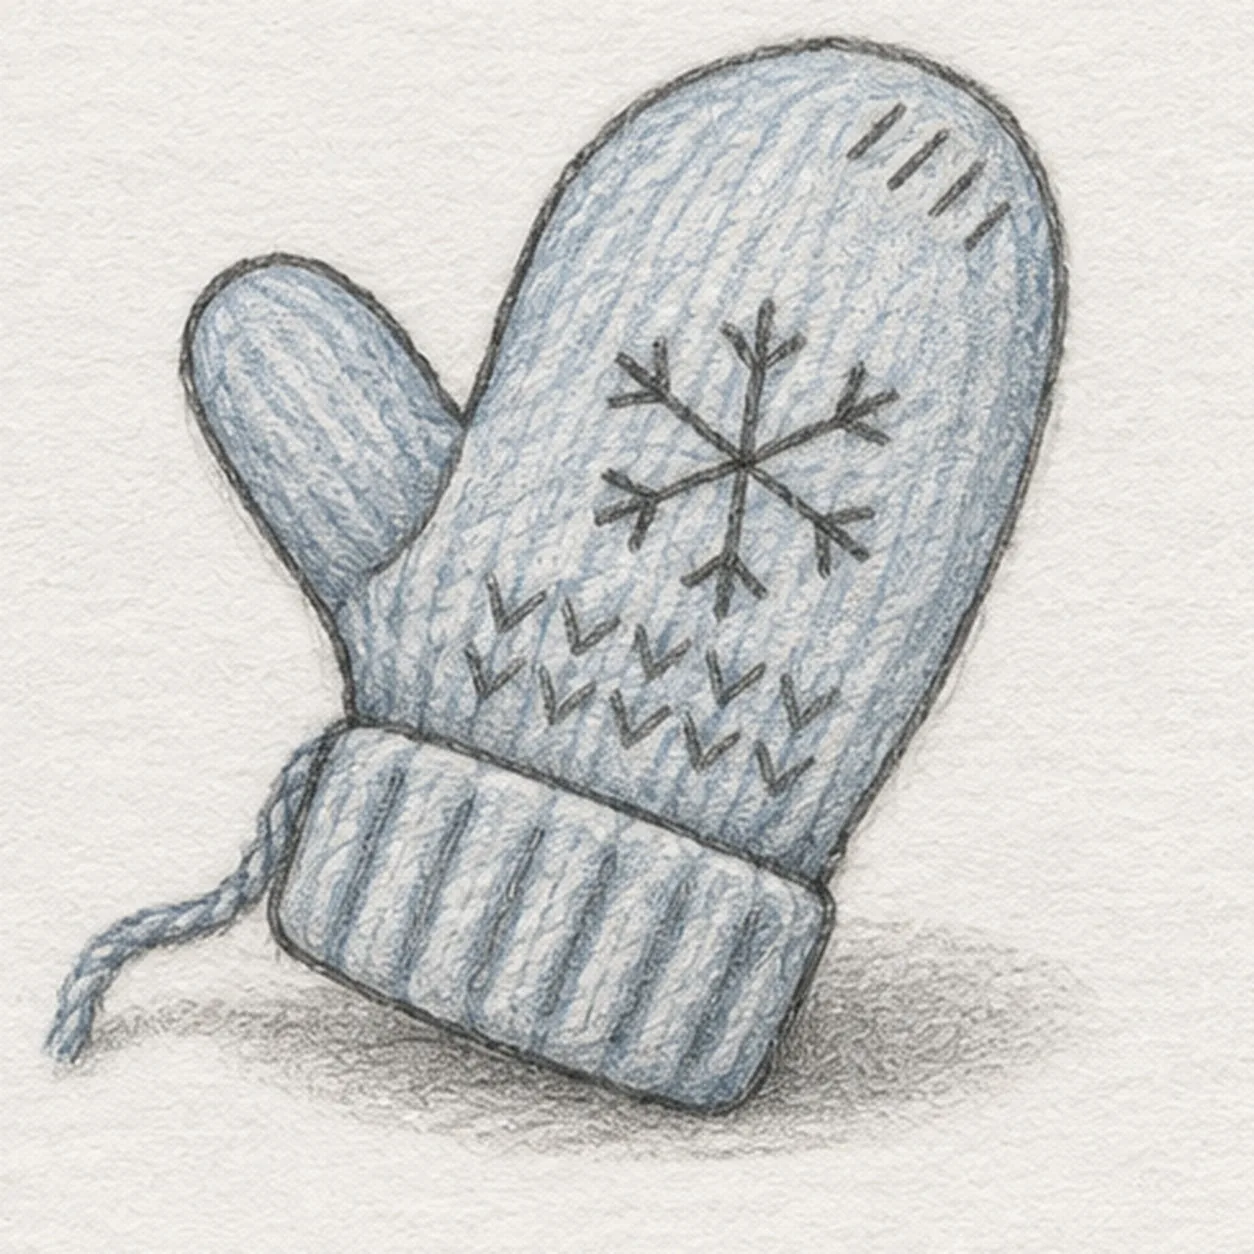
Let's draw a knitted mitten
Treat this as one small practice round: build the subject lightly, notice the shapes, then darken only the lines that help the finished sketch.
-
01
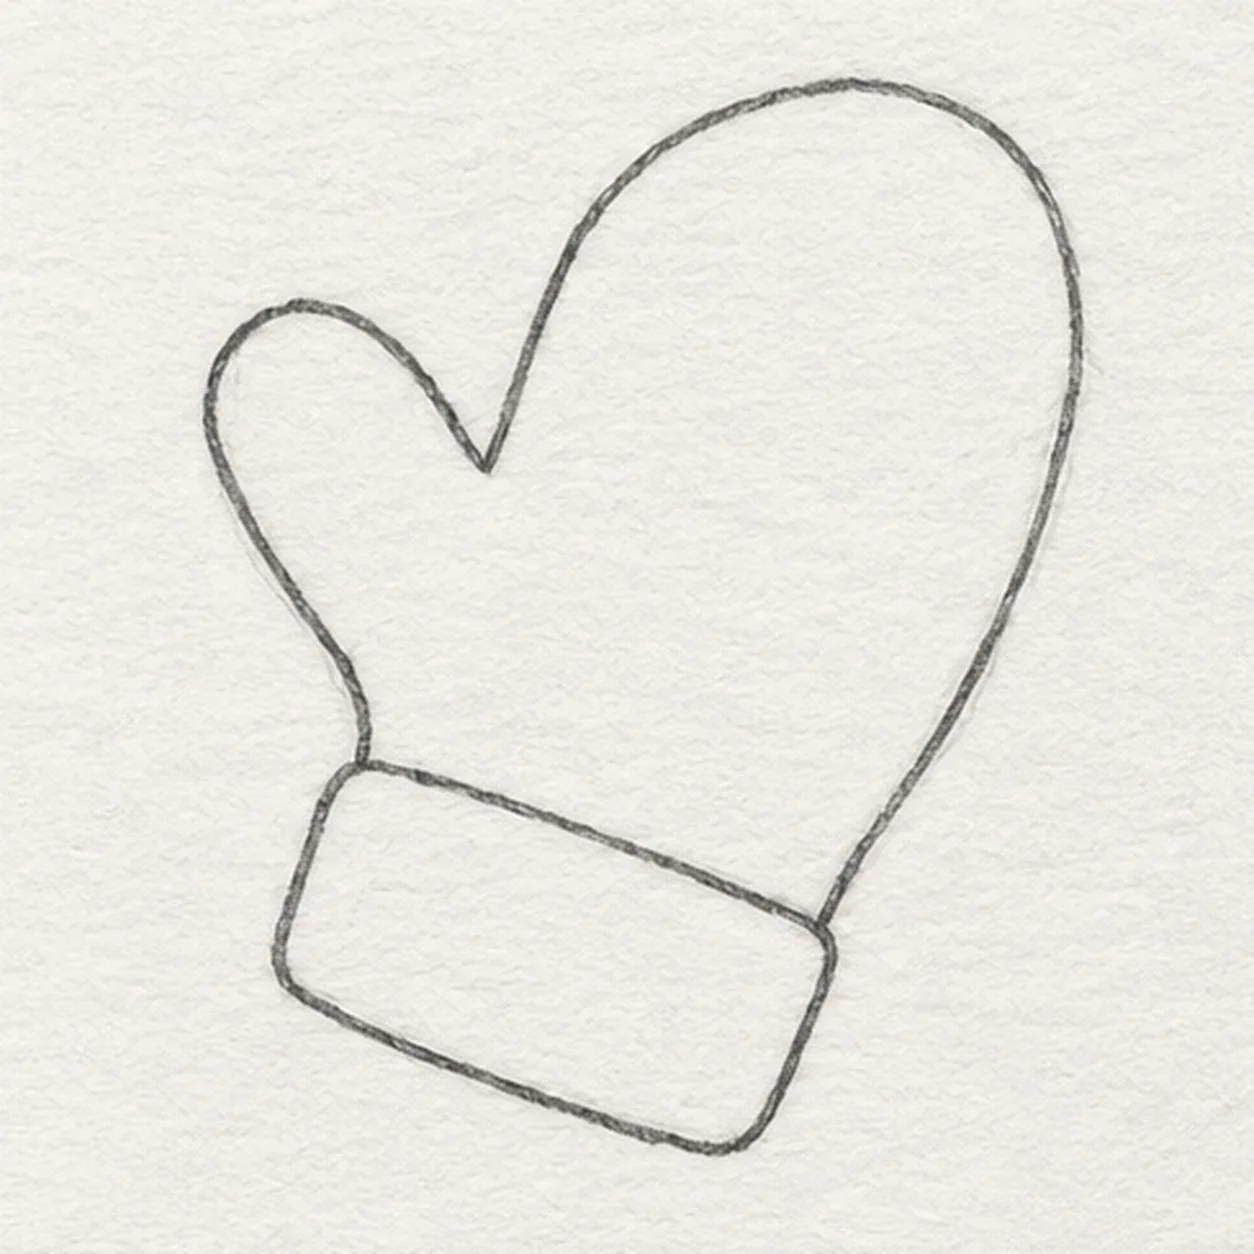
Shape the mitten
Draw one rounded mitten silhouette with a thumb opening outward on the left and a straight wrist end; place a separate wide cuff band at the wrist.
Sketch tip: Ghost the fingertip arc before drawing; leave enough room inside the palm for the motif.
-
02
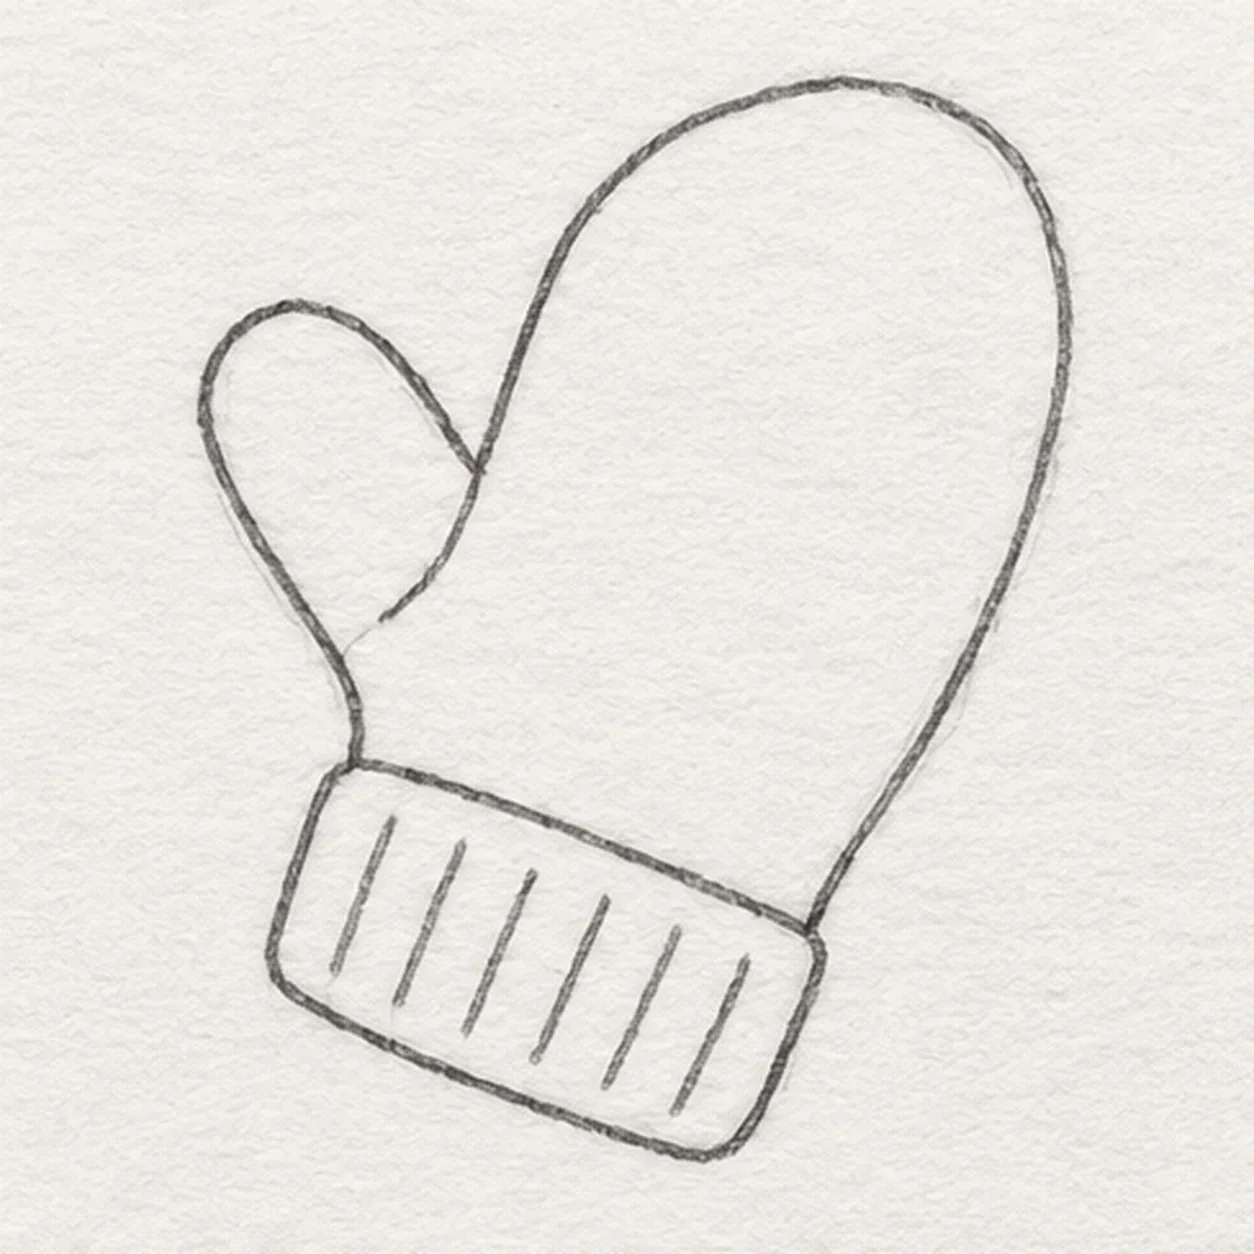
Divide the cuff
Add six short vertical rib lines inside the cuff and one inner seam tracing the thumb base without changing its outline.
Sketch tip: Space the six ribs before pressing harder; keep the thumb seam short and inside its outline.
-
03
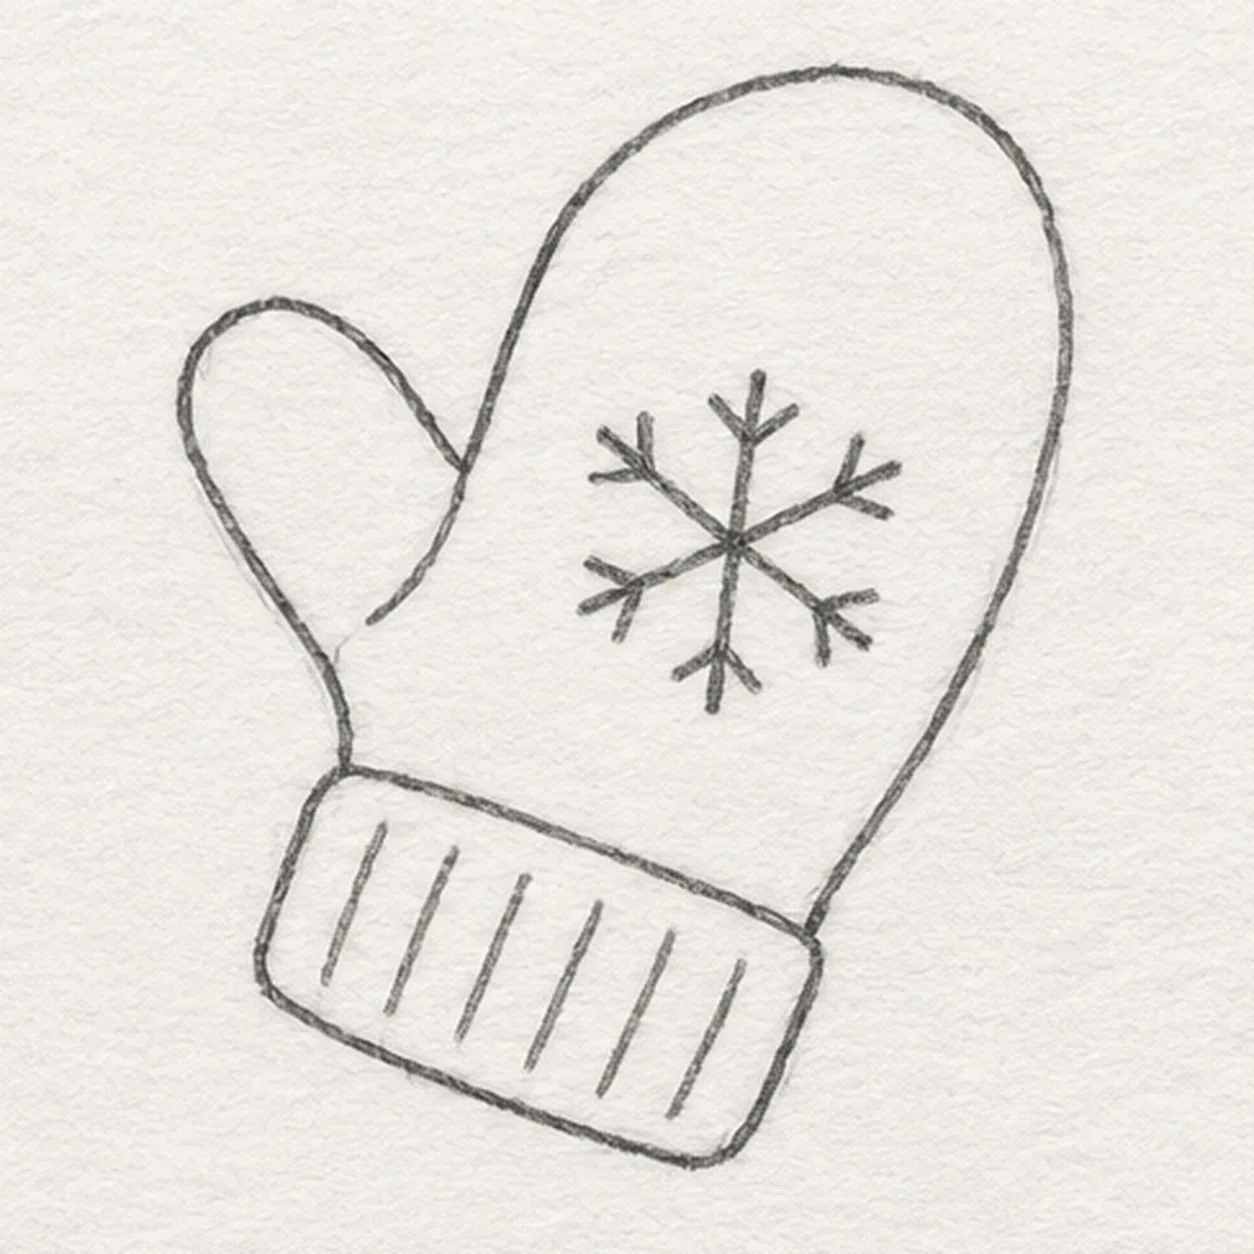
Place a snowflake
At the middle of the palm draw one small six-armed snowflake, leaving clear space around the thumb and outer mitten edge.
Sketch tip: Start at one center point and send six arms outward, leaving white paper around the motif.
-
04
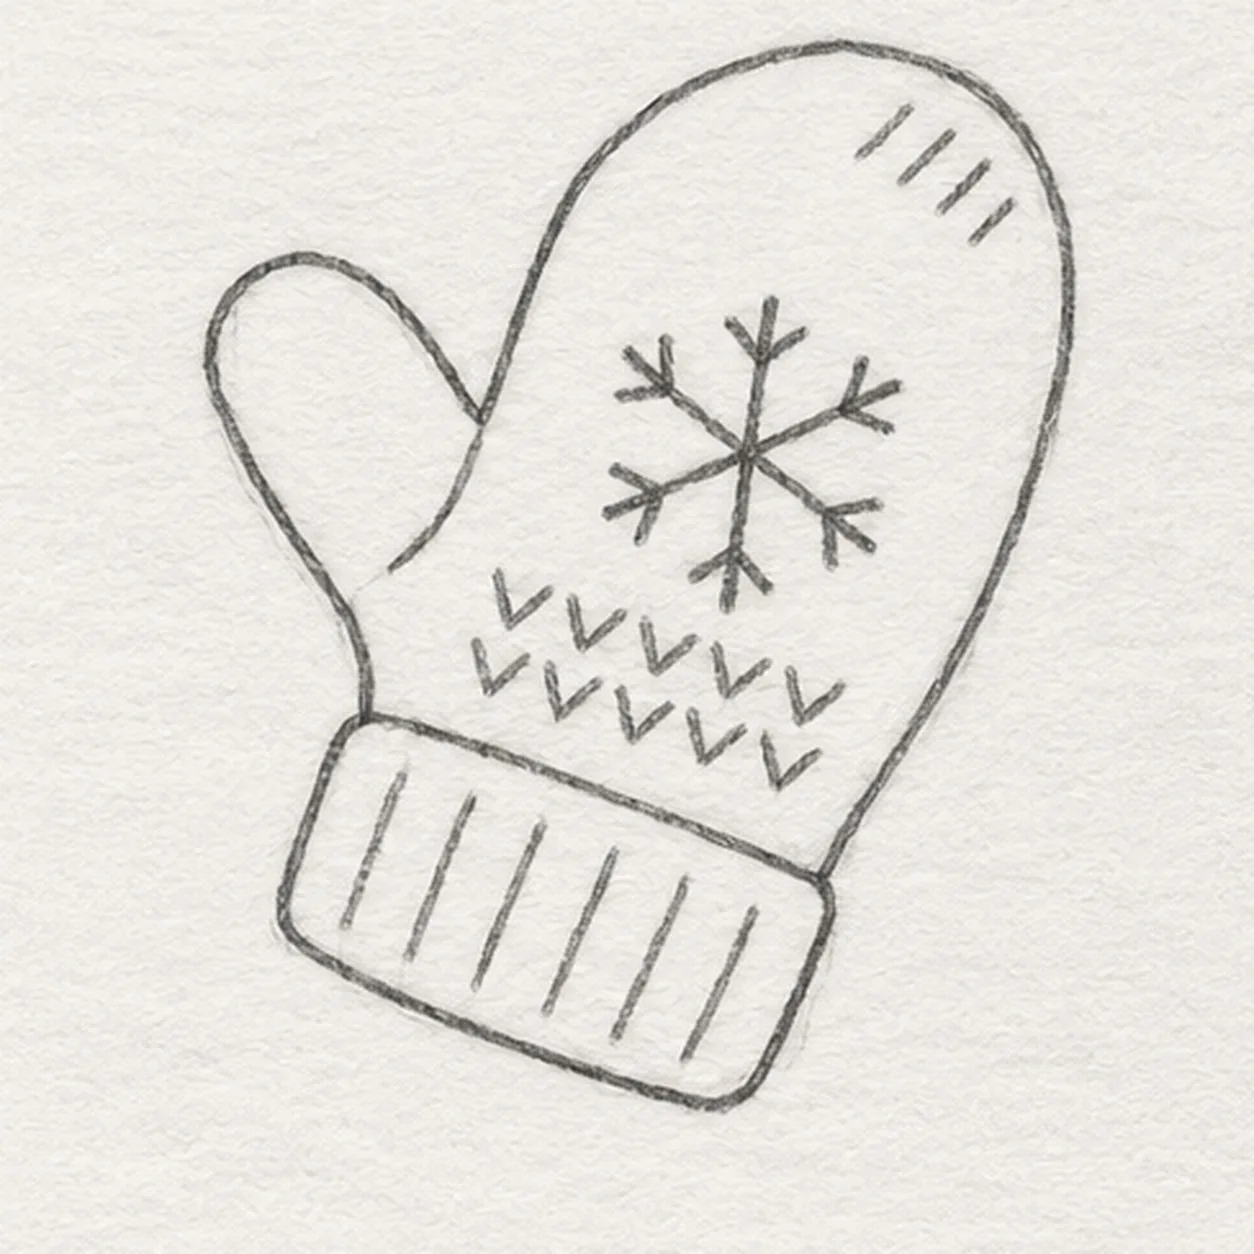
Add knitted stitches
Draw two staggered rows of small V stitches below the snowflake and four short diagonal stitch marks near the fingertip curve.
Sketch tip: Keep the V marks loose and staggered like knitted loops; count four fingertip dashes.
-
05
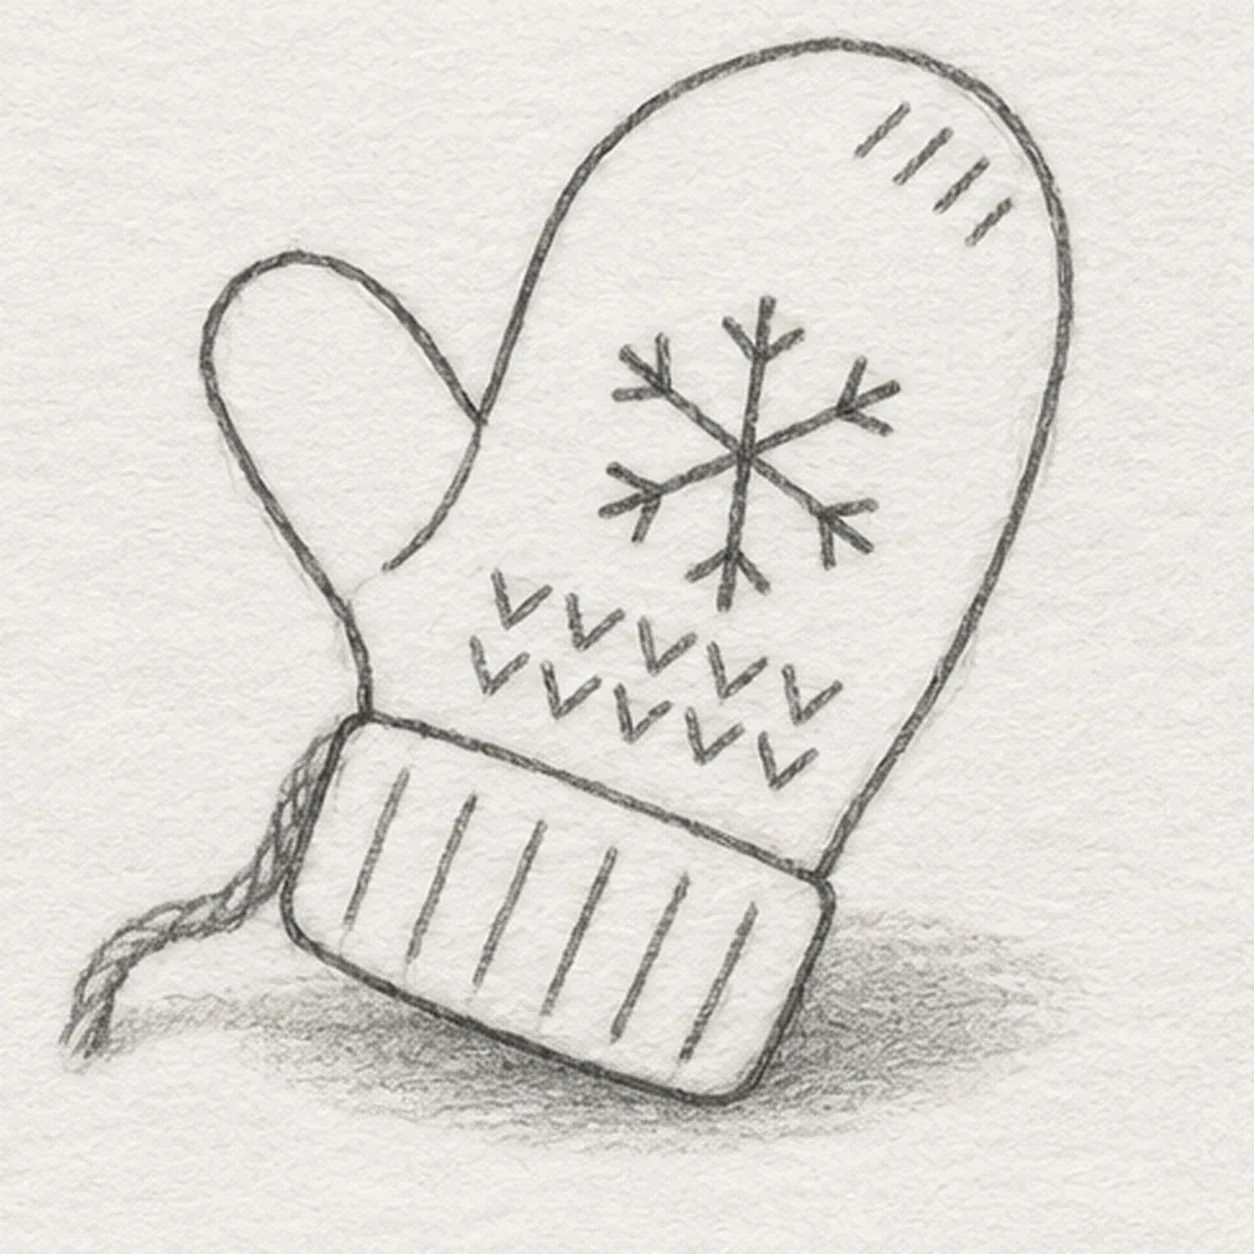
Ground the mitten
Add a short loose yarn tail from one cuff corner and one broken oval shadow beneath the mitten. Keep every earlier contour fixed.
Sketch tip: Attach the yarn at the left cuff corner and break the shadow under the cuff rather than circling the mitten.
-
06
Shade the knit
Shade the existing mitten with pale blue-gray pencil, darken the cuff ribs and stitches with graphite, and keep the snowflake light. Add no new outline or motif.
Sketch tip: Use the side of the pencil lightly so graphite lines and paper tooth stay visible.