
From the archive
Let's draw a parade drum with sticks
Treat this as one small practice round: build the subject lightly, notice the shapes, then darken only the lines that help the finished sketch.
-
01
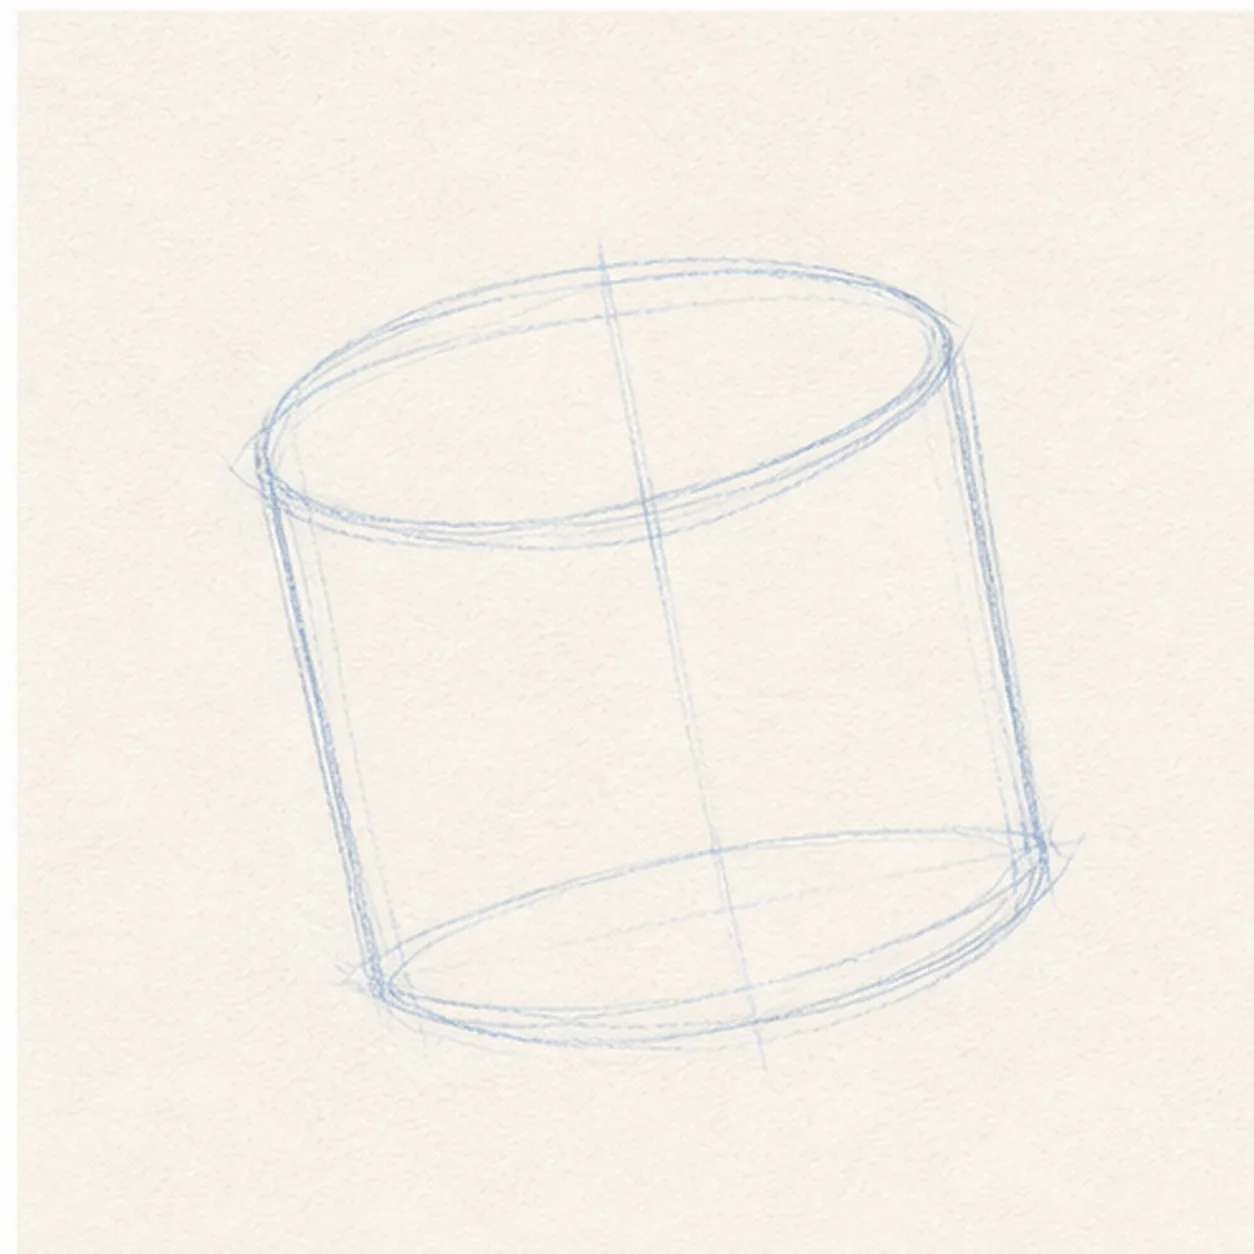
Place the drum guides
Draw a tilted oval for the top of the drum, a matching lower curve, and a light center guide through the shell.
Sketch tip: Keep these marks pale. The two curves should feel like they belong to the same squat cylinder.
-
02
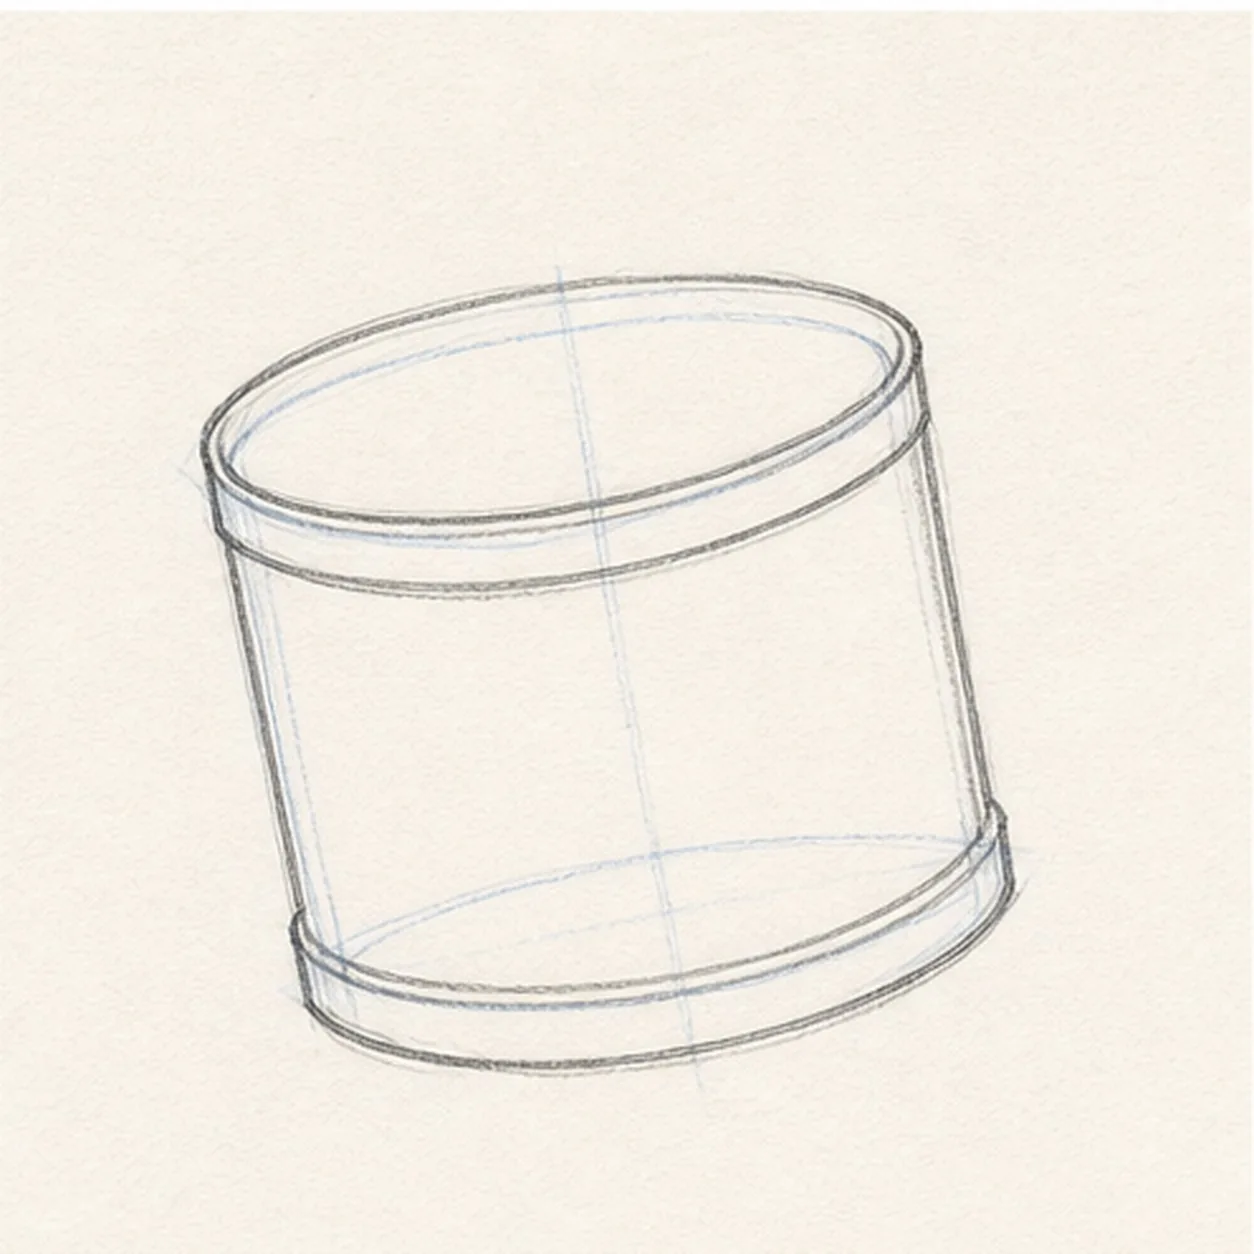
Wrap the drum shell
Turn the guides into clean top and bottom rims, then connect them with slightly angled side edges.
Sketch tip: Let the lower rim echo the top ellipse. Matching curves make the drum feel round instead of flat.
-
03
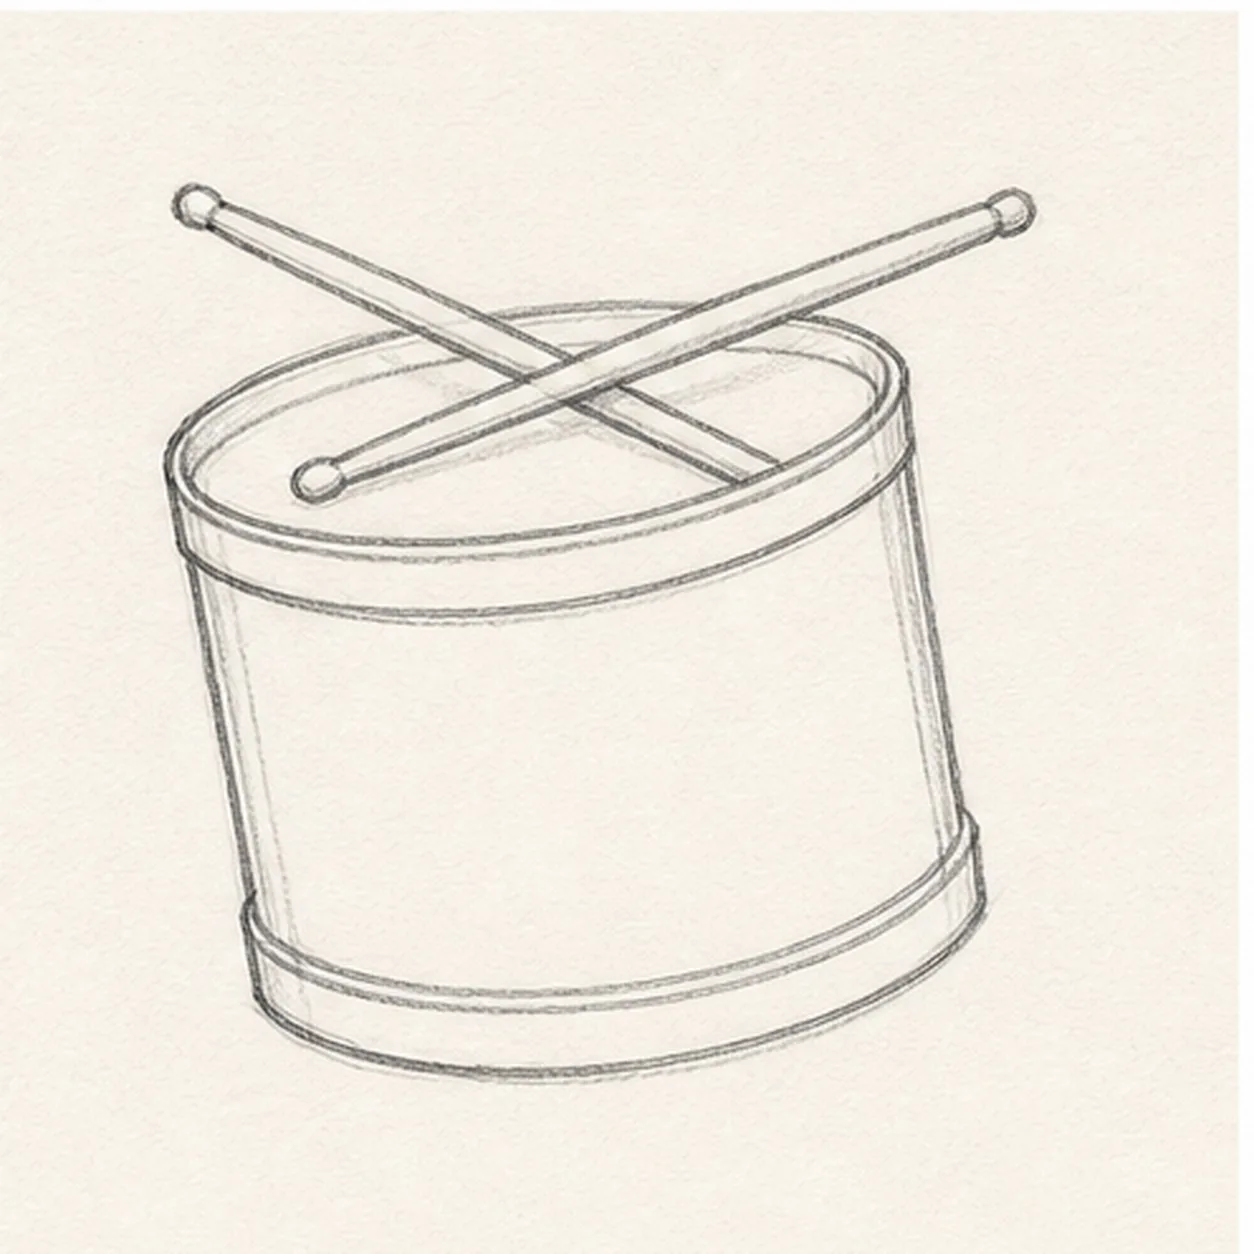
Cross the sticks
Place two slim drumsticks across the top rim, crossing them near the middle and adding small rounded tips.
Sketch tip: Draw the sticks after the rim so you can tuck them convincingly on top of the drum.
-
04
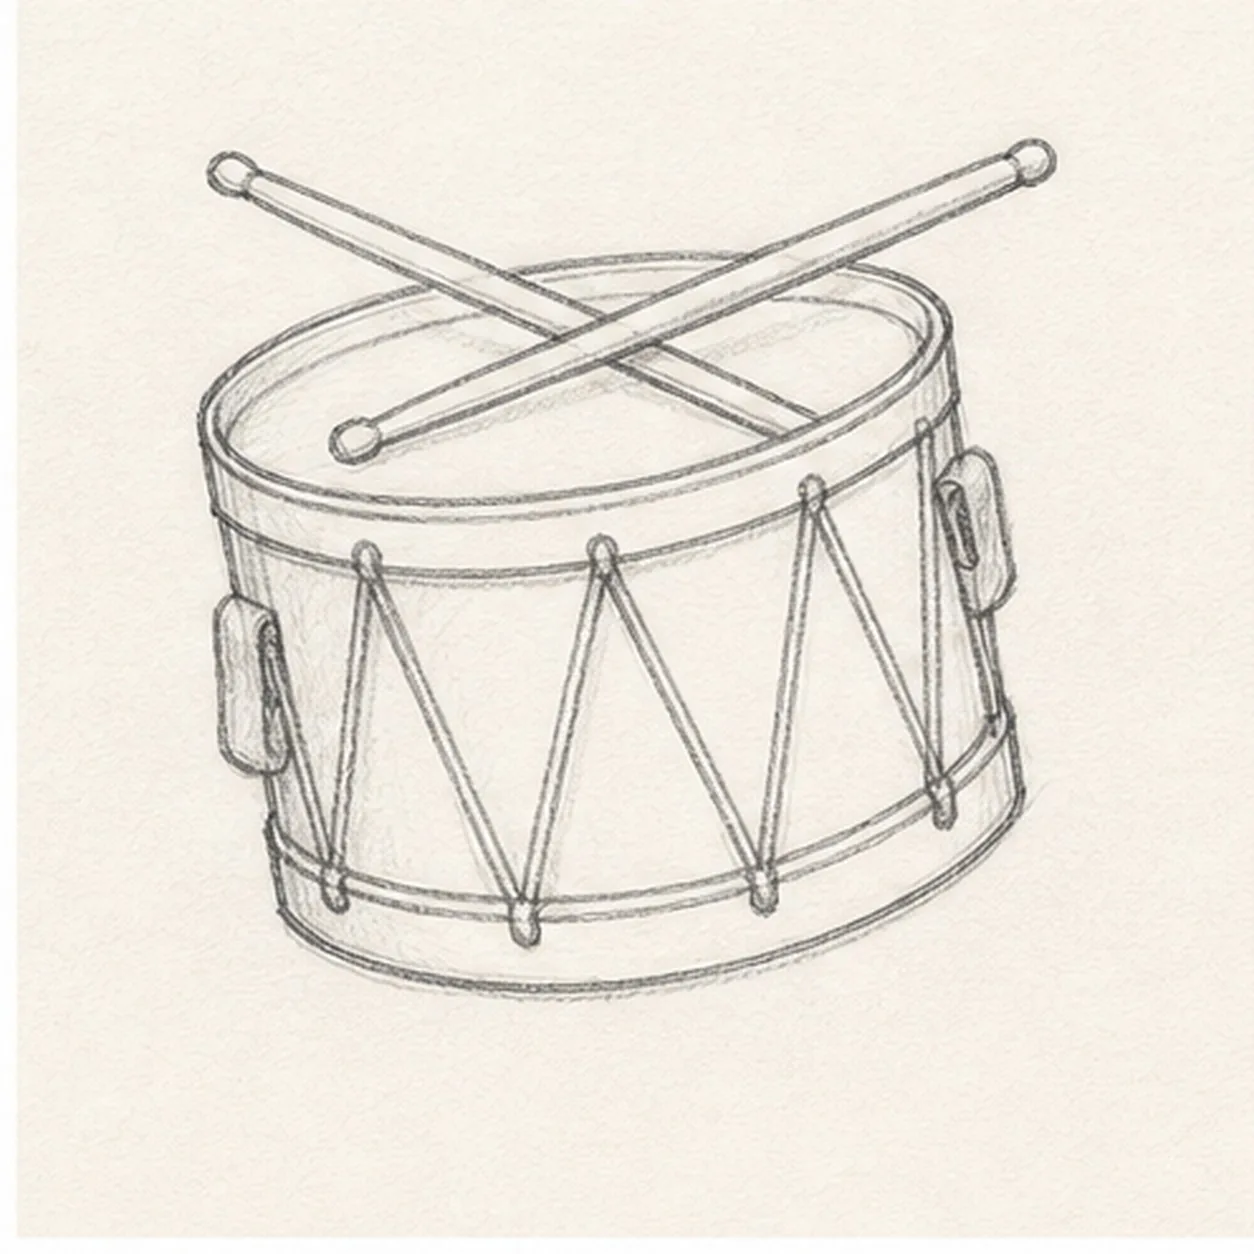
Add straps and lacing
Sketch small side straps, then zigzag simple lacing marks between the top and bottom rims.
Sketch tip: Space the lacing lightly. A few clear V shapes read better than a crowded row of tiny strings.
-
05
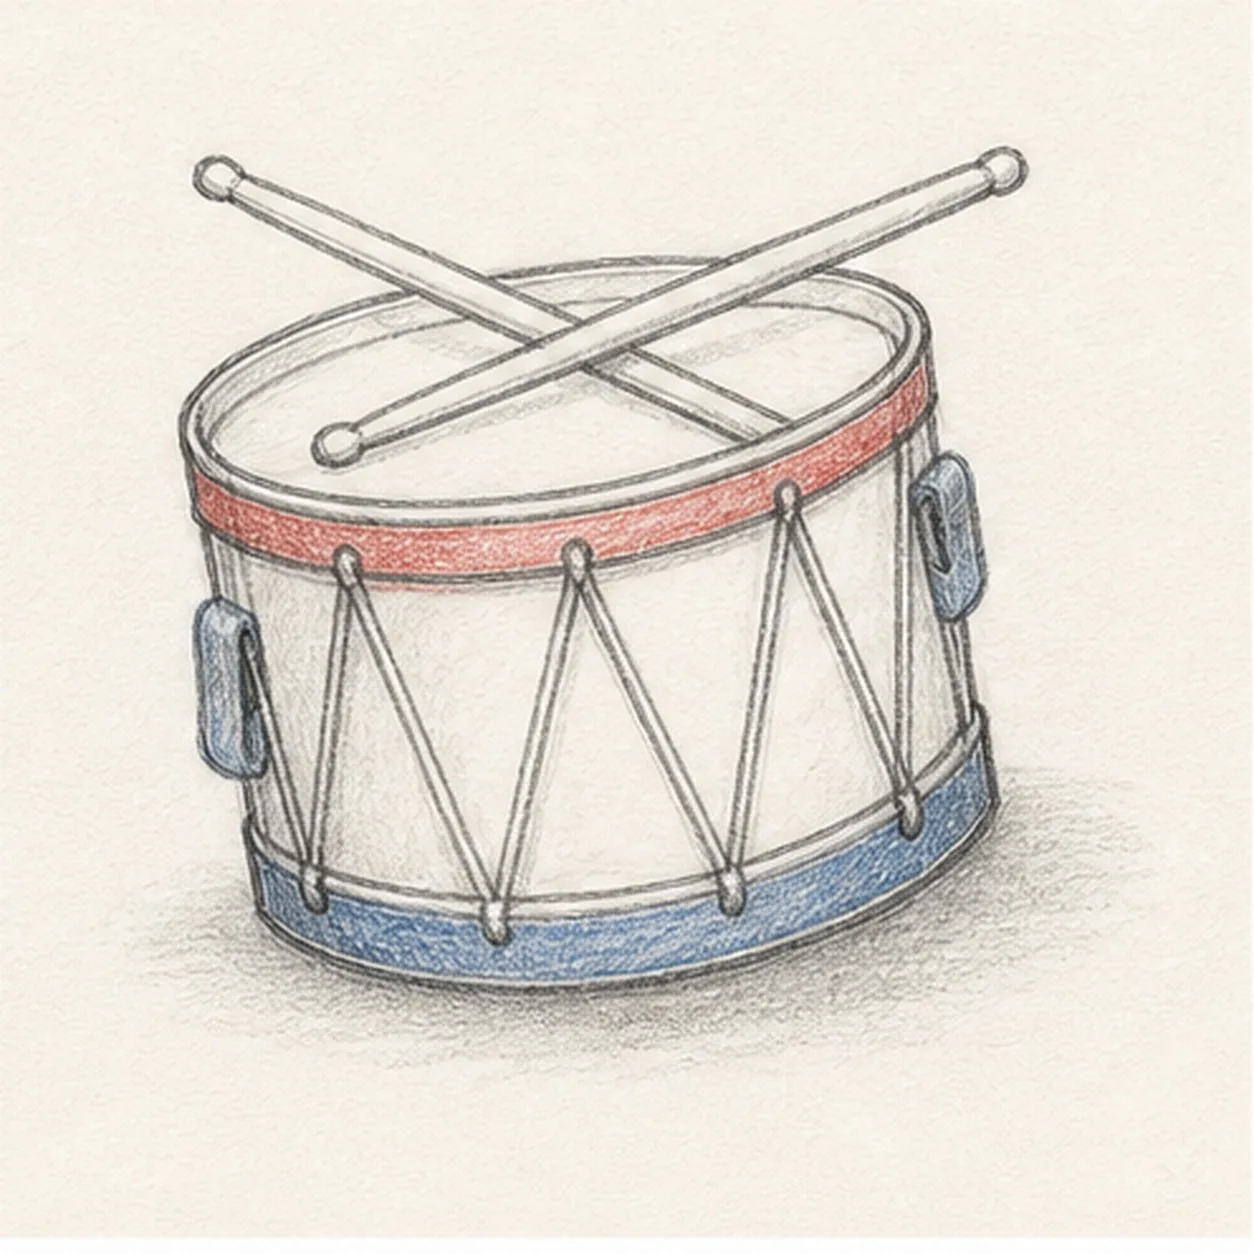
Shade the parade colors
Add restrained red and blue accents to the drum bands, shade the shell and sticks, and place a soft shadow underneath.
Sketch tip: Keep the color inside shapes you already drew. The graphite should still do most of the form work.
-
06
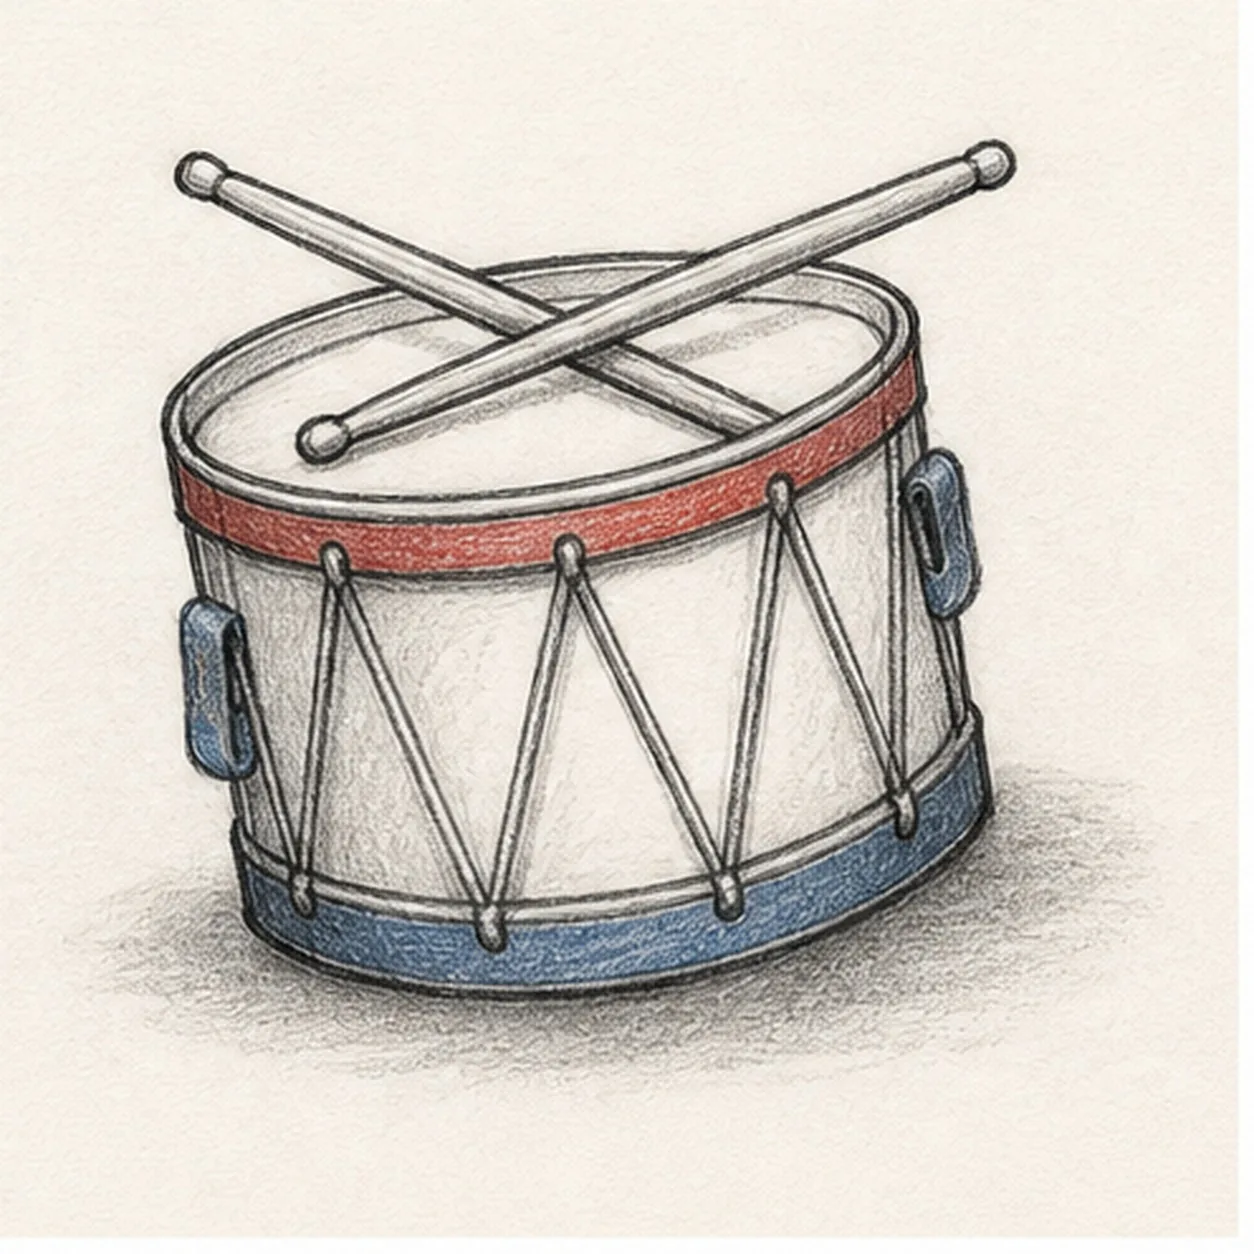
Finish the parade drum
Darken the keeper contours, clarify the sticks and lacing, and deepen the existing color and shadow.
Sketch tip: Stop before adding flags or lettering. The crossed sticks, lacing, and bright rims already say parade drum.


