
From the archive
Let's draw a patchwork kite
Treat this as one small practice round: build the subject lightly, notice the shapes, then darken only the lines that help the finished sketch.
-
01
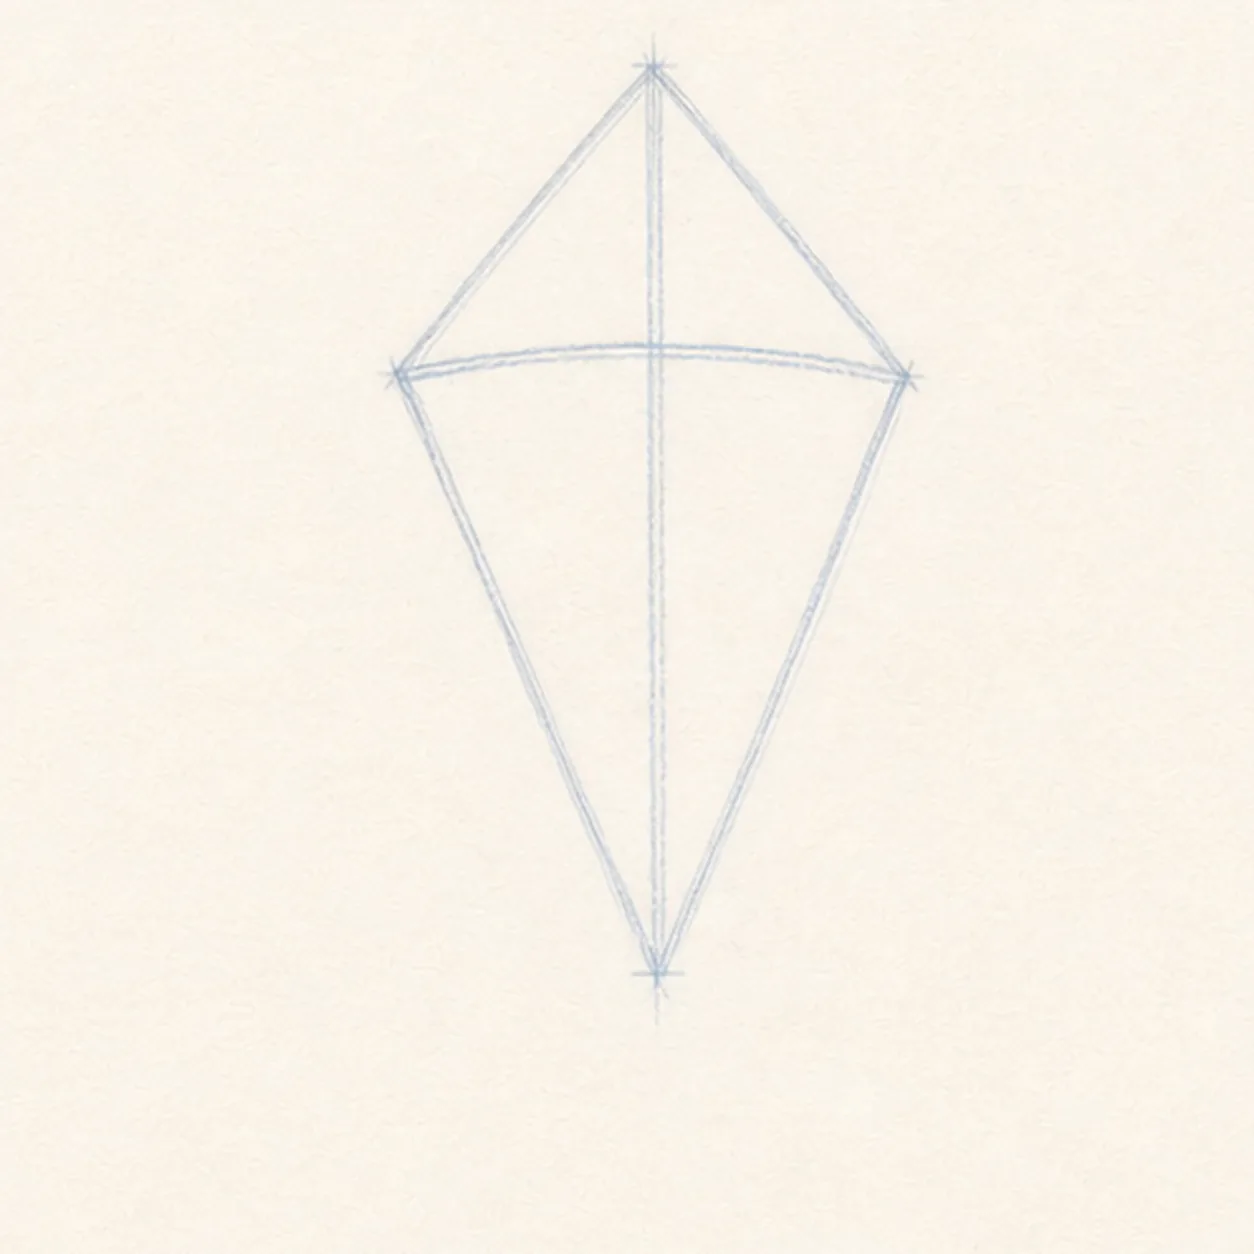
Place the diamond and spars
Draw a tall diamond for the kite body, then add one vertical line from top point to bottom point and one gentle cross line from side point to side point.
Sketch tip: Keep the top half a little taller than the bottom half. That makes the kite feel like it is lifting upward.
-
02
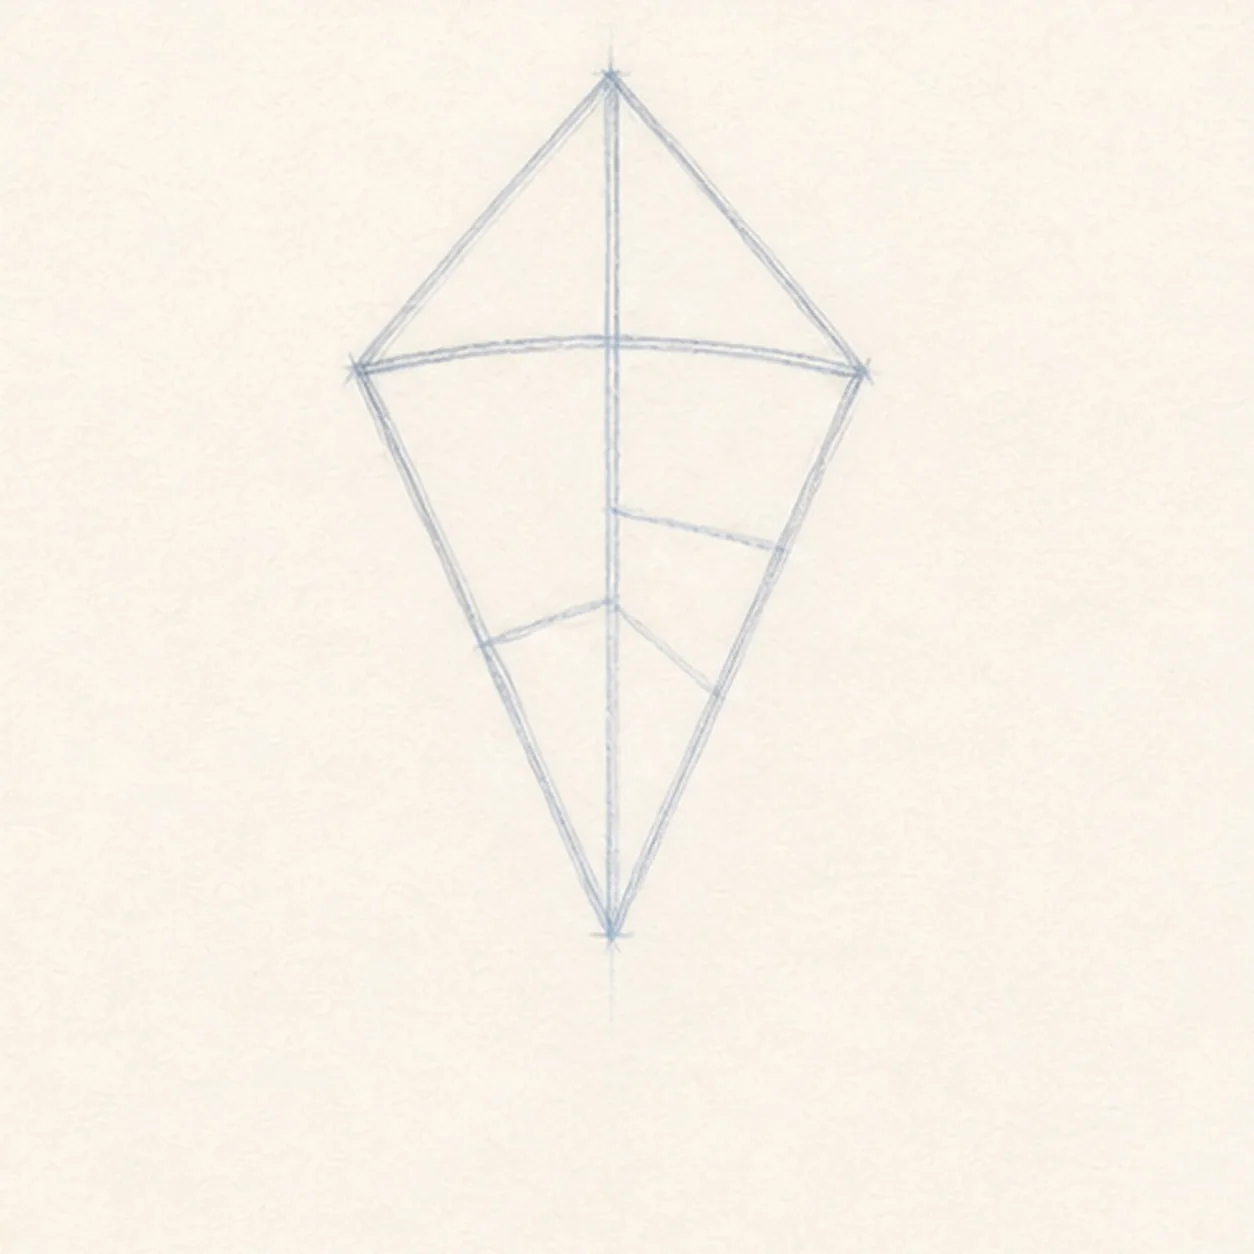
Divide the patchwork panels
Add a few short seam lines inside the diamond: one angled seam near the top, a smaller rectangle-like patch in the middle, and two lower triangle seams.
Sketch tip: Let the seams follow the kite's tilt. Straight ruler-perfect lines will make the handmade fabric feel stiff.
-
03
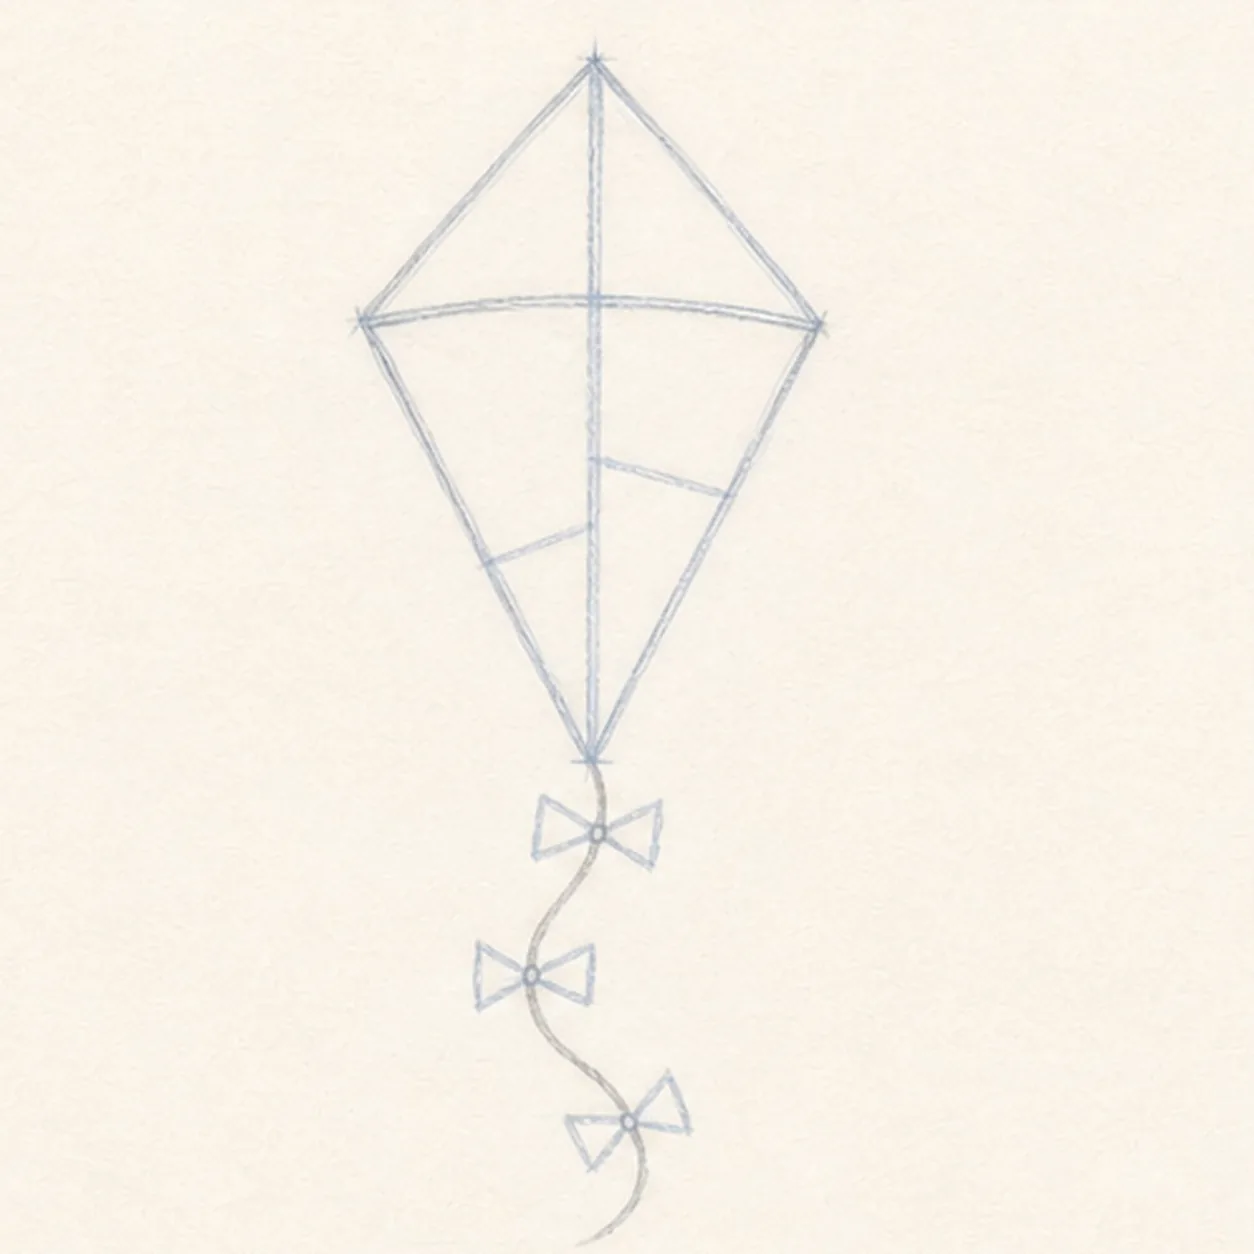
Add the string and bows
Pull a loose S-curve string from the bottom point, then place three bow ties along the string with tiny knots and triangle wings.
Sketch tip: Draw the string first, then center each bow on it. The bows should get smaller as they travel down the tail.
-
04
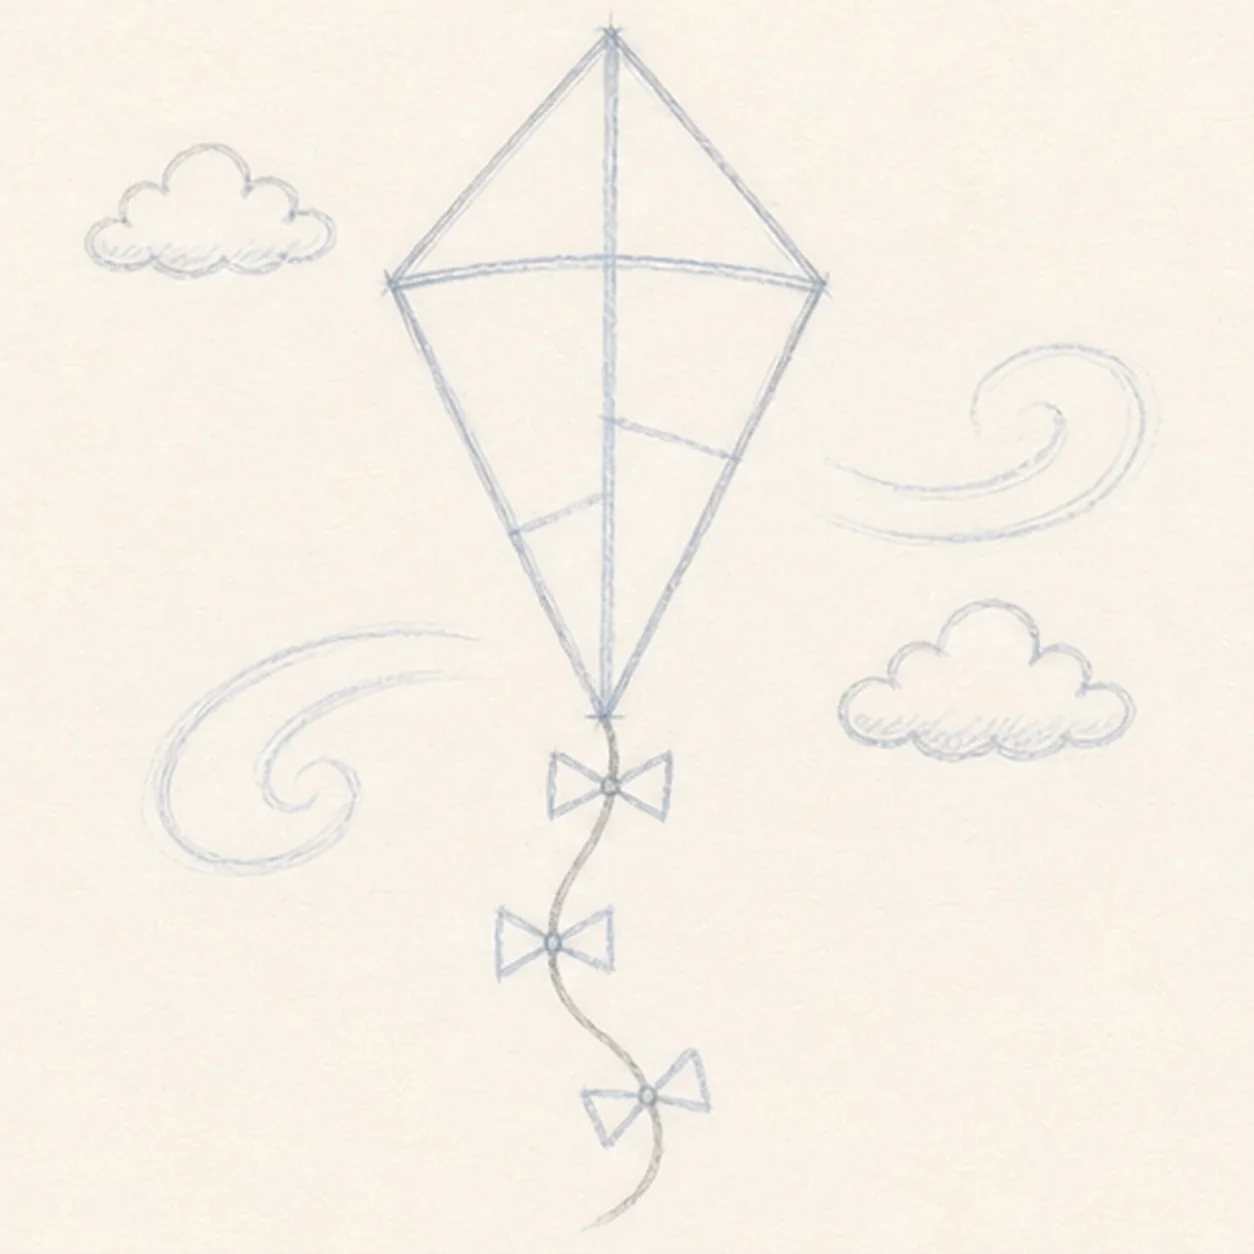
Sketch the breeze
Add two light wind swirls around the kite and a couple of small puffy clouds, keeping them softer than the kite outline.
Sketch tip: Use very light pressure for the wind. These marks show motion, but they should not compete with the kite.
-
05
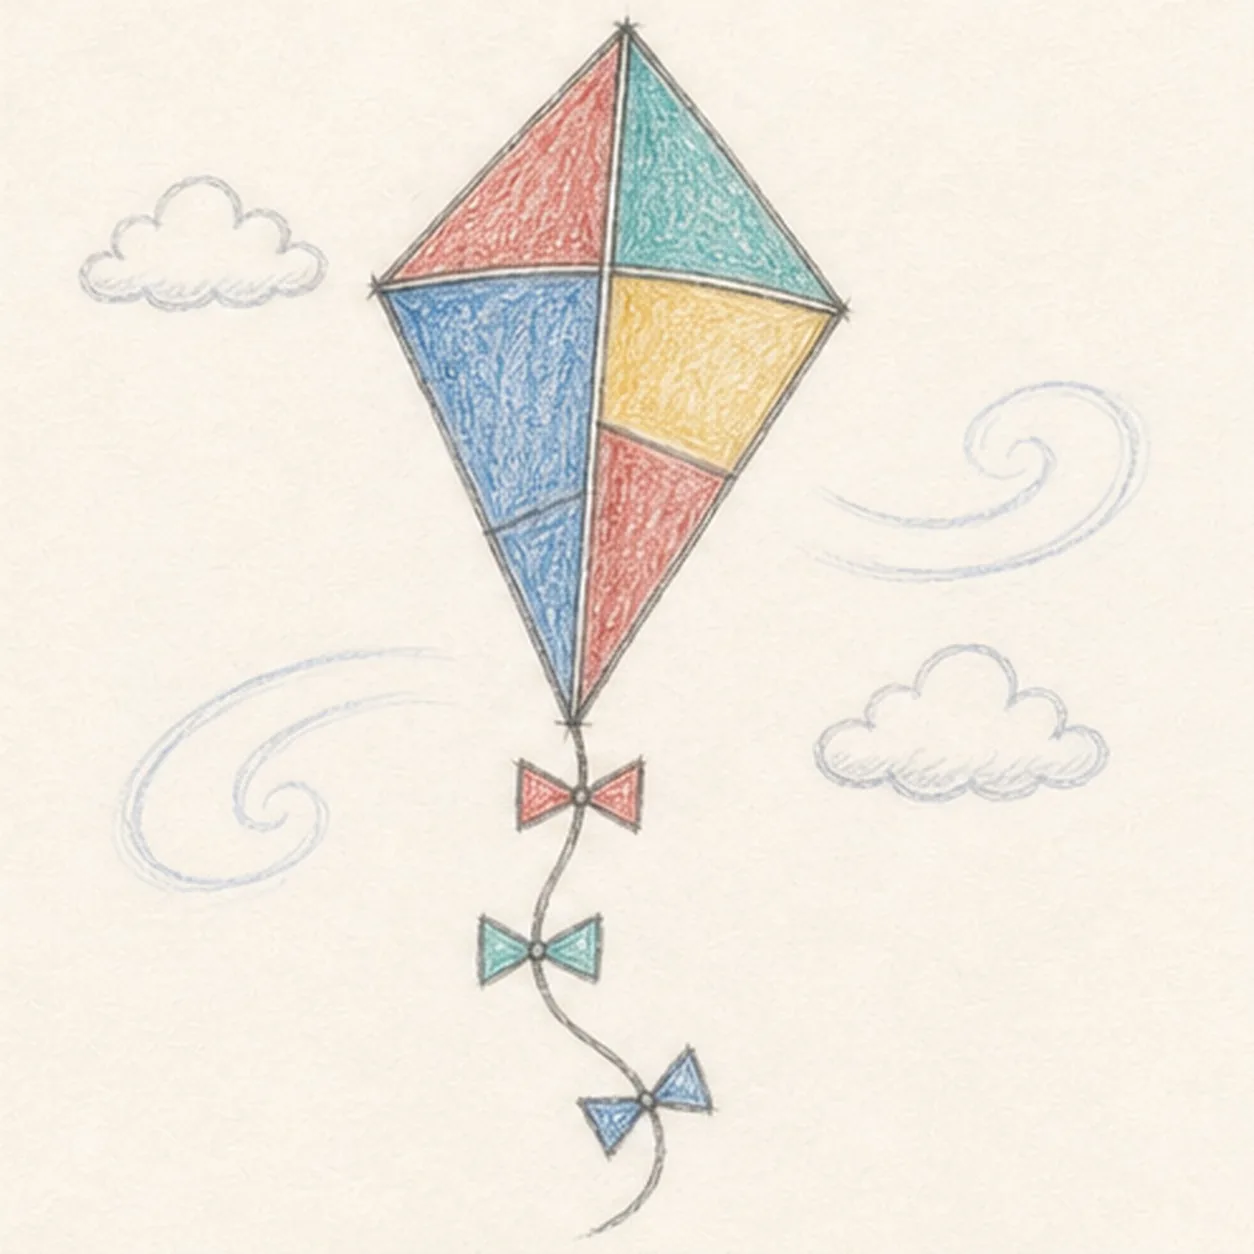
Color the kite and tail
Shade each fabric panel with loose colored-pencil strokes, then add red, blue, and yellow to the bow ties on the string.
Sketch tip: Change stroke direction from panel to panel, and keep the bow color lighter than the kite body so the tail decorates the drawing.
-
06
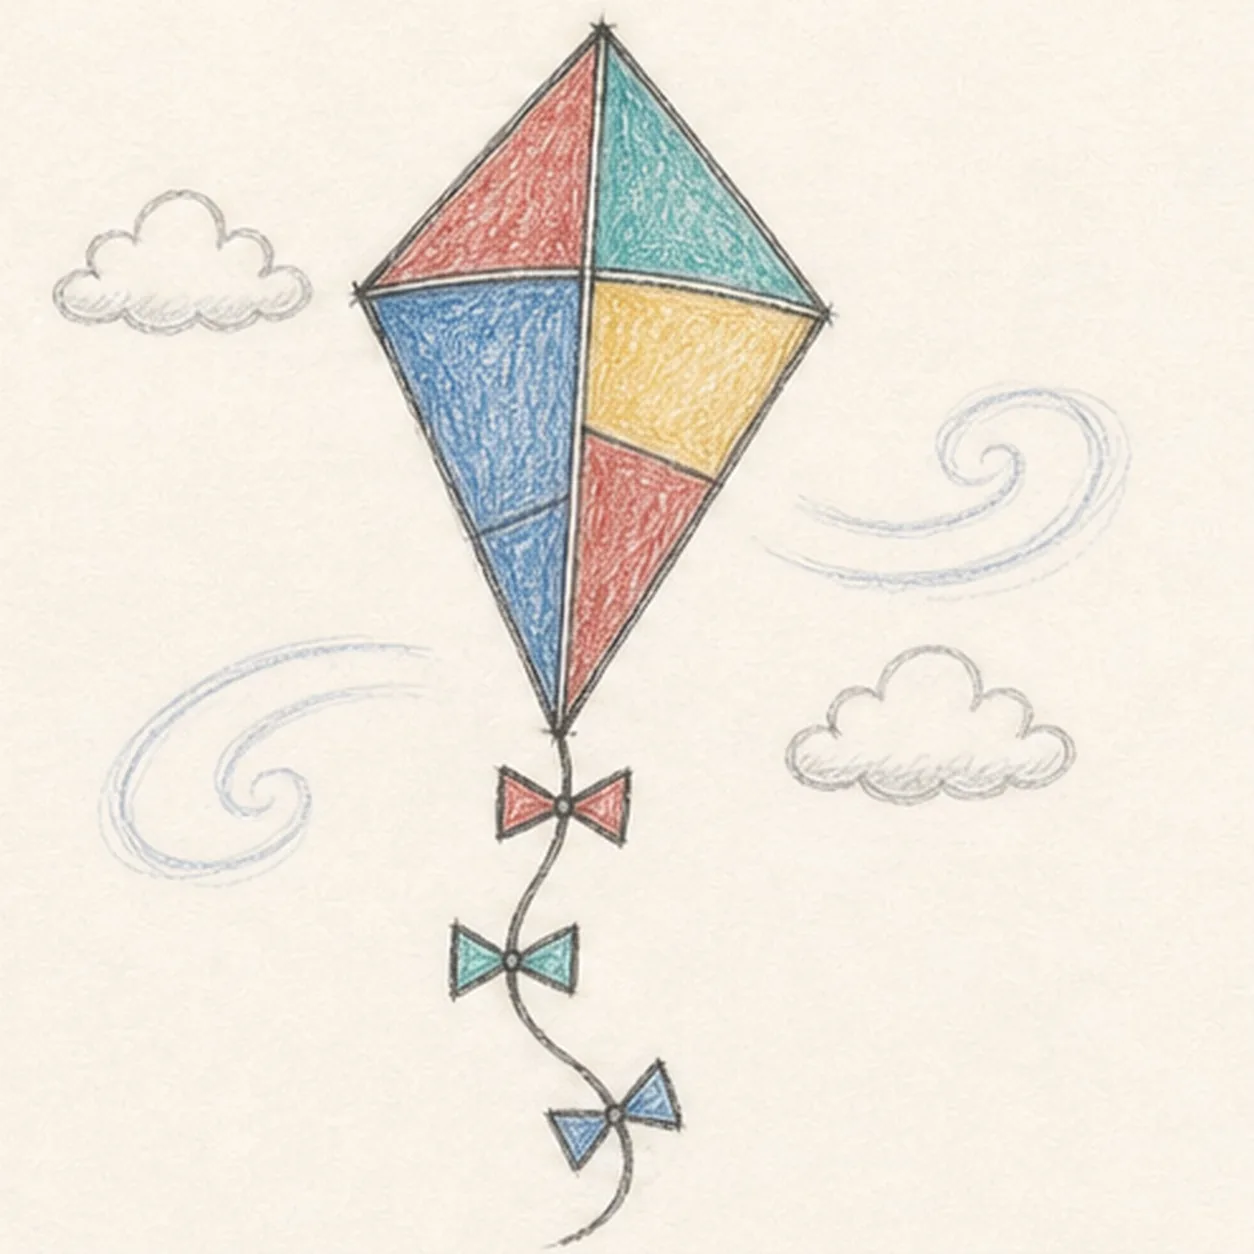
Finish the keeper lines
Choose the strongest kite edges, seam lines, bow knots, wind swirls, and cloud curves, then add a final pass of pencil texture.
Sketch tip: The last pass should clarify what is already there. Avoid adding new panels or changing the tail curve.


