
From the archive
Let's draw a vintage key on a tag
Treat this as one small practice round: build the subject lightly, notice the shapes, then darken only the lines that help the finished sketch.
-
01
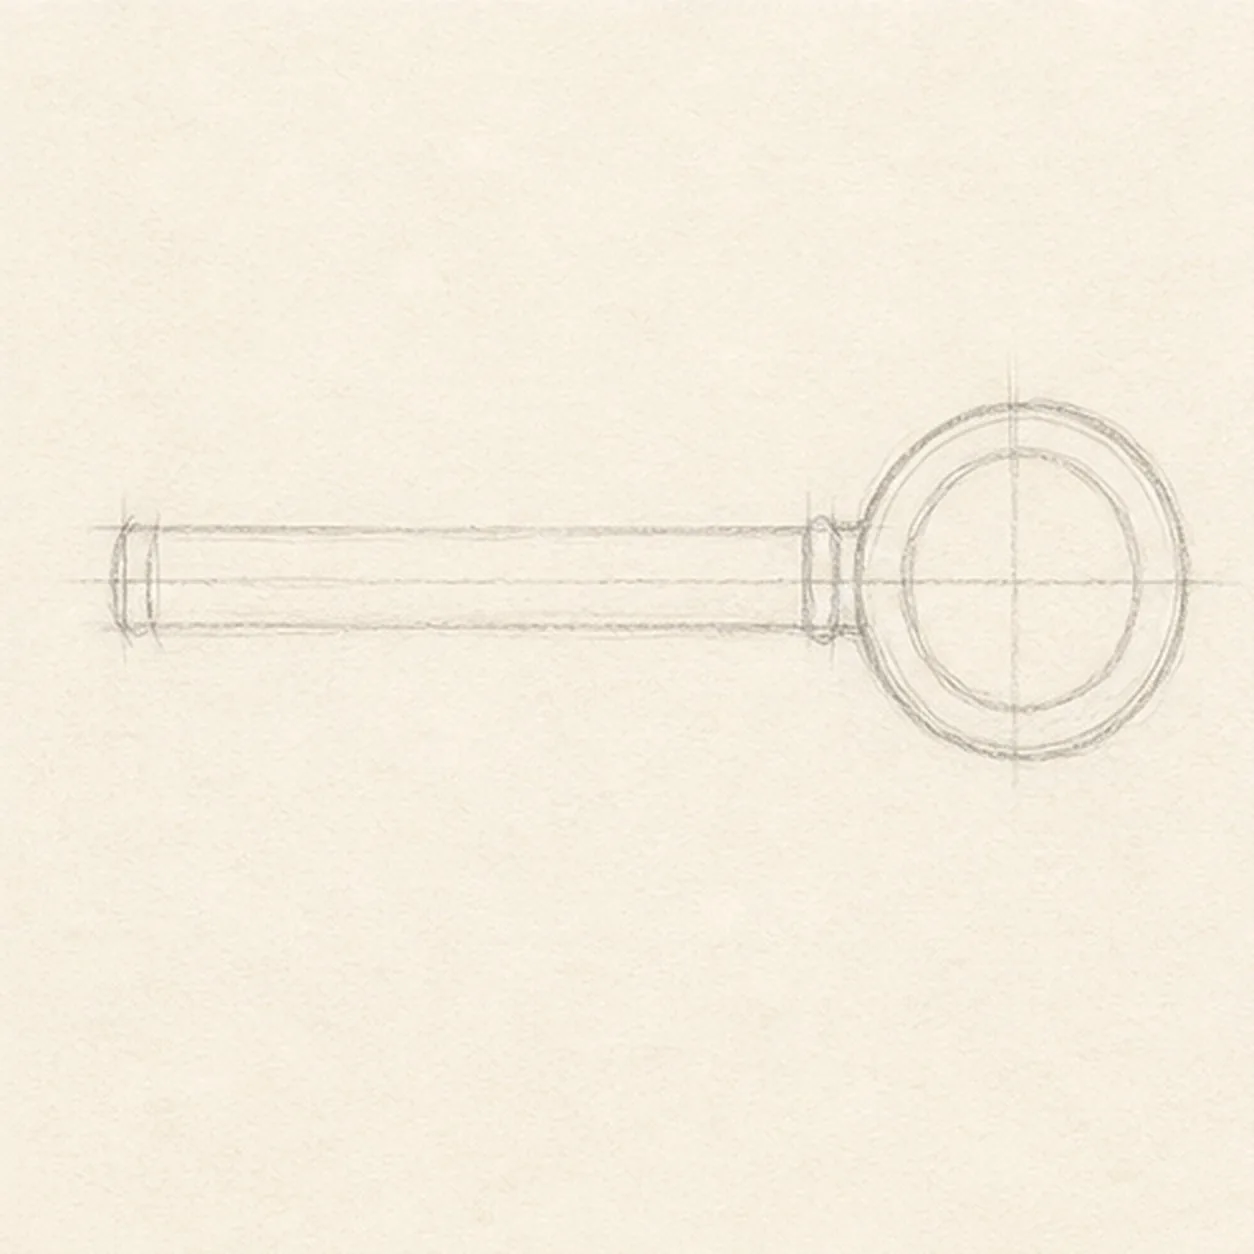
Lay in the key
Draw a long light shaft, then add a round bow at one end to set the key's diagonal pose.
Sketch tip: Keep the shaft straight before adding details. A clean center line makes the old key feel solid.
-
02
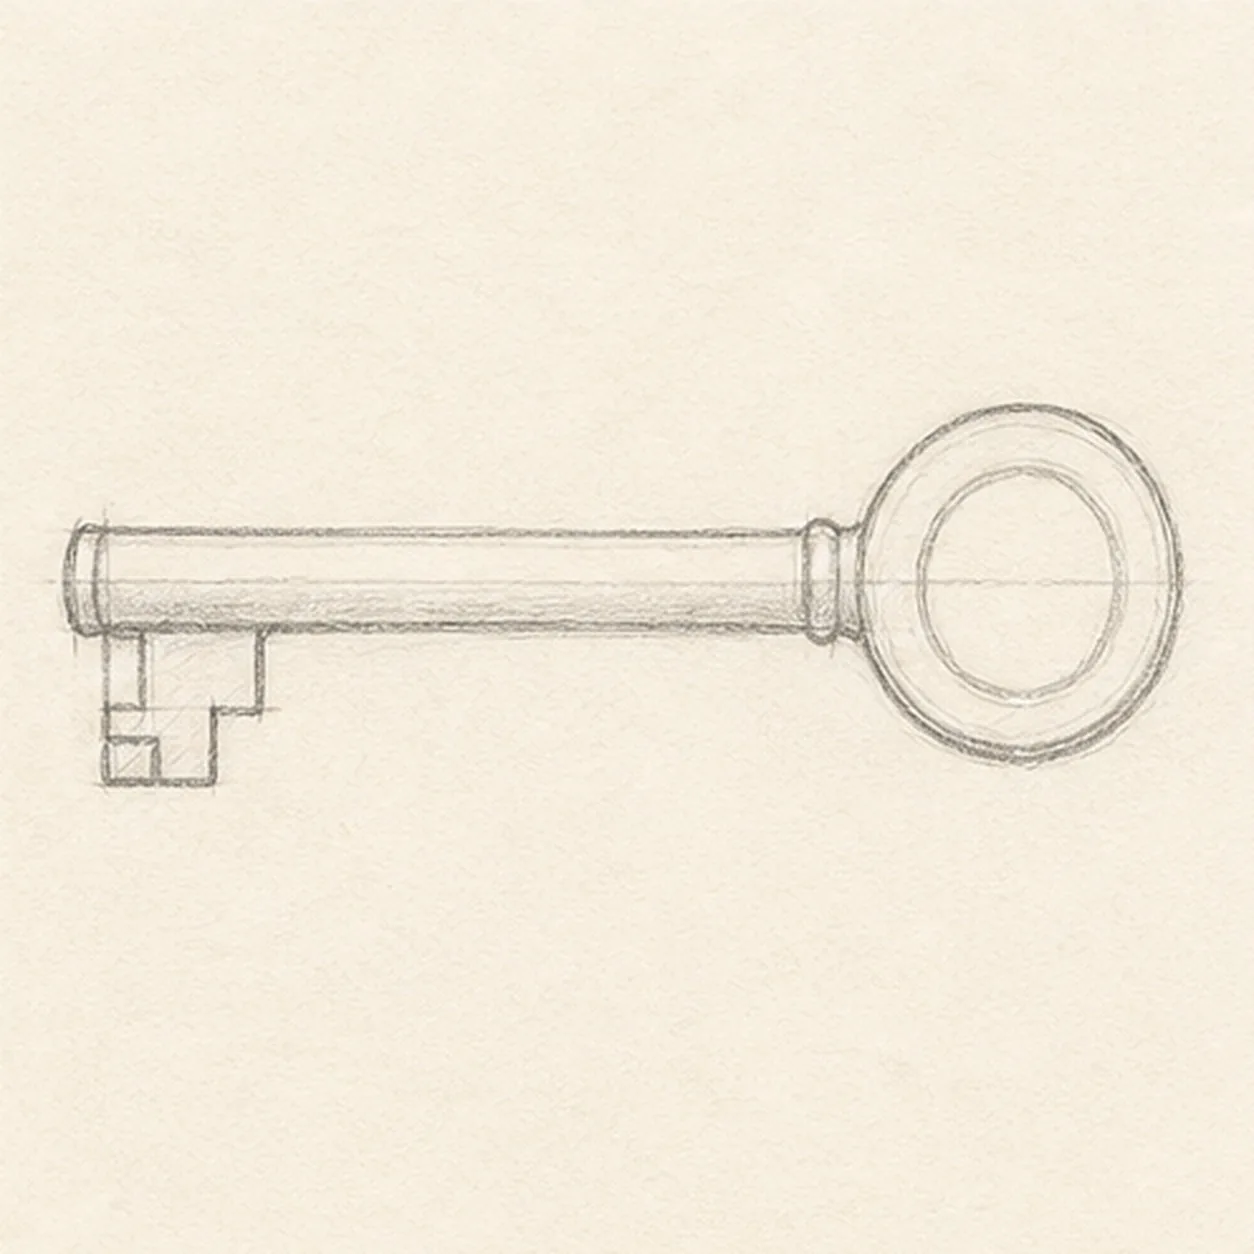
Cut the teeth
Add small stepped teeth at the end of the shaft, keeping them simple and square.
Sketch tip: Use two or three tooth cuts. Too many notches can make this quick sketch feel fussy.
-
03
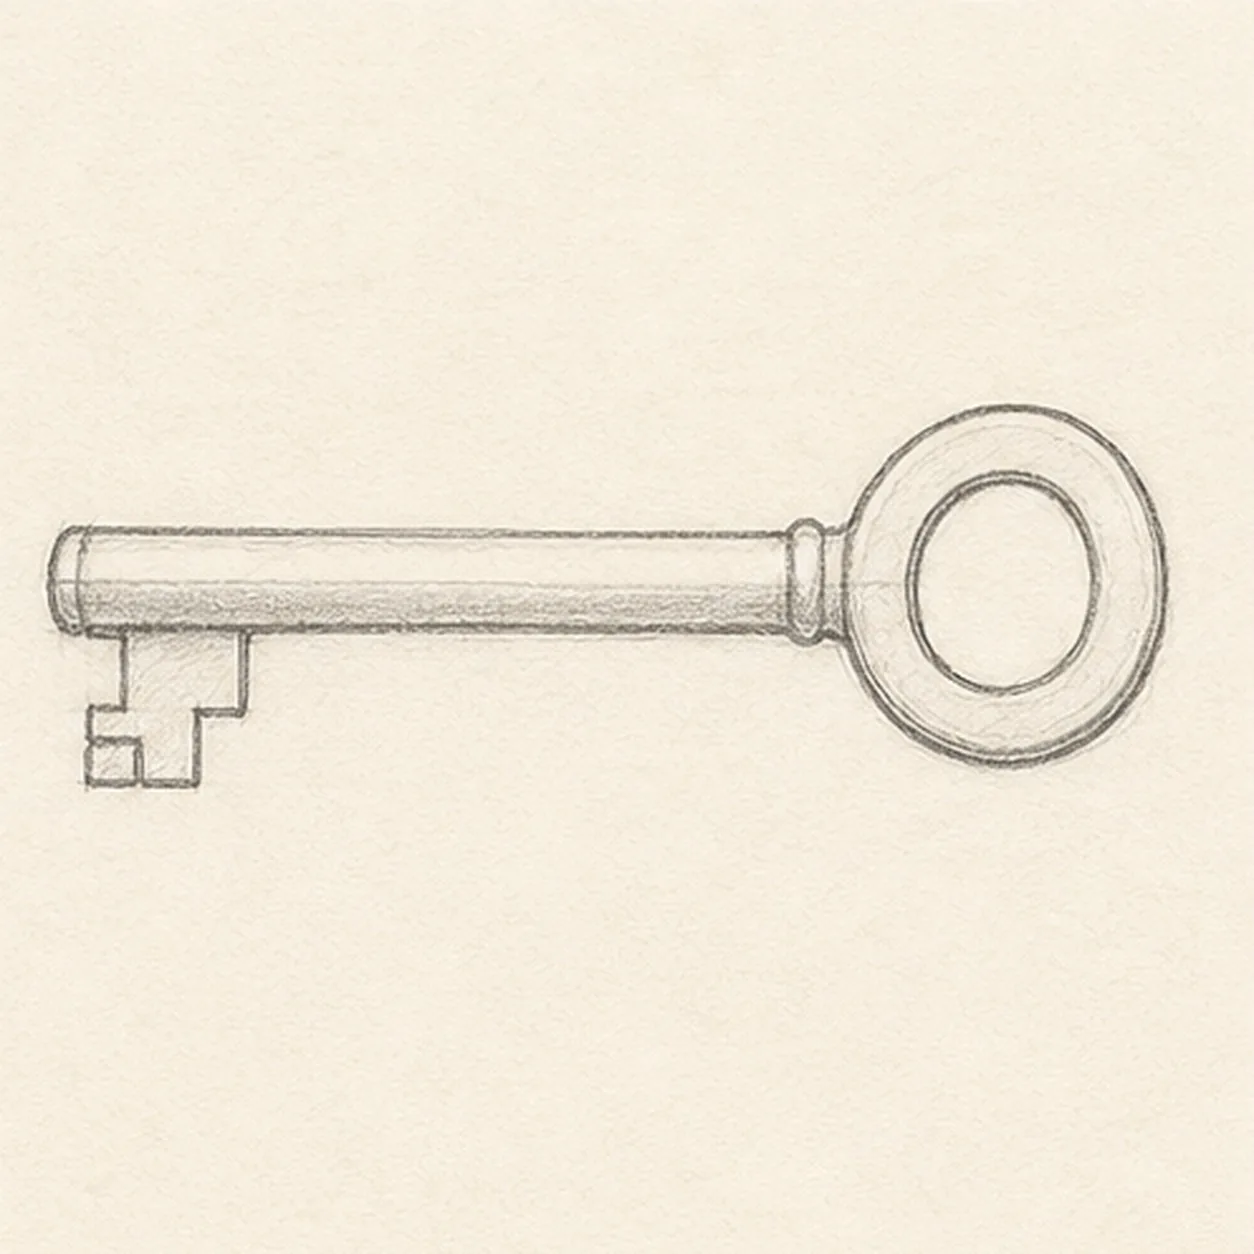
Open the bow
Draw a smaller opening inside the round bow, then clean the main key silhouette.
Sketch tip: Leave an even ring of metal around the hole. That ring is what makes the bow read clearly.
-
04
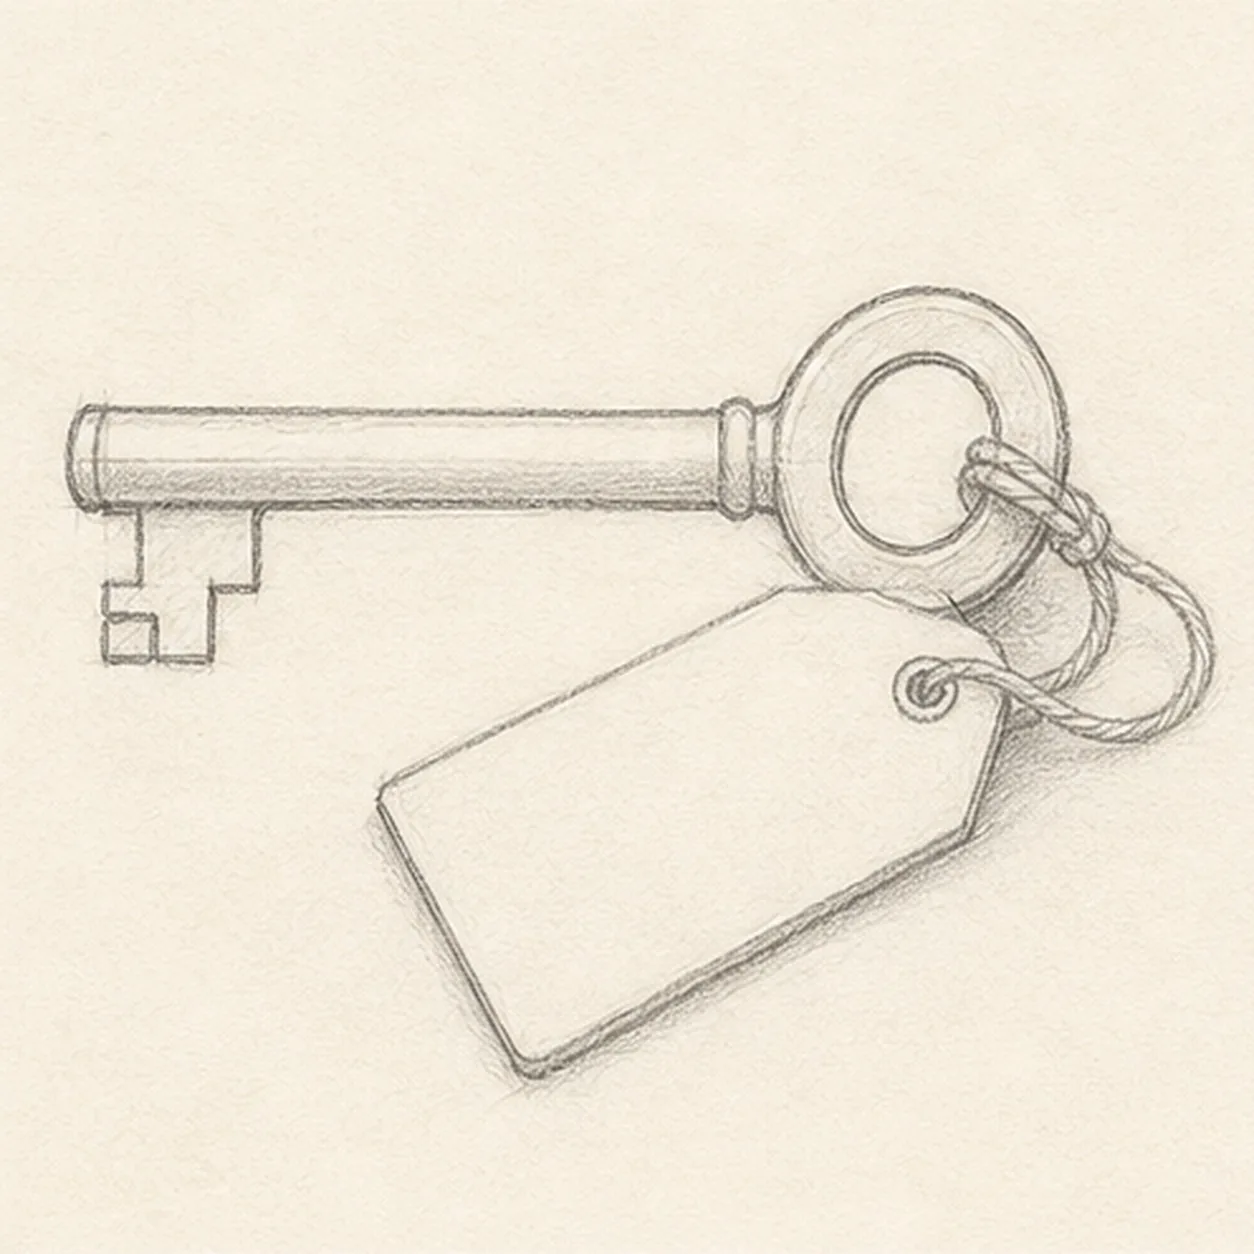
Tie on the tag
Attach a blank paper tag near the bow with a short string loop.
Sketch tip: Keep the tag free of writing. The lesson is about shape and texture, not tiny lettering.
-
05
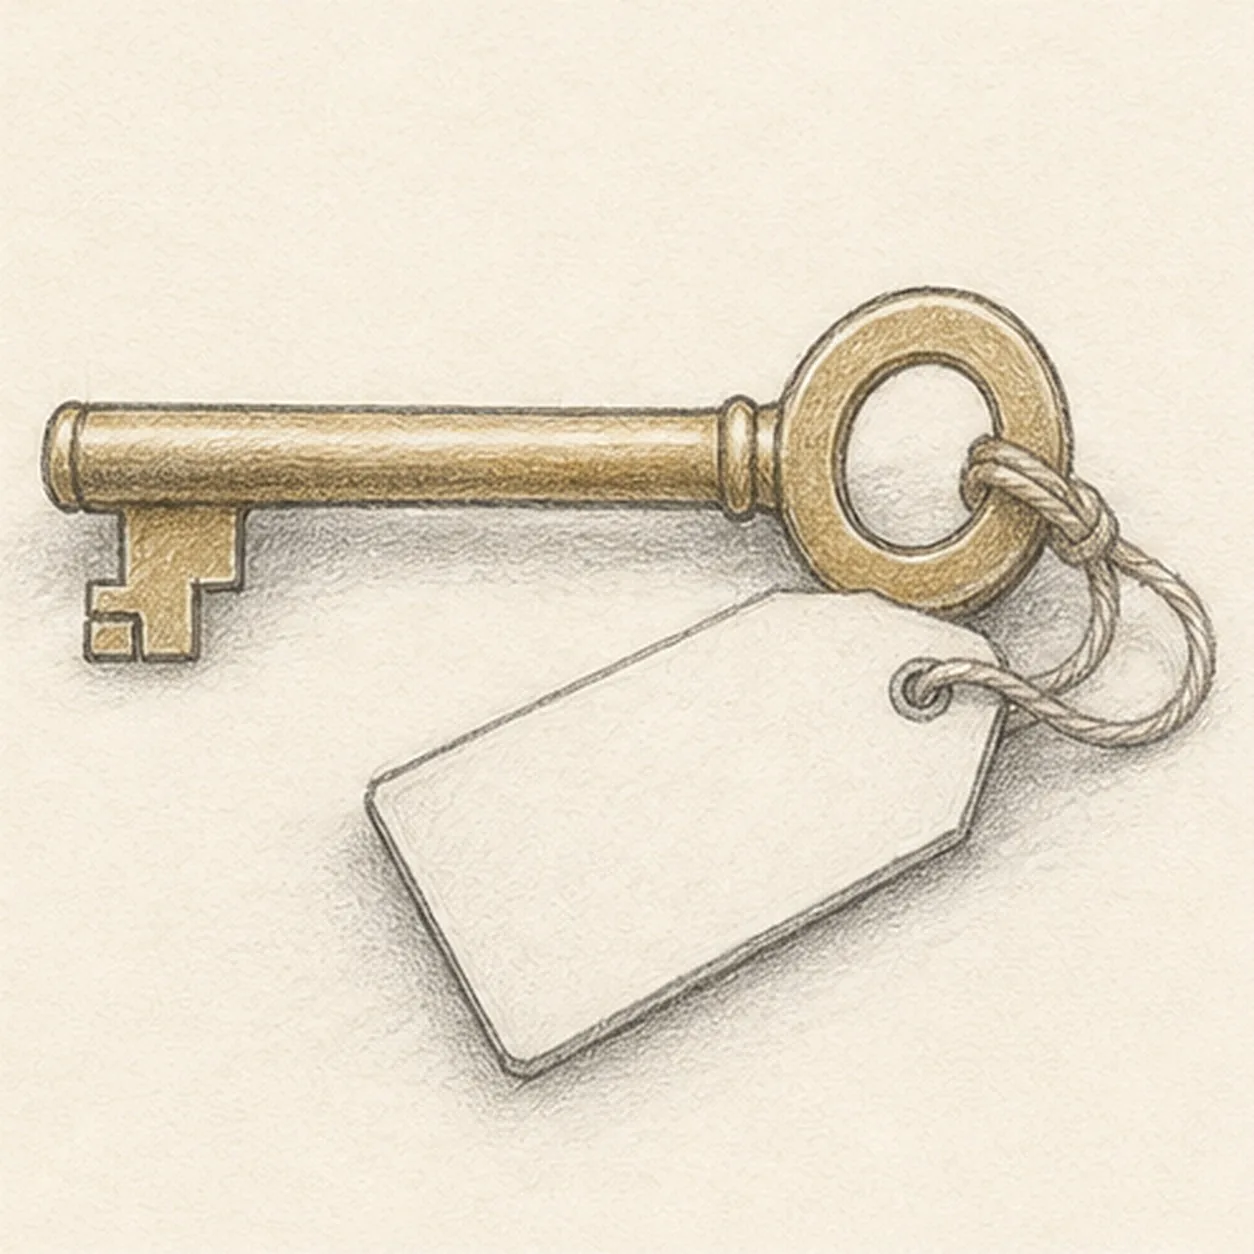
Shade the brass
Add warm brass shading to the existing key, light tone on the tag, and a soft shadow underneath.
Sketch tip: Shade along the shaft instead of filling it flat. Long strokes make the key feel metallic but still sketchy.
-
06
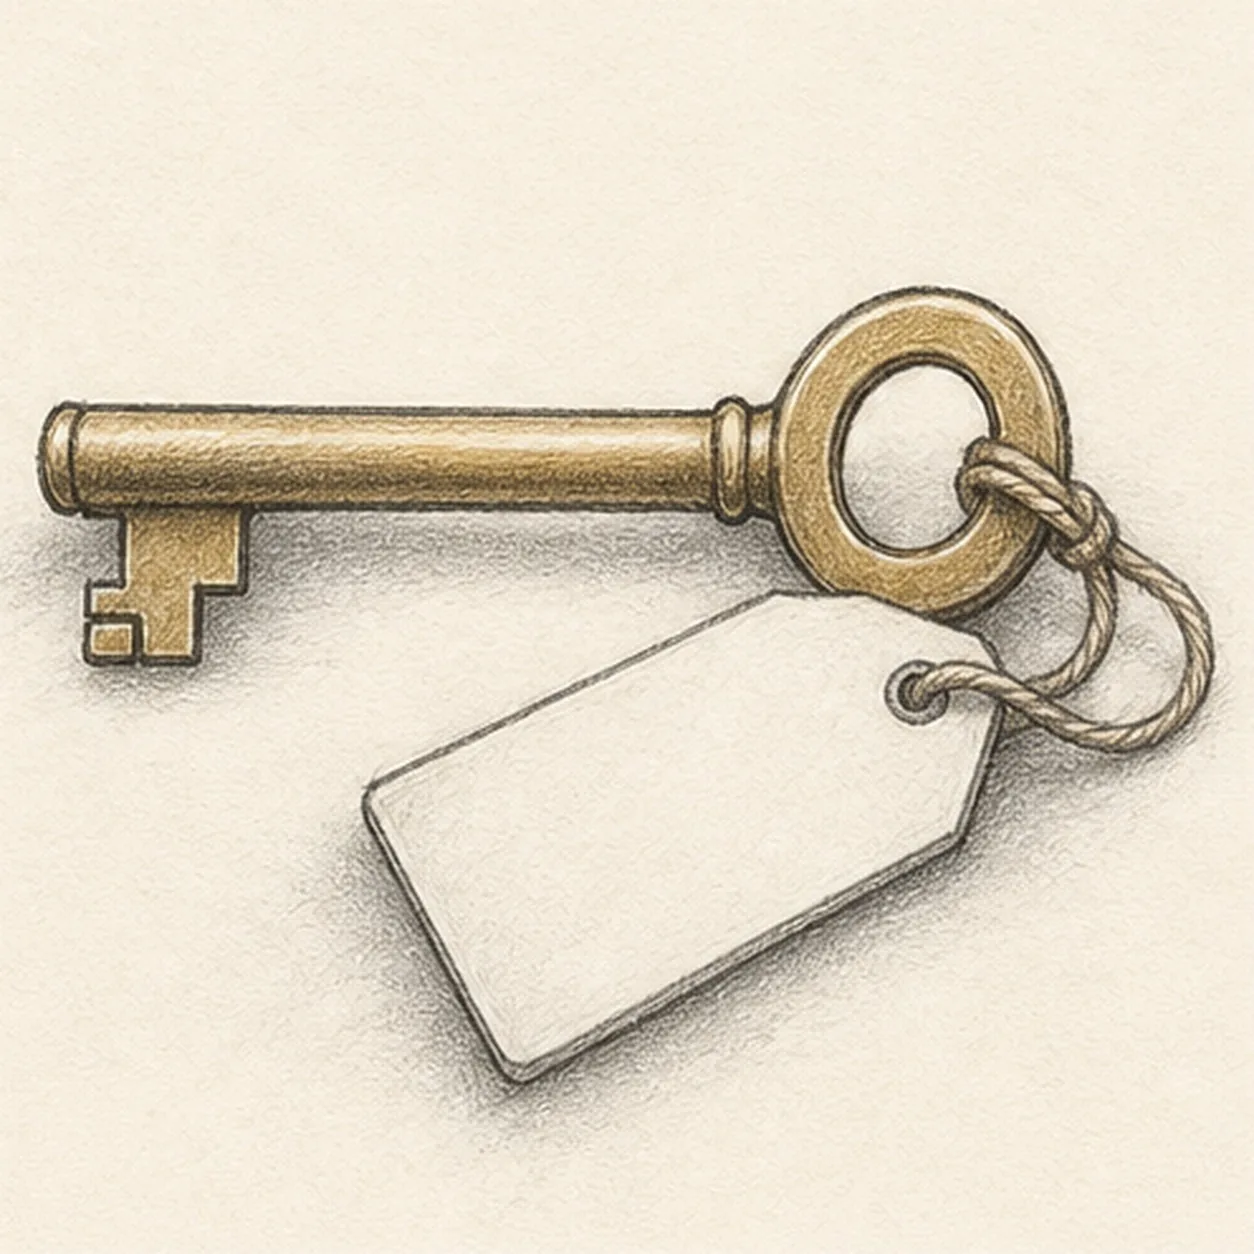
Finish the vintage key sketch
Darken the keeper contours, clarify the bow, teeth, tag, and string loop, and deepen the existing brass shading and shadow.
Sketch tip: Stop before adding extra keys or written labels. The blank tag and old brass shape are enough.


