
From the archive
Let's draw a vintage wingback chair
Treat this as one small practice round: build the subject lightly, notice the shapes, then darken only the lines that help the finished sketch.
-
01
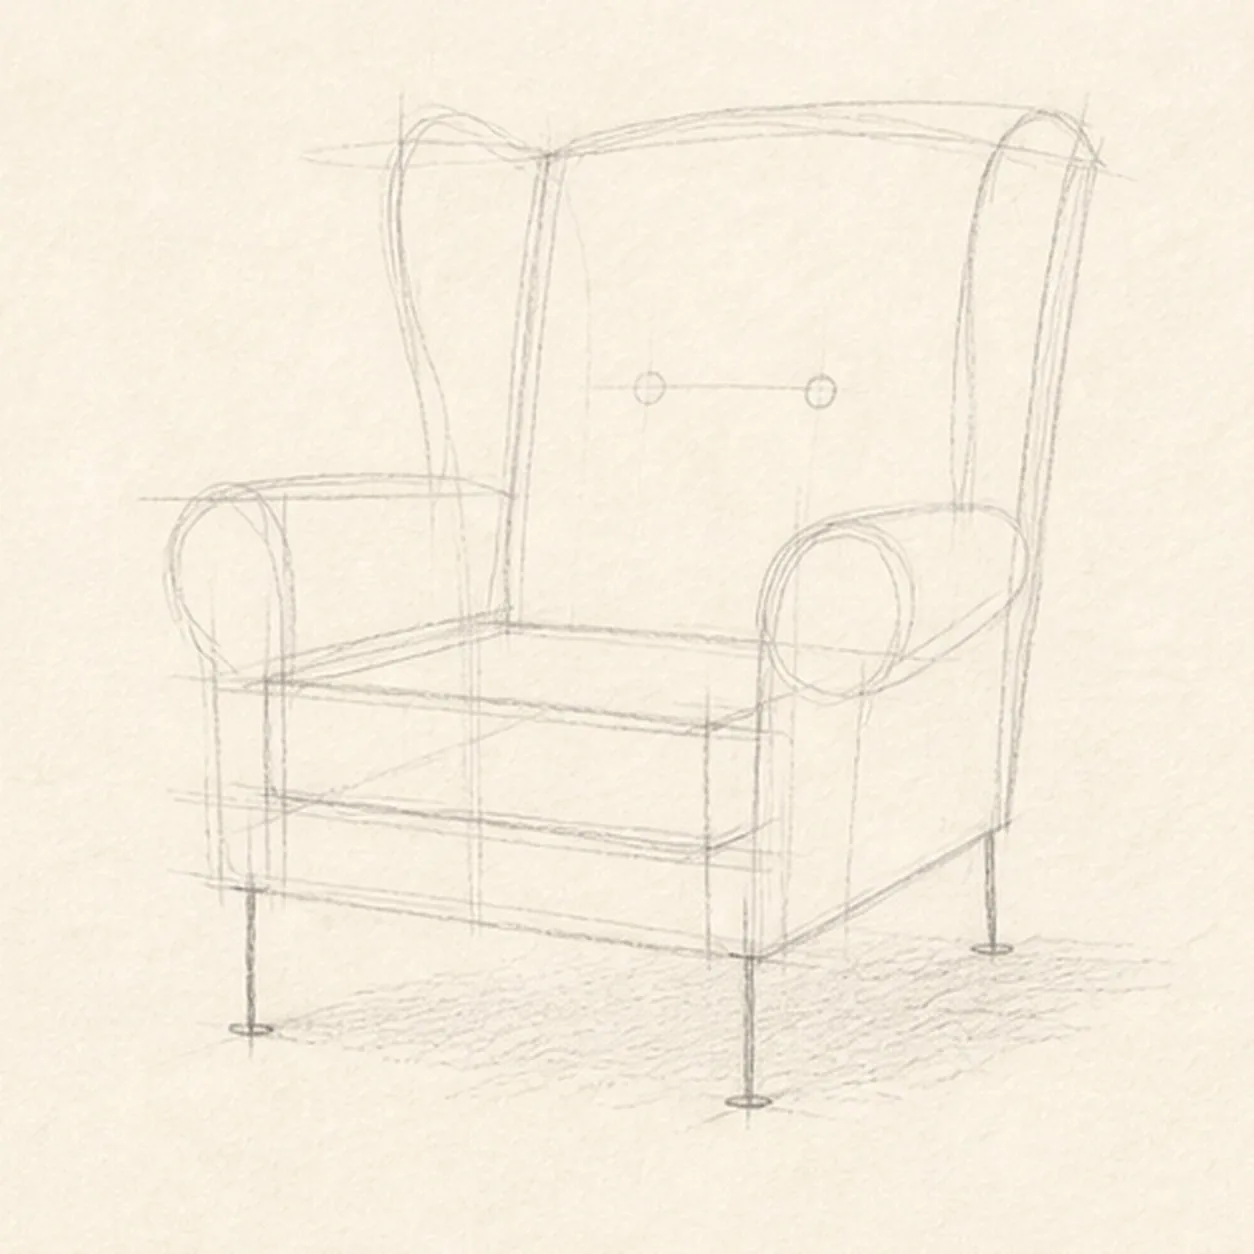
Block the chair proportions
Use pale graphite to place the tall back envelope, two side wings, shallow seat box, two arm routes, one cushion, front apron, exactly three visible leg routes, two button centers, piping paths, and one broken shadow footprint.
Sketch tip: Compare the back height with the full seat width before adding detail. Reserve the arms and cushion inside the envelope now, and stop the apron behind the front legs so no keeper line needs erasing later.
-
02
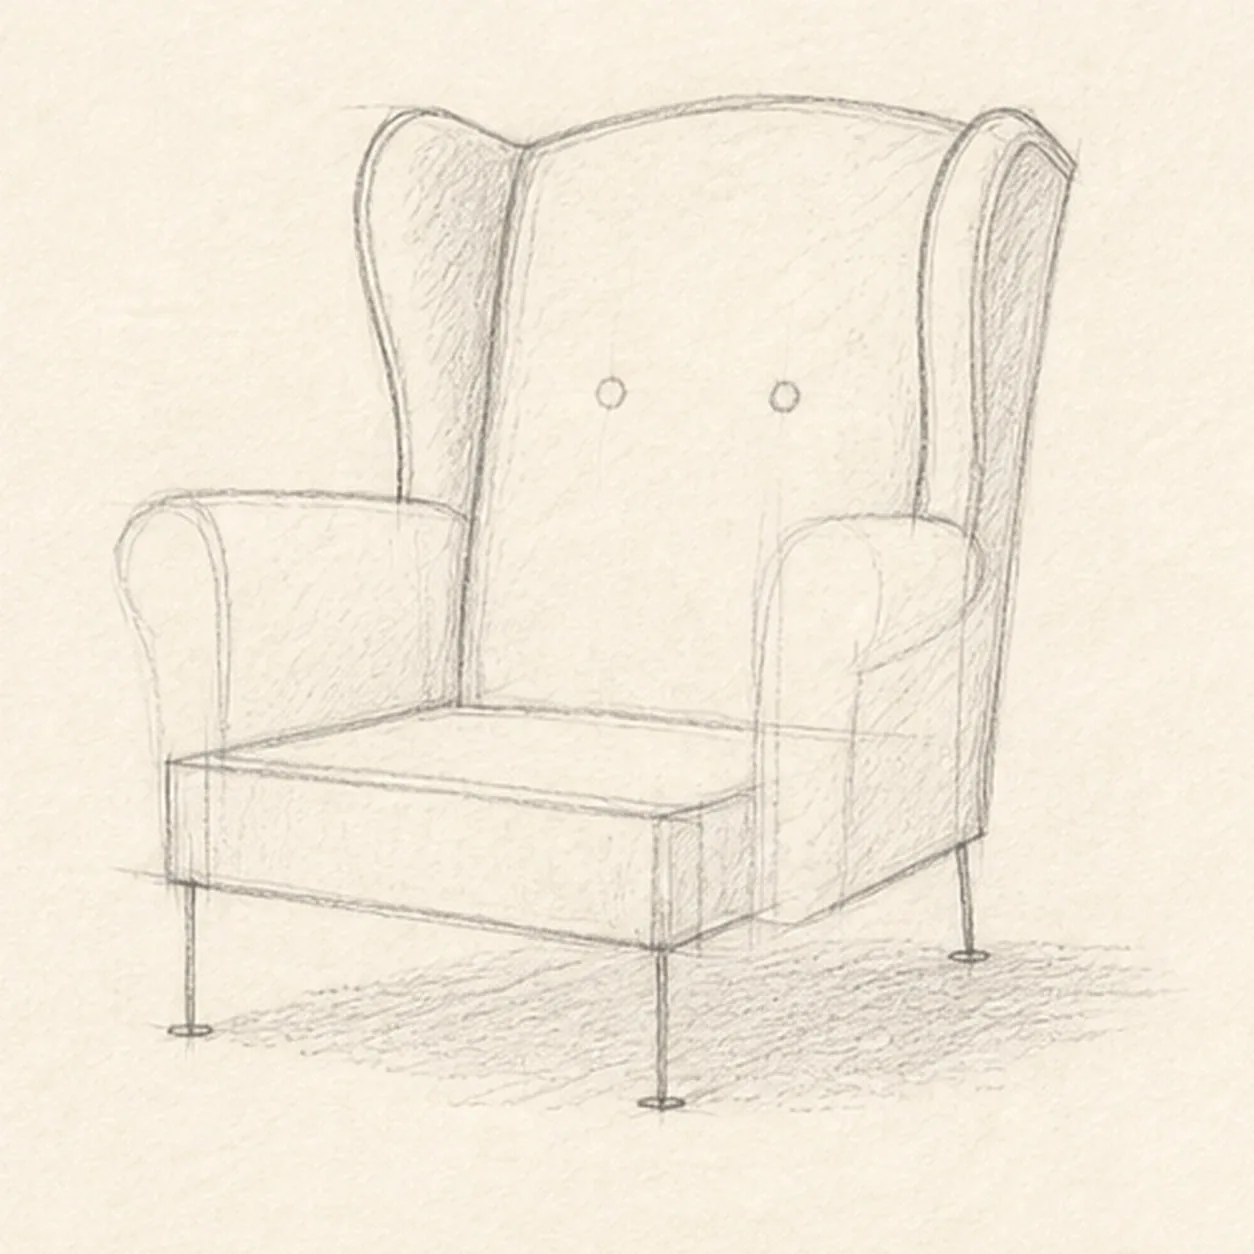
Shape the winged frame
Wrap the guides with one tall upholstered back, exactly two side wings, the shallow seat box, and one visible front apron while preserving every arm, cushion, leg, button, piping, and shadow route.
Sketch tip: Curve each wing gently toward the viewer and compare the open wedges beside the back. Keep the far wing a little narrower so the chair reads in three-quarter view without rigid perspective lines.
-
03
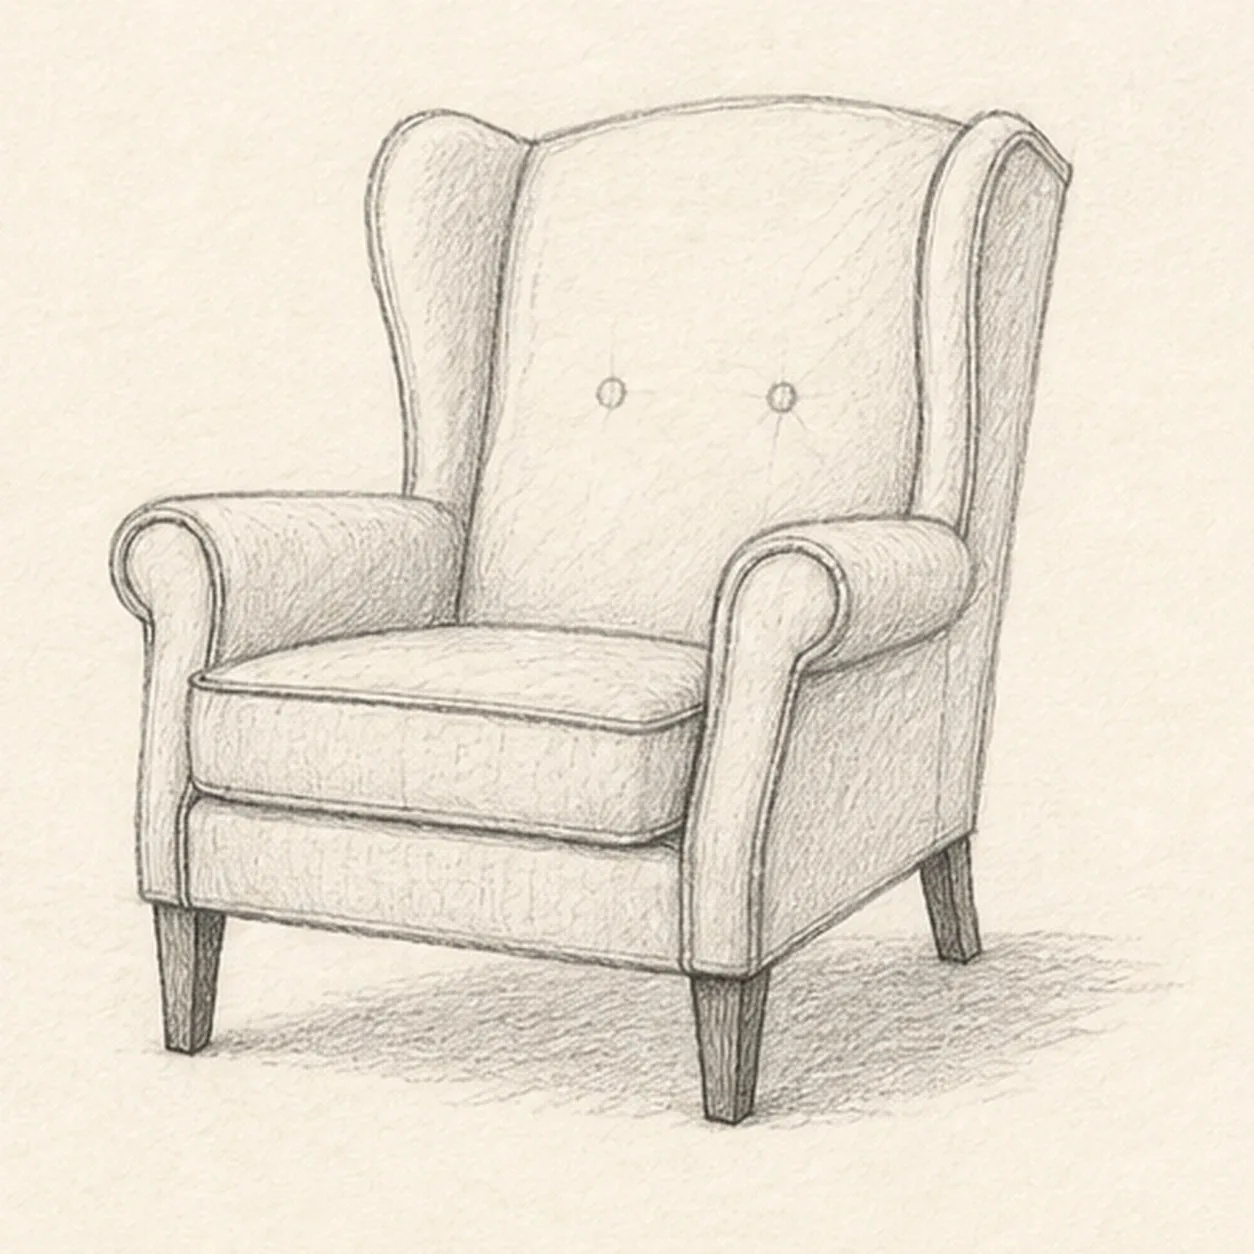
Fit the arms cushion and legs
Add exactly two rolled arms, one removable seat cushion, and exactly three visible tapered wooden legs on the reserved routes.
Sketch tip: Build each rolled arm from a cylinder-like front and a long upholstered rail. Let the cushion overlap the seat box, and keep the far rear leg partly tucked behind the chair side instead of inventing a fourth visible leg.
-
04
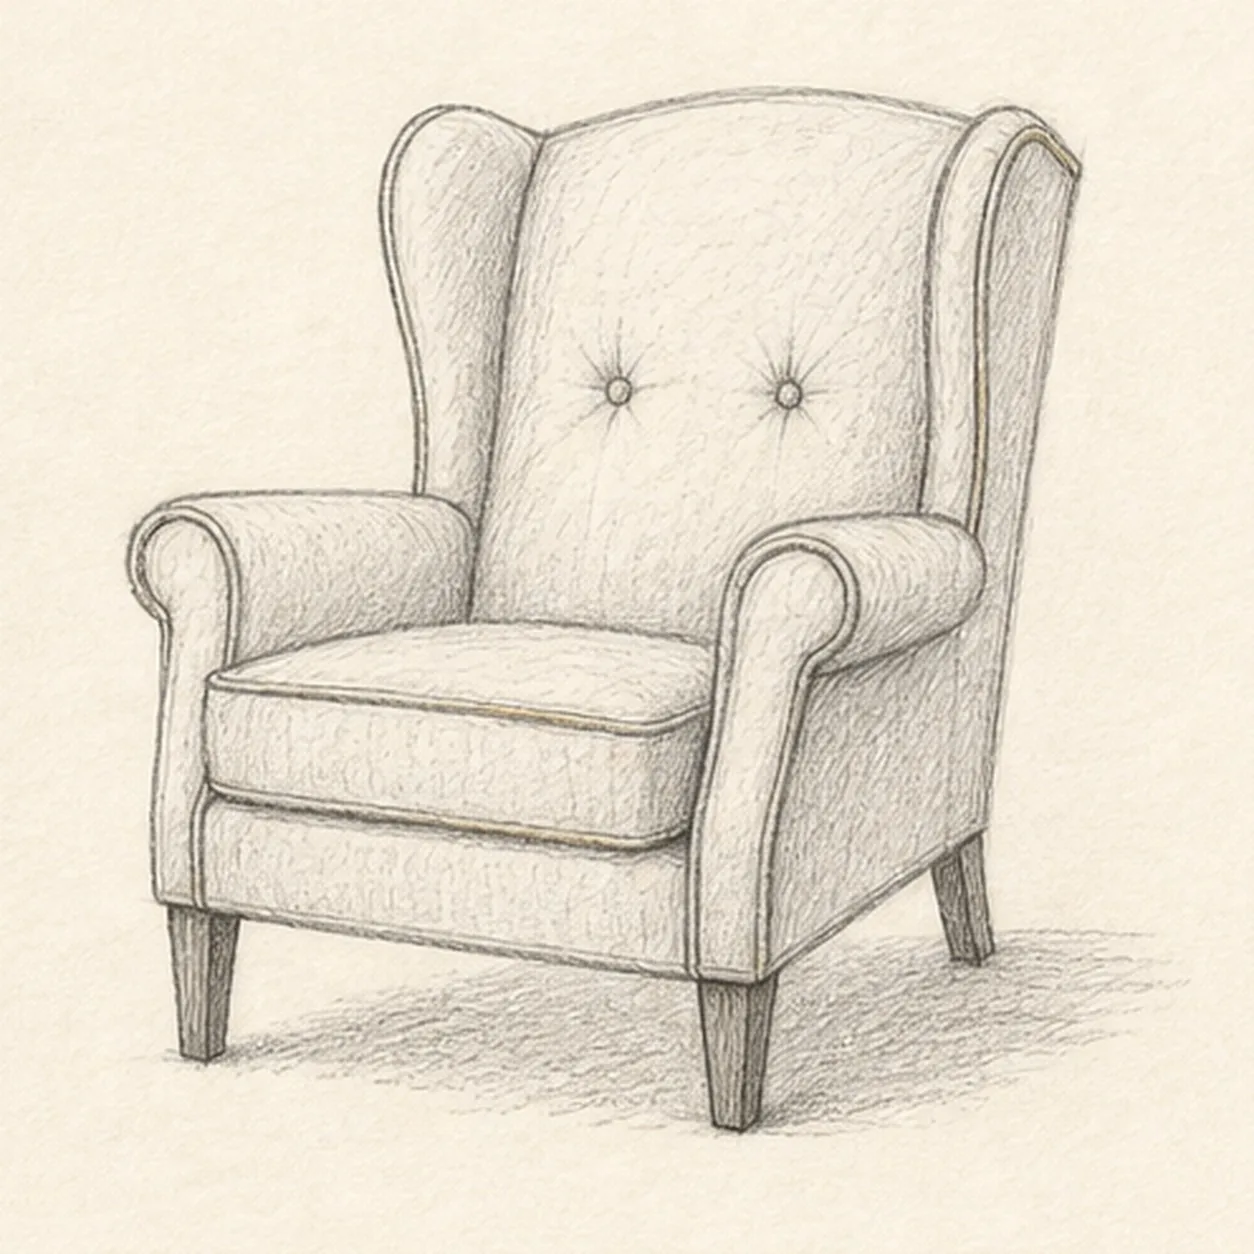
Stitch the upholstery details
Place exactly two tuft buttons, simple piping, short directional fabric hatching, sparse wood grain on the three legs, and the established broken graphite shadow.
Sketch tip: Curve the hatching around the back, arms, and cushion rather than shading straight across them. Keep the two buttons modest and the piping continuous enough to describe the form without turning decorative.
-
05
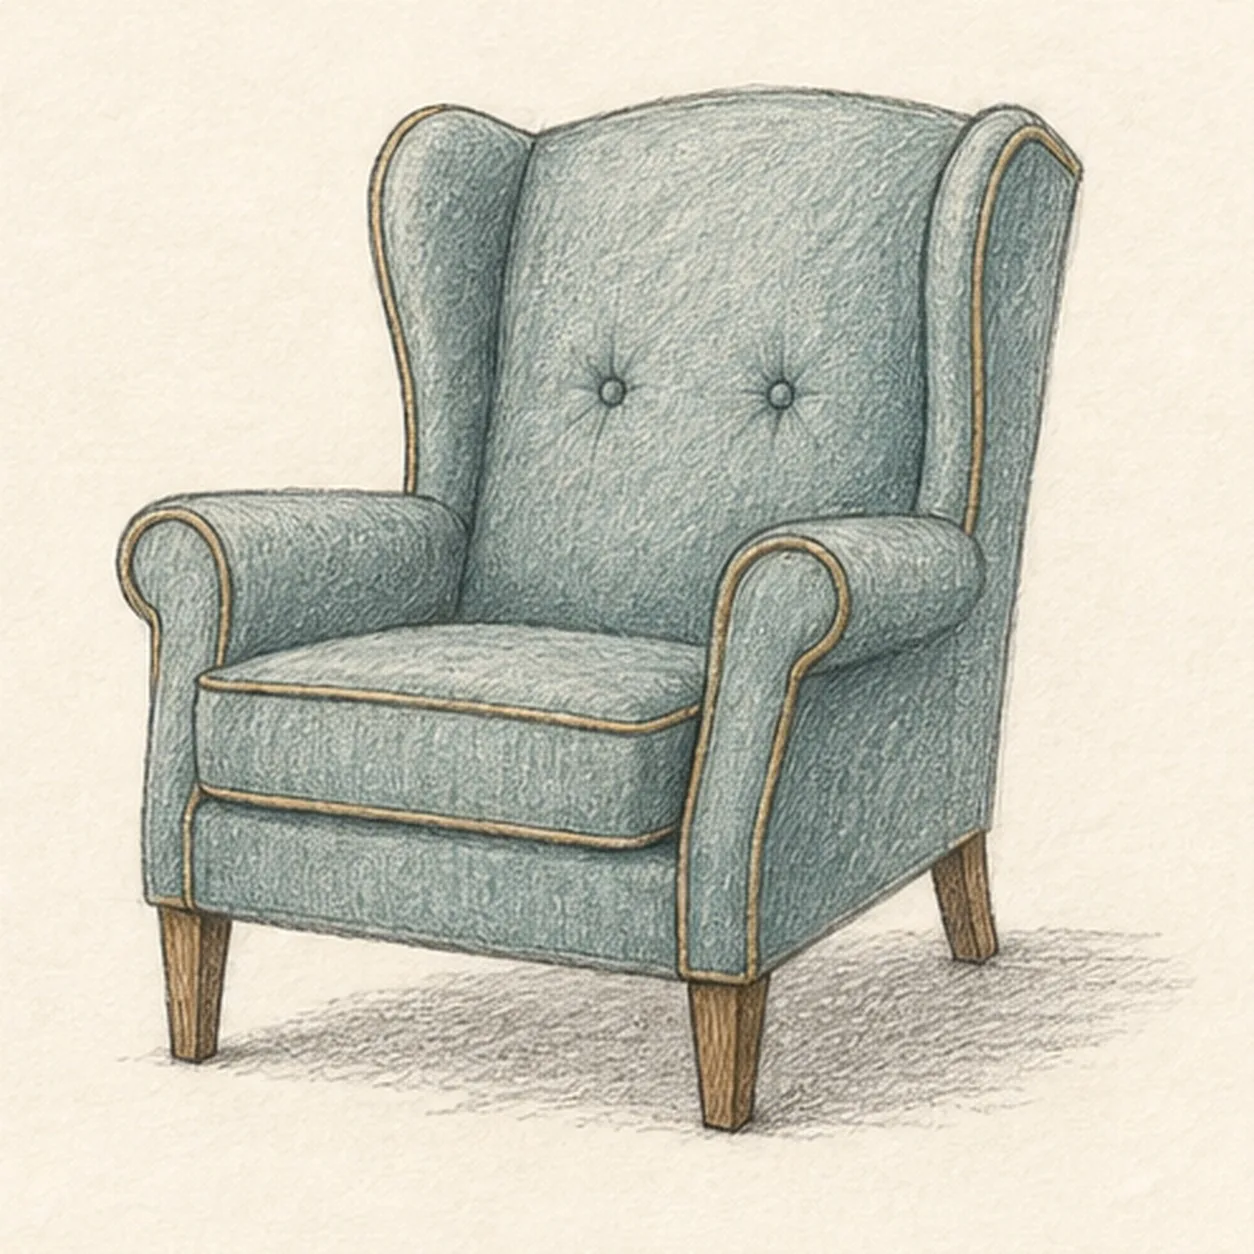
Layer the vintage color
Glaze dusty teal across the established upholstery, add restrained ochre to the piping, warm brown to the three legs, and preserve graphite texture and open paper highlights.
Sketch tip: Build two light pencil layers in the direction of the fabric hatching. Leave the cushion crown, arm rolls, and wing edges lighter so the chair keeps volume without becoming polished illustration.
-
06
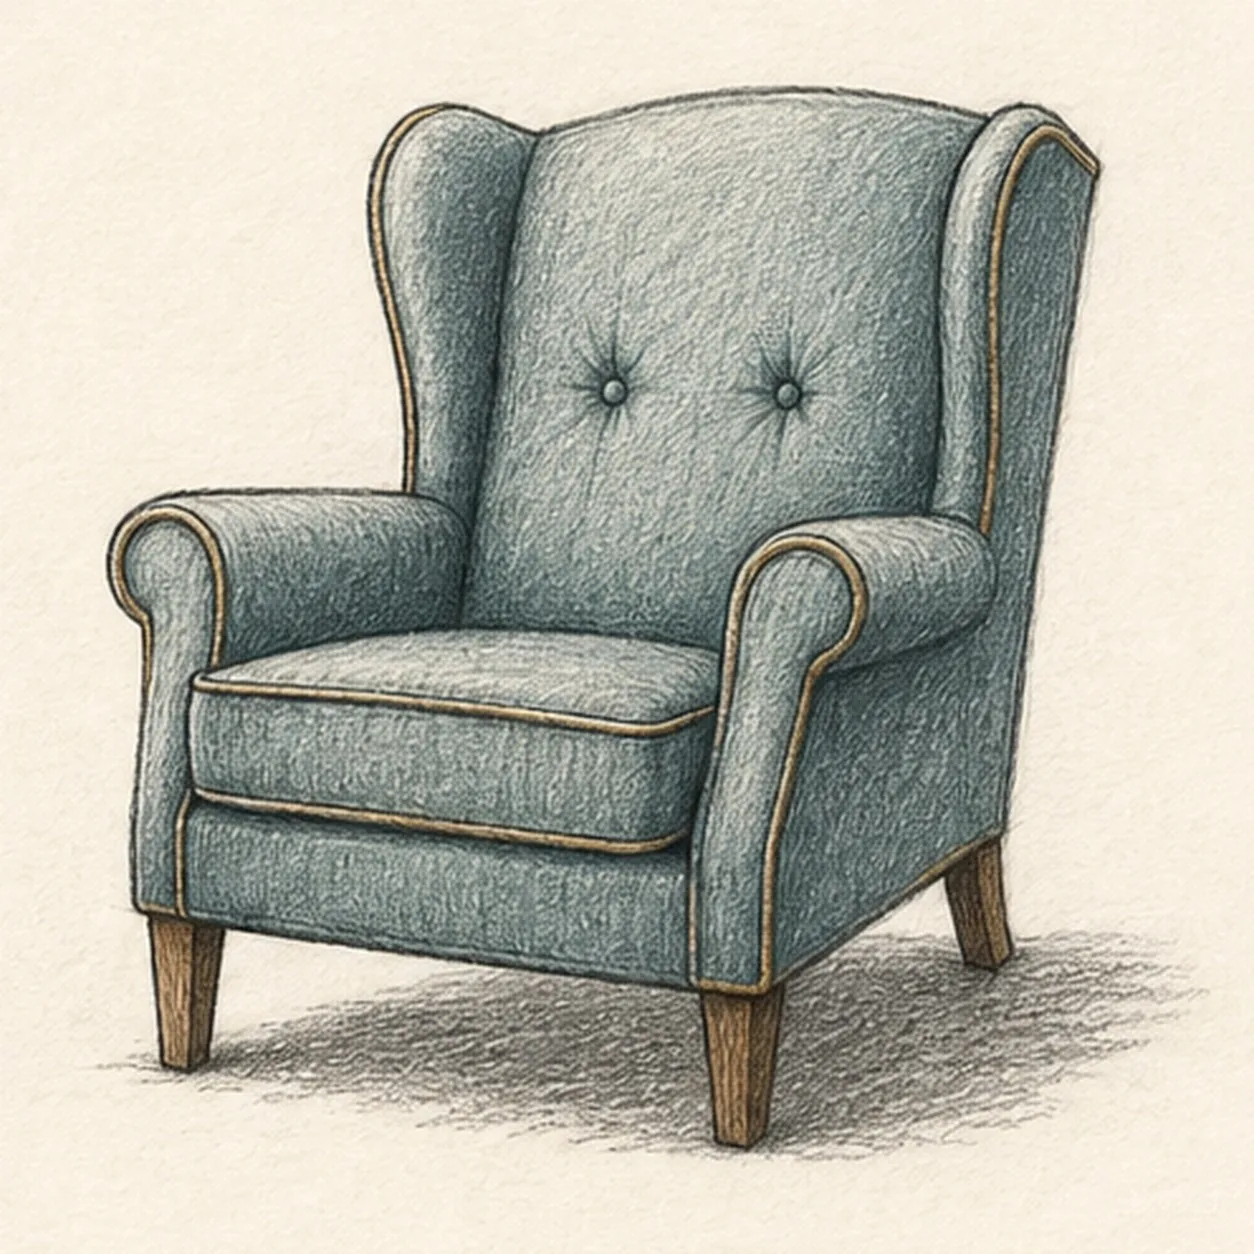
Settle the chair finish
Strengthen selected keeper contours, deepen the existing fabric values and shadow, balance the established colors, clarify highlights, and soften only pale construction that distracts.
Sketch tip: Count two wings, two arms, one cushion, three visible legs, and two tuft buttons before stopping. Change the upholstery color if you like, but preserve the same furniture overlaps and three-quarter stance.


