
From the archive
Let's draw a wooden hand plane and curled shaving
Treat this as one small practice round: build the subject lightly, notice the shapes, then darken only the lines that help the finished sketch.
-
01
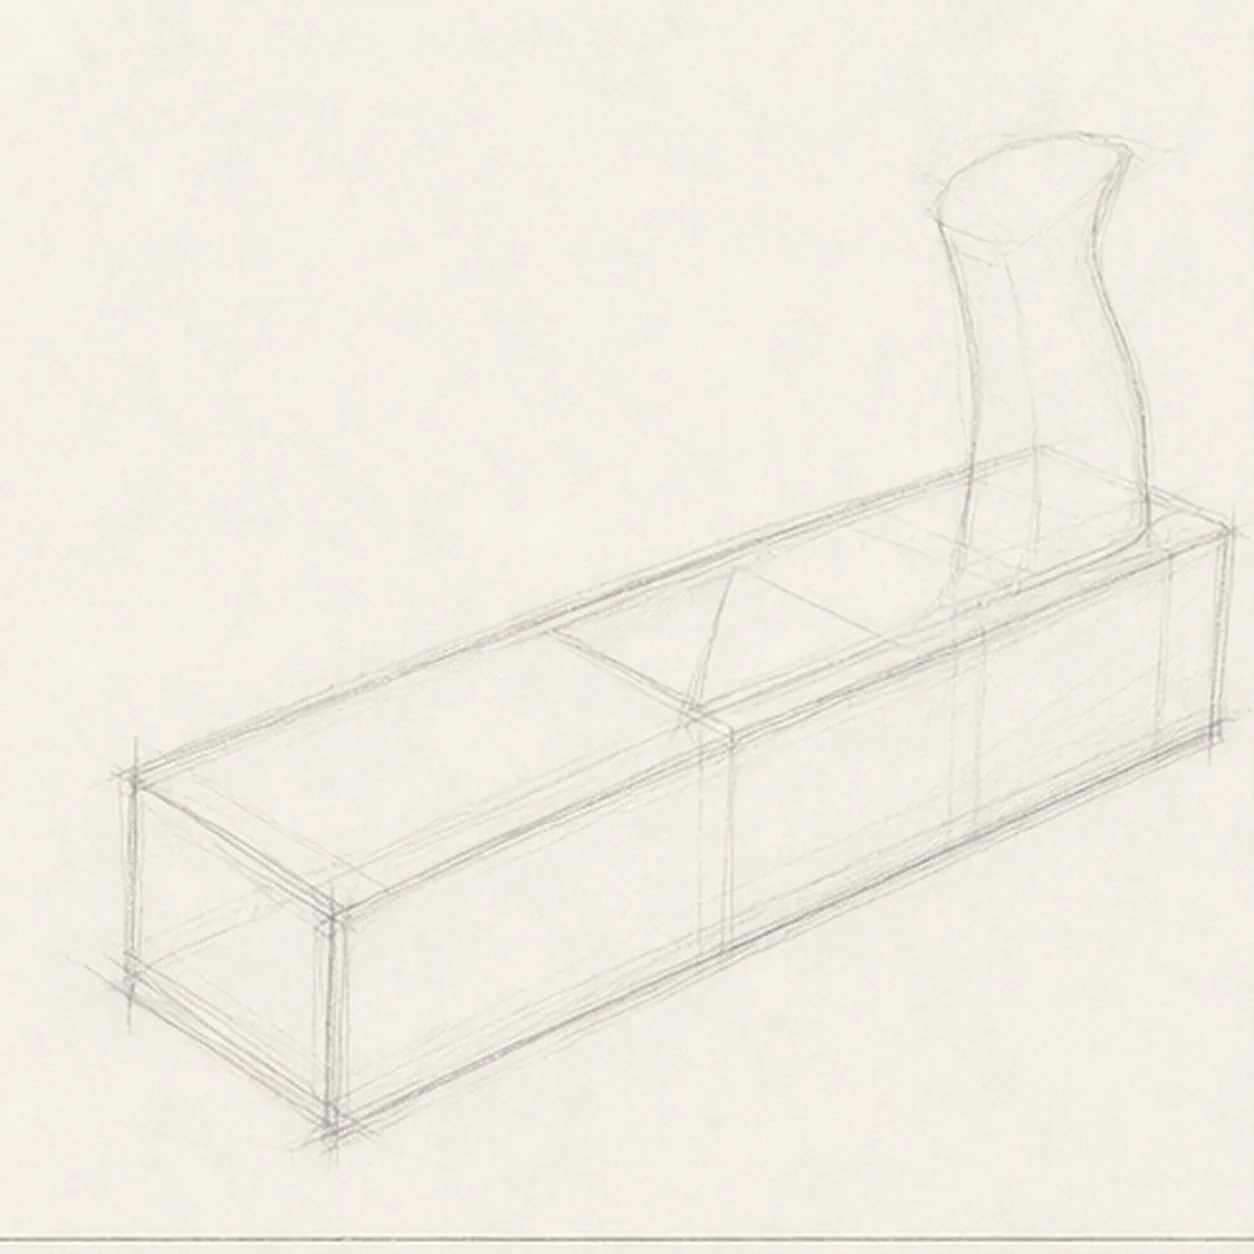
Block the body and tote gesture
Draw a pale foreshortened box for the long body and sole, add the curved rear-tote construction, and reserve blank areas for the front knob and cutting assembly.
Sketch tip: Ghost the two long body edges before touching down and compare their convergence. Keep the tote pale and leave its footprint free of finished grain so the later grip can sit cleanly on the body.
-
02
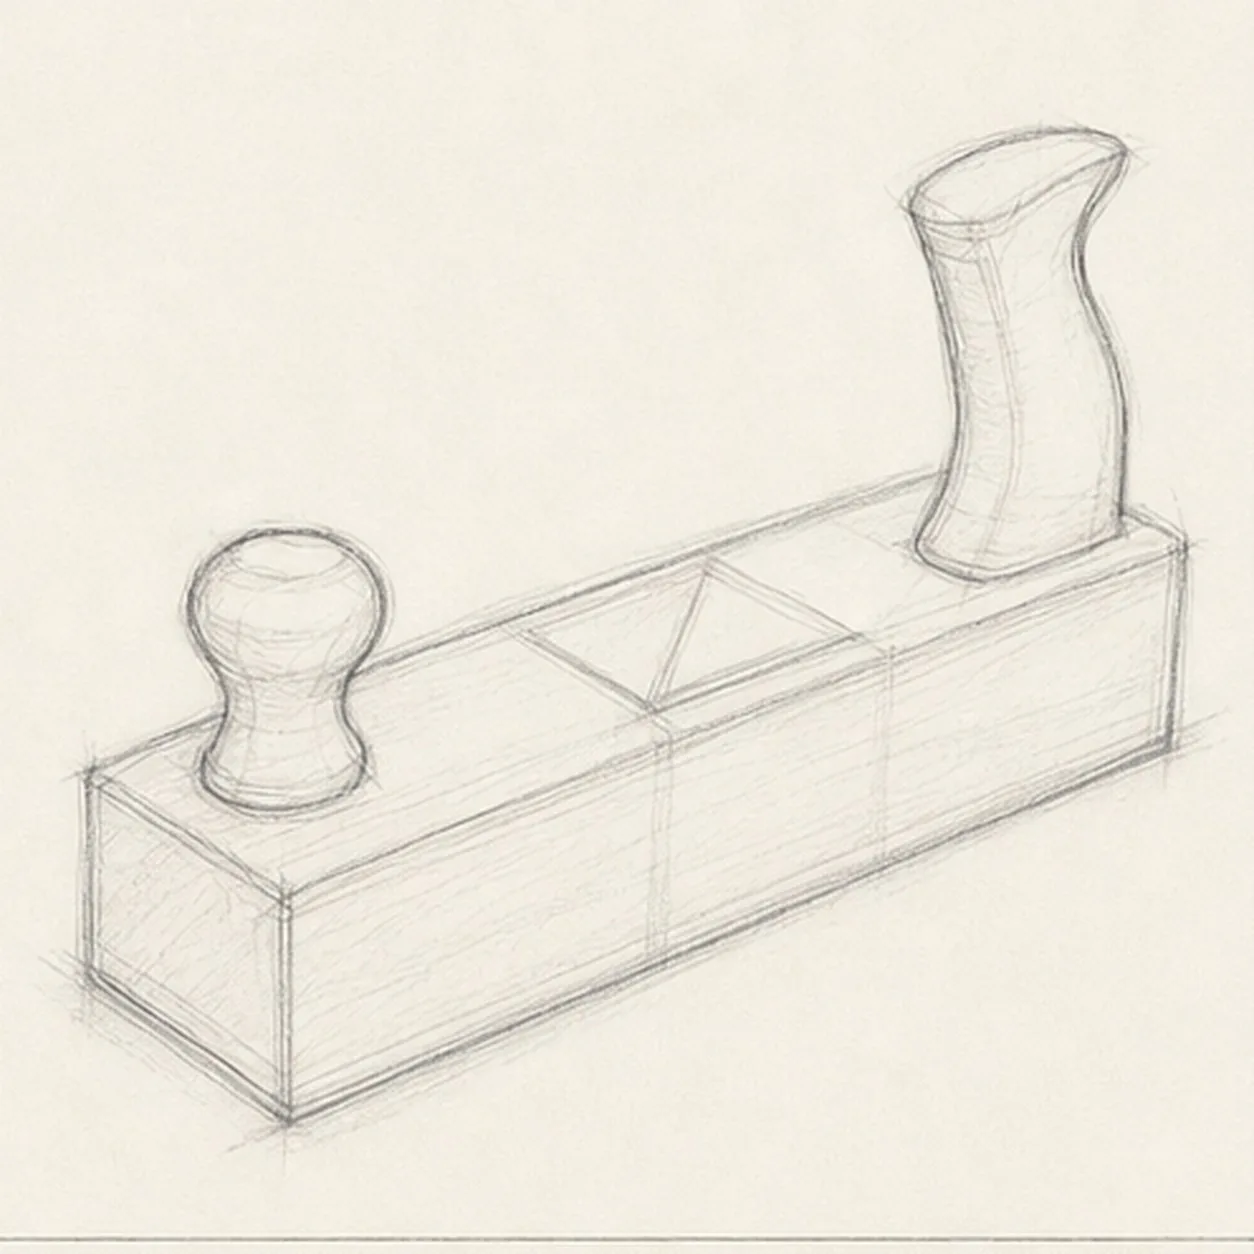
Shape the tote and front knob
Clarify the established curved rear tote, then add one small rounded front knob inside its reserved area near the opposite end.
Sketch tip: Rotate the page to pull each S-like tote edge in one relaxed pass. Compare the empty paper around both grips so they feel connected to the same long body without becoming symmetrical.
-
03
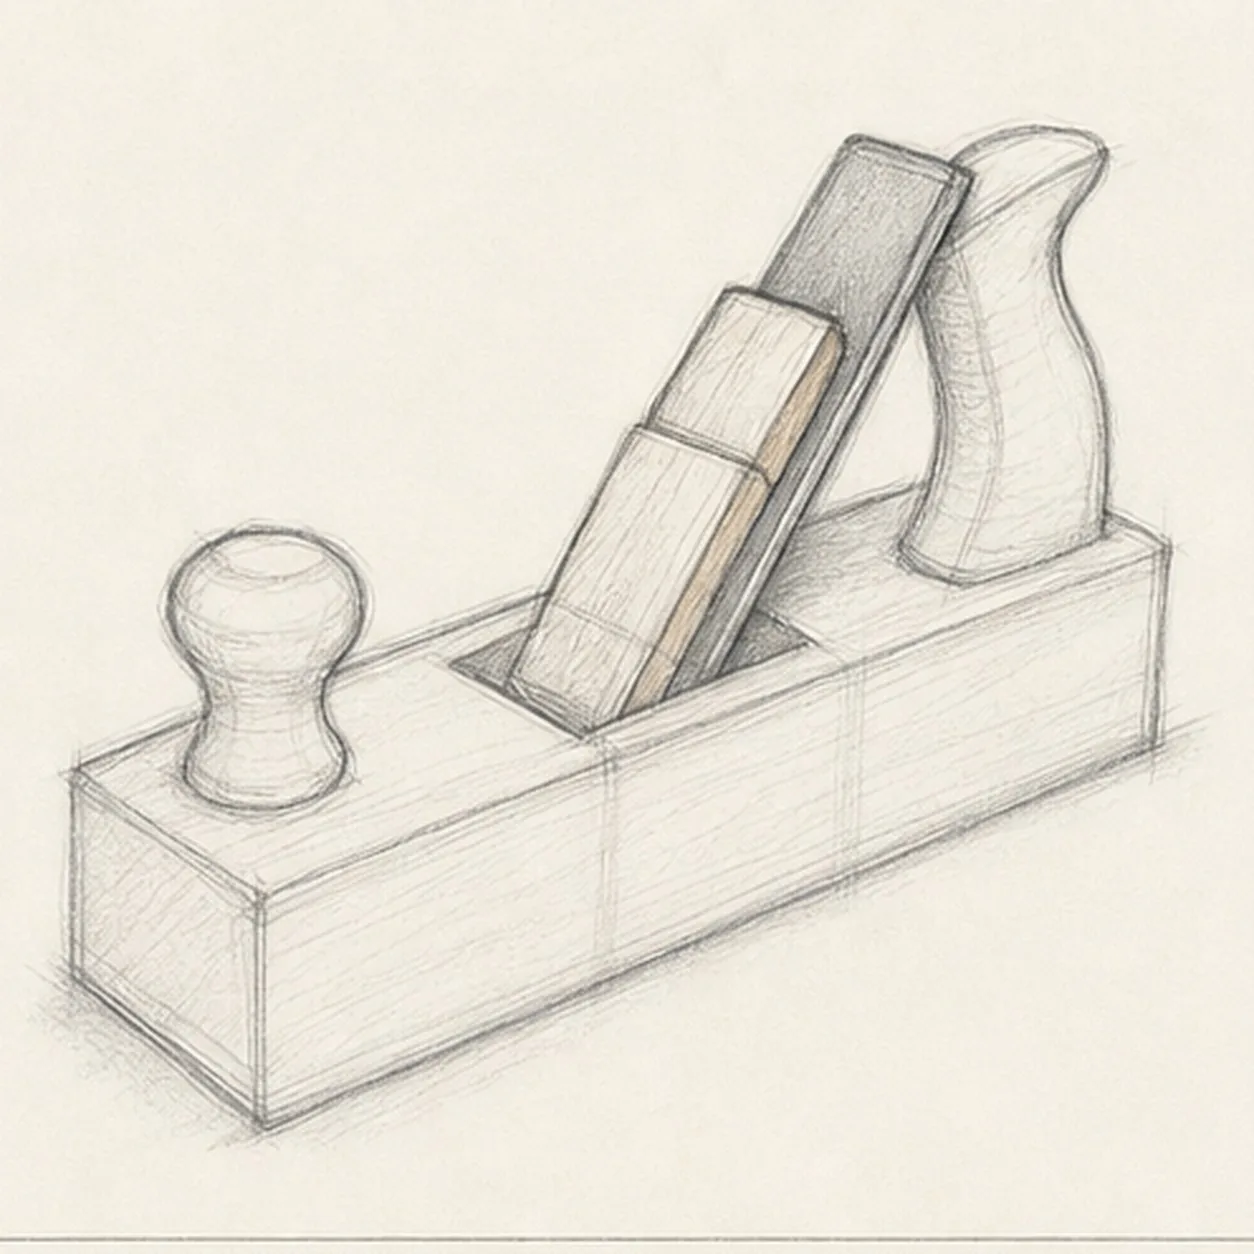
Fit the iron and wedge
Add one slanted cutting iron, one wooden wedge holding it, and the narrow plane mouth between the two established grips.
Sketch tip: Compare the iron angle with the rear tote instead of guessing it alone. Darken only the edges that remain visible around the wedge and mouth.
-
04
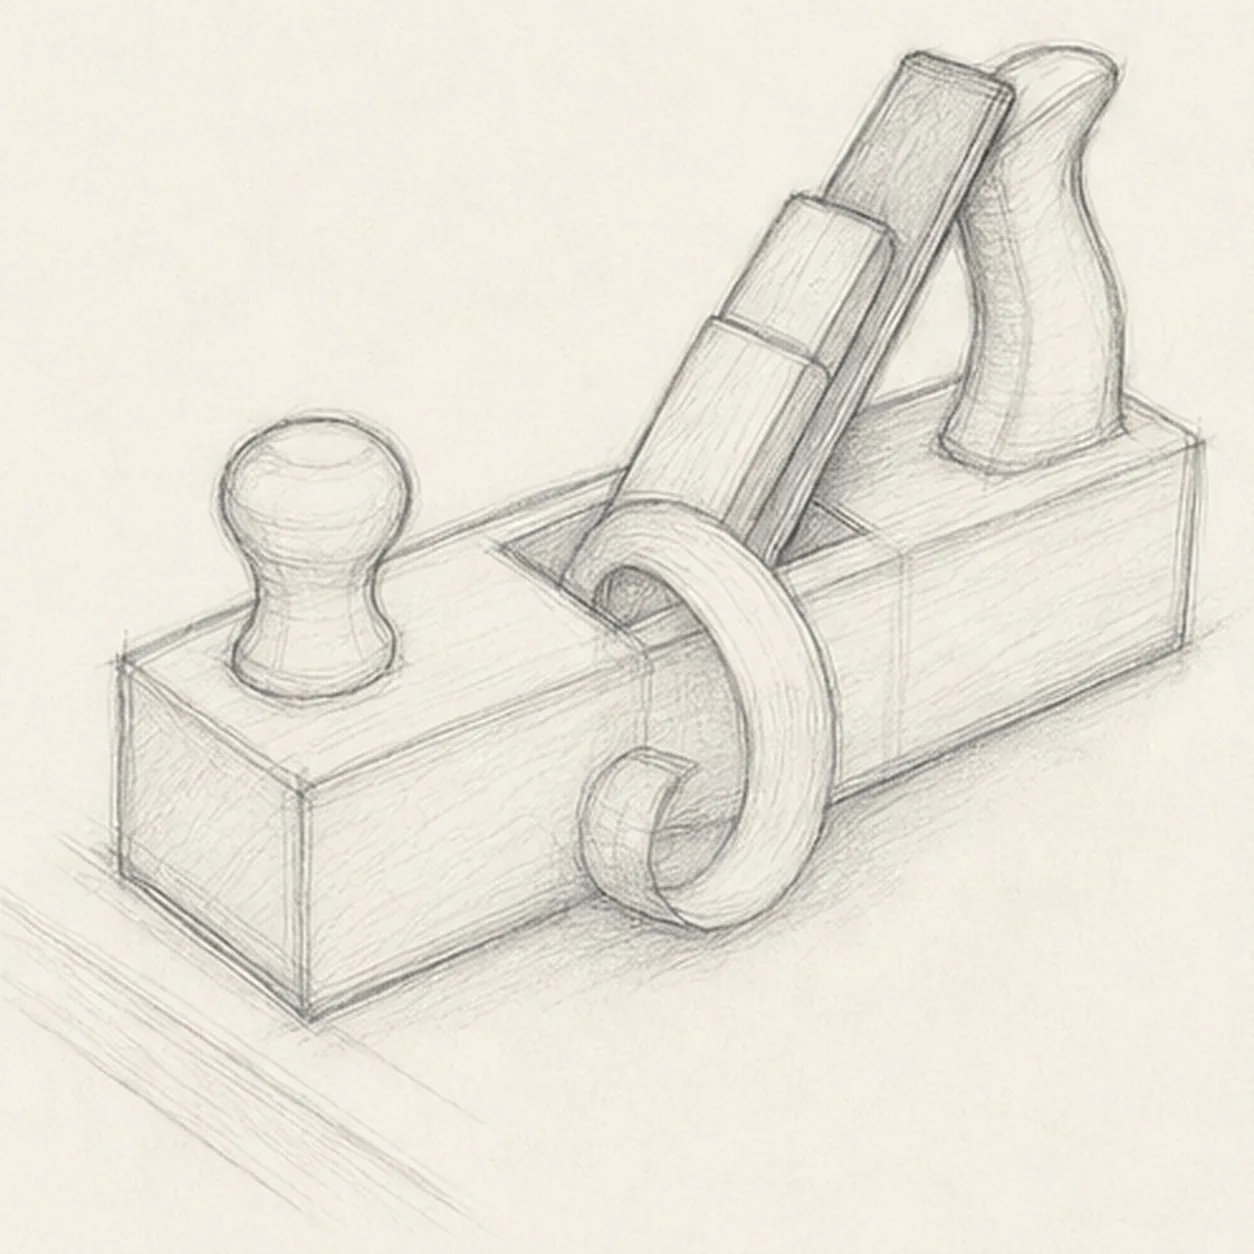
Curl one shaving from the mouth
Draw exactly one broad ribbon shaving emerging from the established mouth and curling forward beside the plane body.
Sketch tip: Ghost the whole curl once, then draw its two edges as one flowing band. Trace the route from the mouth to the tip and make sure it never splits into extra shavings.
-
05
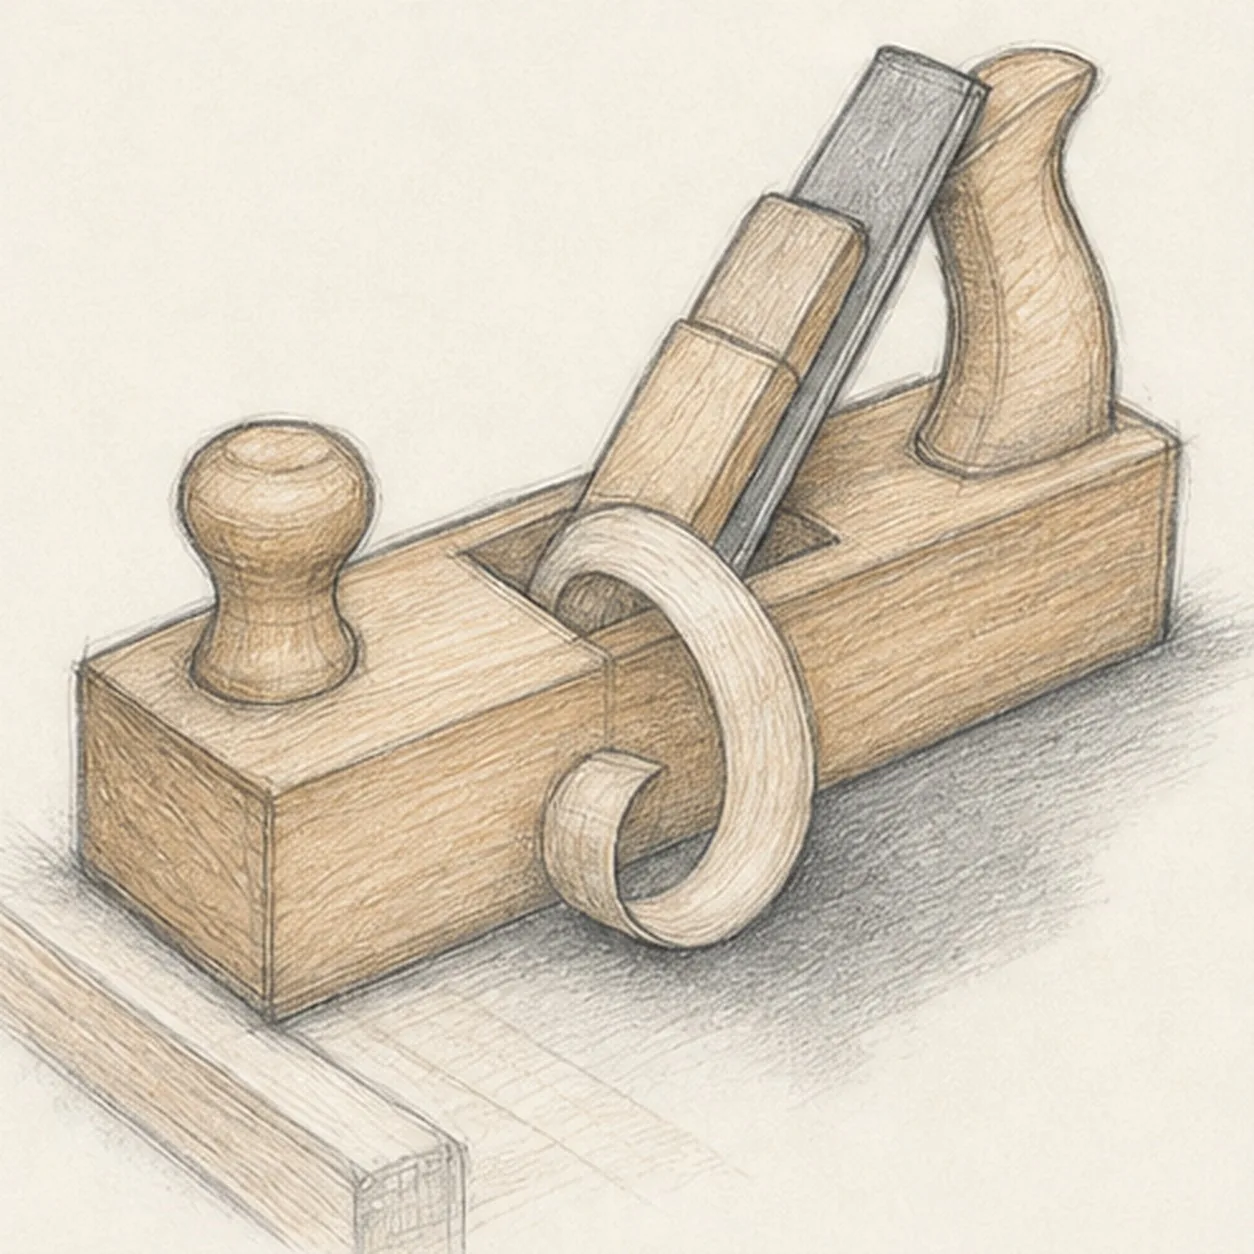
Show wood, steel, and the bench
Add restrained grain to exposed wood, two cropped workbench-edge strokes, one soft cast shadow, warm-ochre pencil on the wood, and cool gray on the existing iron.
Sketch tip: Pull the grain along each wooden form and stop it at attached hardware. Use two light color passes and leave paper flecks showing so the materials feel sketched rather than filled flat.
-
06
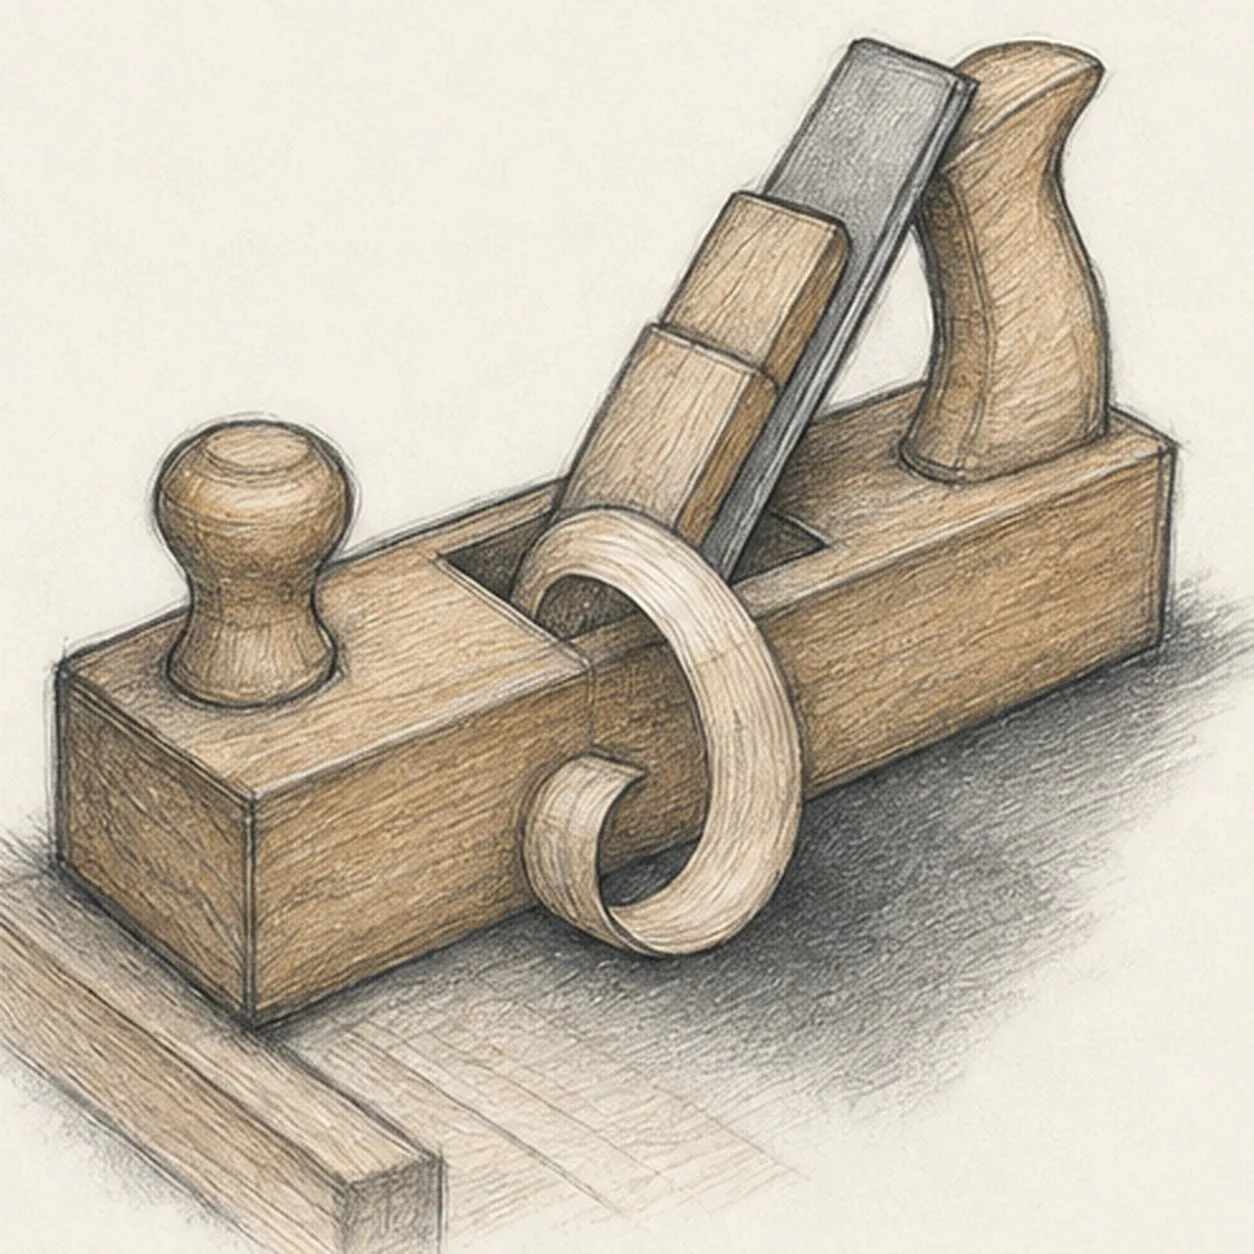
Tune the carpenter's finish
Strengthen the keeper contours and clarify the established body, tote, knob, iron, wedge, mouth, single shaving, grain, bench edges, restrained color, highlights, and shadow.
Sketch tip: Trace the single shaving from mouth to tip and check that the iron still meets the body, then stop. Hands, clamps, extra tools, extra curls, a logo, or a workshop scene would turn this compact material study into a different lesson.


