
From the archive
Let's draw a wooden rocking horse
Treat this as one small practice round: build the subject lightly, notice the shapes, then darken only the lines that help the finished sketch.
-
01
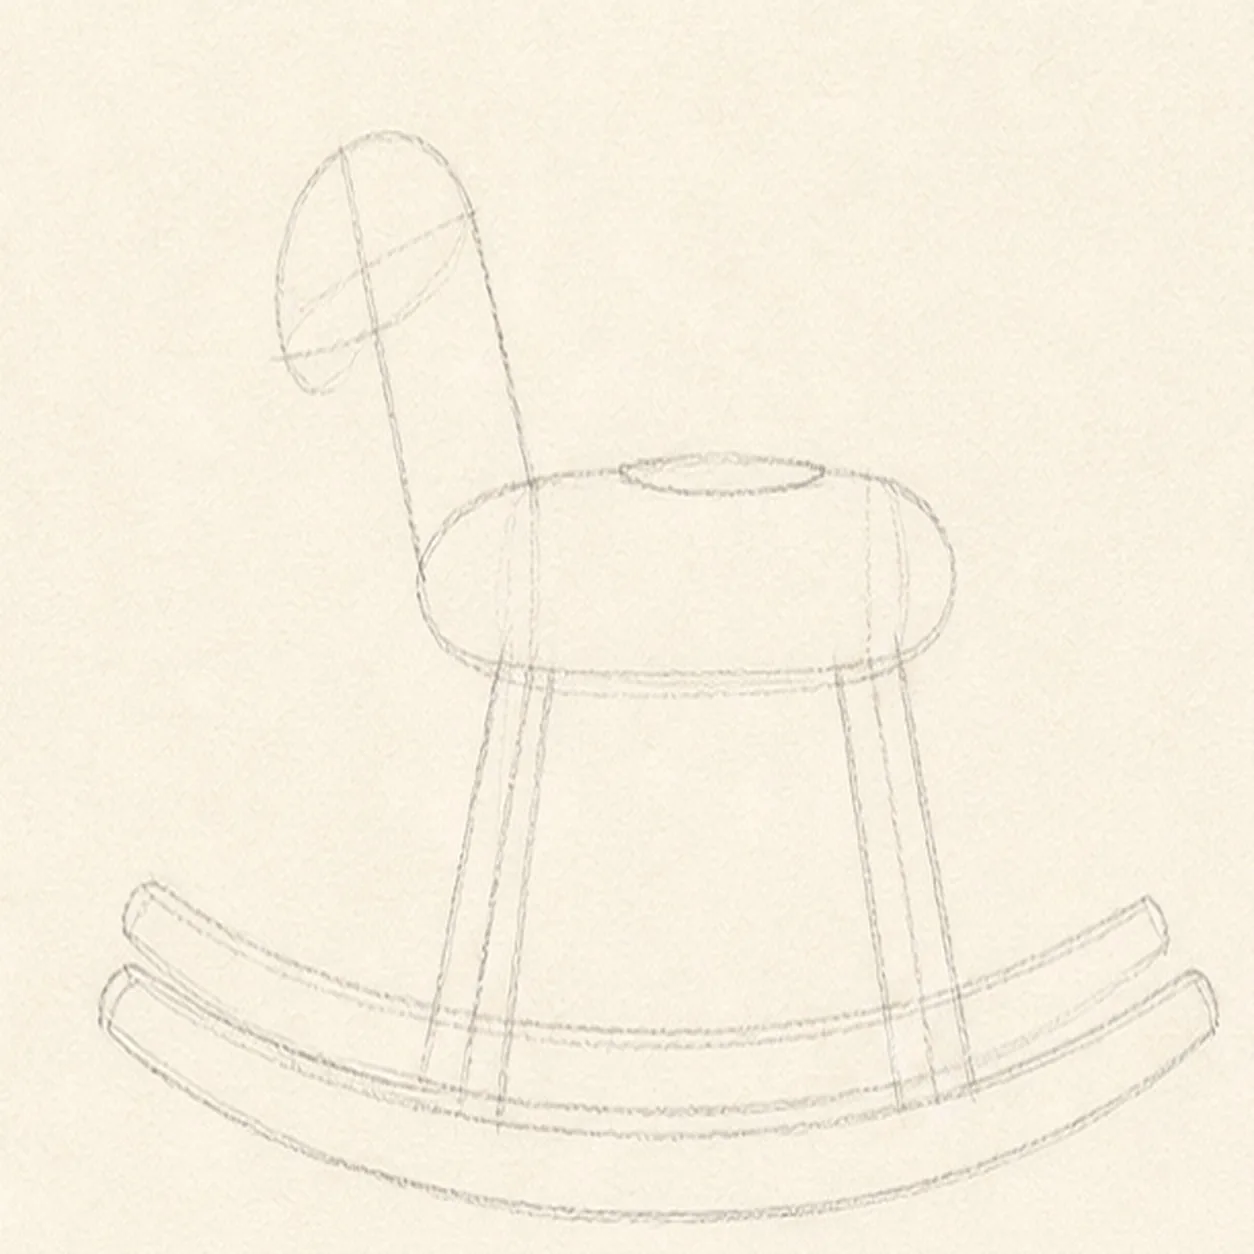
Set the horse and rockers
Place two long shallow rocker arcs, then add an oval body, a rising neck line, a small head block, and four angled leg guides at one fixed scale.
Sketch tip: Ghost both rocker curves before touching down and keep them parallel. Reserve a clear saddle footprint on top of the body so later details have room.
-
02
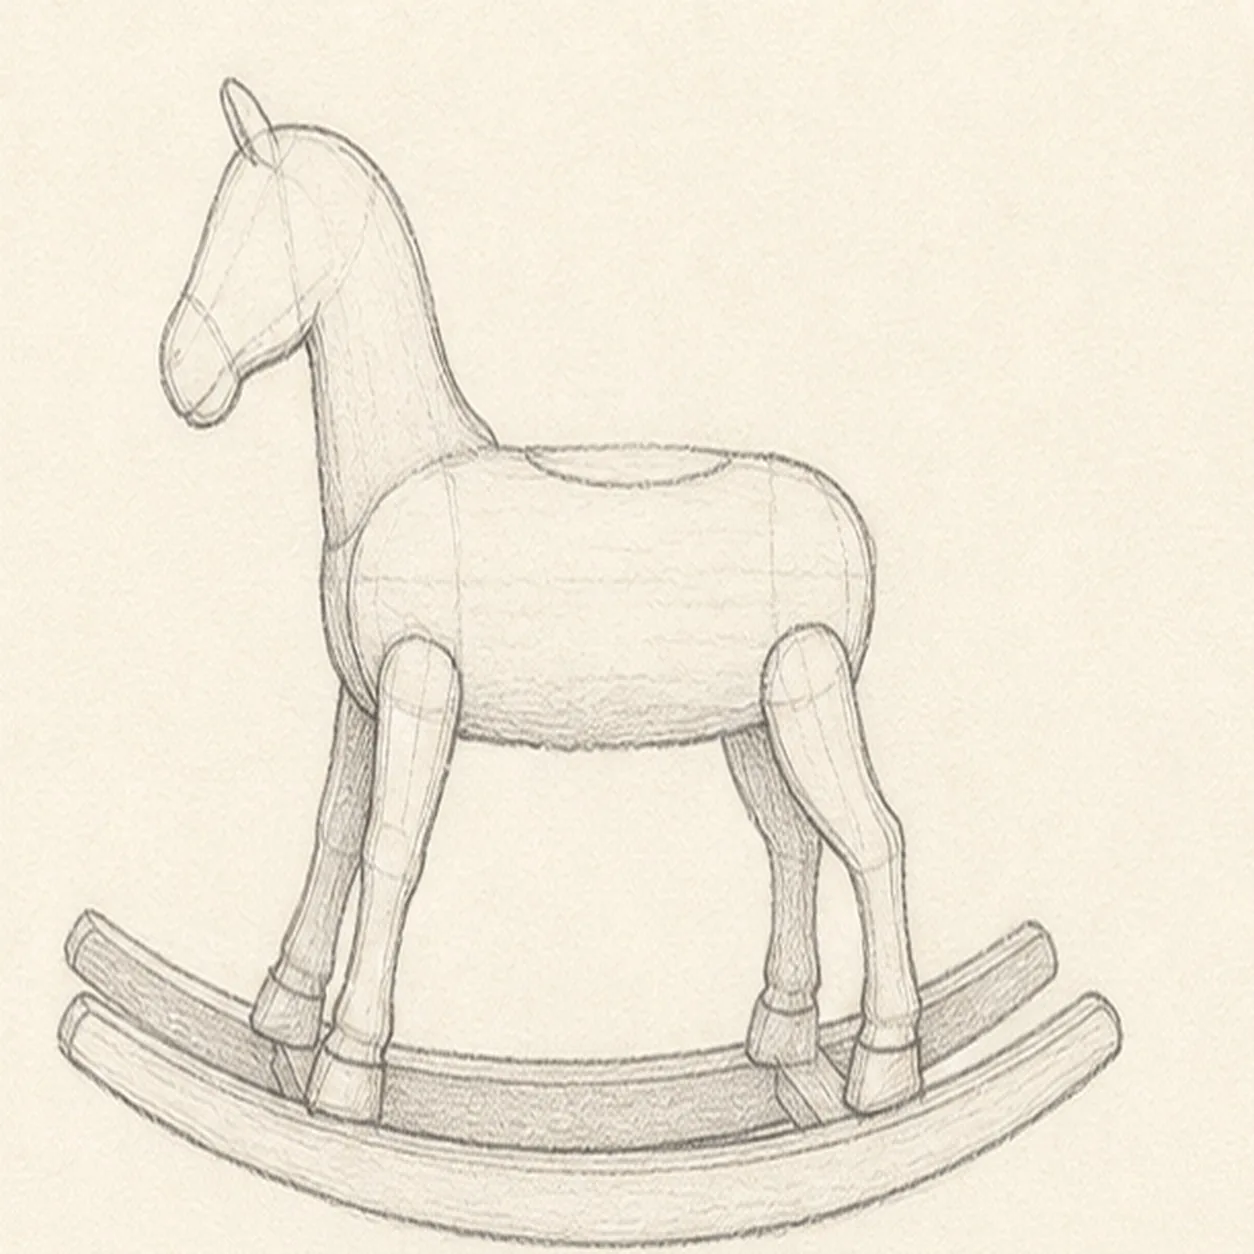
Build the wooden silhouette
Wrap the body, neck, head, and muzzle around the guides, then shape exactly four attached legs and connect them toward the established rocker rails.
Sketch tip: Keep the two far legs subtly behind the near pair. Compare the gaps between the legs so all four remain readable instead of merging into one wooden block.
-
03
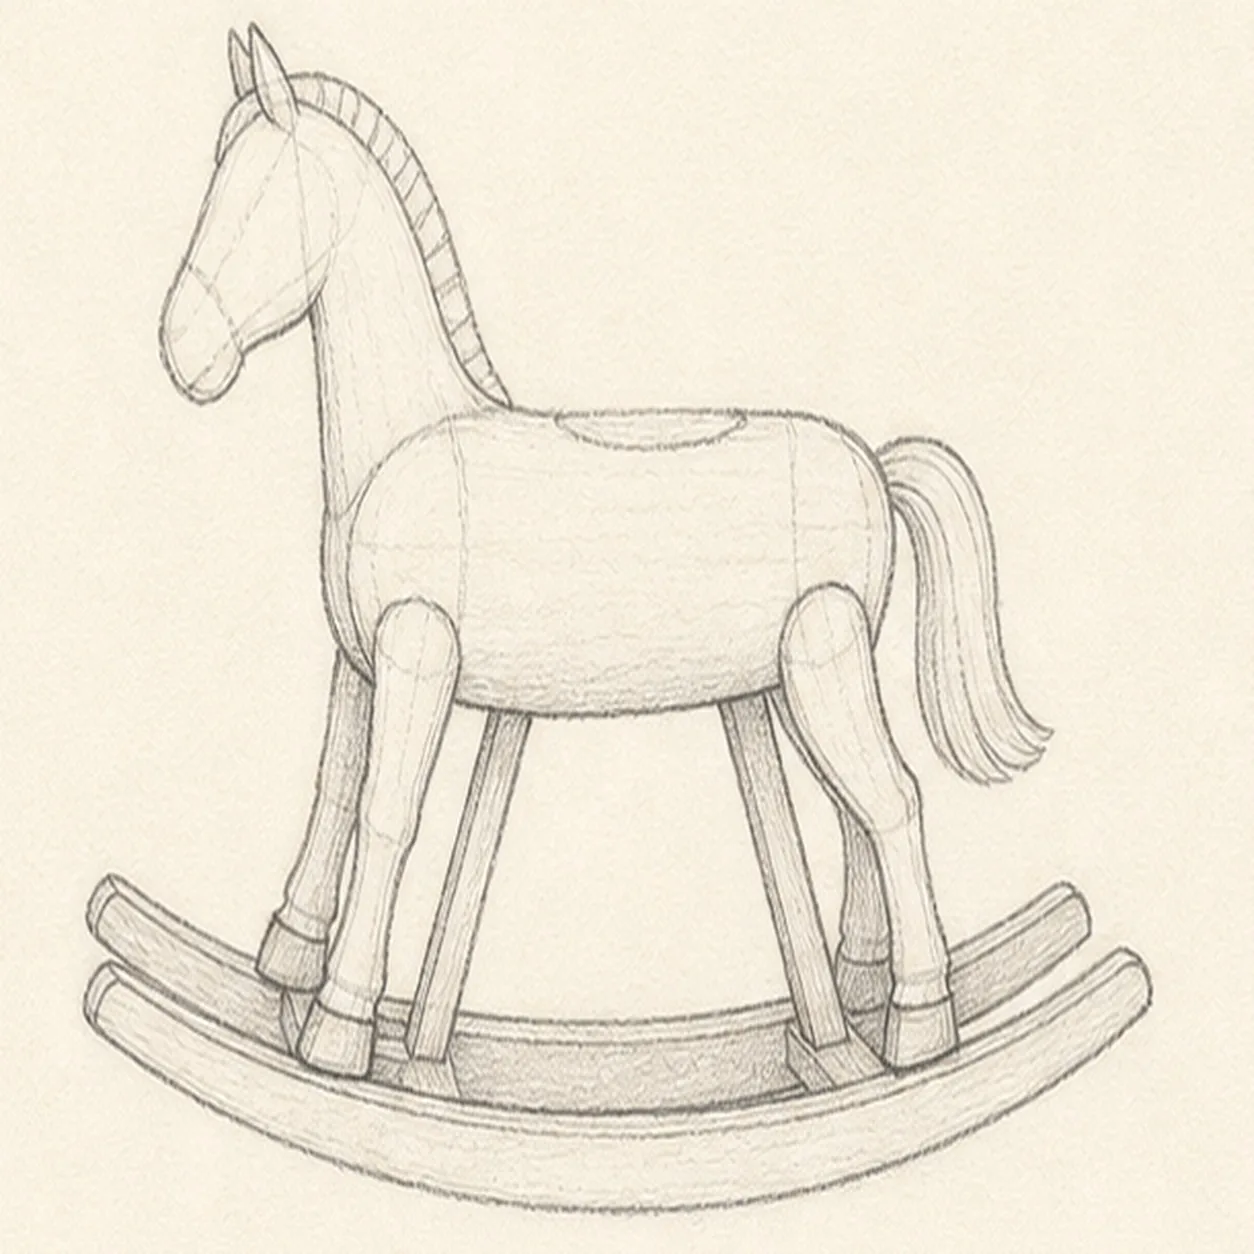
Carve the horse details
Add two ears, one visible eye, the short notched mane, simple tail, four hoof ends, and two structural braces to the existing toy.
Sketch tip: Follow the neck curve with the mane and point both braces toward the rocker assembly. Count four hoof ends before darkening any joint.
-
04
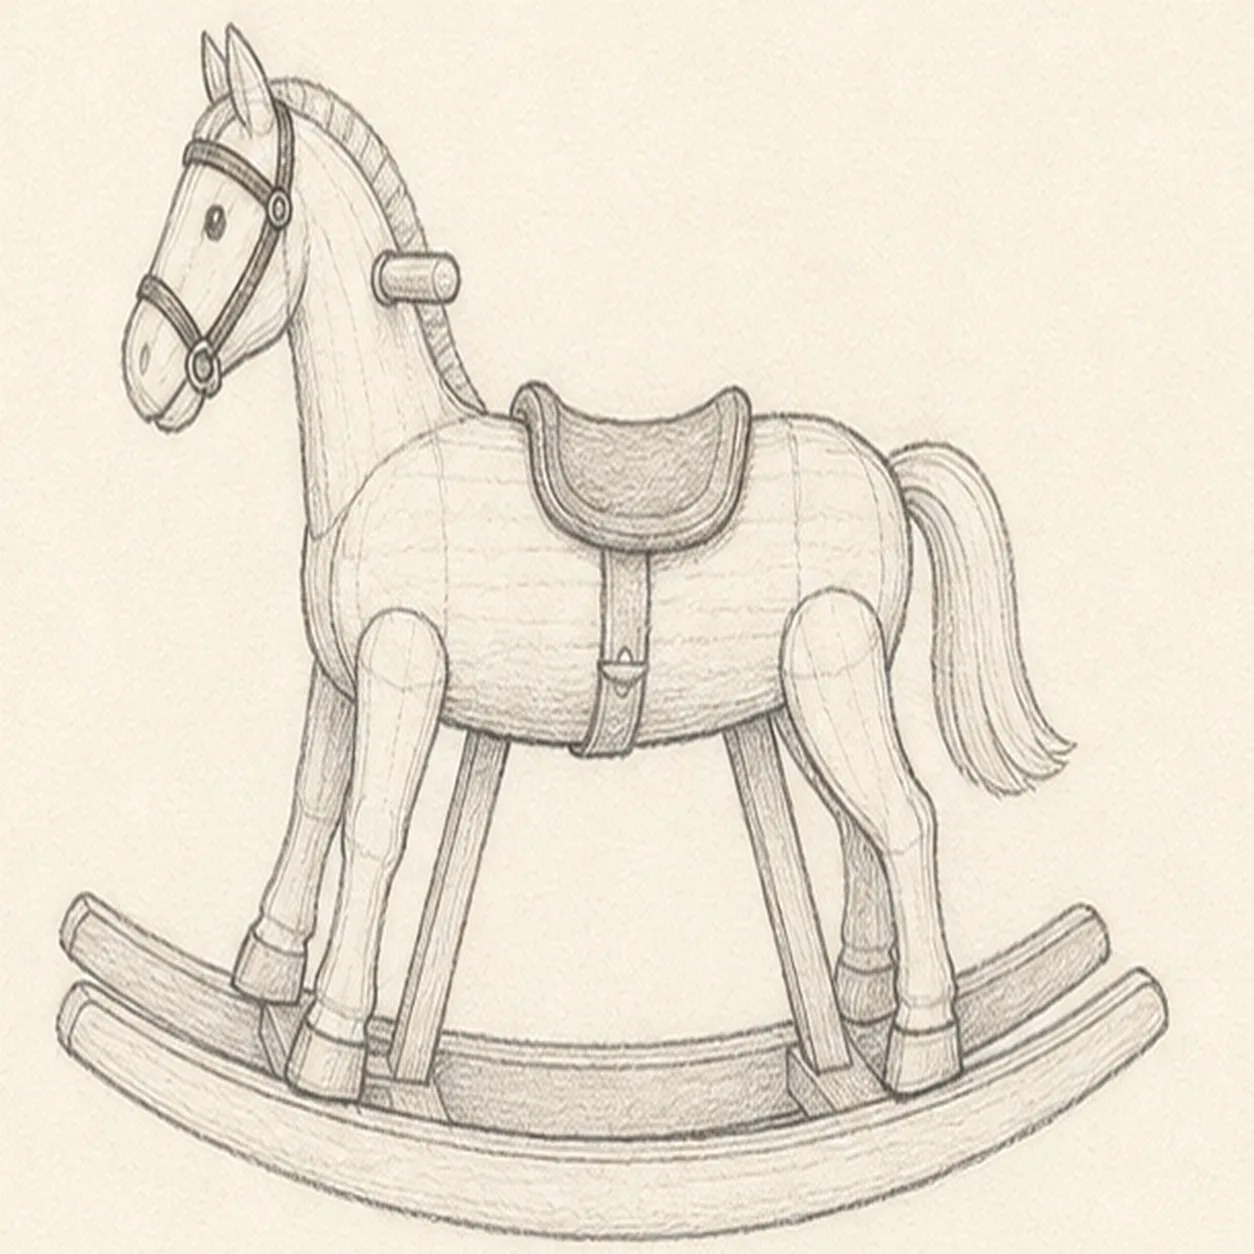
Fit the saddle and tack
Place a simple saddle over the reserved back area, then add bridle straps, one horizontal handle peg, and a few carved wooden seams.
Sketch tip: Keep the saddle inside the footprint you saved in step one. Let the bridle wrap the established head rather than changing the muzzle or neck shape.
-
05
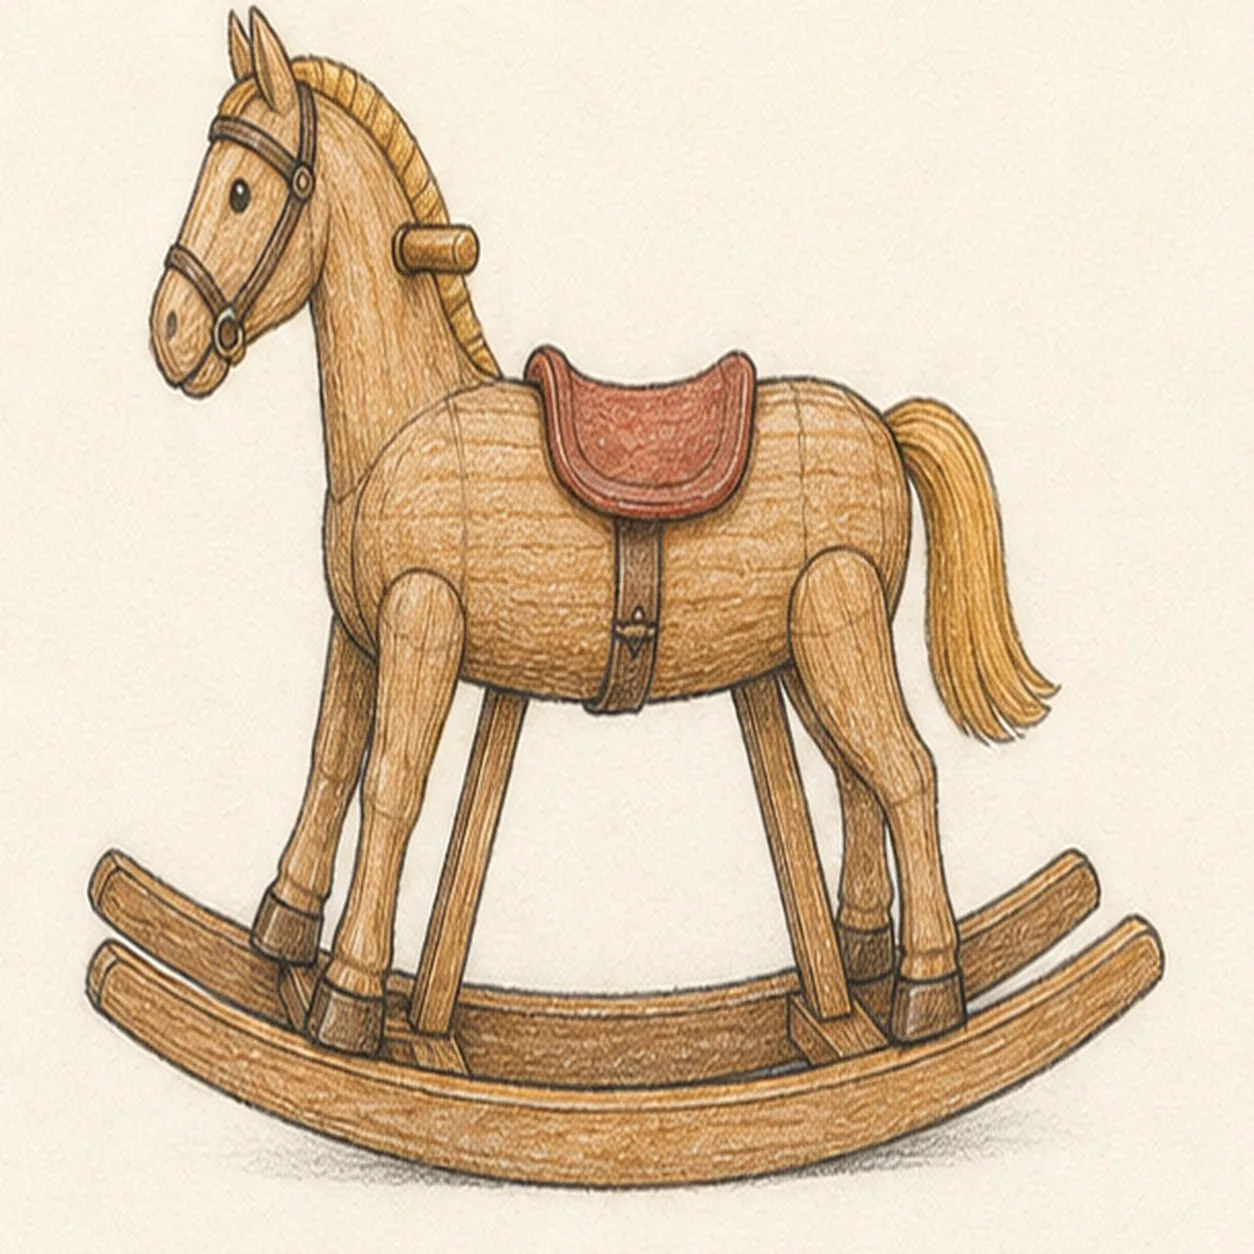
Layer the toy colors
Add warm brown to the wood and rockers, muted red to the saddle, ochre to the mane and tail, dark brown to the bridle, and soft graphite depth underneath.
Sketch tip: Pull colored-pencil strokes along each wooden form and leave small paper highlights. A restrained first pass keeps the construction and grain visible.
-
06
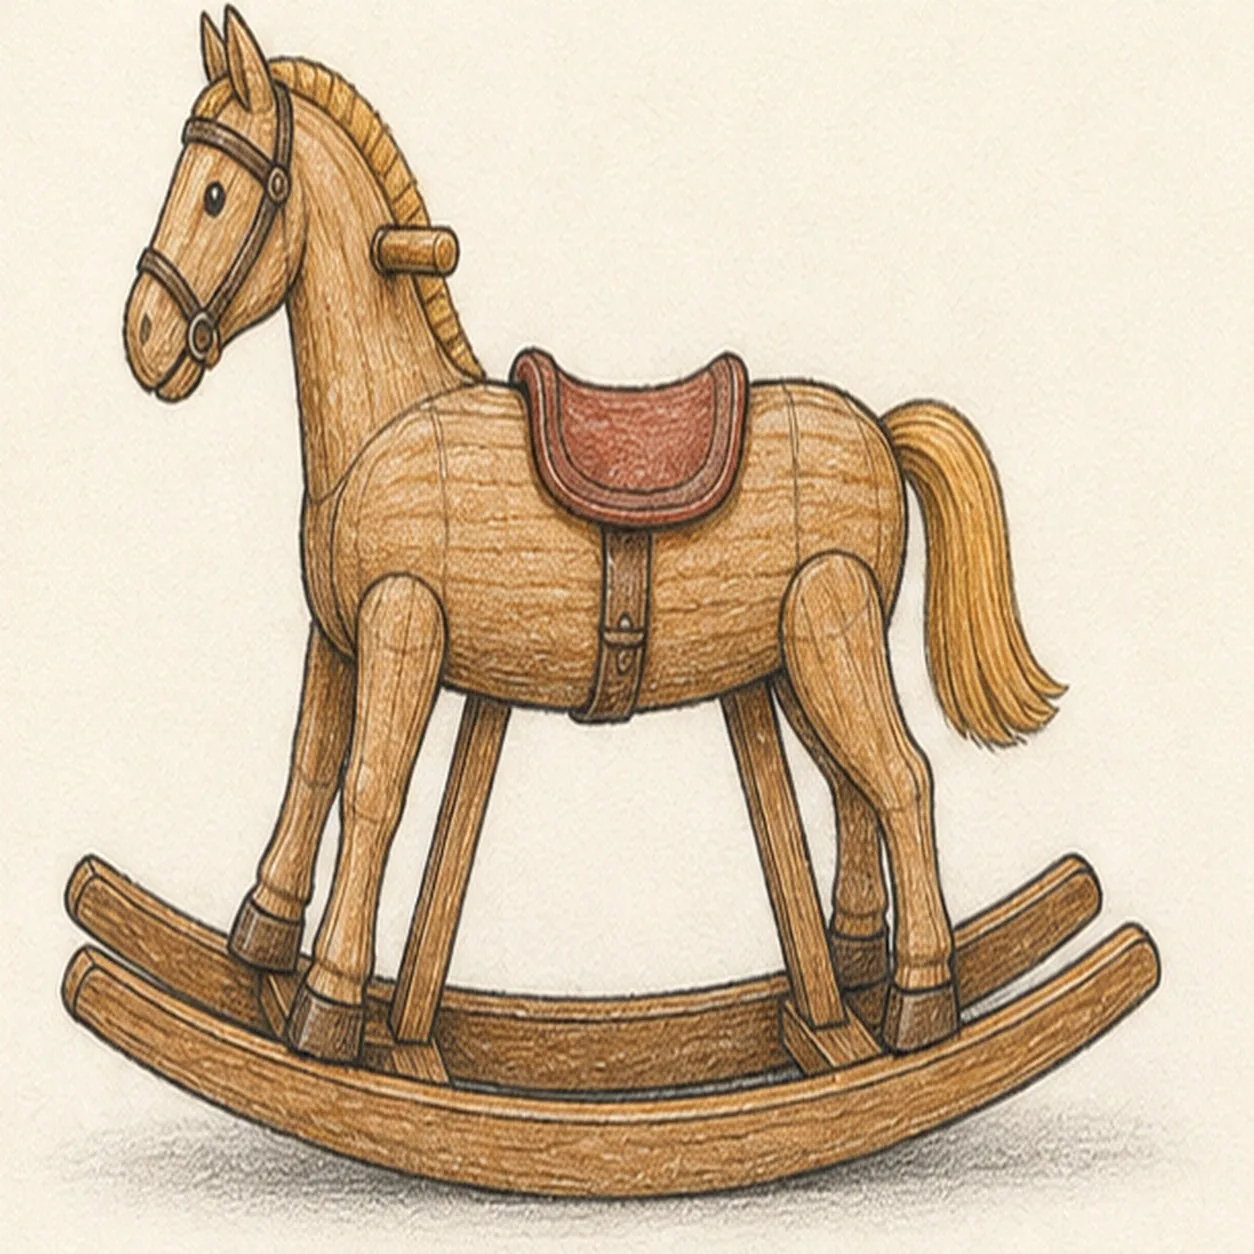
Finish the rocking horse
Strengthen the keeper contours and clarify the established joints, tack, wood seams, restrained colors, and cast shadow.
Sketch tip: Check for exactly four legs, two rocker rails, two supports, one saddle, and one handle peg, then stop. A rider, room, floorboards, or extra toy is not needed.


