
From the archive
Let's draw a folded paper airplane
Treat this as one small practice round: build the subject lightly, notice the shapes, then darken only the lines that help the finished sketch.
-
01
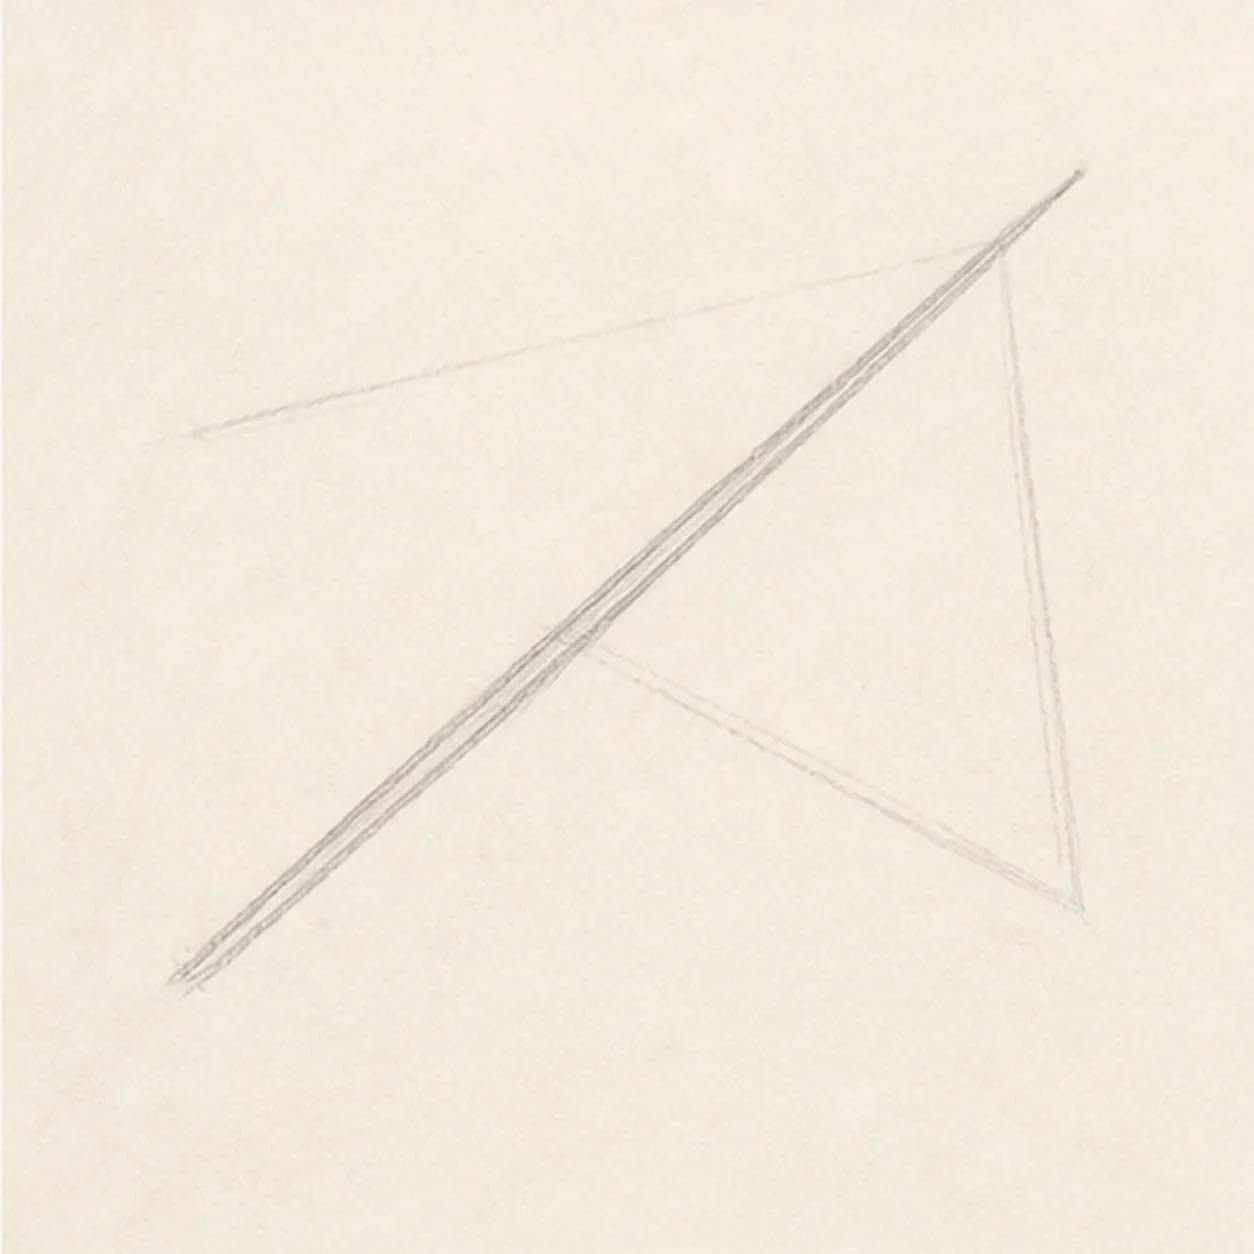
Set the spine and wings
Draw a long diagonal spine, then add two light triangular wing guides that meet along it.
Sketch tip: Ghost the long spine before drawing it. A straight center fold makes every later wing edge easier to judge.
-
02
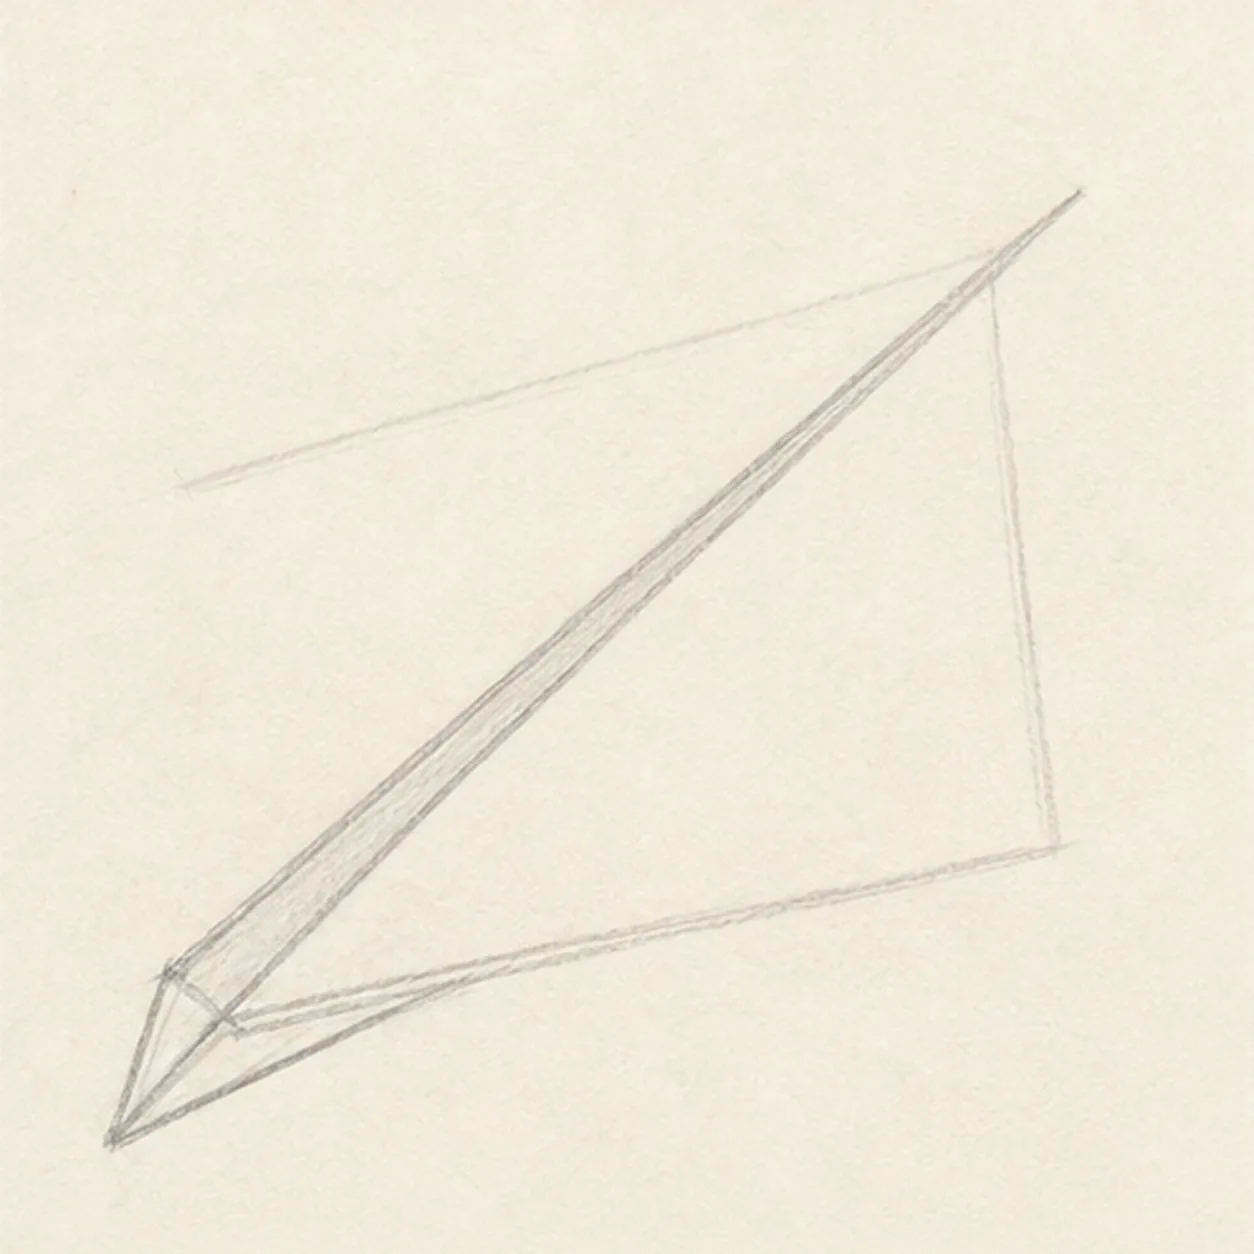
Point the nose
Connect the front wing edges into a sharp folded nose while keeping the spine visible.
Sketch tip: Compare the two front triangles. They do not need to match perfectly, but both should aim toward the same nose.
-
03
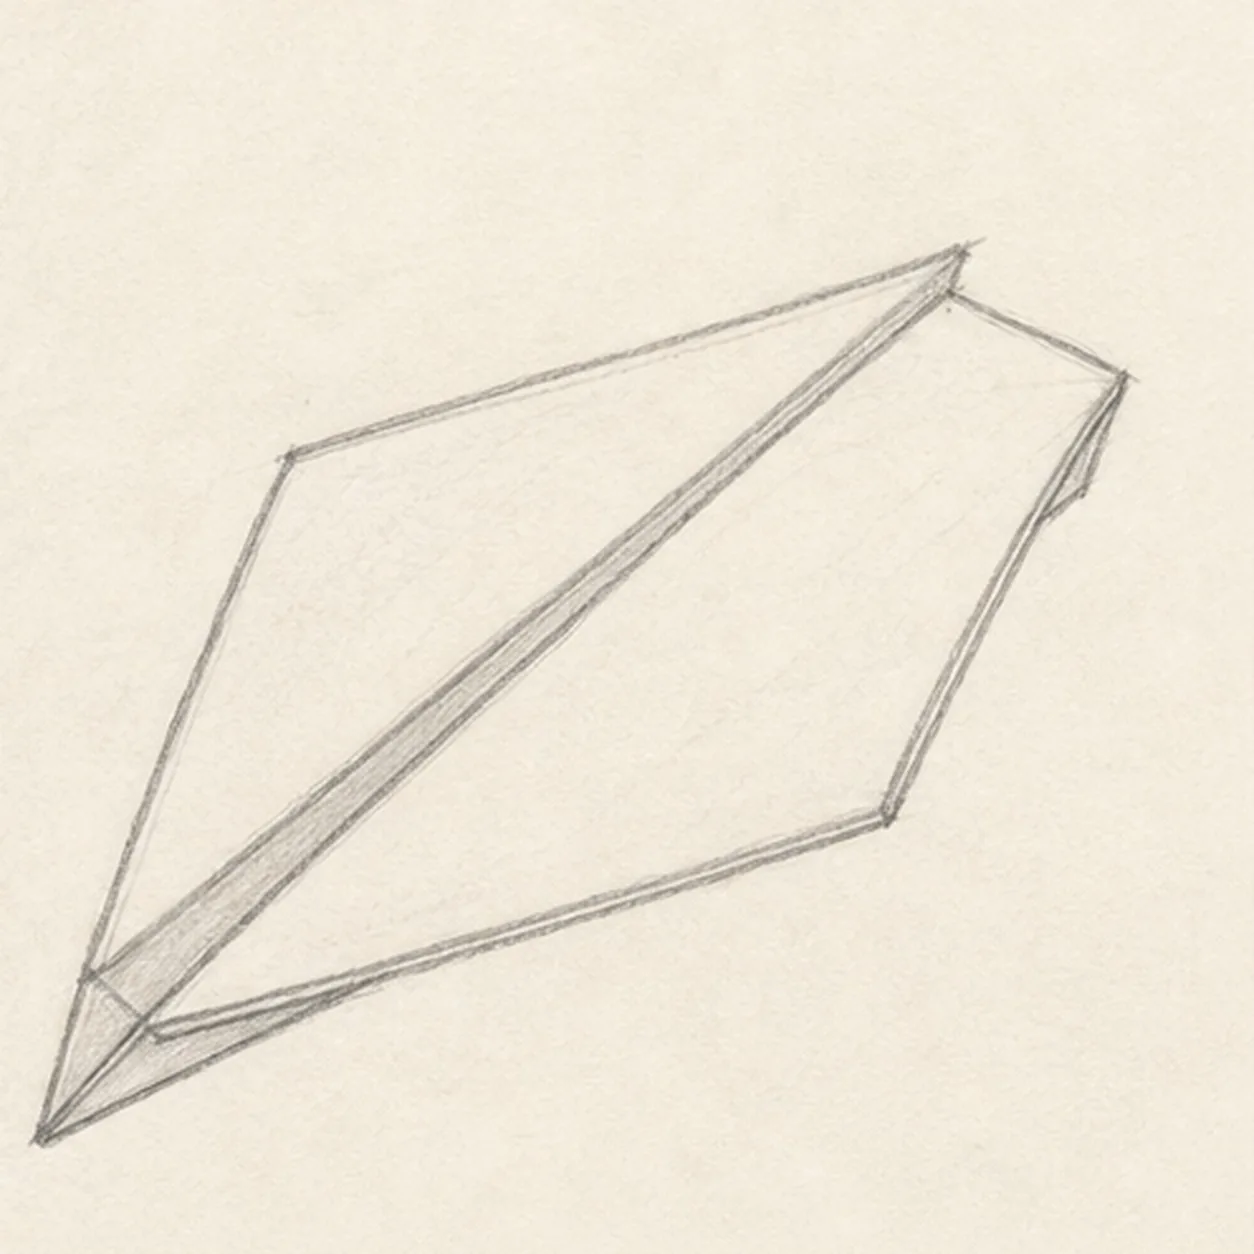
Shape the back edges
Trim the rear wing edges and close the outside silhouette into a clear paper-airplane shape.
Sketch tip: Use light pressure on the back edge until the angle feels right. It is easier to darken a good line than erase a heavy one.
-
04
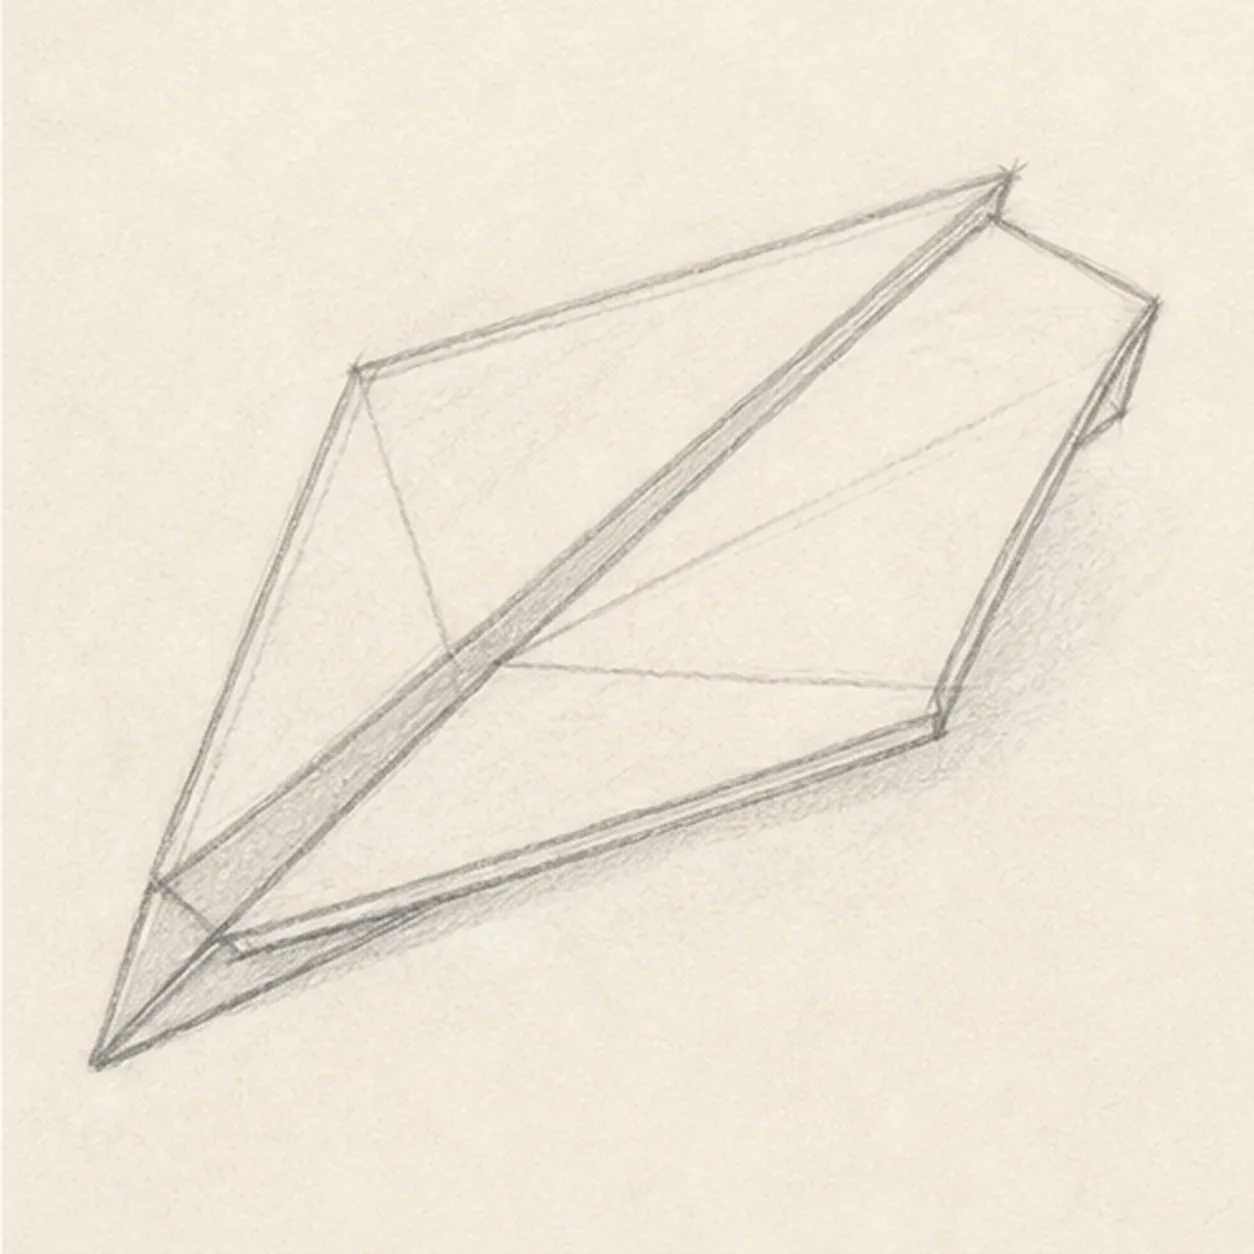
Draw the creases
Add light interior crease lines across the wings, following the folded paper planes you already built.
Sketch tip: Keep these creases lighter than the outside edges. They should explain the fold without flattening the airplane.
-
05
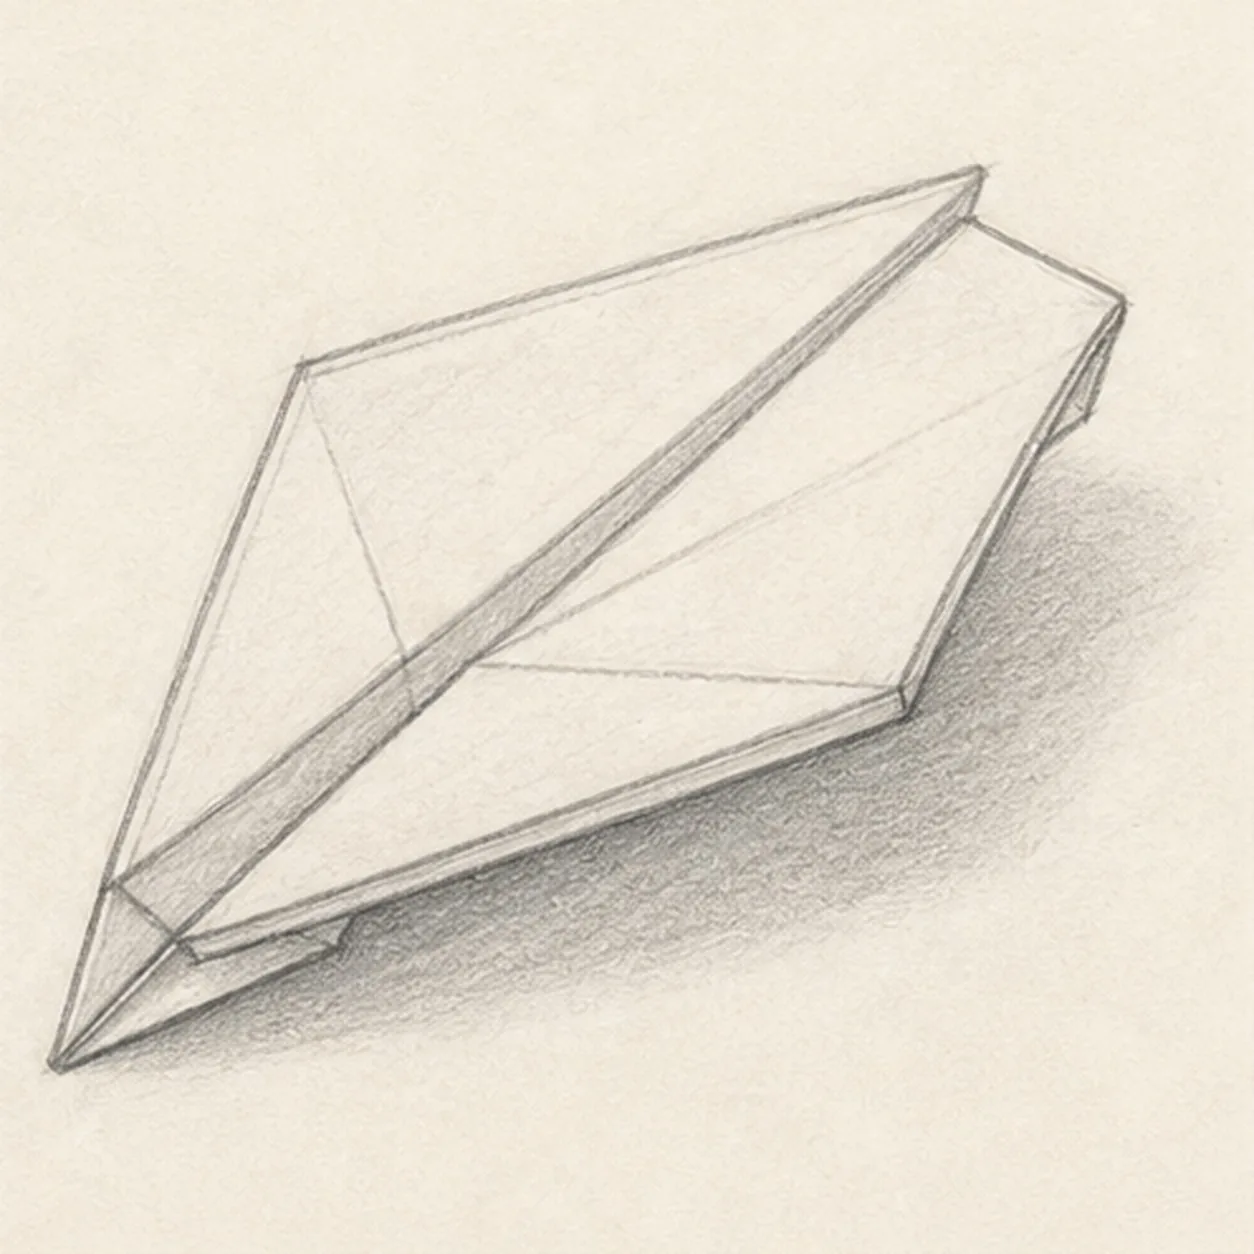
Add paper thickness
Add small edge overlaps, a few folded tabs, and a soft shadow underneath the plane.
Sketch tip: Put the shadow under the broad wing side, not evenly around the whole shape. That keeps the airplane feeling lifted.
-
06
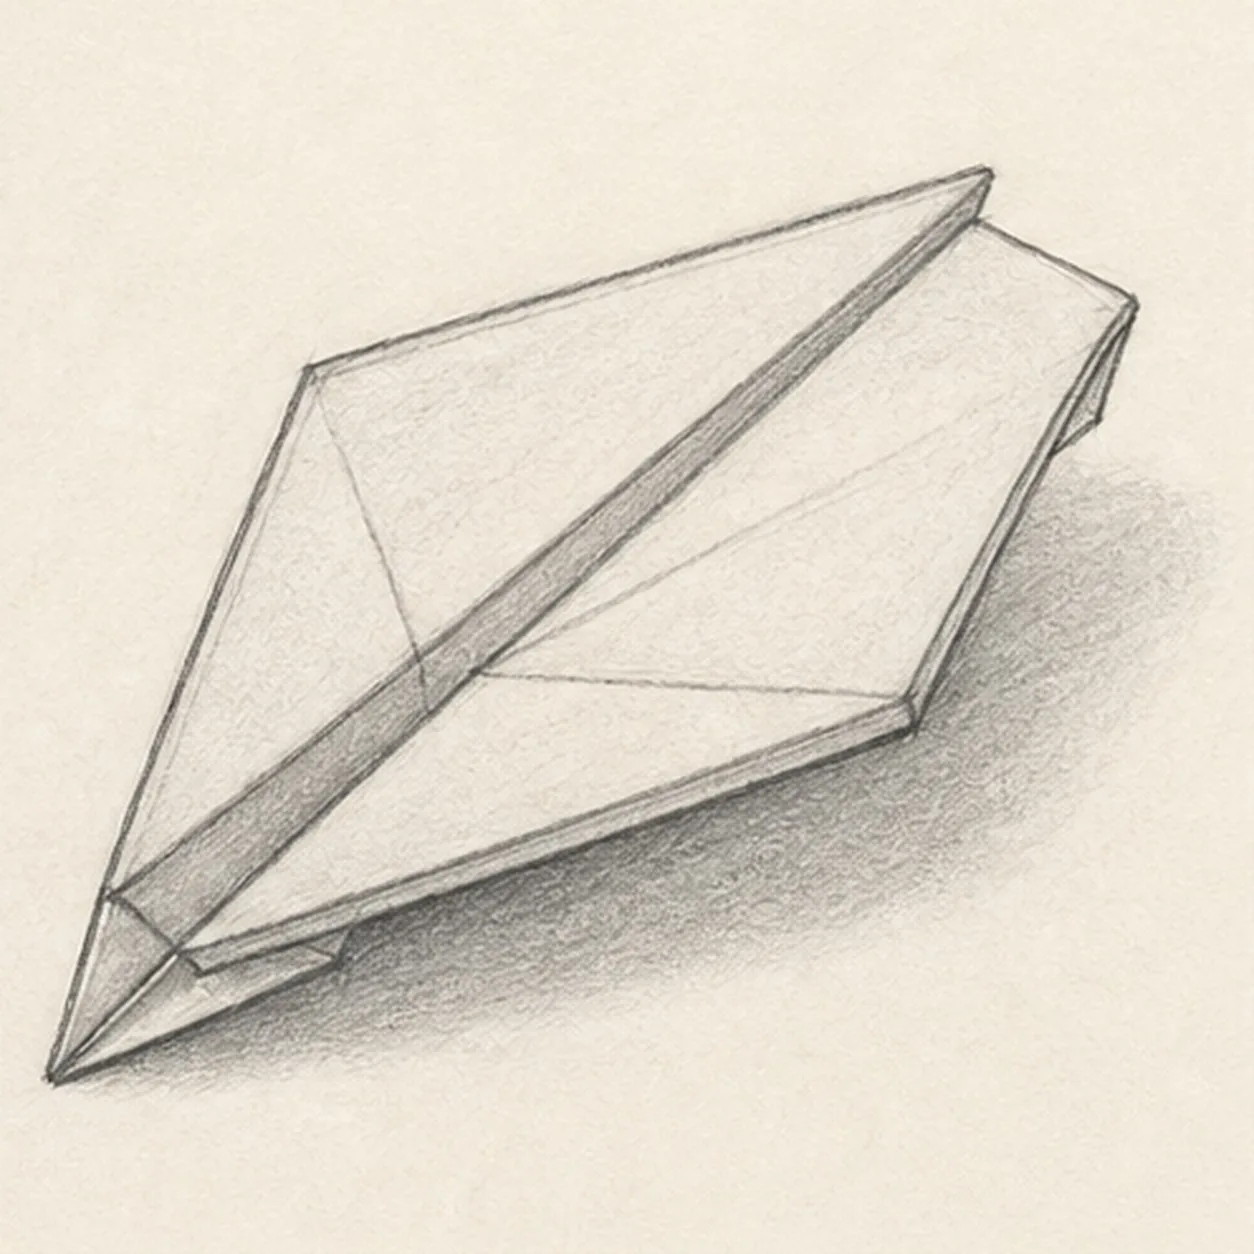
Finish the paper airplane sketch
Darken the keeper contours, clarify the existing creases, folded edges, paper thickness, and soft graphite shadow.
Sketch tip: Stop before adding clouds, motion lines, or lettering. The folds and shadow are enough to make the paper form read.


