
From the archive
Let's draw a garden hand trowel
Treat this as one small practice round: build the subject lightly, notice the shapes, then darken only the lines that help the finished sketch.
-
01
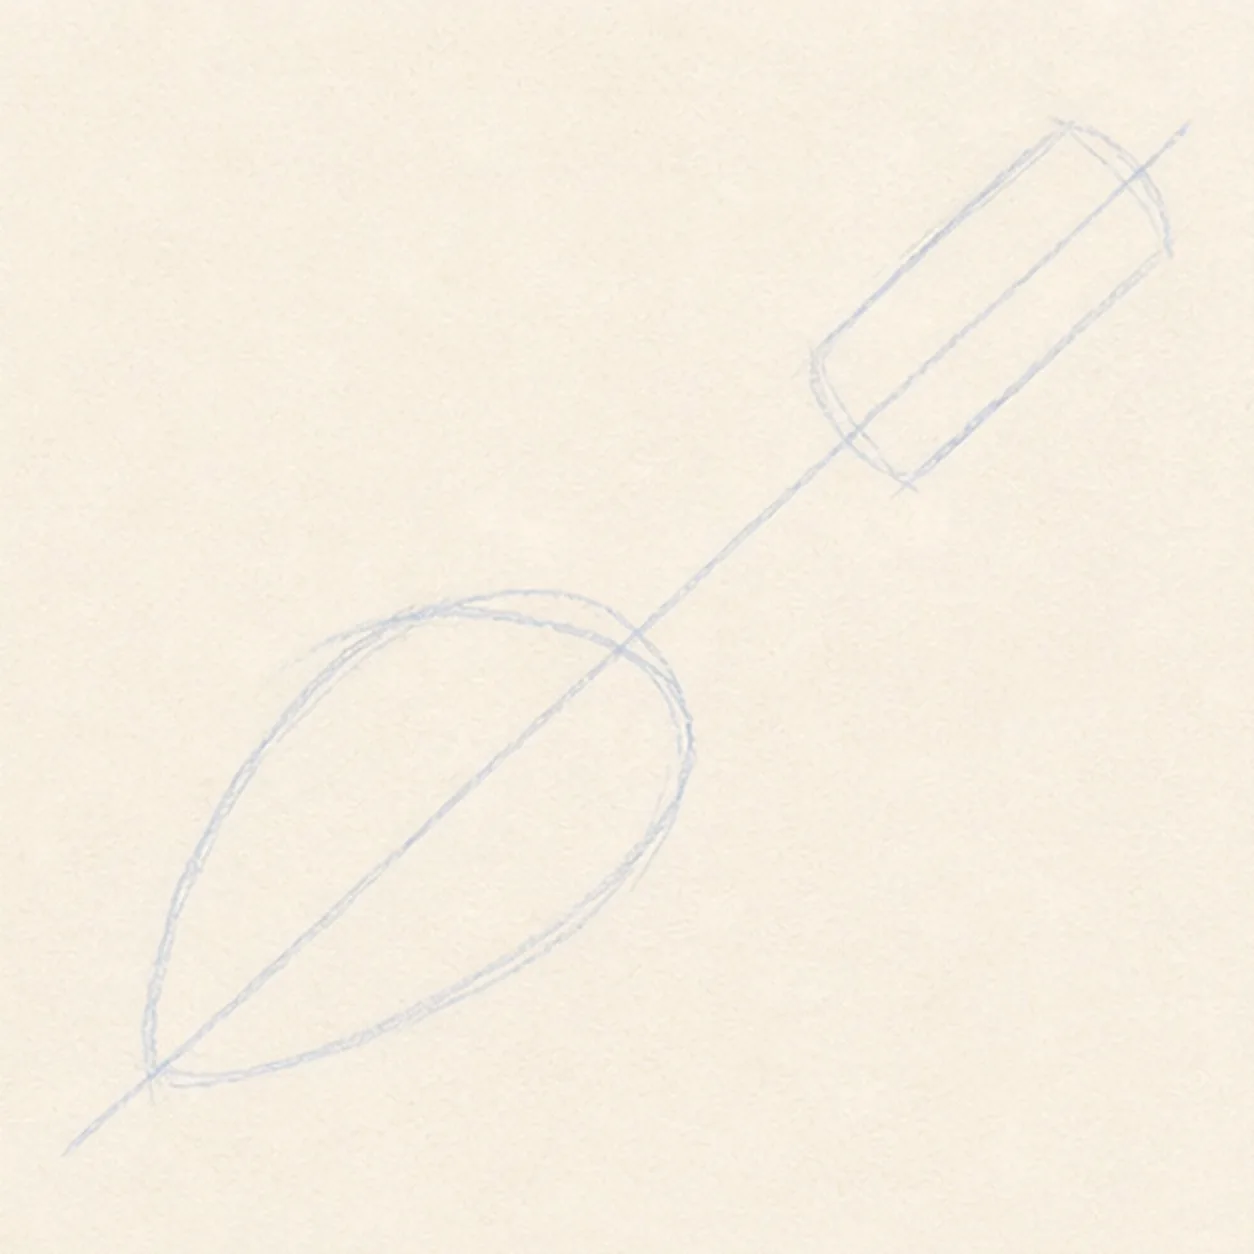
Place the diagonal guide
Draw a long diagonal center guide, then add a light blade mass at one end and a handle guide at the other.
Sketch tip: Ghost the diagonal before drawing. One clear axis keeps the blade and handle from drifting apart.
-
02
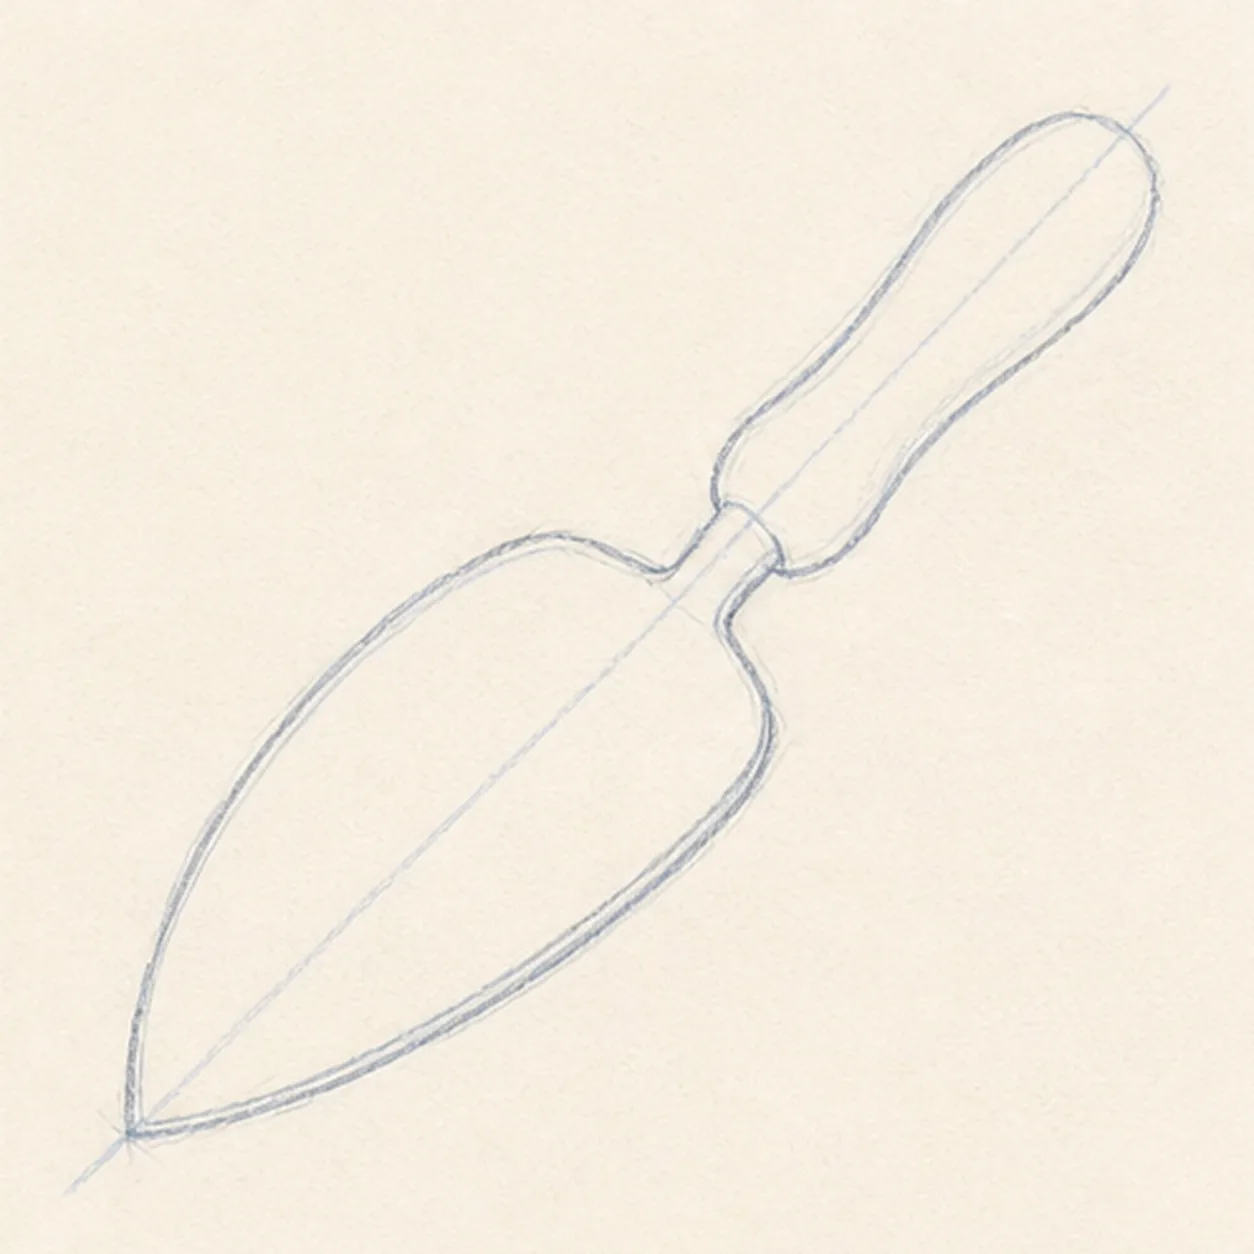
Shape the blade and handle
Turn the guide shapes into a teardrop blade and a rounded wooden handle.
Sketch tip: Keep the blade point on the center guide. That small alignment check makes the tool feel balanced.
-
03
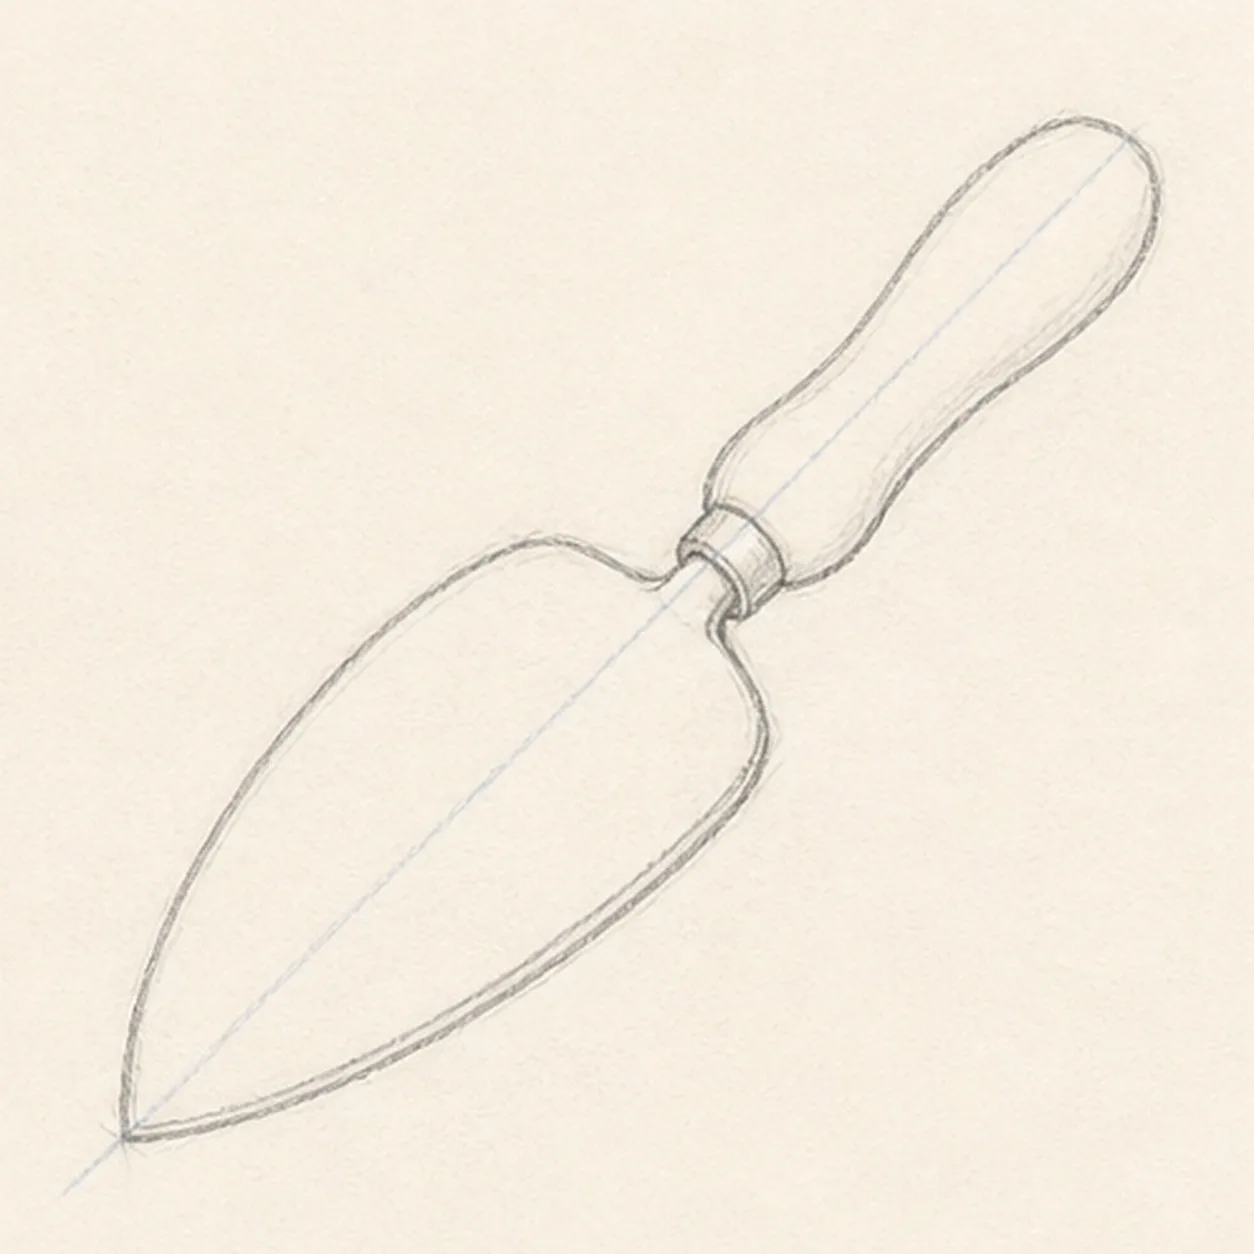
Add the ferrule
Draw the blade shoulder and a small ferrule band where the metal blade meets the handle.
Sketch tip: Use a short curved band instead of a flat stripe. It should wrap around the handle, not sit on top of it.
-
04
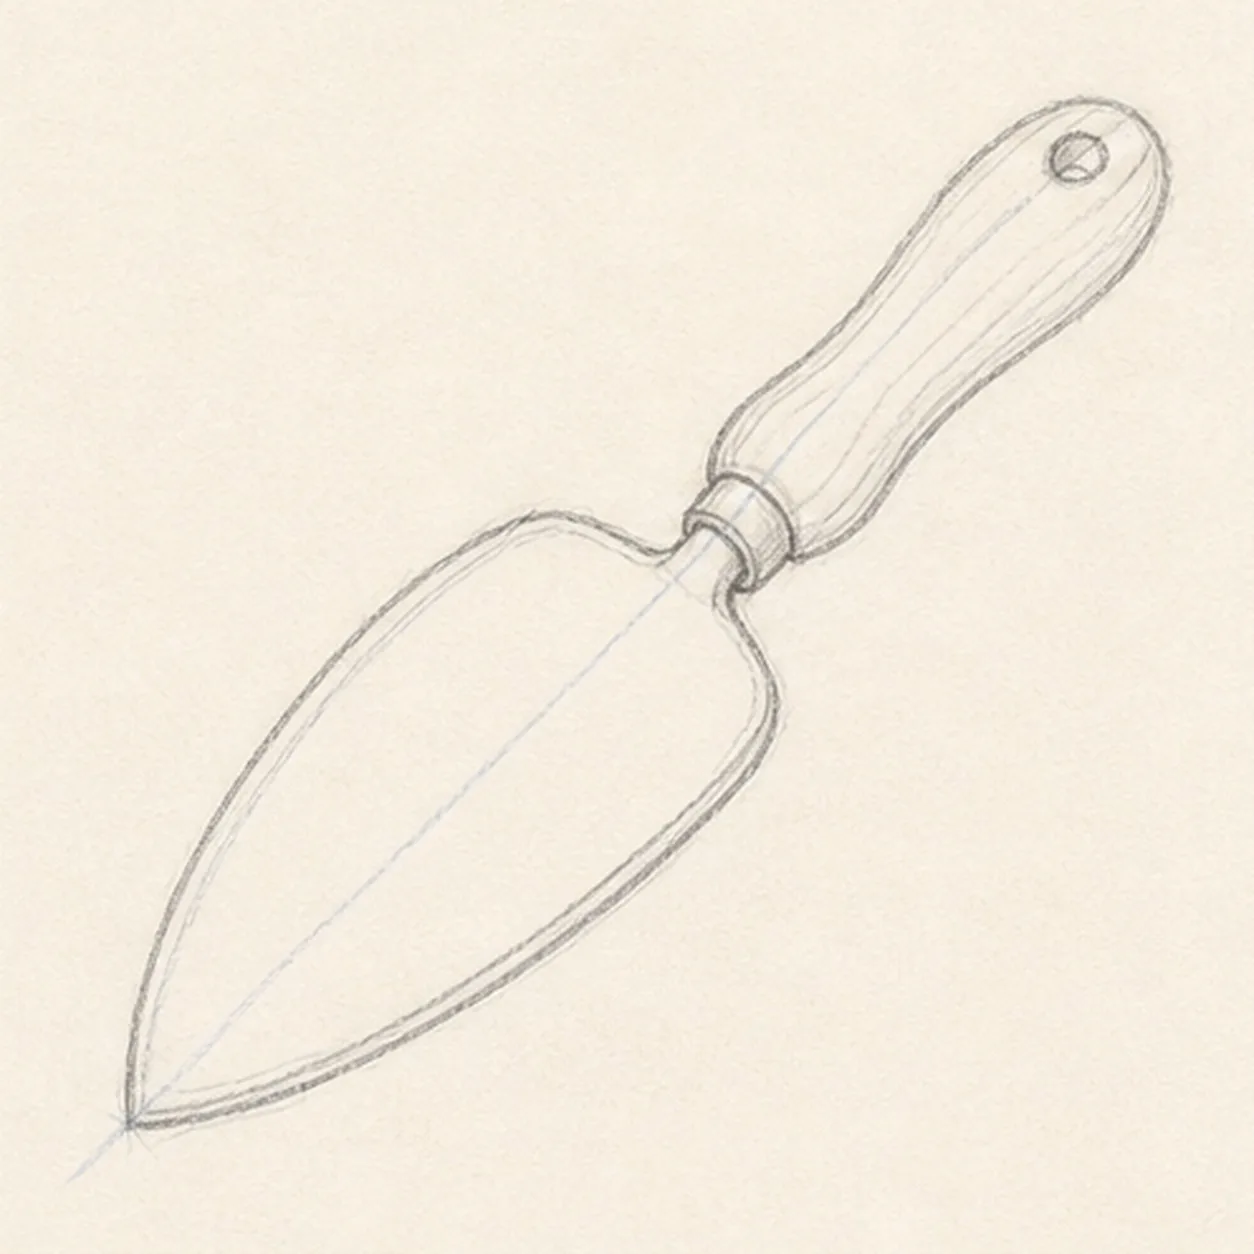
Draw the small details
Add the hanging hole, inner blade edge, and a few wood-grain lines along the handle.
Sketch tip: Pull the grain lines with the handle, not across it. Directional texture makes the wood feel solid.
-
05
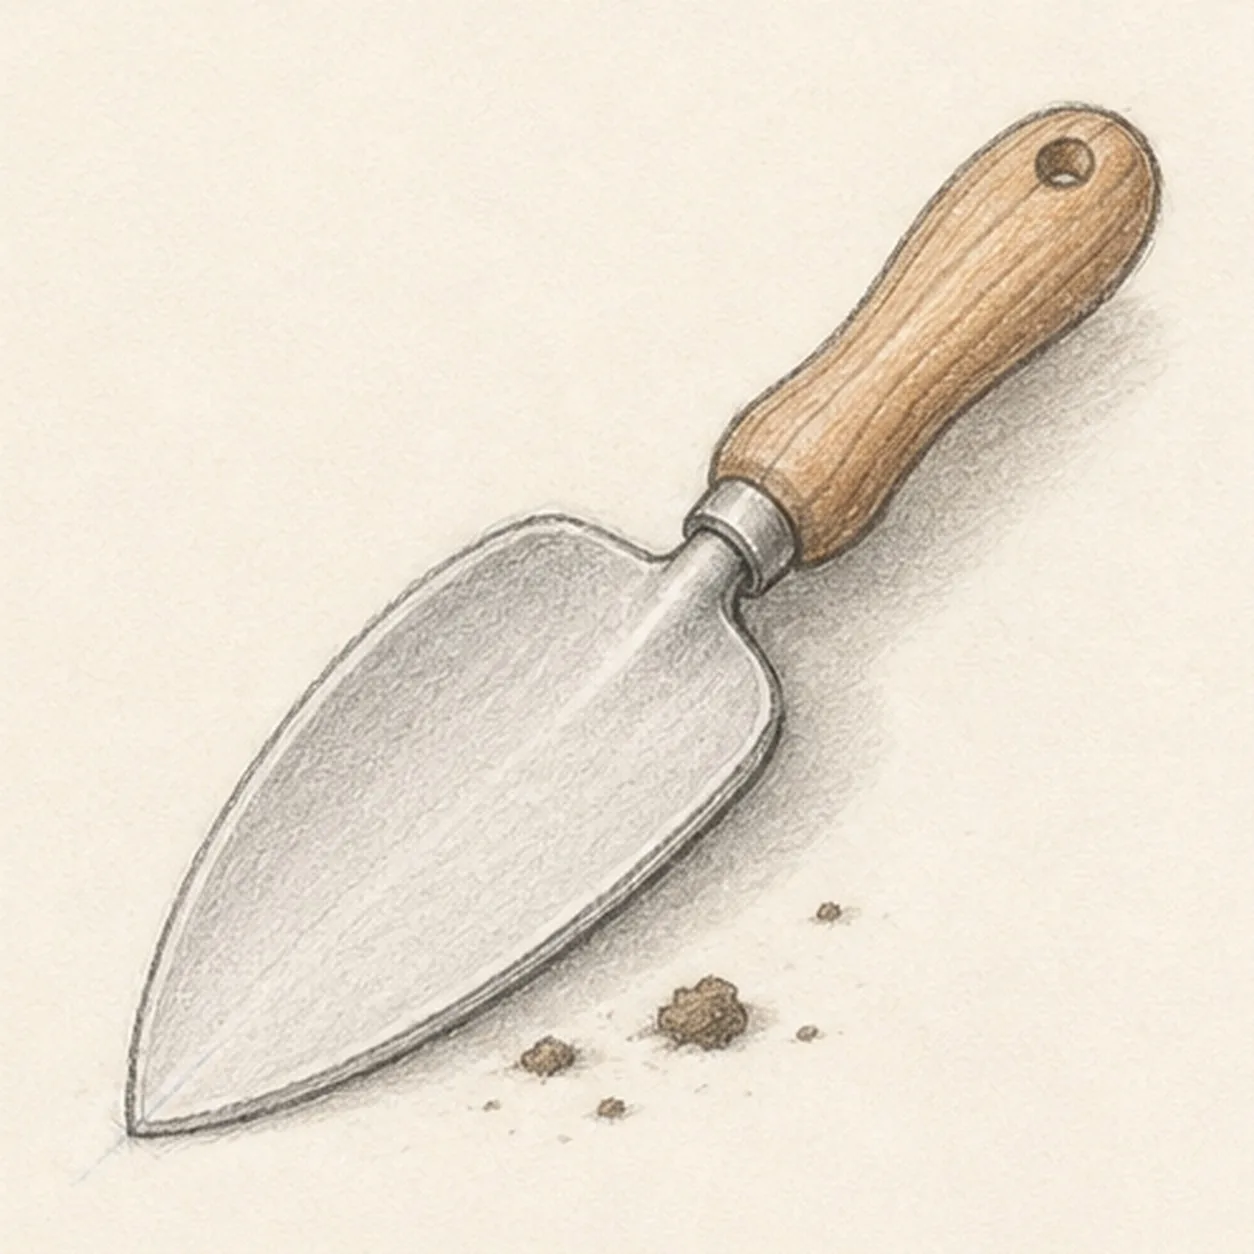
Add soil and tone
Add a few soil crumbs near the blade, soft cast shadow, gray blade shading, and warm brown handle tone.
Sketch tip: Place crumbs unevenly and leave open paper between them. A scattered cluster reads more naturally than a dotted border.
-
06
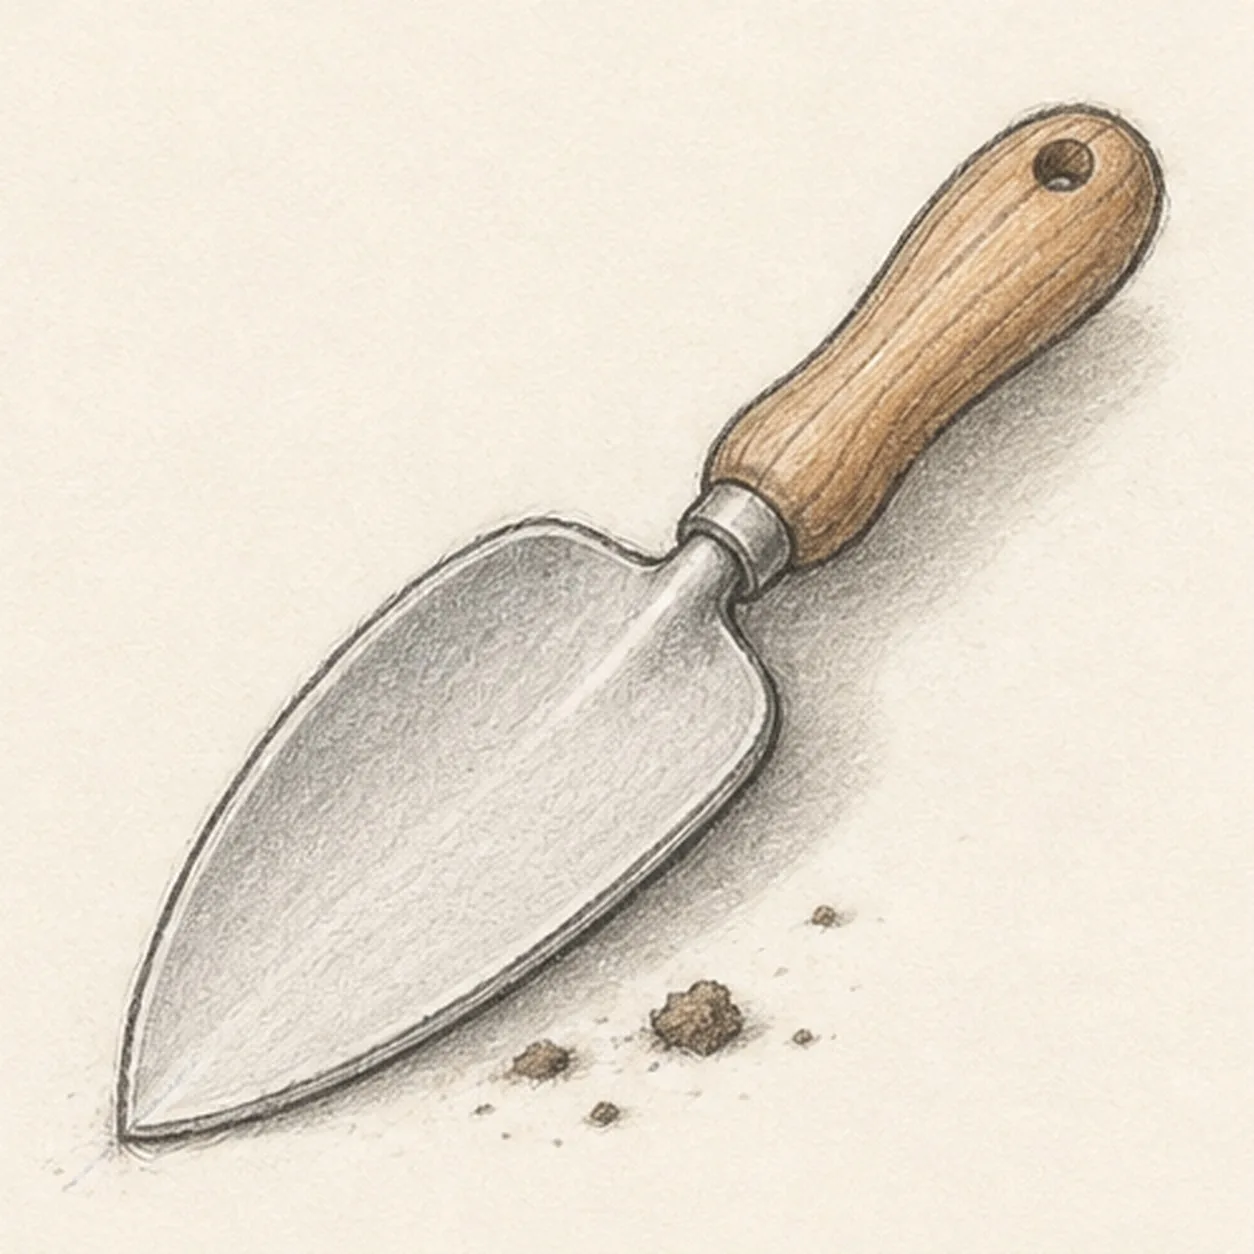
Finish the garden trowel sketch
Darken the keeper contours, clarify the existing blade, handle, ferrule, hole, blade edge, grain, soil crumbs, tone, and shadow.
Sketch tip: Stop before adding flowers, hands, or extra tools. The blade, handle, ferrule, and soil crumbs already tell the story.


