
From the archive
Let's draw lemonade
Treat this as one small practice round: build the subject lightly, notice the shapes, then darken only the lines that help the finished sketch.
-
01
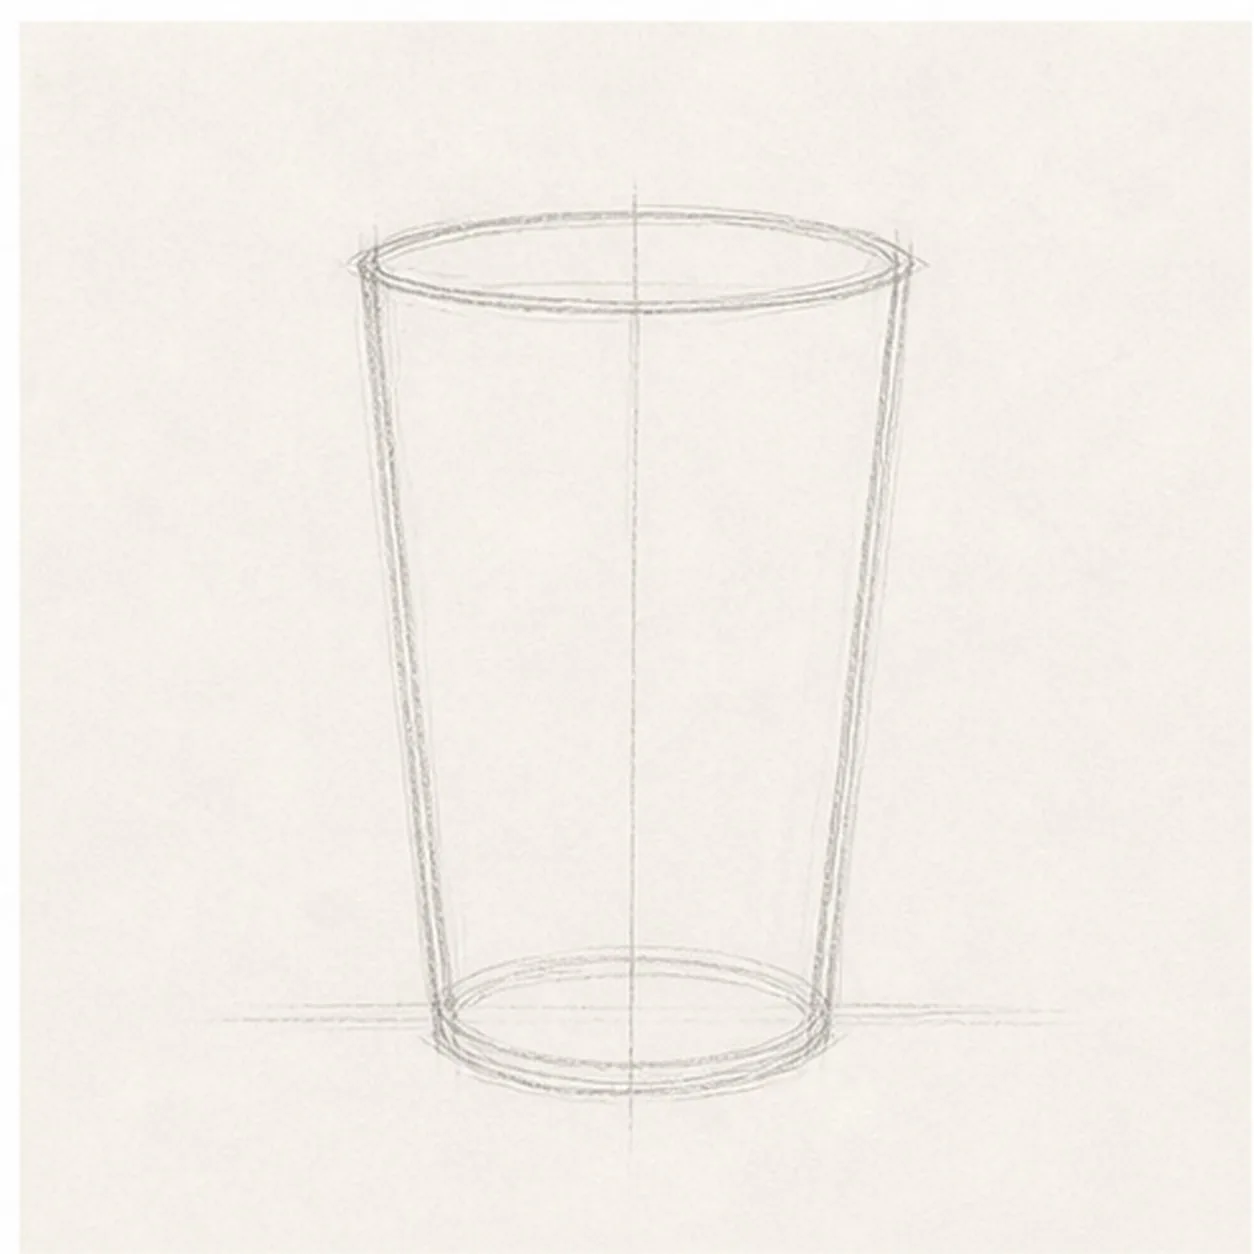
Place the glass shape
Draw a wide rim ellipse, two slightly tapered side lines, and a smaller base ellipse. Add a light center guide through the glass.
Sketch tip: Make the top ellipse wider than the bottom one. That taper is what makes the glass feel tall.
-
02
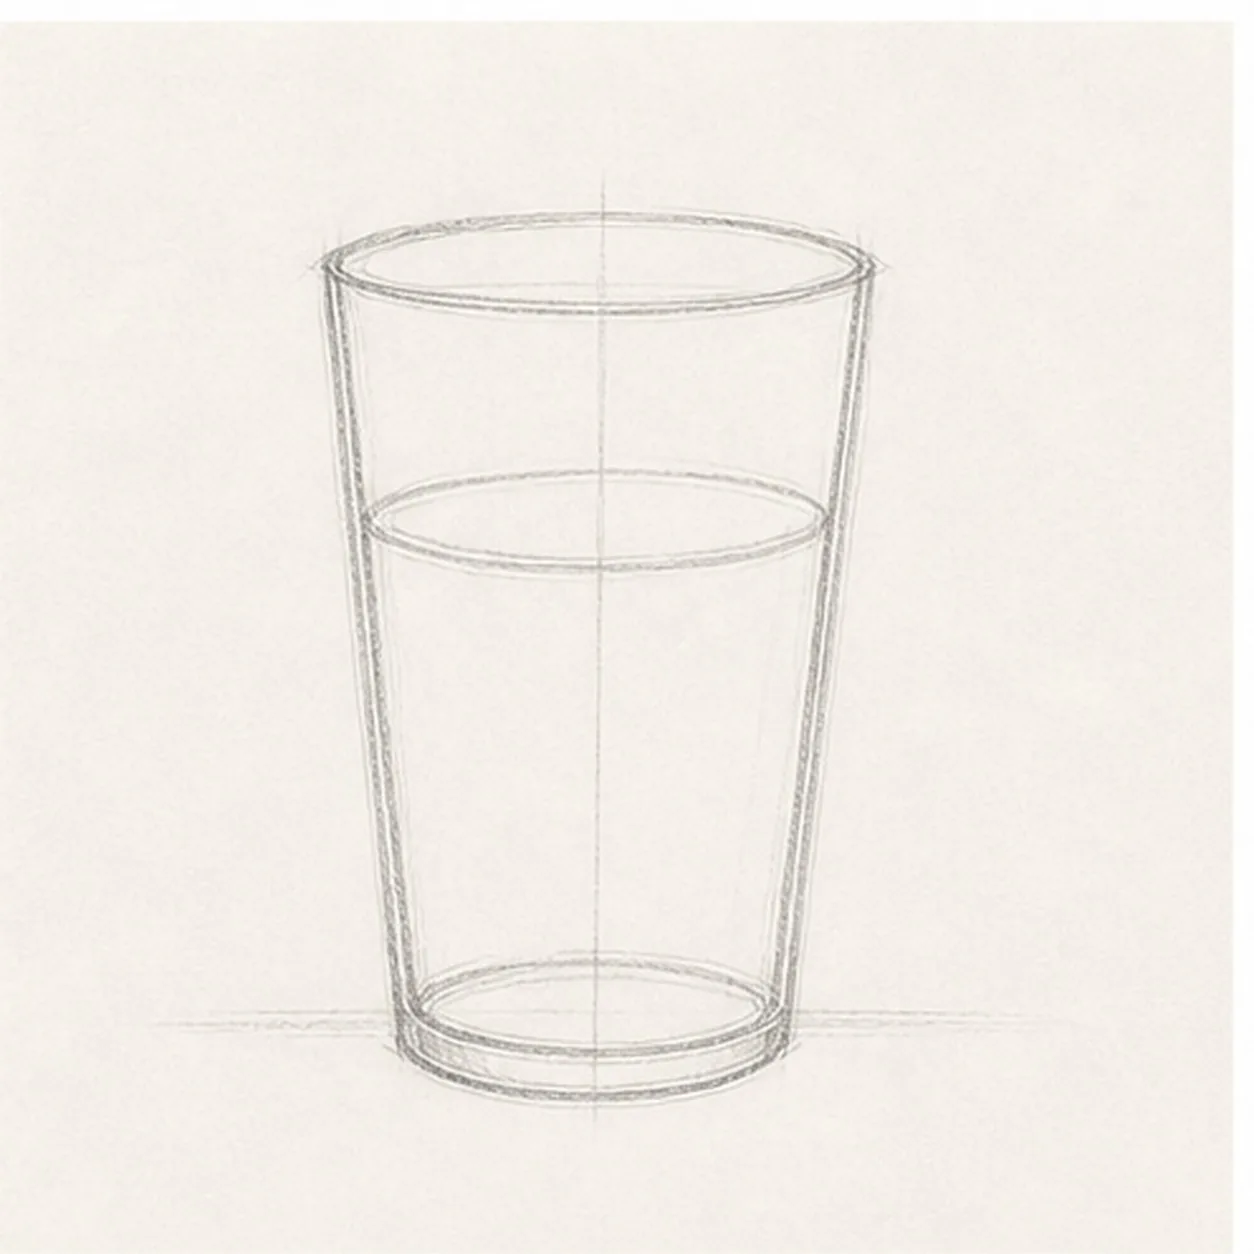
Set the lemonade level
Add a curved liquid line across the glass, then reinforce the lower rim and base so the glass still feels transparent.
Sketch tip: Let the liquid curve echo the rim ellipse. Matching those curves keeps the lemonade from looking flat.
-
03
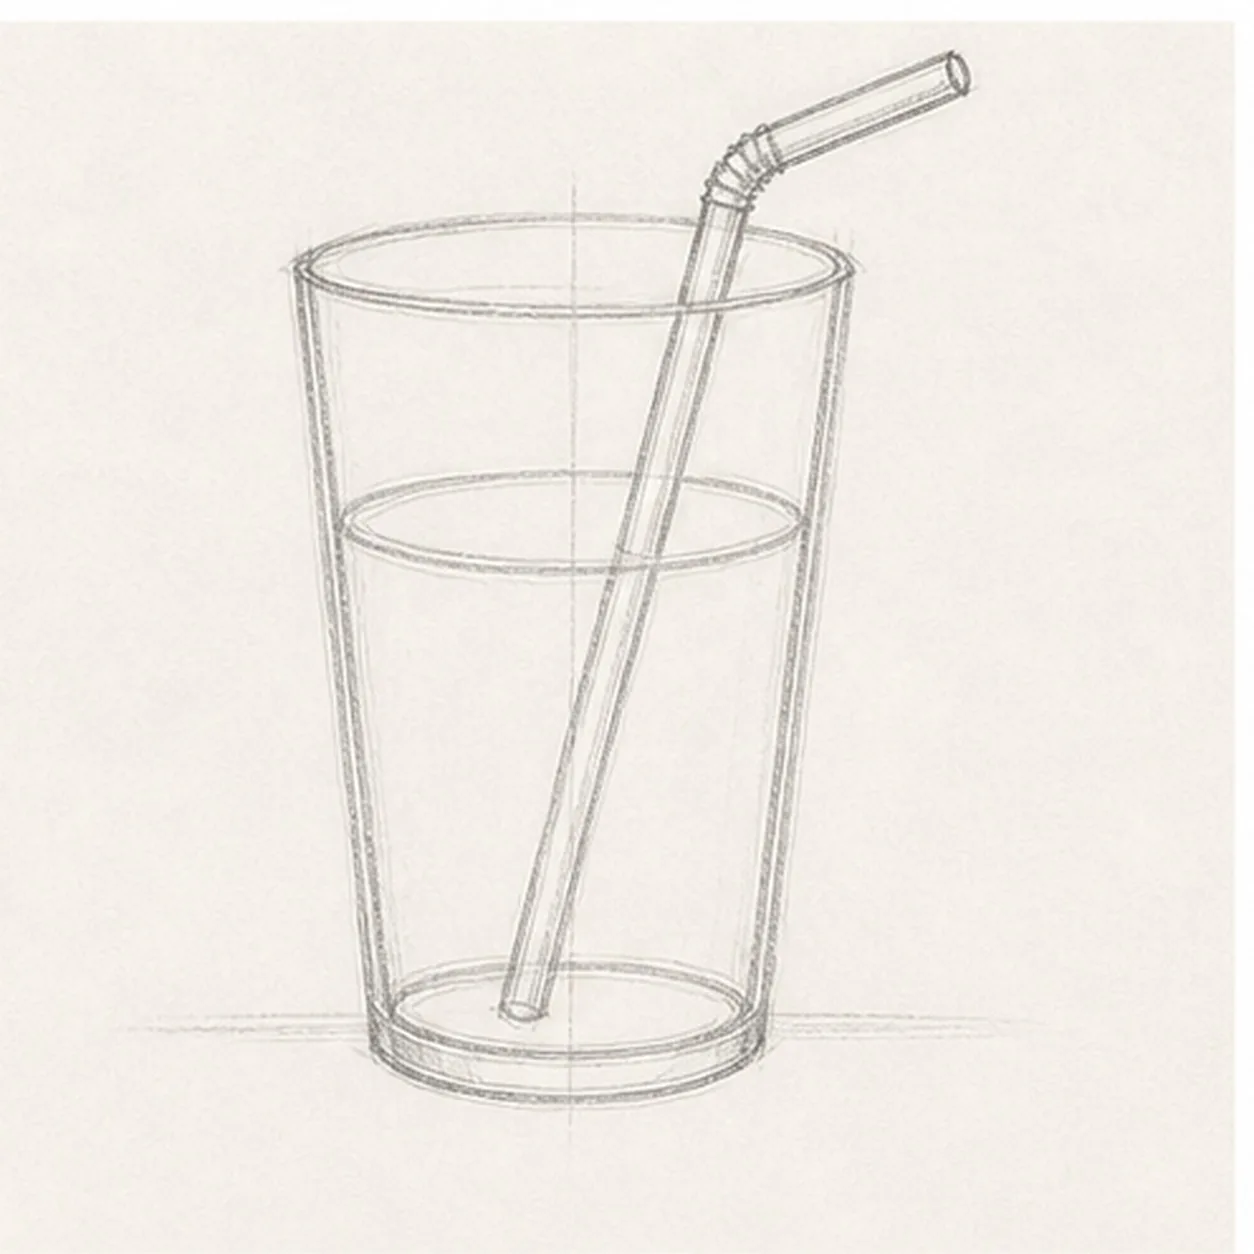
Add the straw
Draw a diagonal straw from the bottom of the glass up through the rim, then bend the top section outward.
Sketch tip: Keep both straw edges parallel. A narrow tube reads better than a single heavy line.
-
04
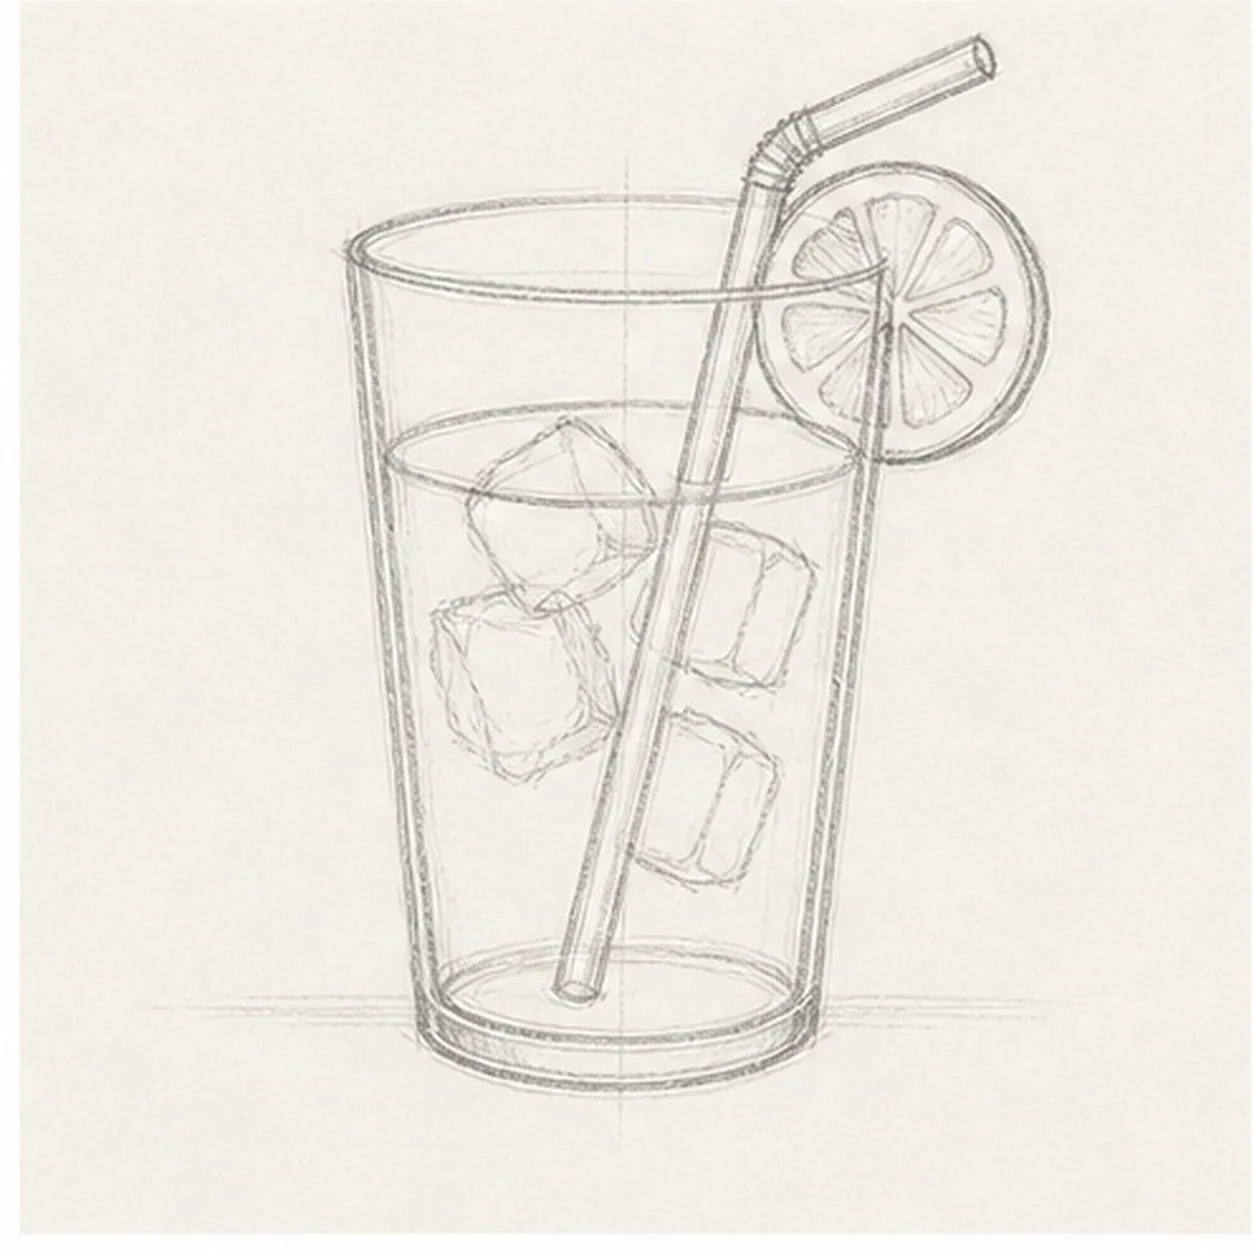
Draw lemon and ice
Clip a lemon wheel onto the rim, divide it into wedge segments, and sketch a few tilted ice cubes inside the drink.
Sketch tip: Let the ice overlap the straw and liquid line lightly. Those overlaps sell the clear-glass effect.
-
05
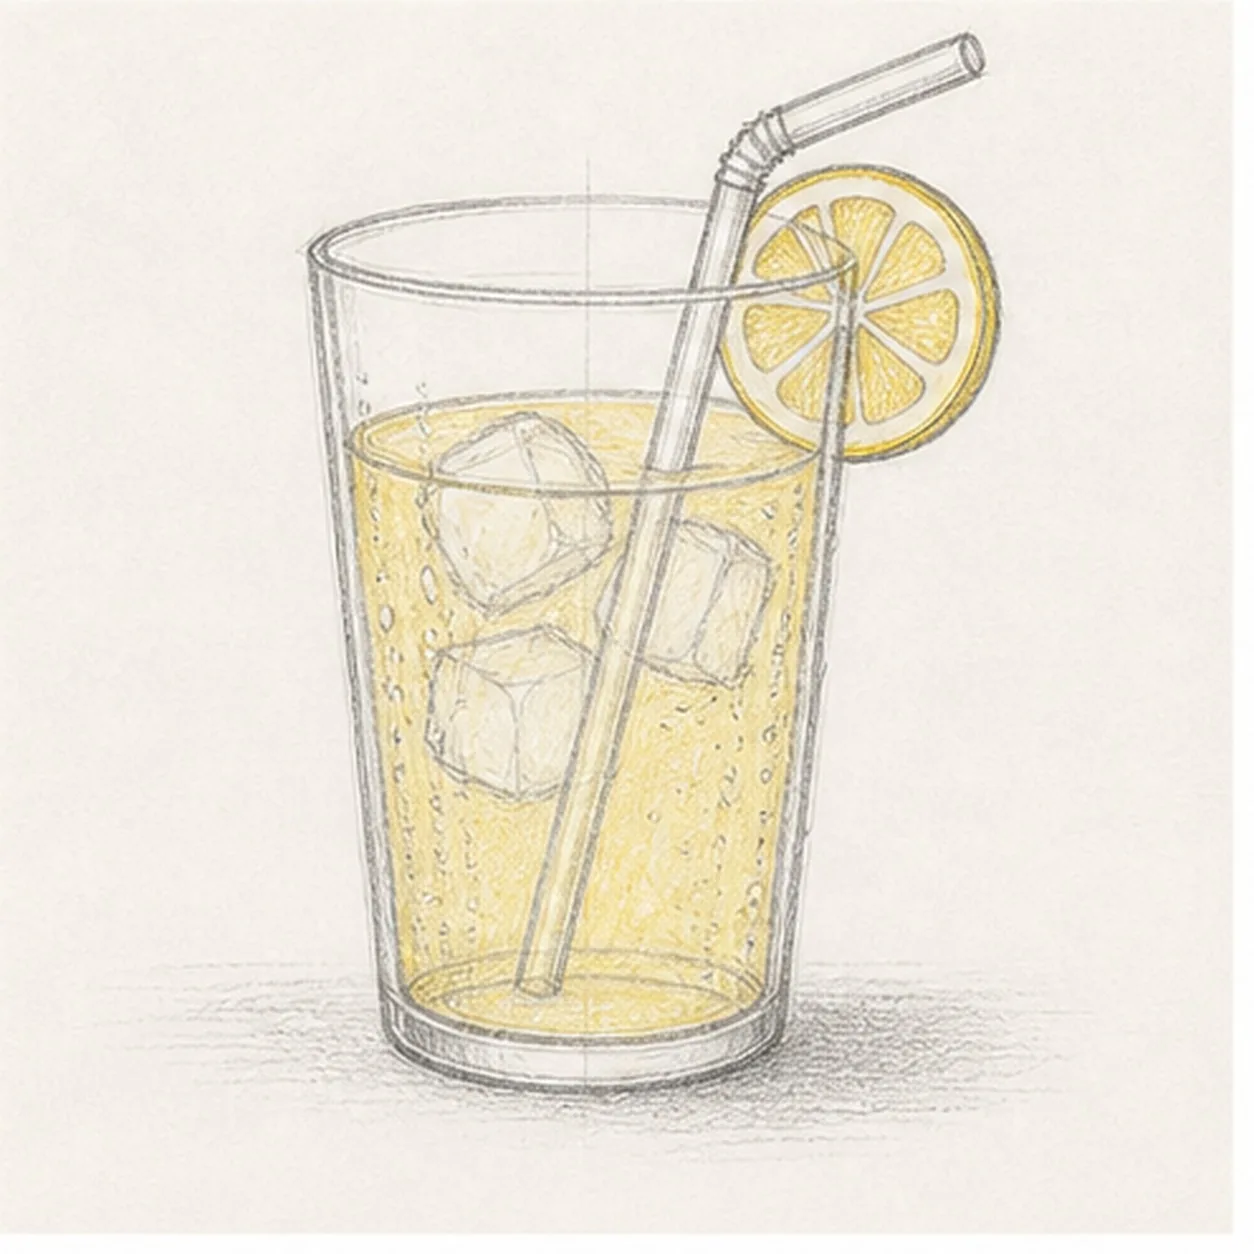
Add droplets and color
Scatter tiny condensation dots on the glass, shade a soft table shadow, and add light yellow pencil to the lemonade and lemon slice.
Sketch tip: Leave white gaps around the ice and rim. Transparent drawings need untouched paper as much as color.
-
06
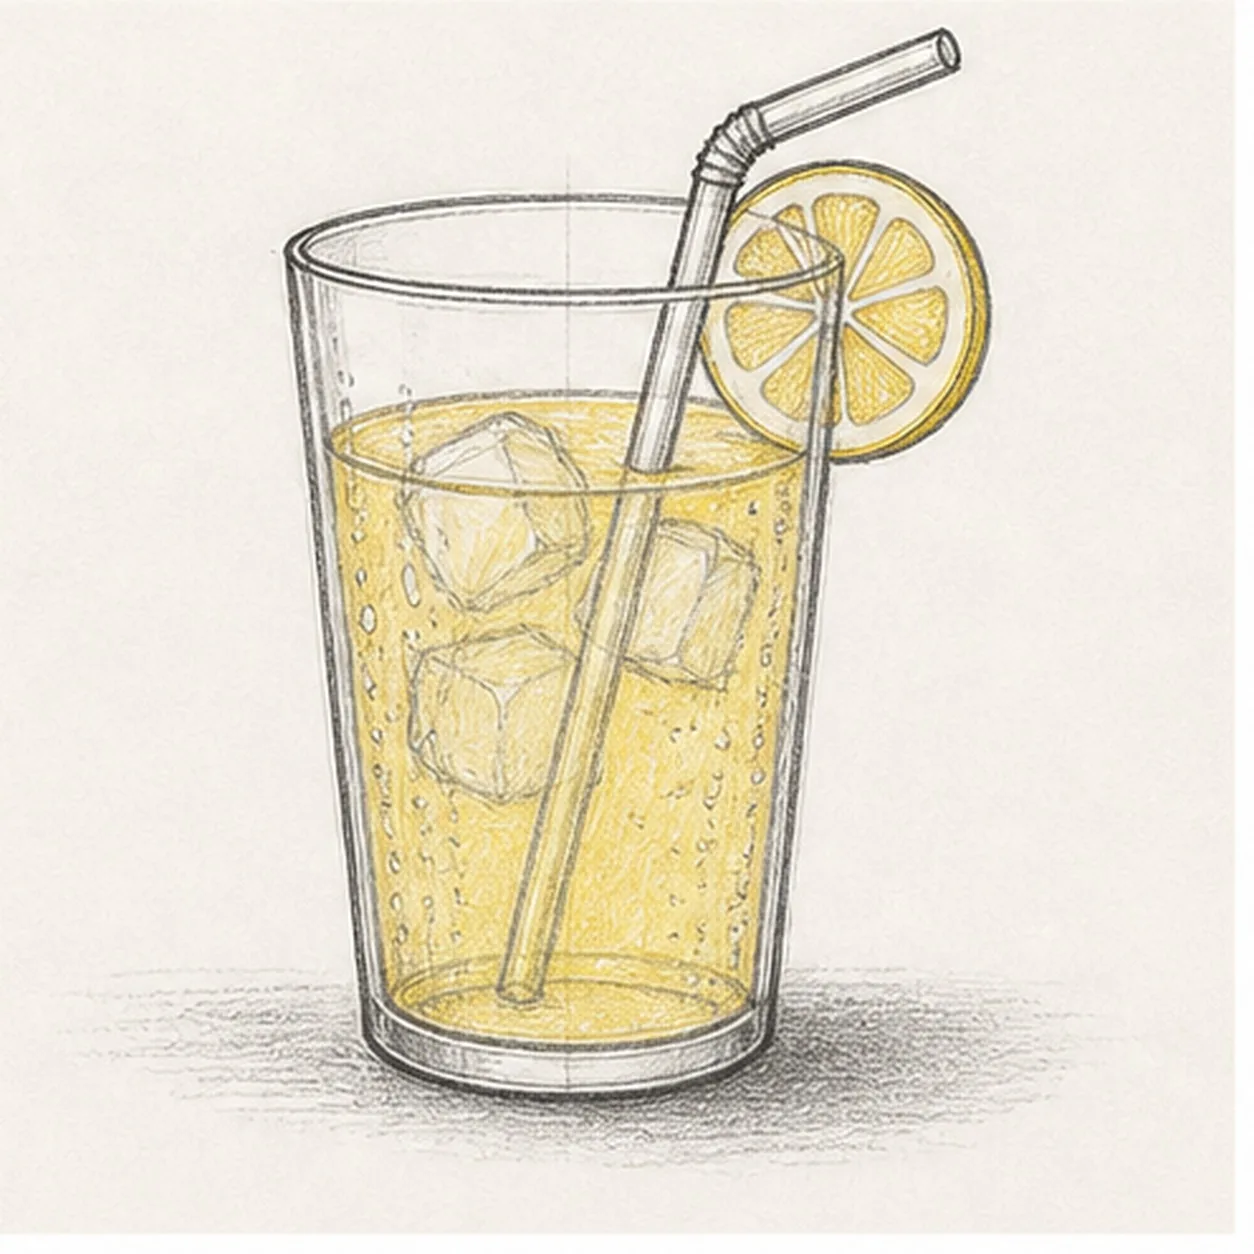
Finish the lemonade sketch
Darken the keeper contours, clarify the straw and lemon overlaps, and strengthen only the yellow shading and soft table shadow already in place.
Sketch tip: Do not outline every droplet equally. A few dark marks plus many pale ones feel more natural.


