
From the archive
Let's draw a manual coffee grinder
Treat this as one small practice round: build the subject lightly, notice the shapes, then darken only the lines that help the finished sketch.
-
01
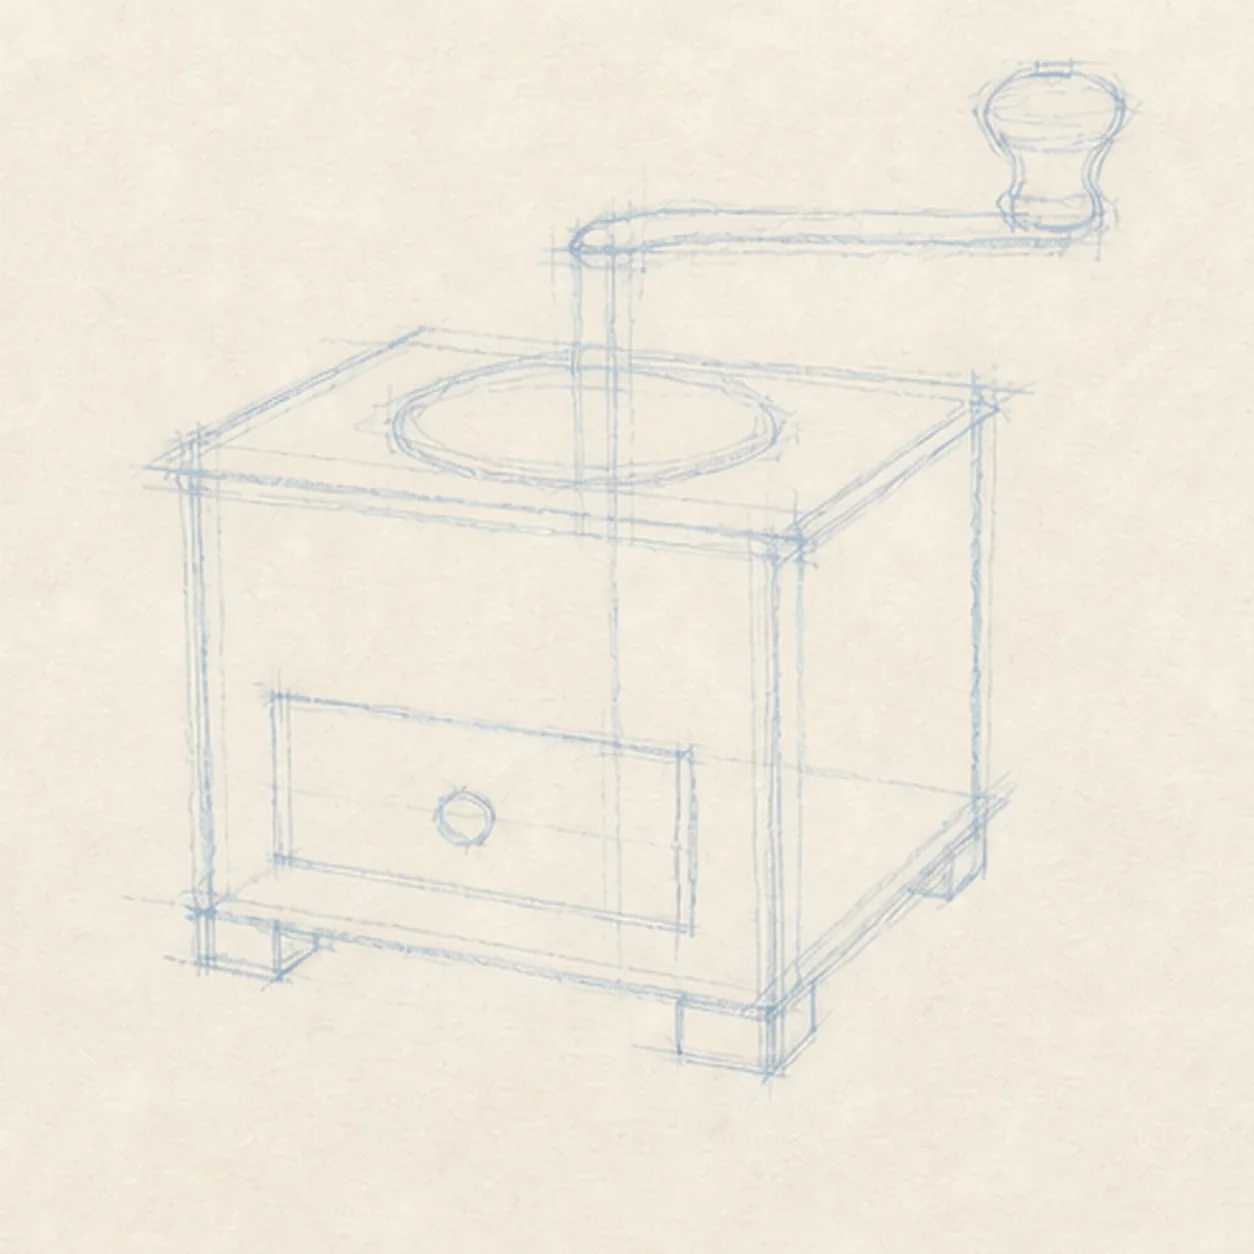
Block the grinder cabinet
Draw a light box with visible front, right side, and top planes, then reserve the hopper circle, centered drawer, raised crank path, three visible feet, and ground axis.
Sketch tip: Compare the two receding top edges before adding anything mechanical. Keep the hopper and drawer footprints blank instead of finishing wood grain that those forms would cover.
-
02
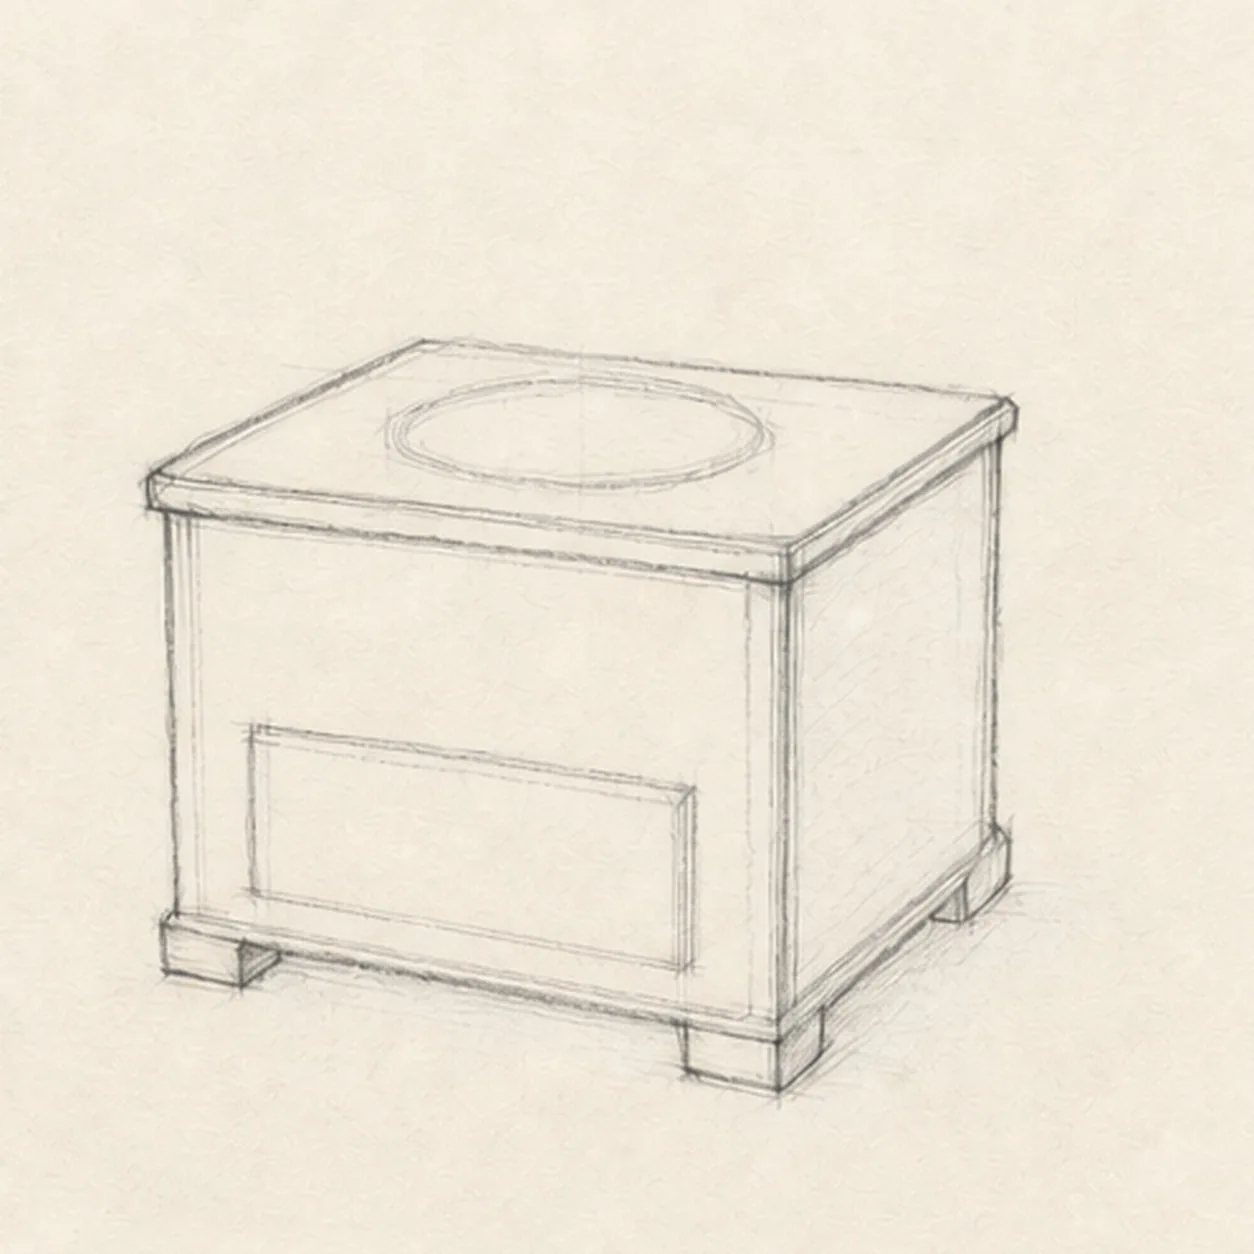
Shape the wooden cabinet
Wrap the guides with clean cabinet edges, a shallow top rim, front and side planes, lower rails, and three visible short feet.
Sketch tip: Use the same pair of vanishing directions for the top, drawer, and base edges. Squint at the feet to make sure the cabinet sits level rather than tipping forward.
-
03
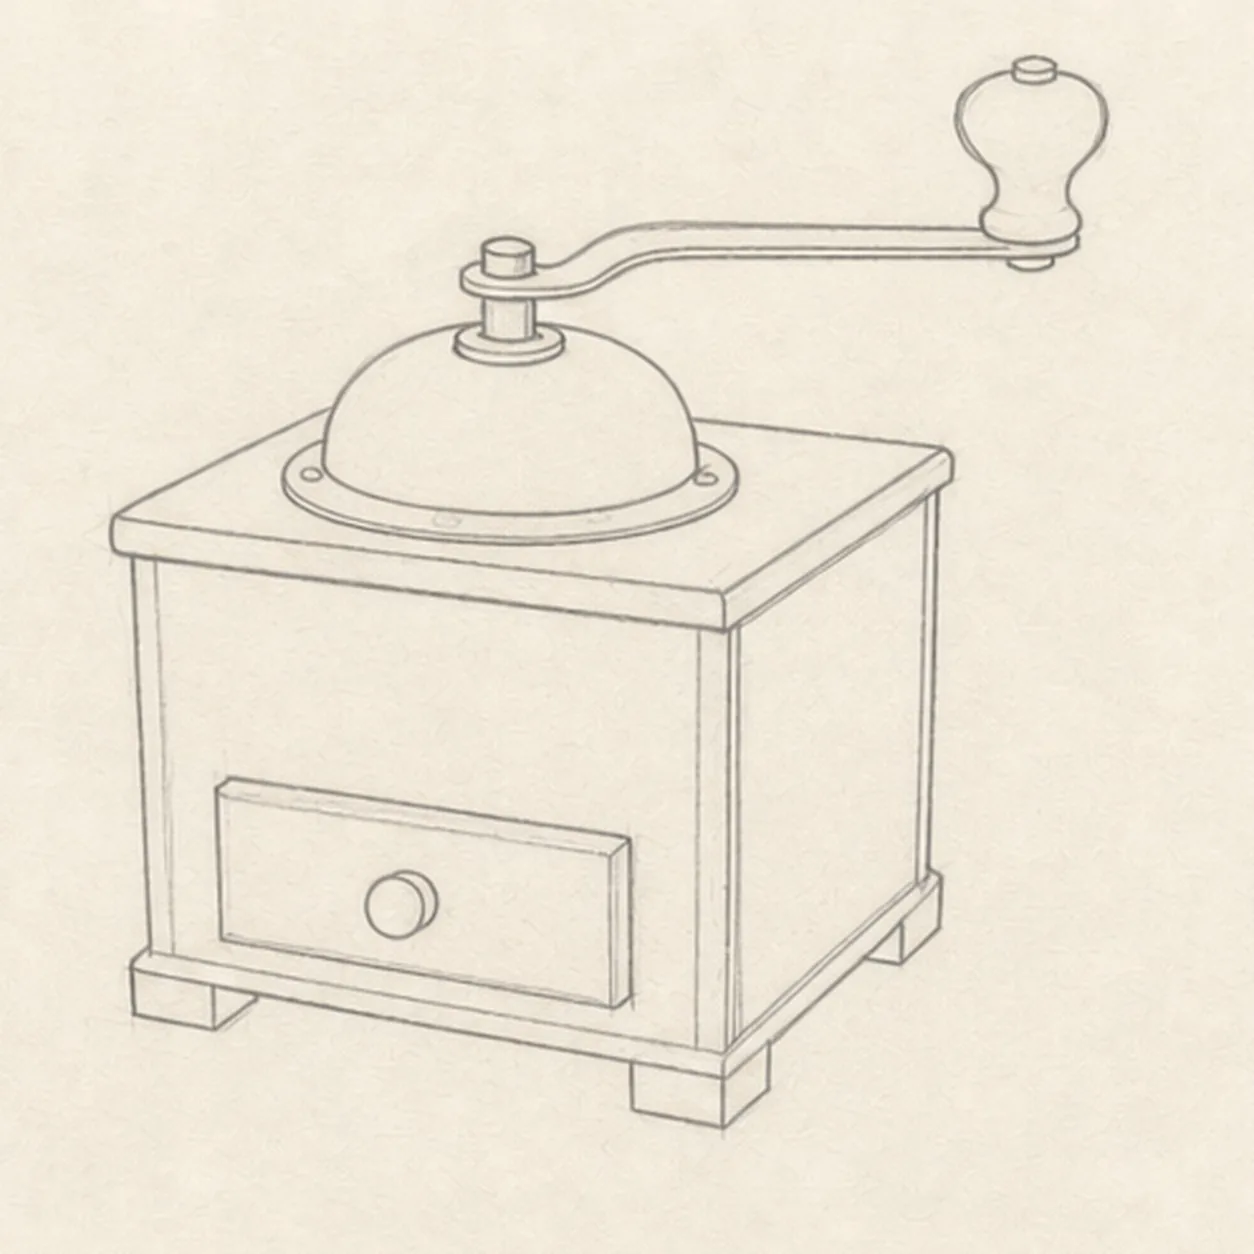
Add the hopper and crank
Build the domed metal hopper and collar, follow the raised crank path to its rounded wooden knob, then draw the centered drawer front and small pull.
Sketch tip: Ghost the hopper ellipses before touching down and keep their tilt related to the top plane. Trace the crank once with your eyes so it passes above the hopper without crossing through it.
-
04
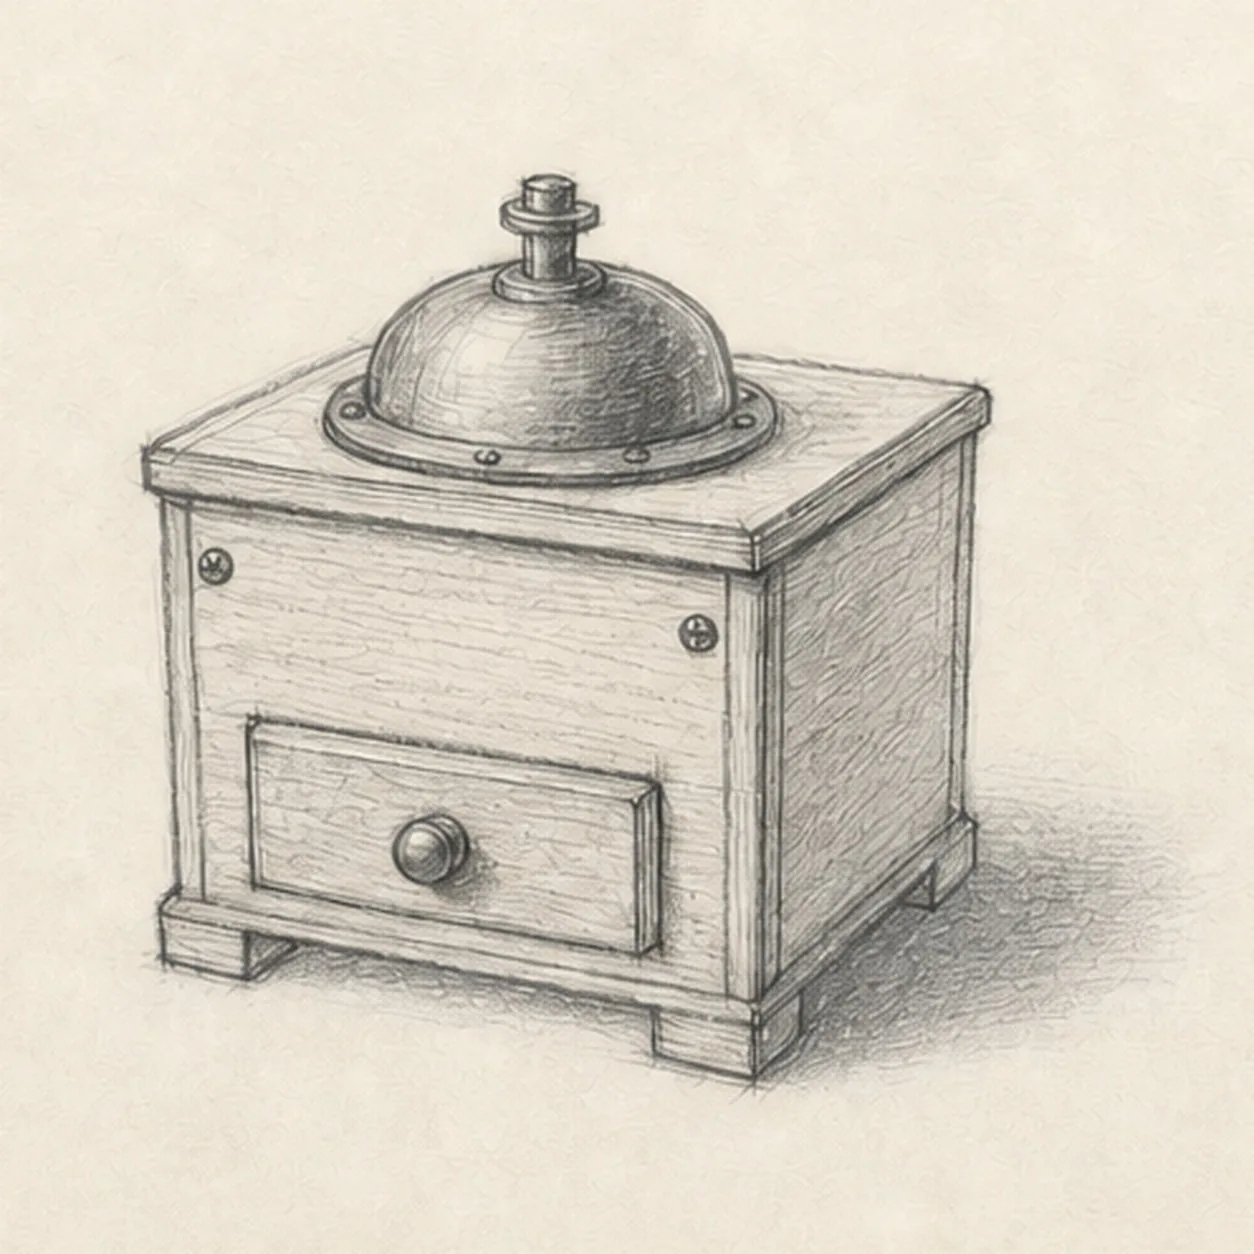
Describe the grinder materials
Add cabinet seams, exactly two front-corner screws, the small hopper-collar bolts, restrained directional wood grain, a few metal hatch marks, and one cast shadow.
Sketch tip: Pull the grain along each cabinet plane and stop it at the drawer, hopper, and trim edges. A handful of changing lines suggests wood better than covering every surface evenly.
-
05
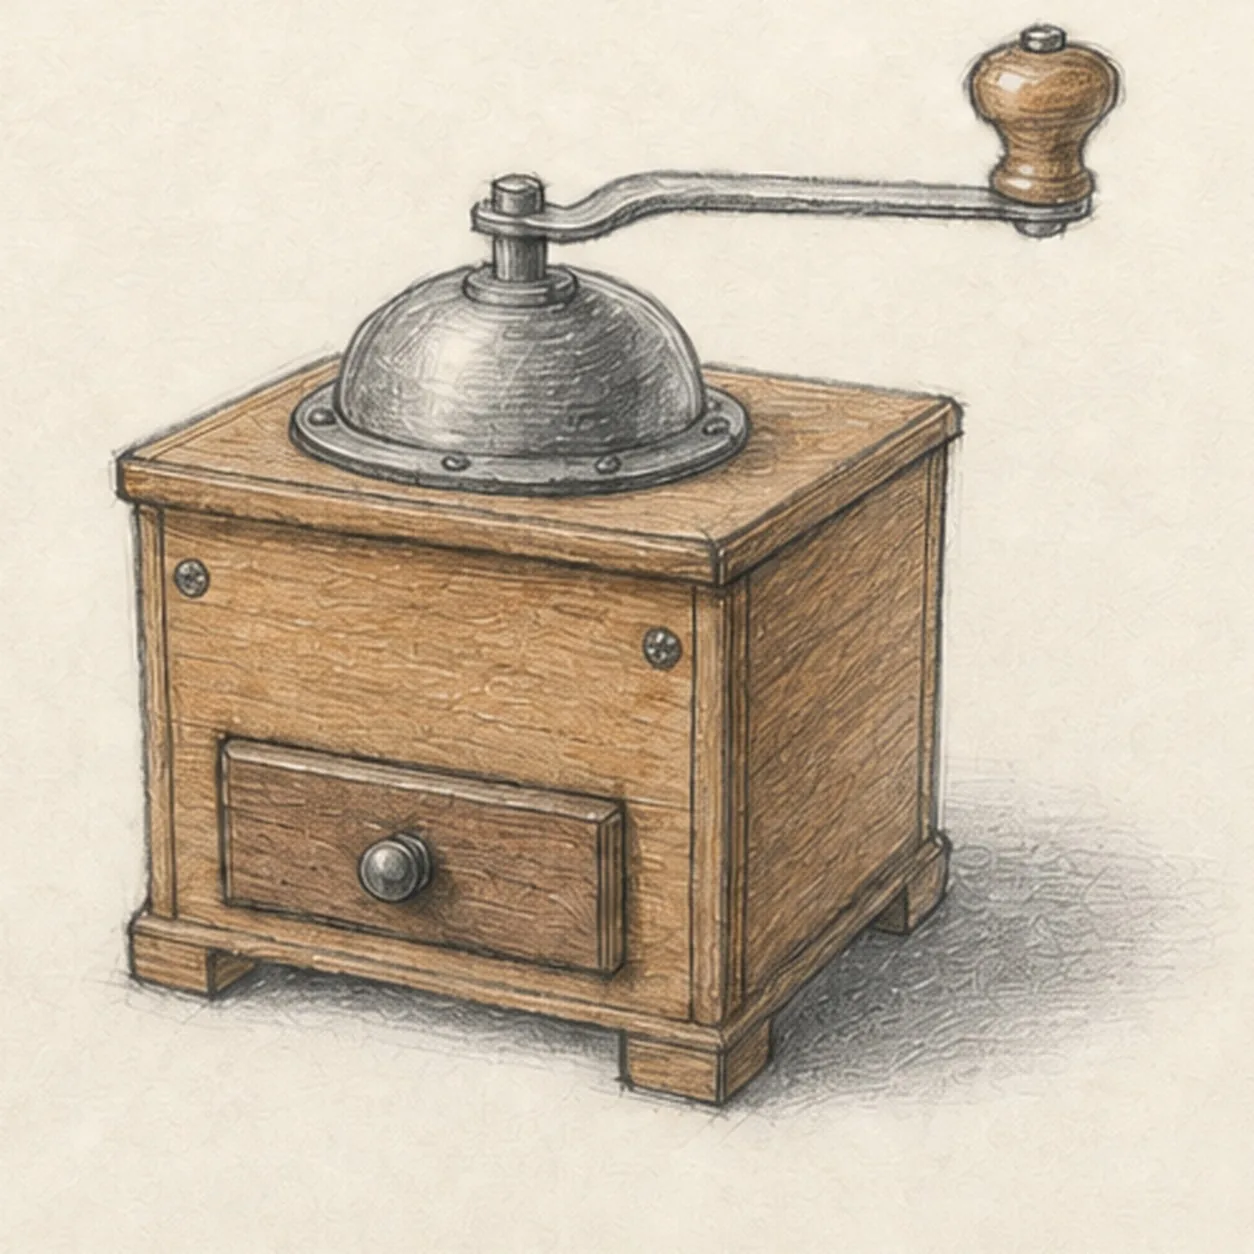
Shade the wood and metal
Layer warm walnut and ochre pencil over the cabinet and knob, cool gray over the hopper and crank, graphite depth around the drawer and hardware, and soft tone into the shadow.
Sketch tip: Build the wood in two light passes and leave narrow paper highlights on the front edges. Keep the metal cooler and smoother so the material change reads before the details.
-
06
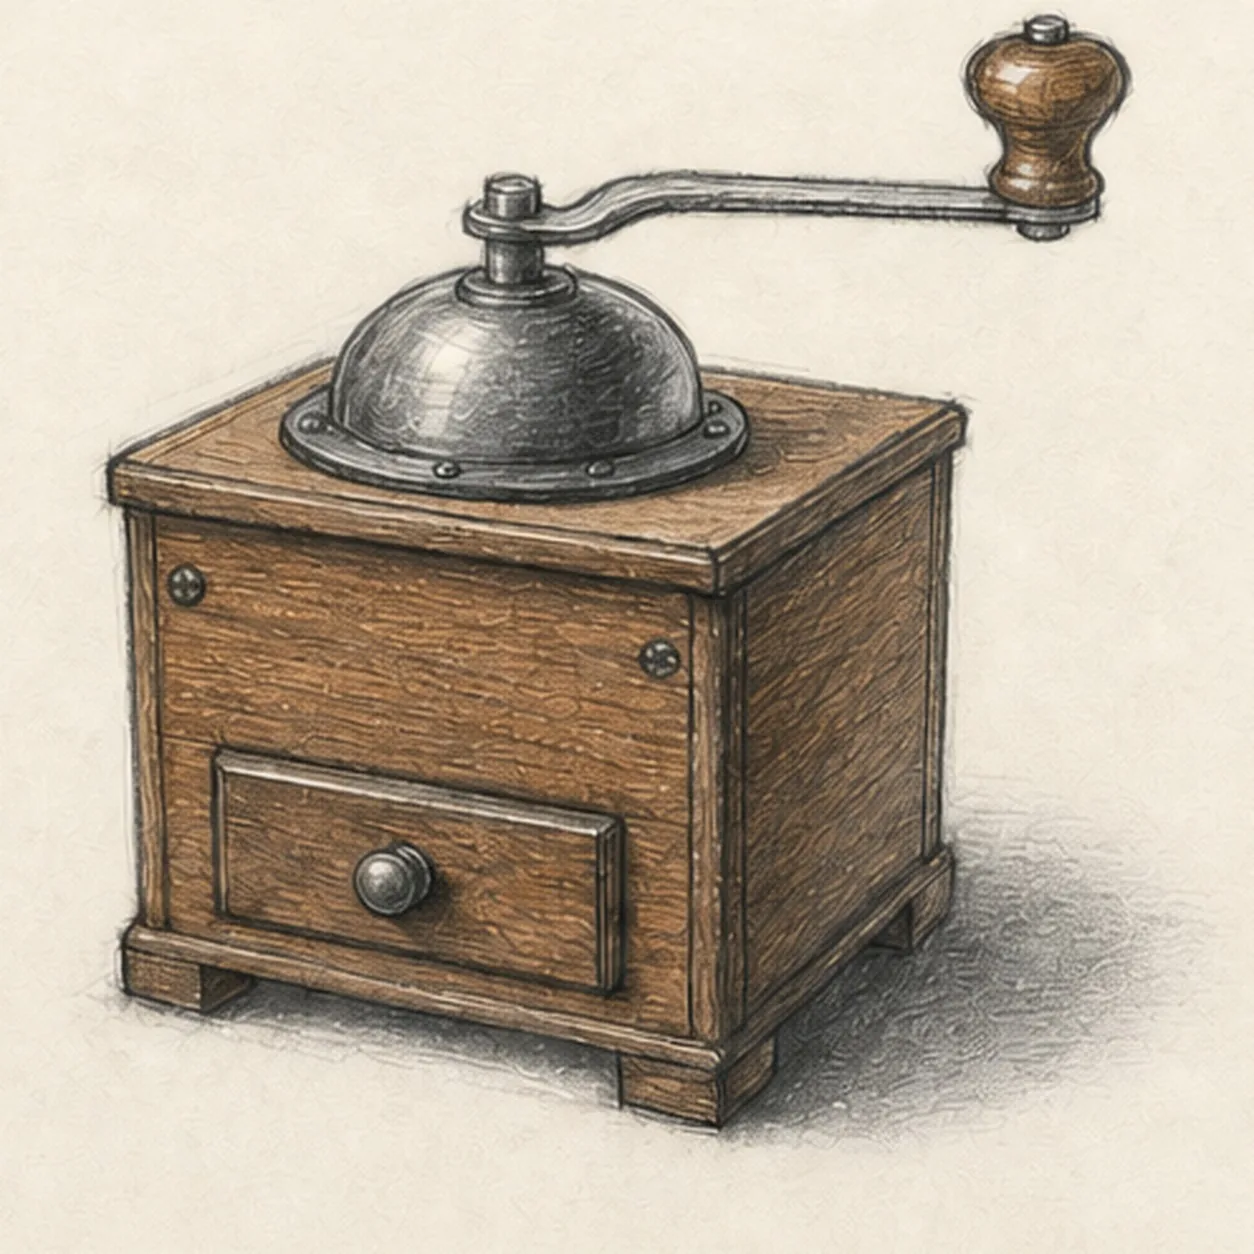
Finish the grinder study
Strengthen the keeper contours and clarify the established cabinet, hopper, crank, drawer, hardware, textures, restrained color, and cast shadow.
Sketch tip: Check that the drawer and top rim still follow the same perspective, then stop. Beans, a cup, spoon, hands, lettering, or a table scene would distract from the compact mechanism.


