
From the archive
Let's draw a mason jar with sparklers
Treat this as one small practice round: build the subject lightly, notice the shapes, then darken only the lines that help the finished sketch.
-
01
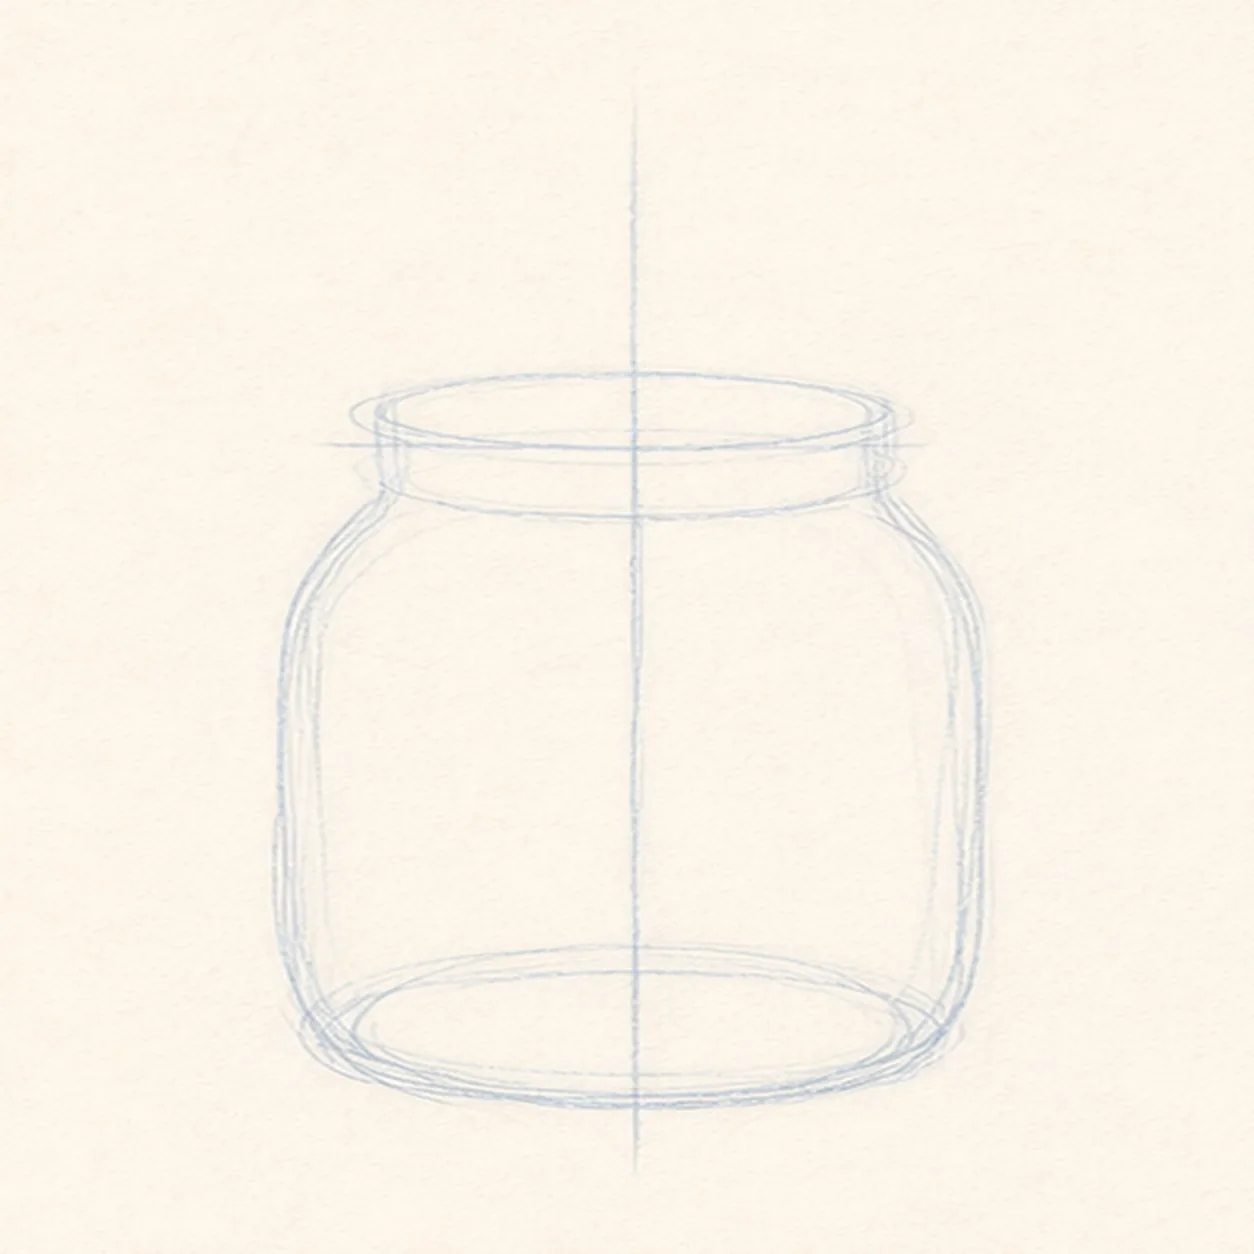
Place the jar guides
Draw a rounded jar body with a top ellipse, a bottom ellipse, soft shoulders, and a pale center guide.
Sketch tip: Keep the jar symmetrical before adding the sparklers. The straight guide helps the glass feel steady.
-
02
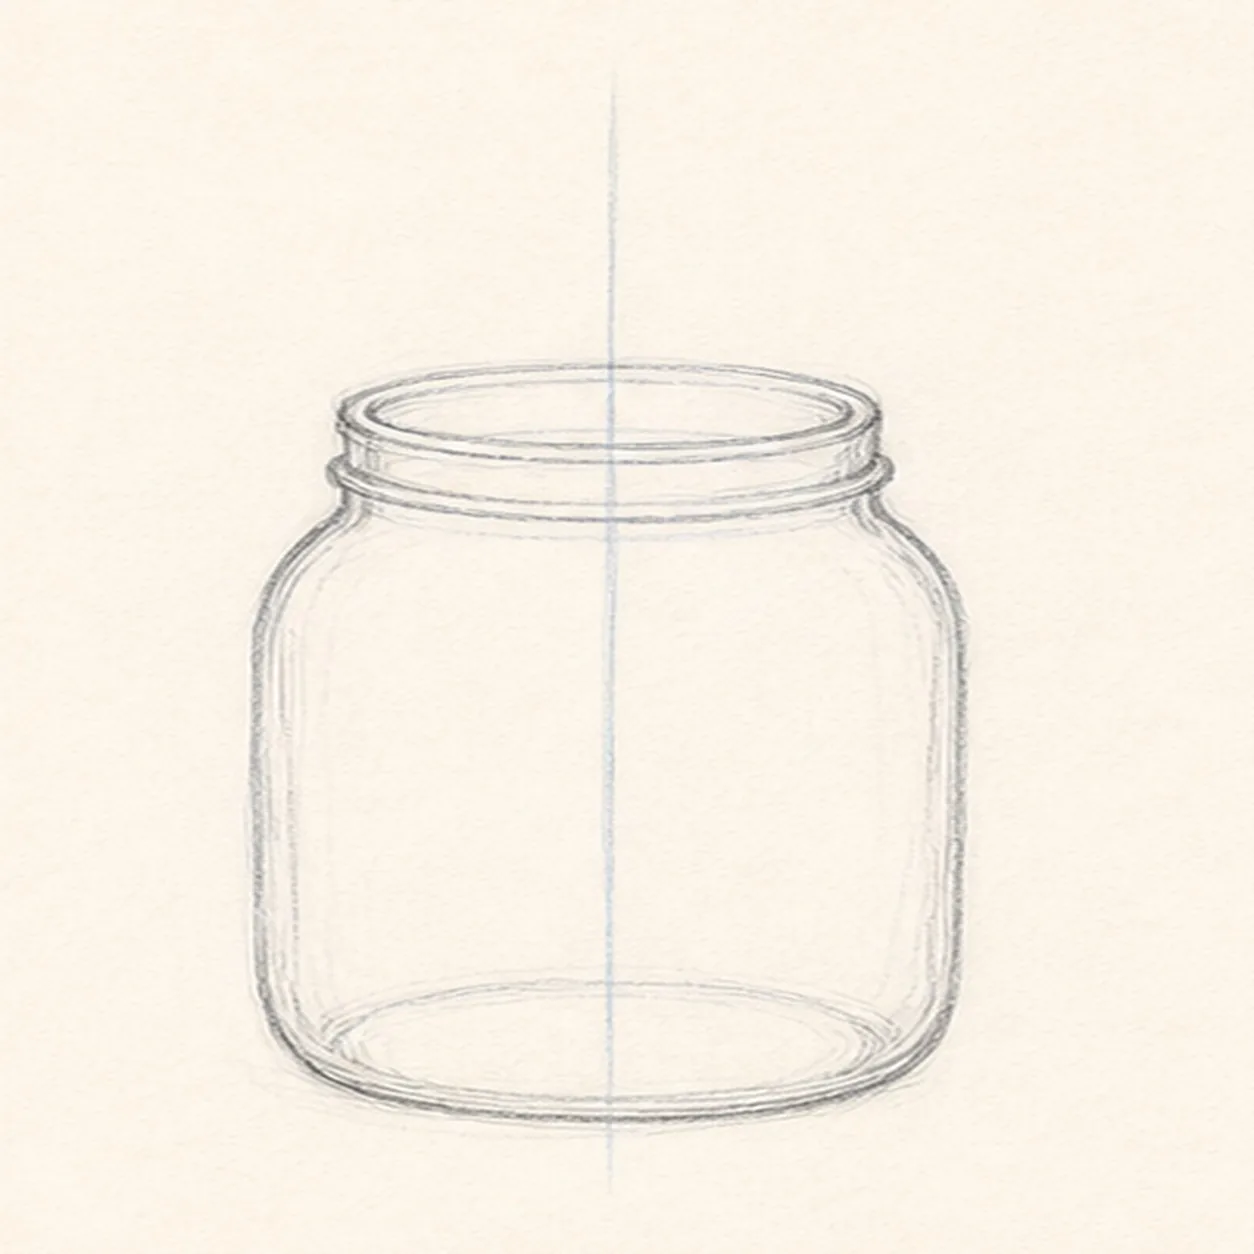
Shape the glass
Clarify the jar sides and base, then add stacked ellipses and bands for the threaded mouth.
Sketch tip: Use lighter inner lines than outer lines. That difference is what makes the jar read as transparent glass.
-
03
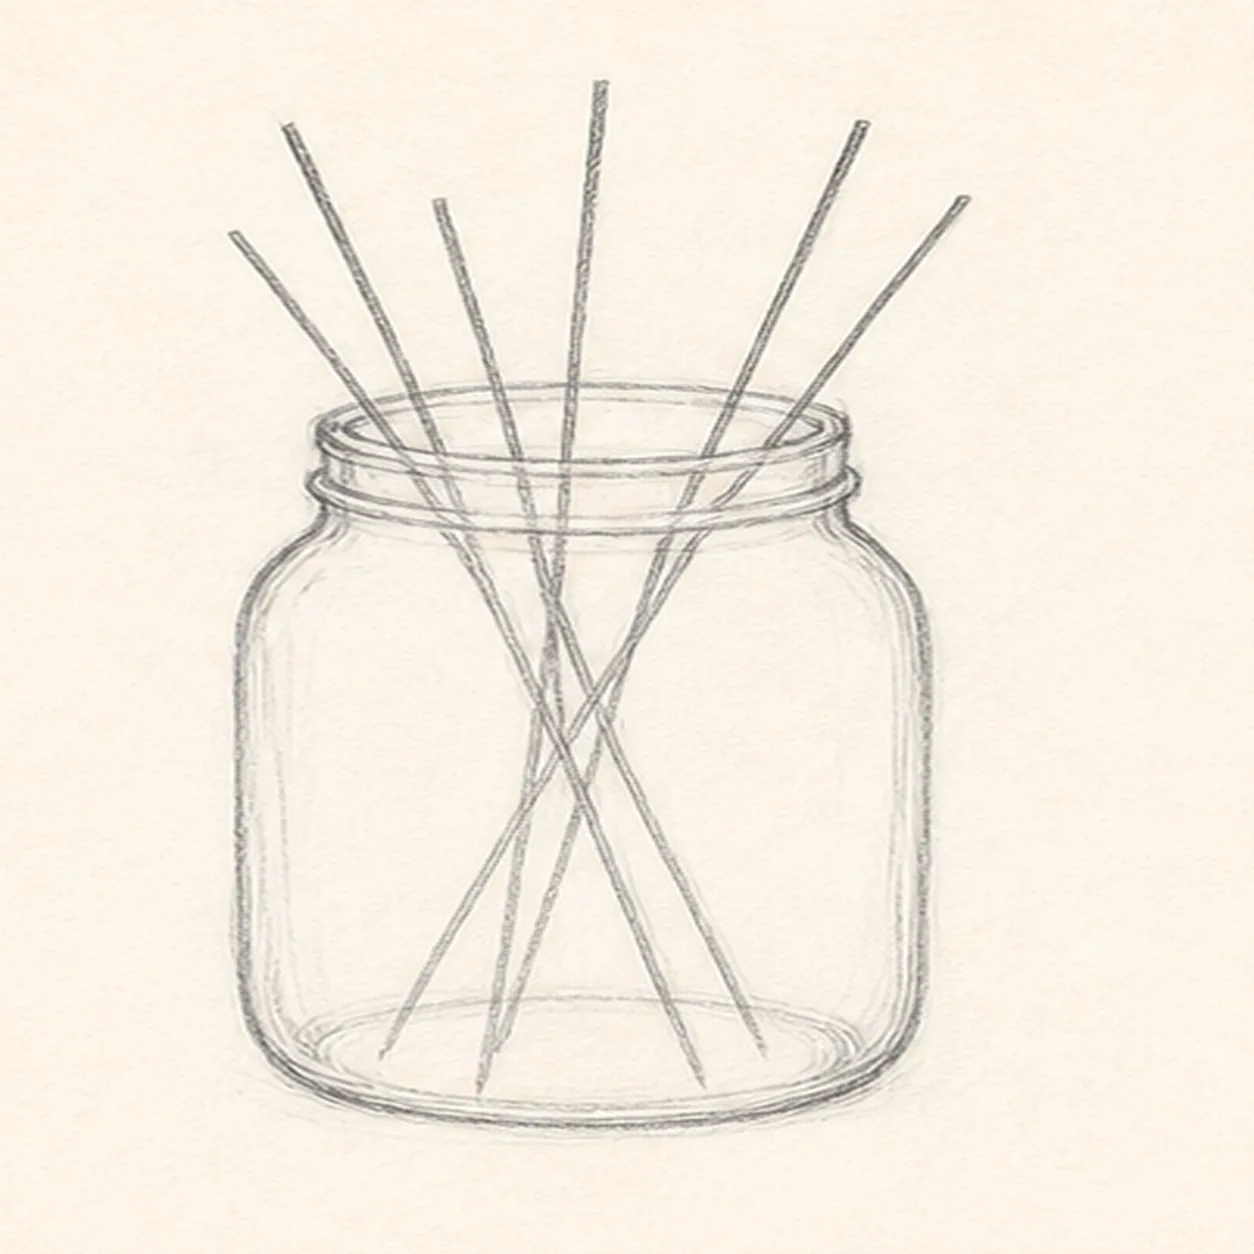
Set the sparkler stems
Draw several long thin stems crossing inside the jar and fanning out above the rim.
Sketch tip: Let a few stems overlap. Crossed lines inside the glass make the jar feel full without adding extra props.
-
04
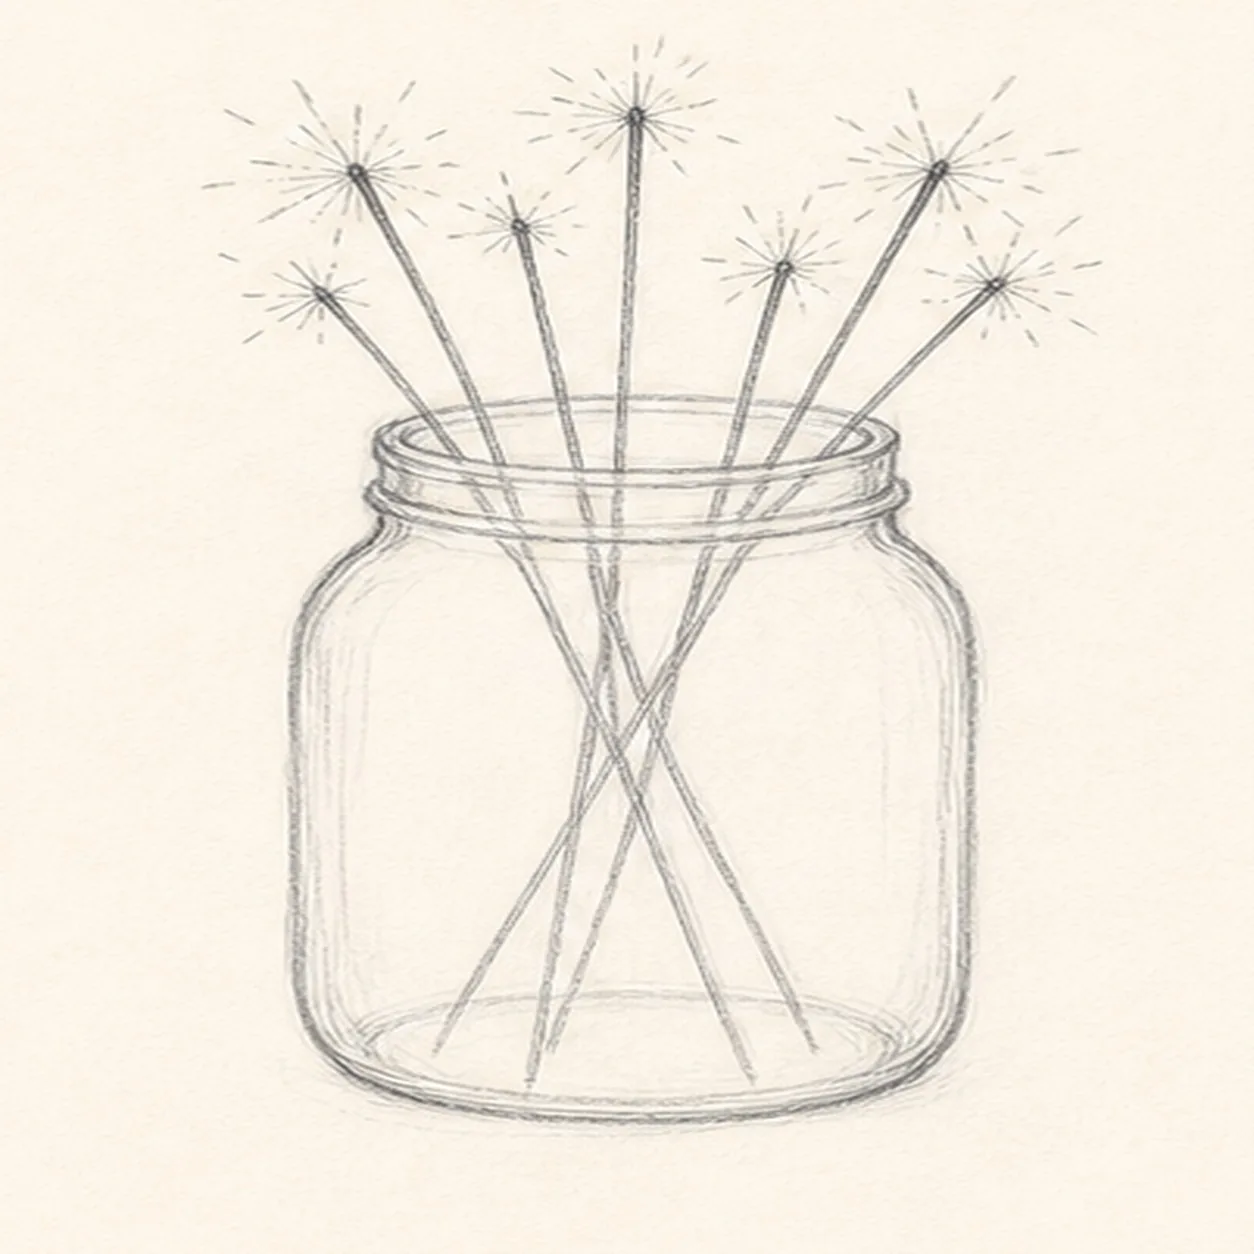
Add the spark tips
Place small starburst marks at the top of each stem, keeping the sparks attached to the sticks you already drew.
Sketch tip: Vary the spark sizes slightly. Matching every burst makes the drawing feel stiff.
-
05
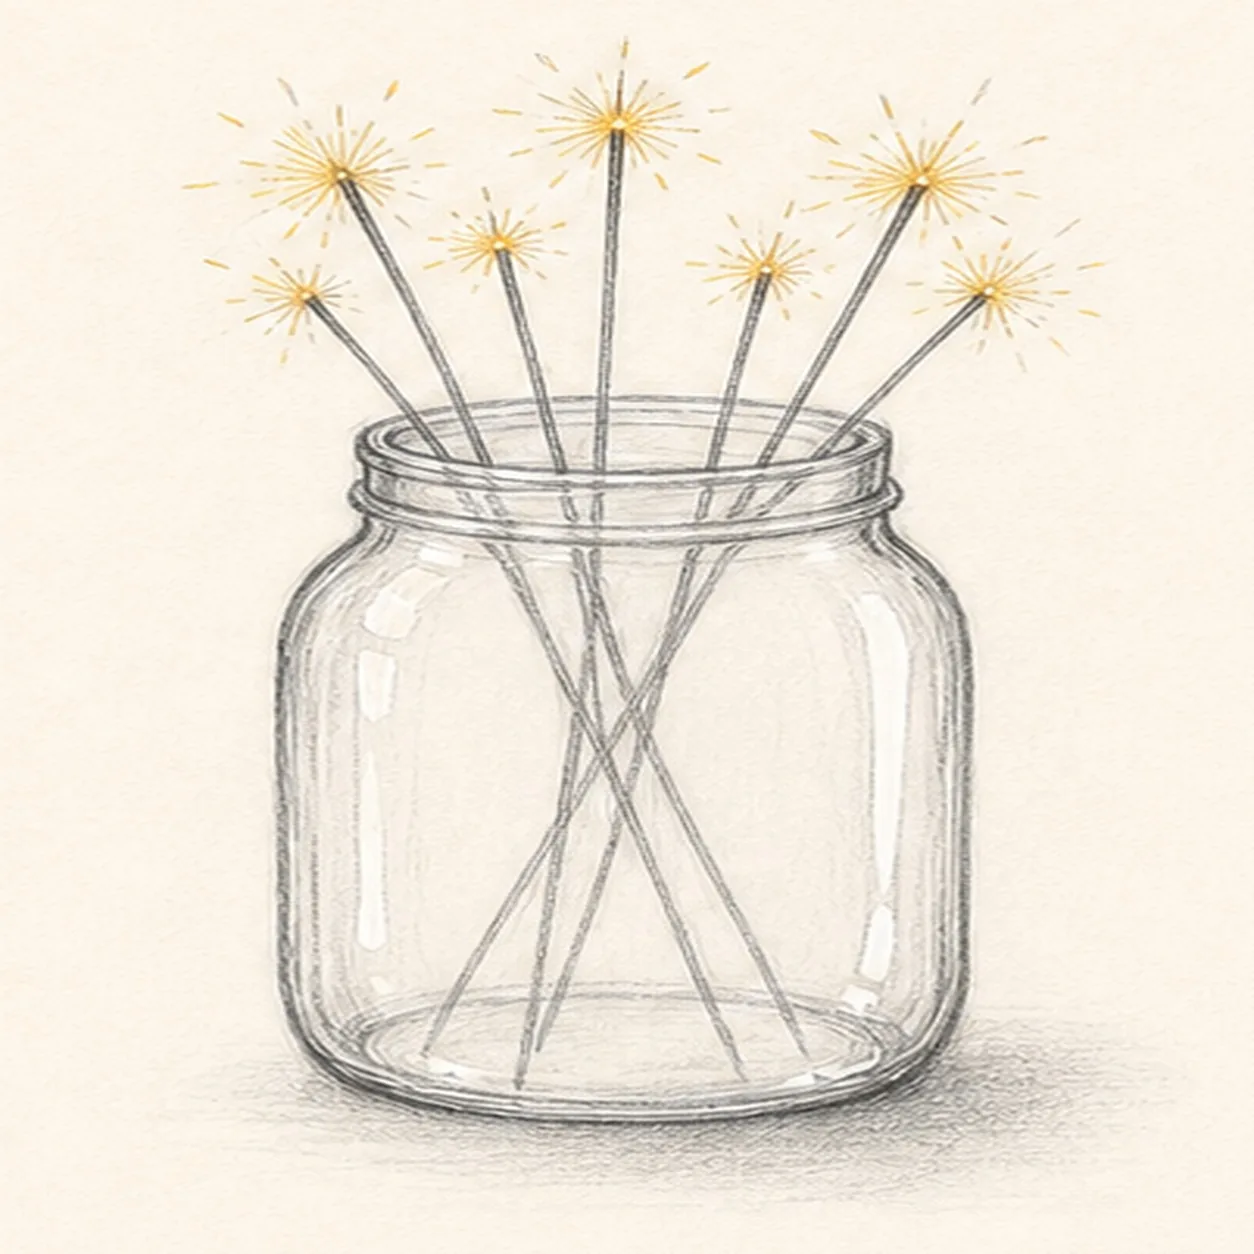
Glint the glass
Add vertical glass highlights, warm yellow-orange spark marks, rim detail, and a soft shadow under the jar.
Sketch tip: Leave white paper inside the highlights. It is easier than trying to erase bright glass back in later.
-
06
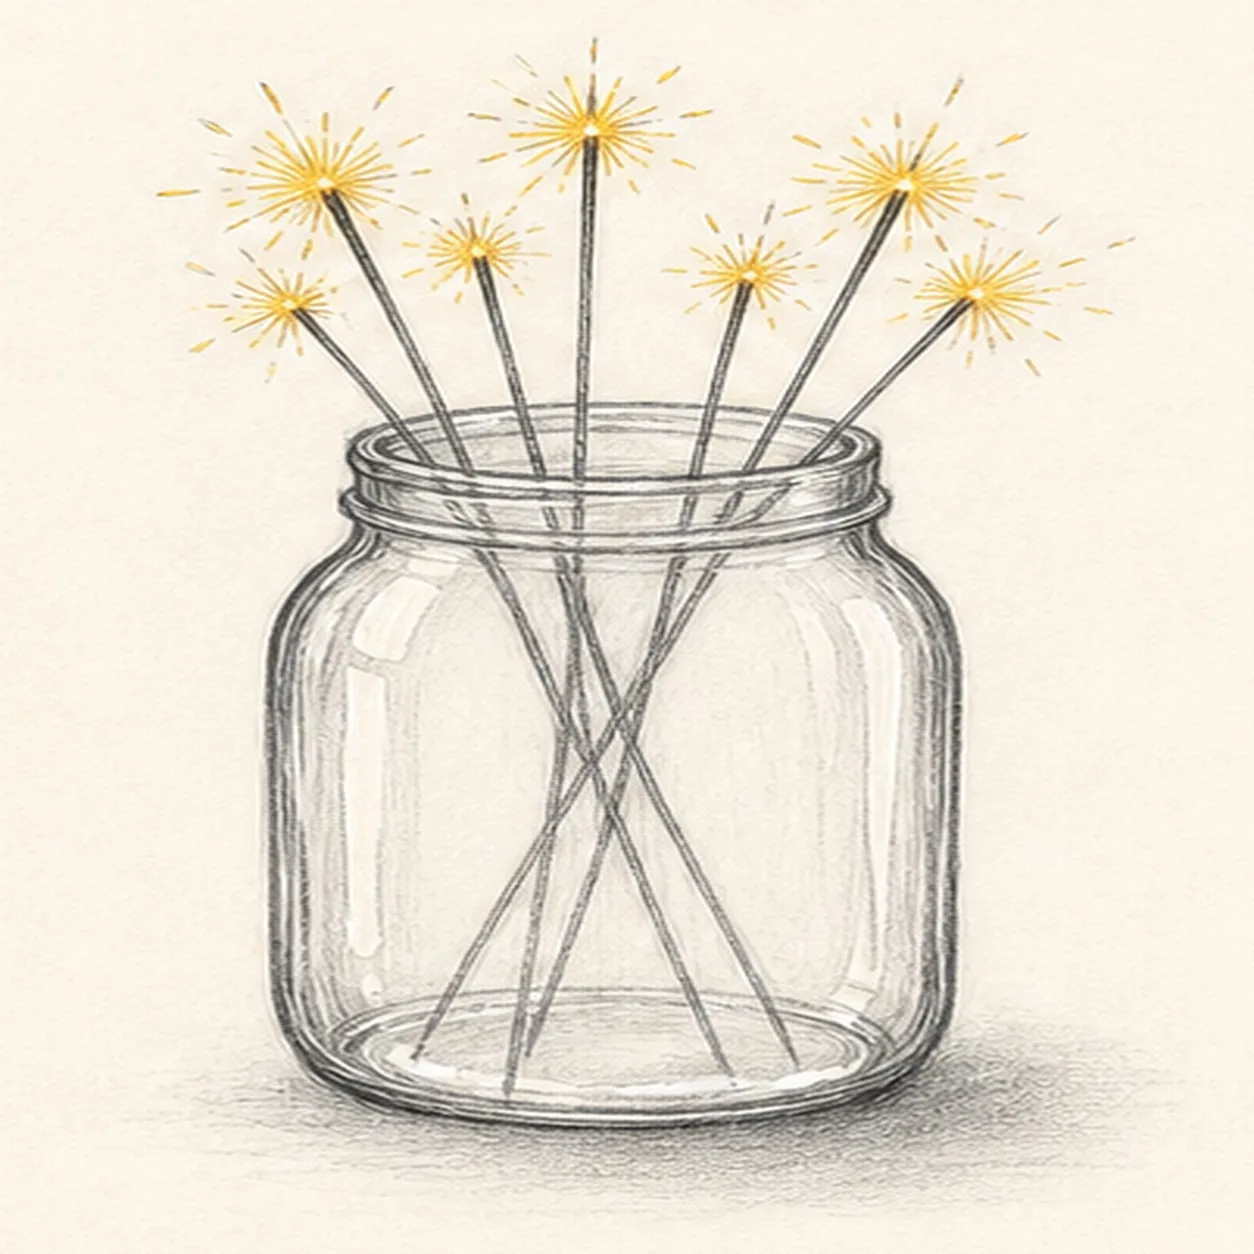
Finish the glowing jar
Darken the keeper contours, strengthen the existing spark color, clarify the glass highlights, and deepen the shadow.
Sketch tip: Stop before filling the whole page with sparks. A few bright bursts make the jar feel lively and still drawable.


