From the archive
Let's draw an open book
Treat this as one small practice round: build the subject lightly, notice the shapes, then darken only the lines that help the finished sketch.
-
01
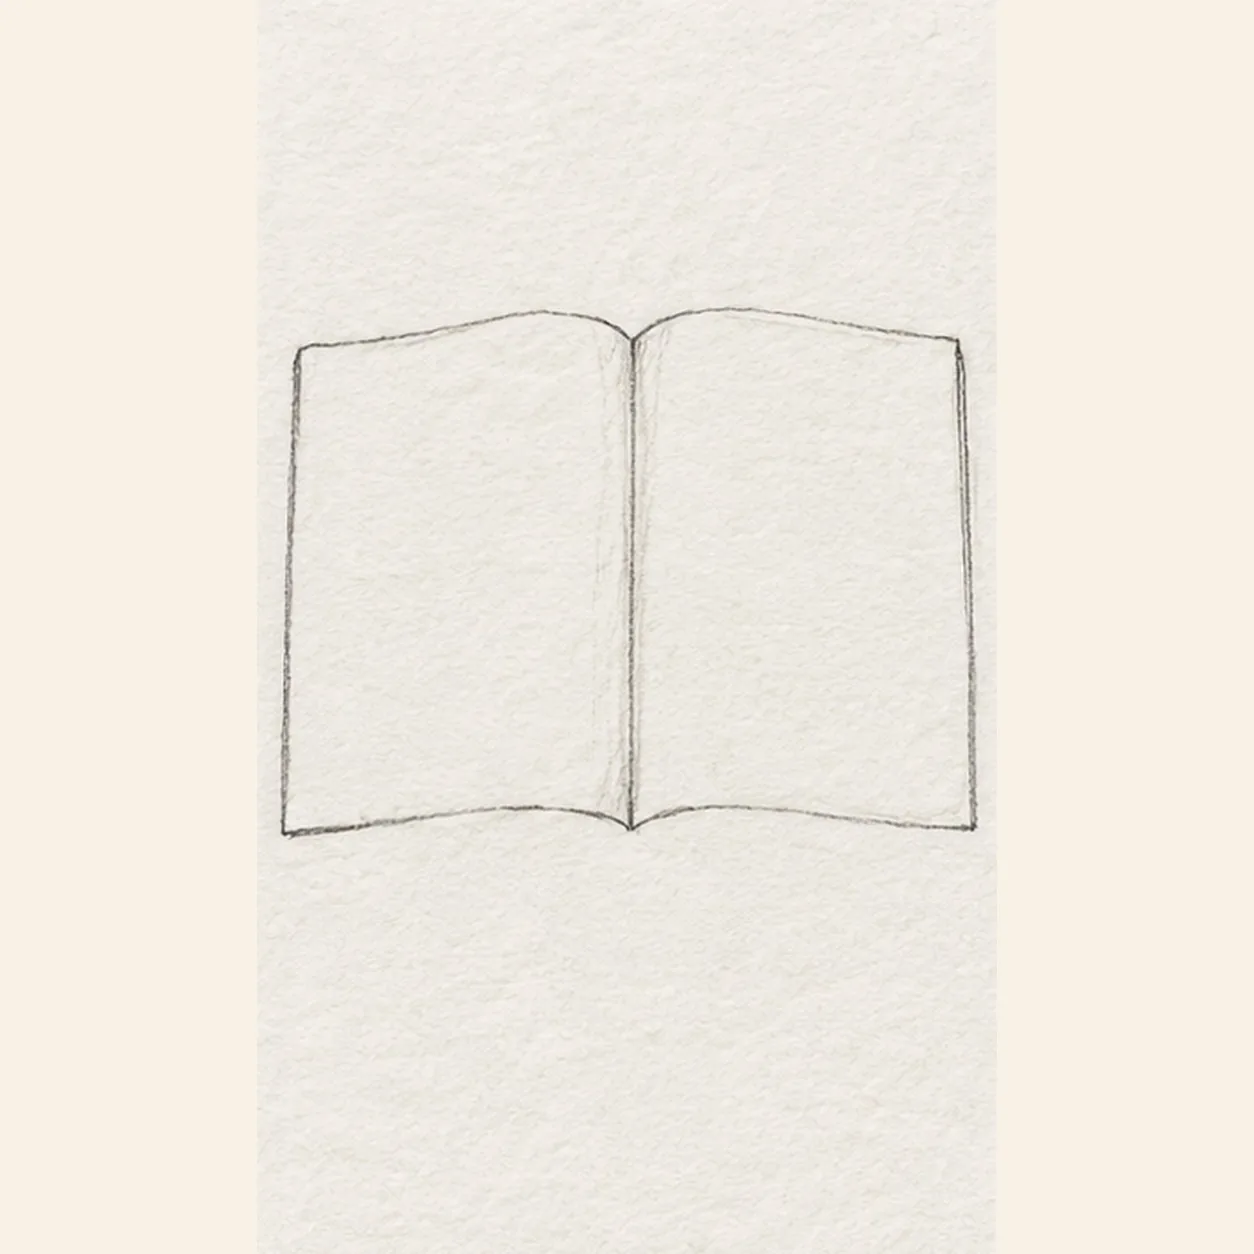
Open the book
Mark a low center gutter, sweep one page outline left and one right, then bring both lower edges back to the gutter. Keep the right page slightly lifted.
Sketch tip: Let the center gutter anchor both pages before you compare their widths.
-
02
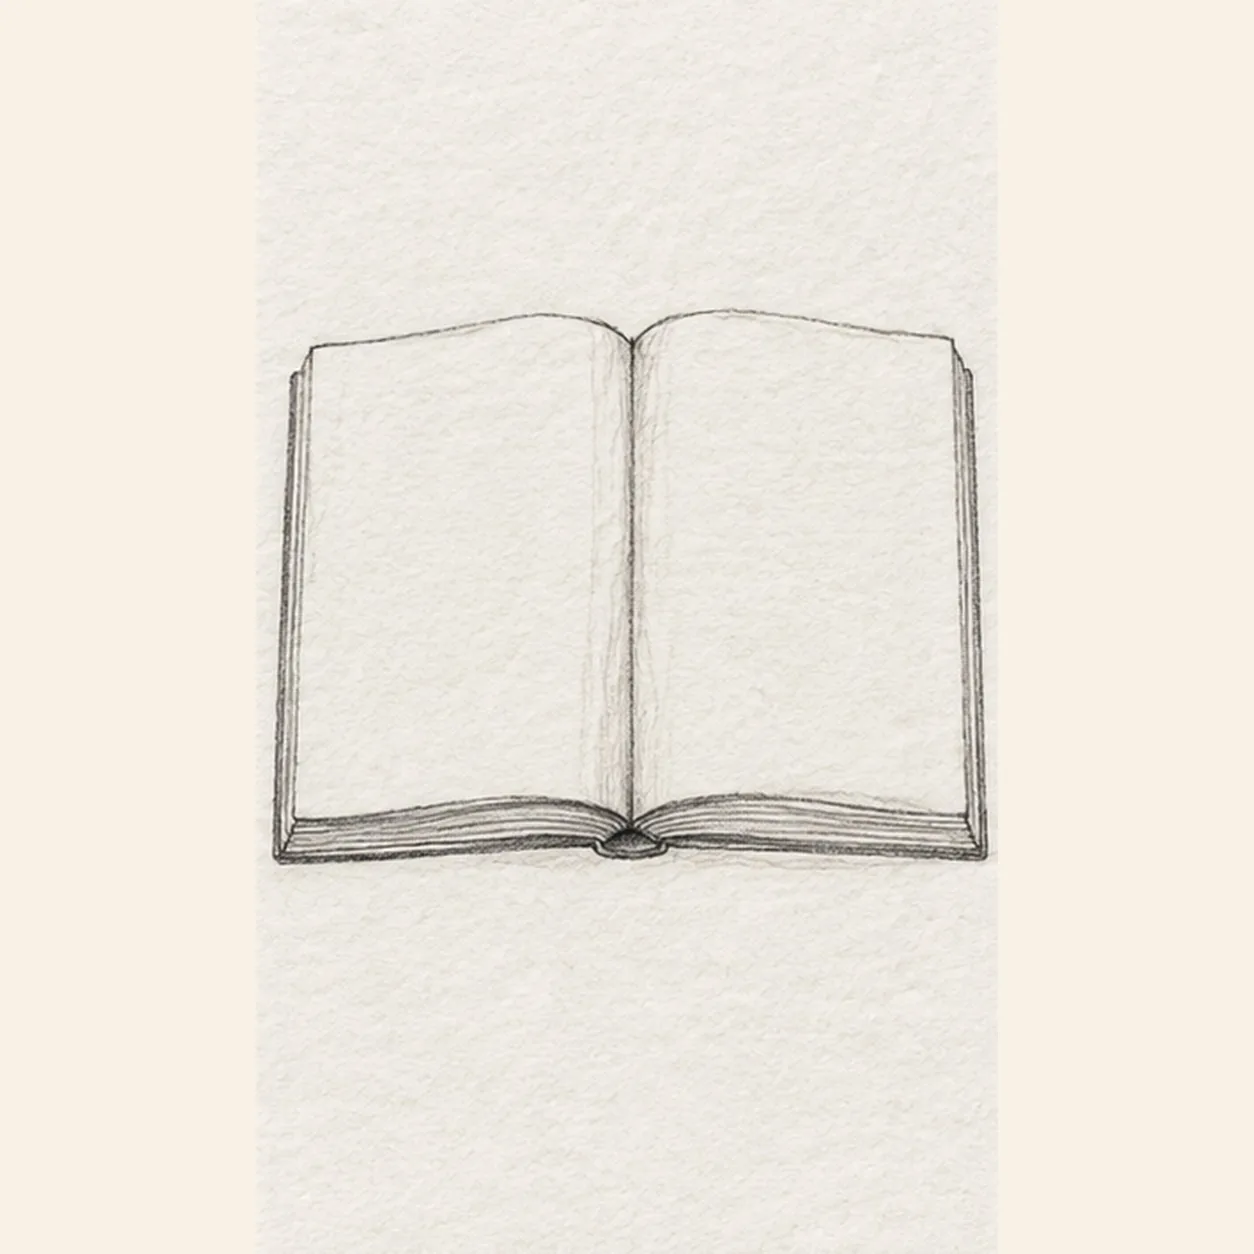
Give the pages thickness
Under each lower page edge, draw a short parallel curve and connect its outside tip to the page above; keep the central gutter in place.
Sketch tip: Keep the added page edges beneath the first outline; do not redraw the upper corners.
-
03
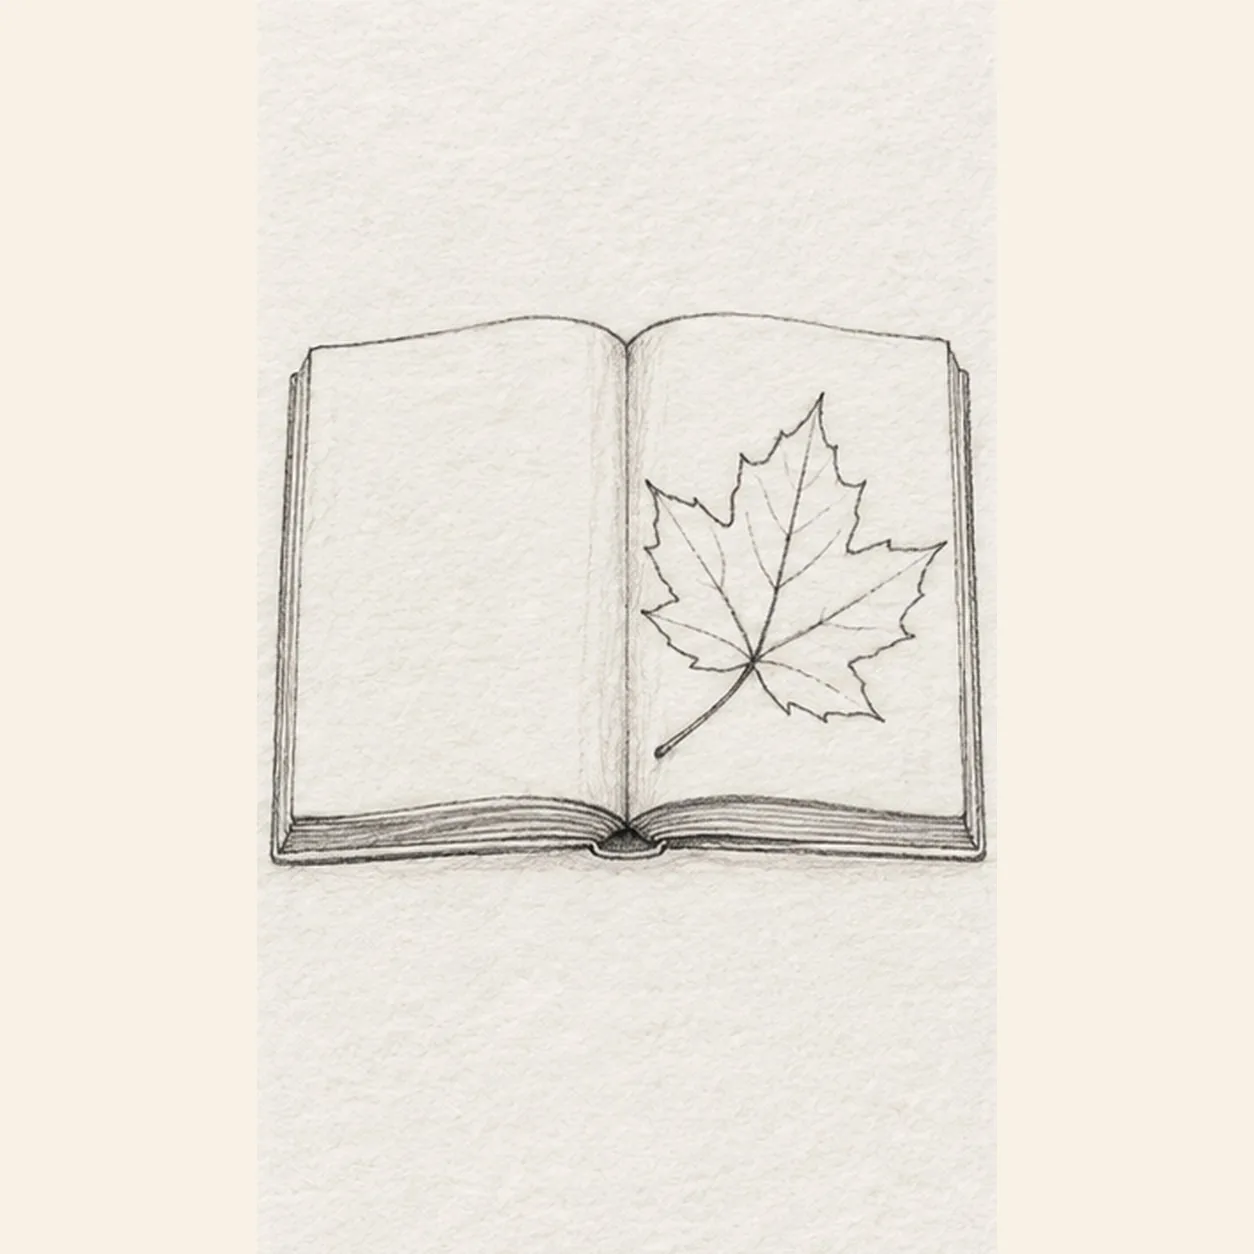
Lay down the leaf
On the right page, draw one gently tilted five-lobed maple leaf, its stem toward the lower gutter, then add a central midrib and four light side veins. Leave clear paper between leaf tips and page edges.
Sketch tip: Count five broad lobes before adding veins; leave a narrow white margin around the leaf.
-
04
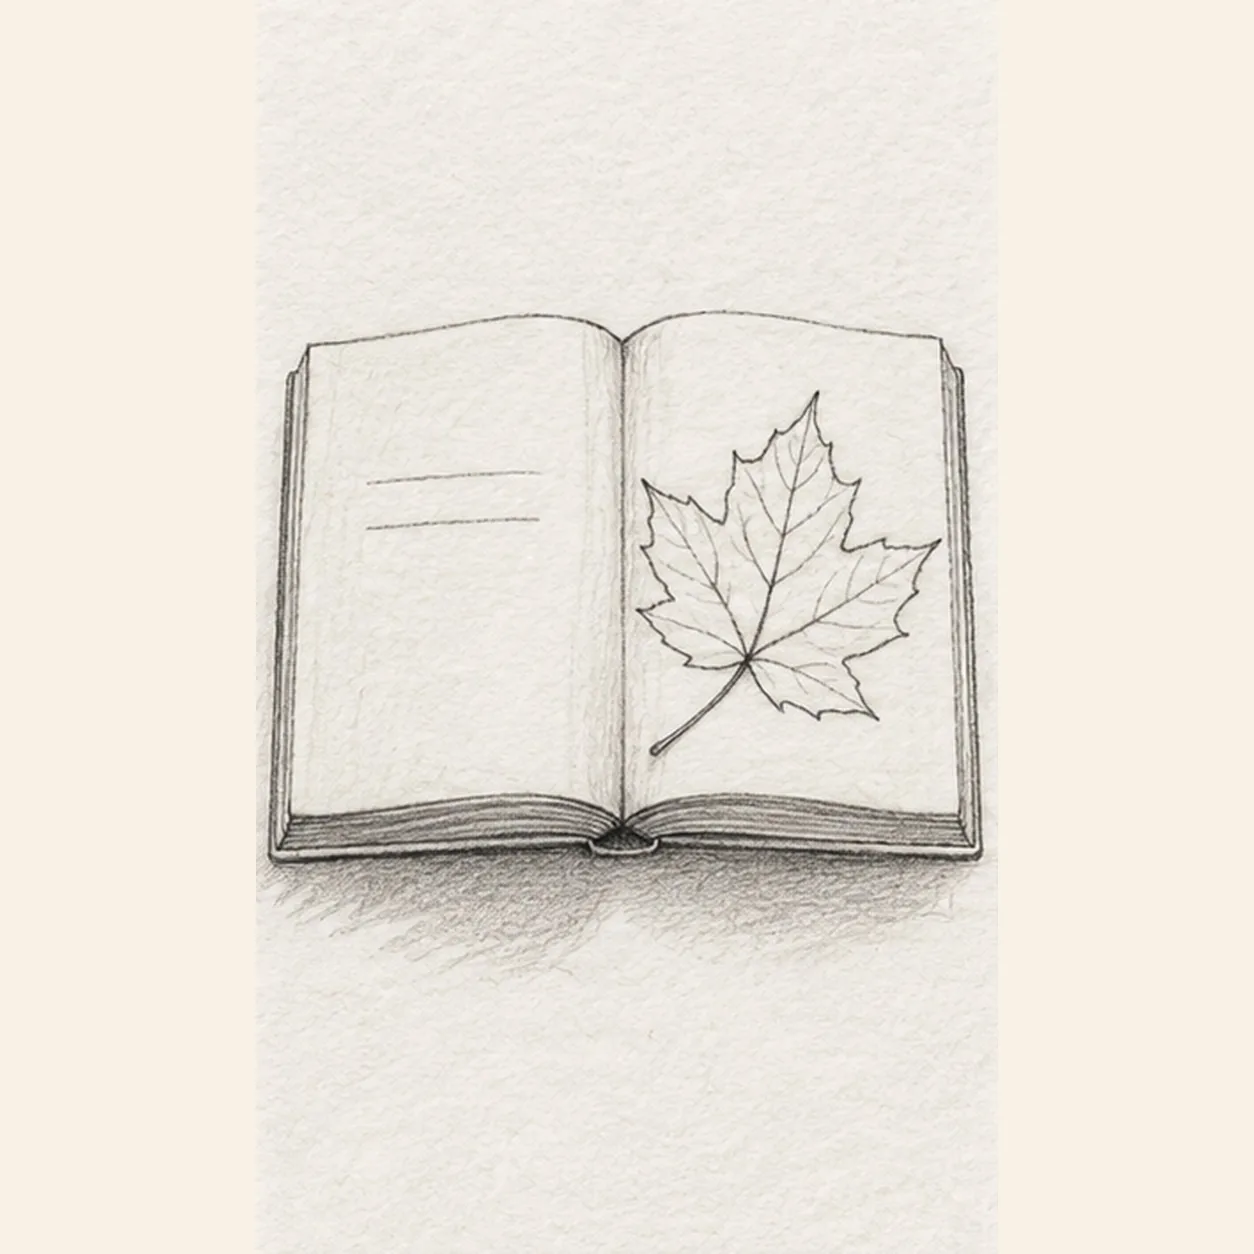
Suggest pages and ground
Add two short, faint parallel lines on the open left page, a few fine vein branches within the leaf, and a broken horizontal shadow beneath the page stack. Keep all five leaf lobes visible.
Sketch tip: Make the left-page lines faint so the pressed leaf remains the focus.
-
05
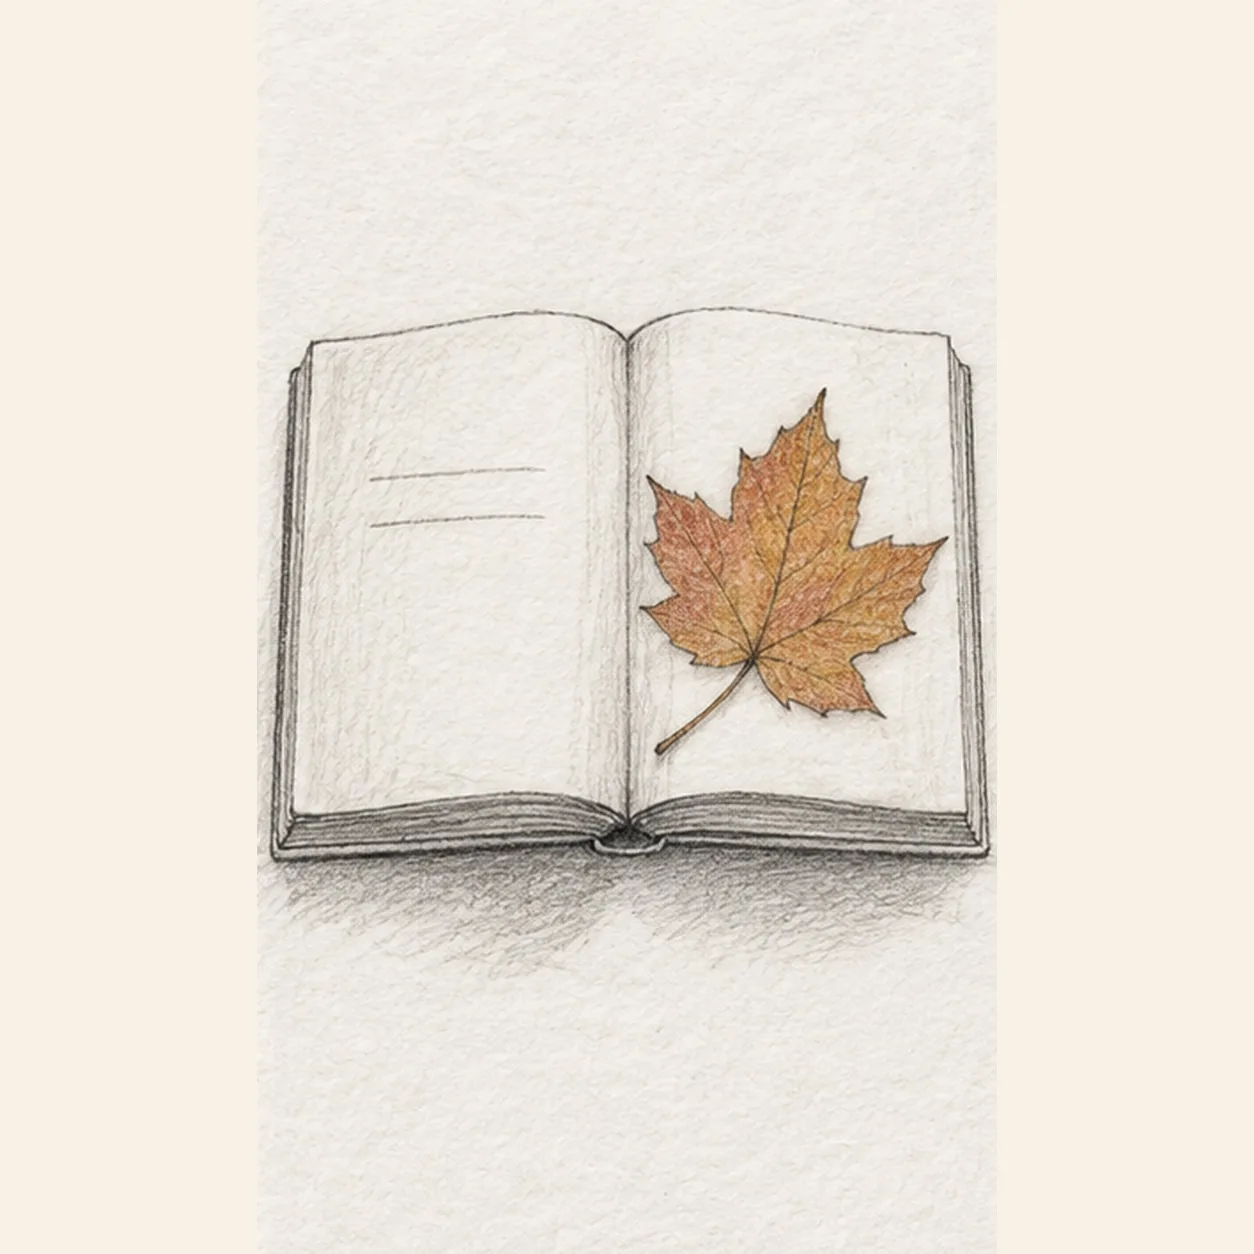
Shade the pressed leaf
Glaze the existing leaf with muted russet and ochre pencil, deepen the gutter and ground shadow with soft graphite, and keep the page faces mostly white.
Sketch tip: Color within the established leaf; let the paper texture show through.