
From the archive
Let's draw a school lunchbox with an apple
Treat this as one small practice round: build the subject lightly, notice the shapes, then darken only the lines that help the finished sketch.
-
01
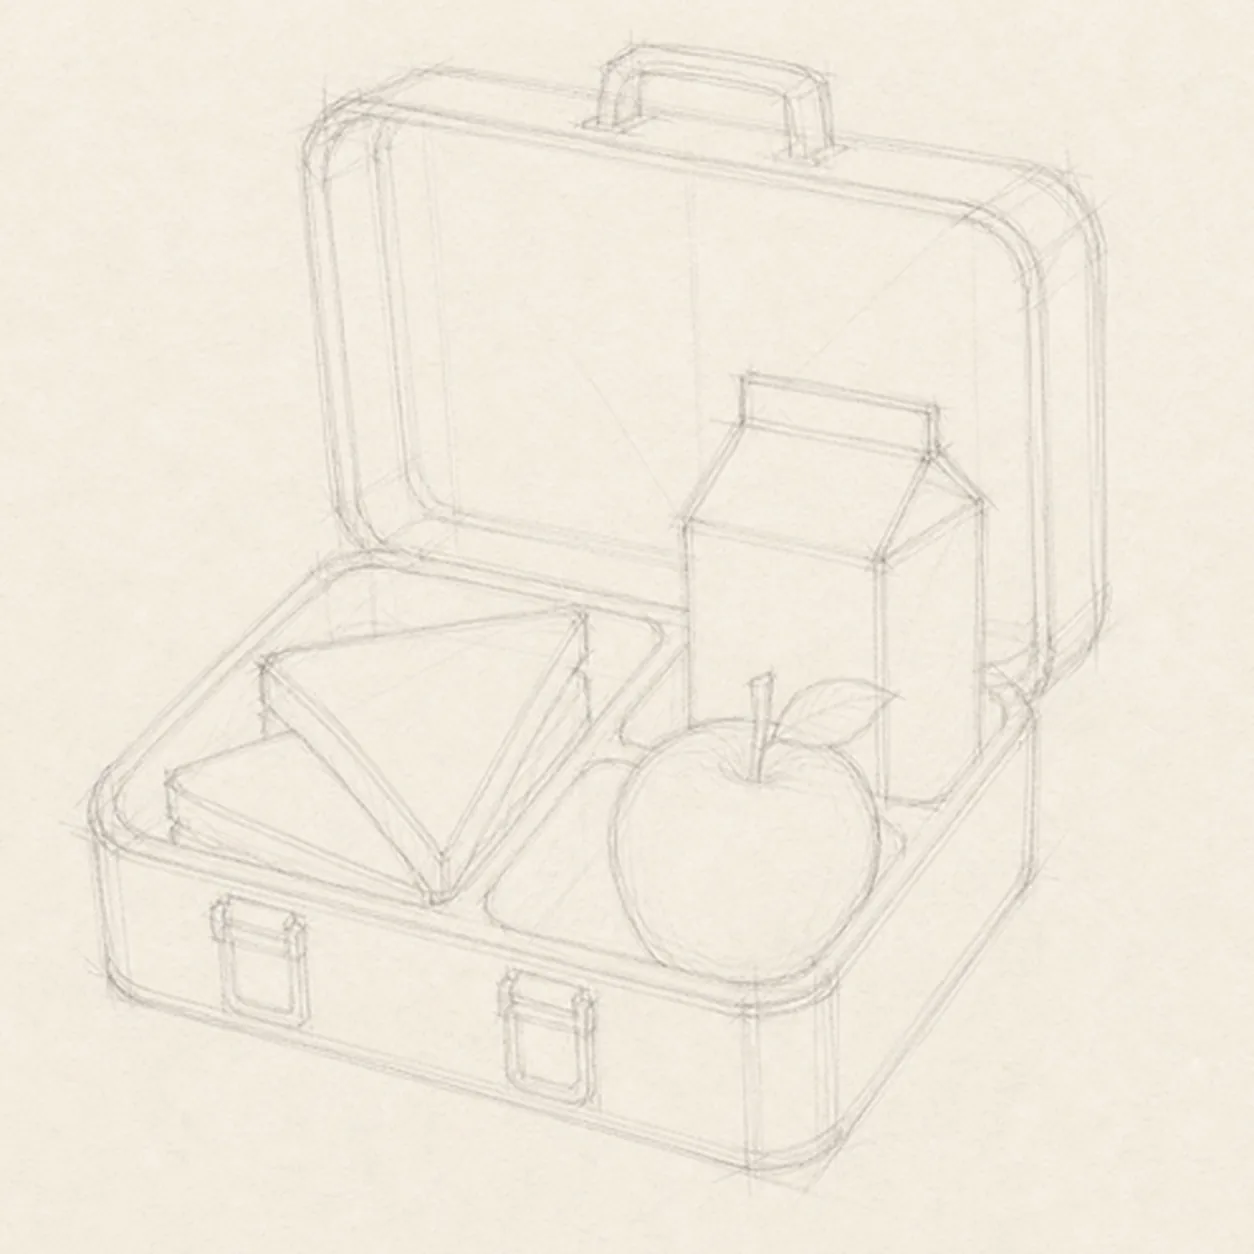
Block the open box
Use pale boxes and diagonals to place the shallow lunchbox base, upright lid, and interior rim, then immediately map exactly two sandwich triangles, one apple with its stem and leaf, and one folded carton before stopping the three compartment boundaries at those food silhouettes.
Sketch tip: Ghost the two long perspective edges before touching down, then keep every food footprint pale but complete. A compartment divider may stop behind the sandwich, apple, or carton; it should never cross a food shape and become a line you must erase later.
-
02
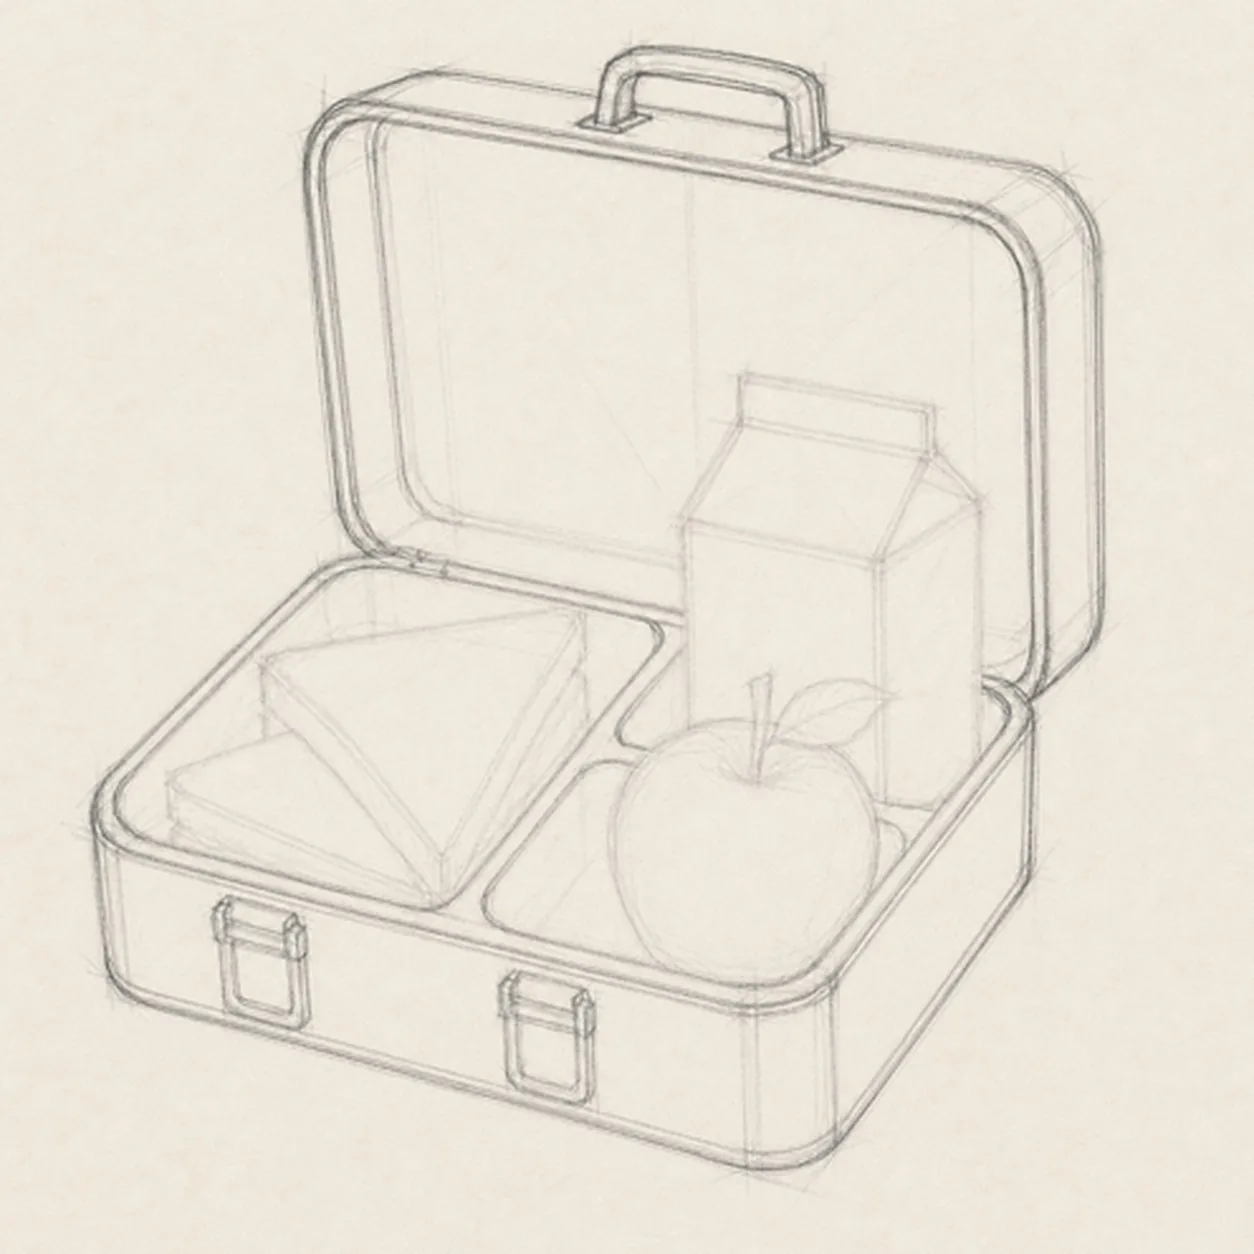
Shape the shell and hardware
Wrap the guides with the loose lunchbox contour, preserve all three pale food silhouettes, stop each compartment keeper line before the food, and add one centered lid handle plus exactly two front latches.
Sketch tip: Rotate the page so each long box edge comes from one relaxed pull. Before darkening a divider, trace it with your finger and make sure it ends at the reserved sandwich, apple, or carton edge.
-
03
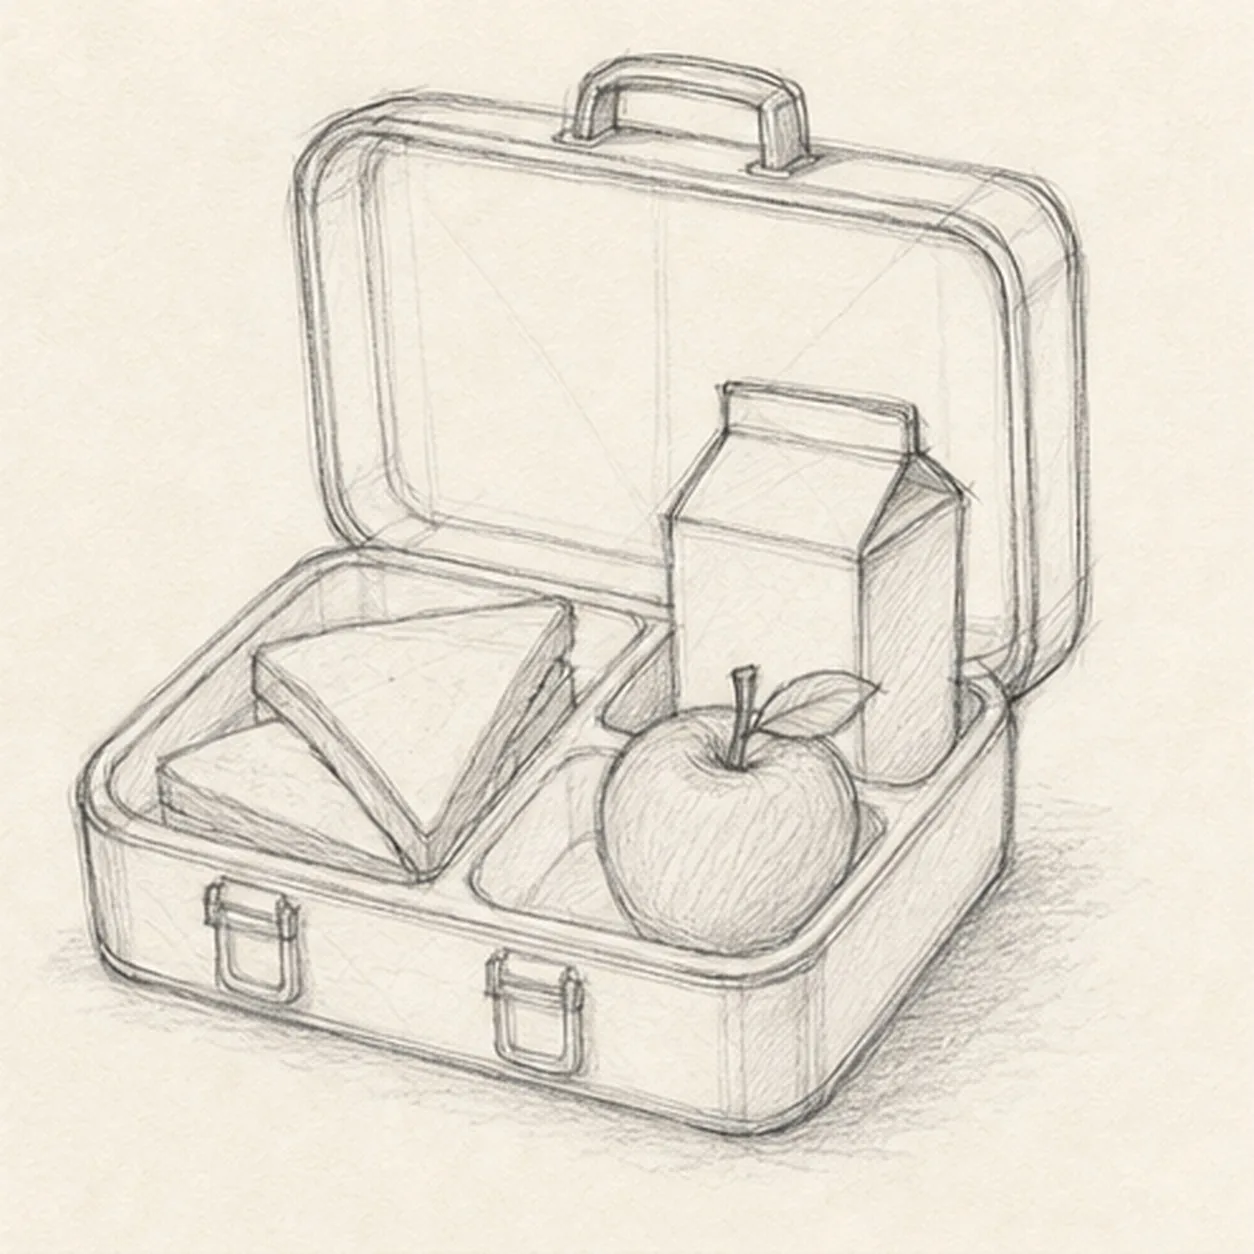
Pack the lunch
Strengthen the two already mapped sandwich triangles, apple, and folded carton, then add their visible overlap edges without changing the footprints or erasing any compartment keeper line.
Sketch tip: Work from front to back: apple and sandwich edges first, then the carton planes that remain visible. Squint at the negative spaces between the three foods so none merges with the rim.
-
04
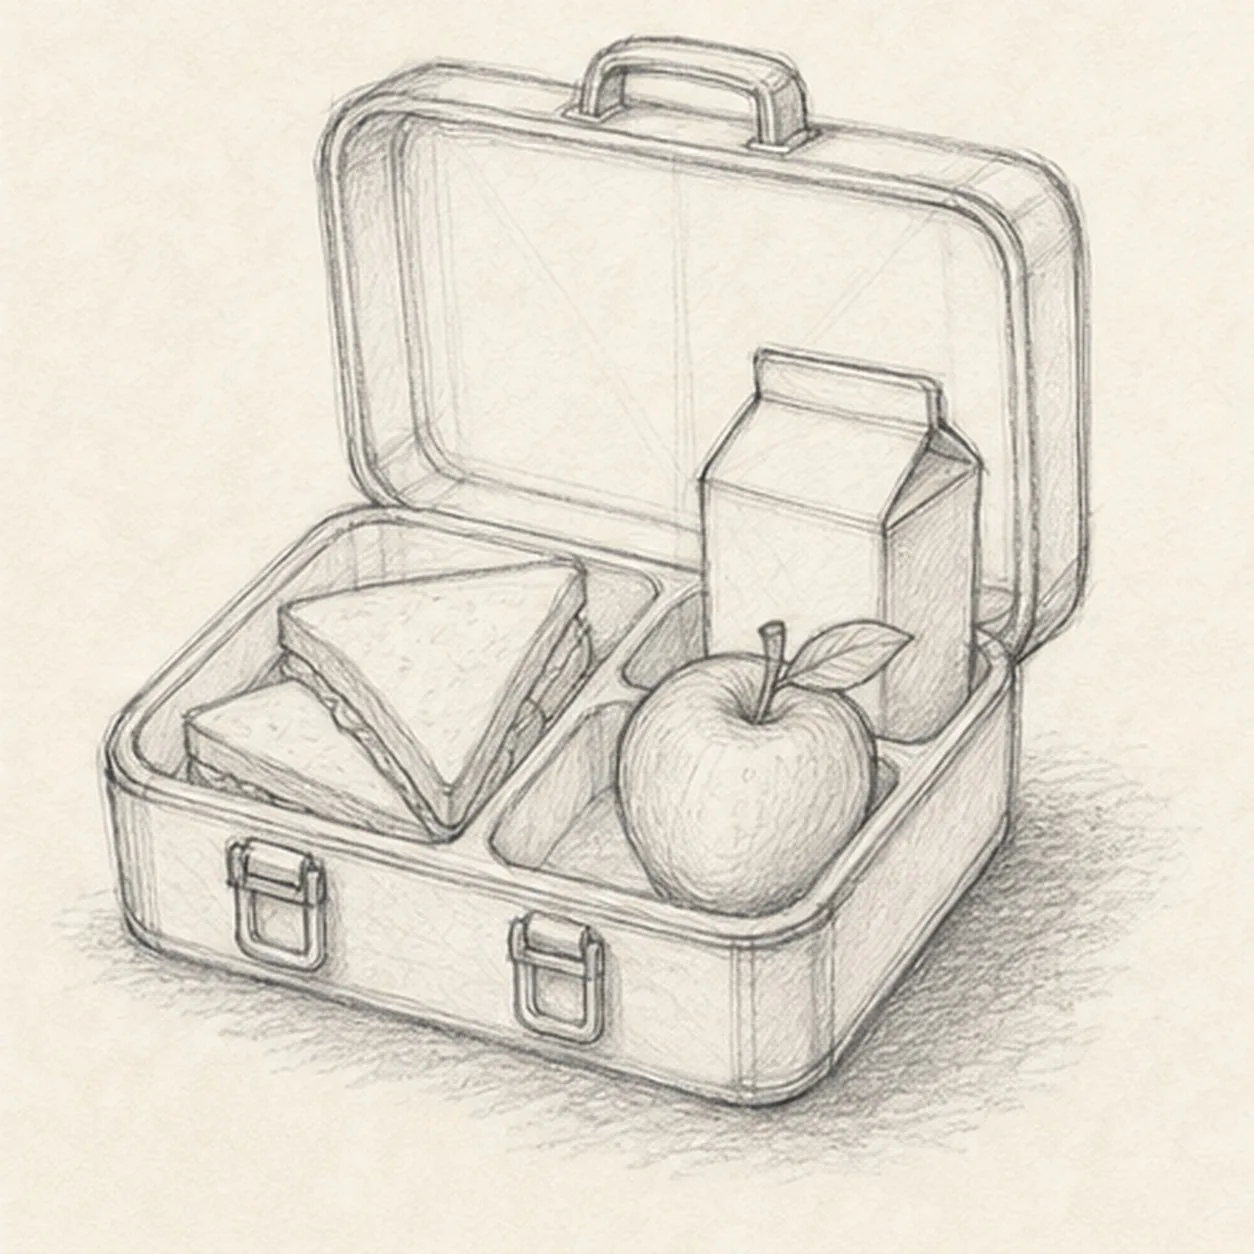
Clarify edges and textures
Refine only the established contours, add box corner seams, sandwich filling edges, apple dimples, carton fold planes, and the broken cast shadow beneath the lunchbox.
Sketch tip: Curve short apple strokes around the fruit and stop every sandwich line at an overlap. Keep the carton plain and use just enough fold detail to explain its top without turning it into packaging design.
-
05
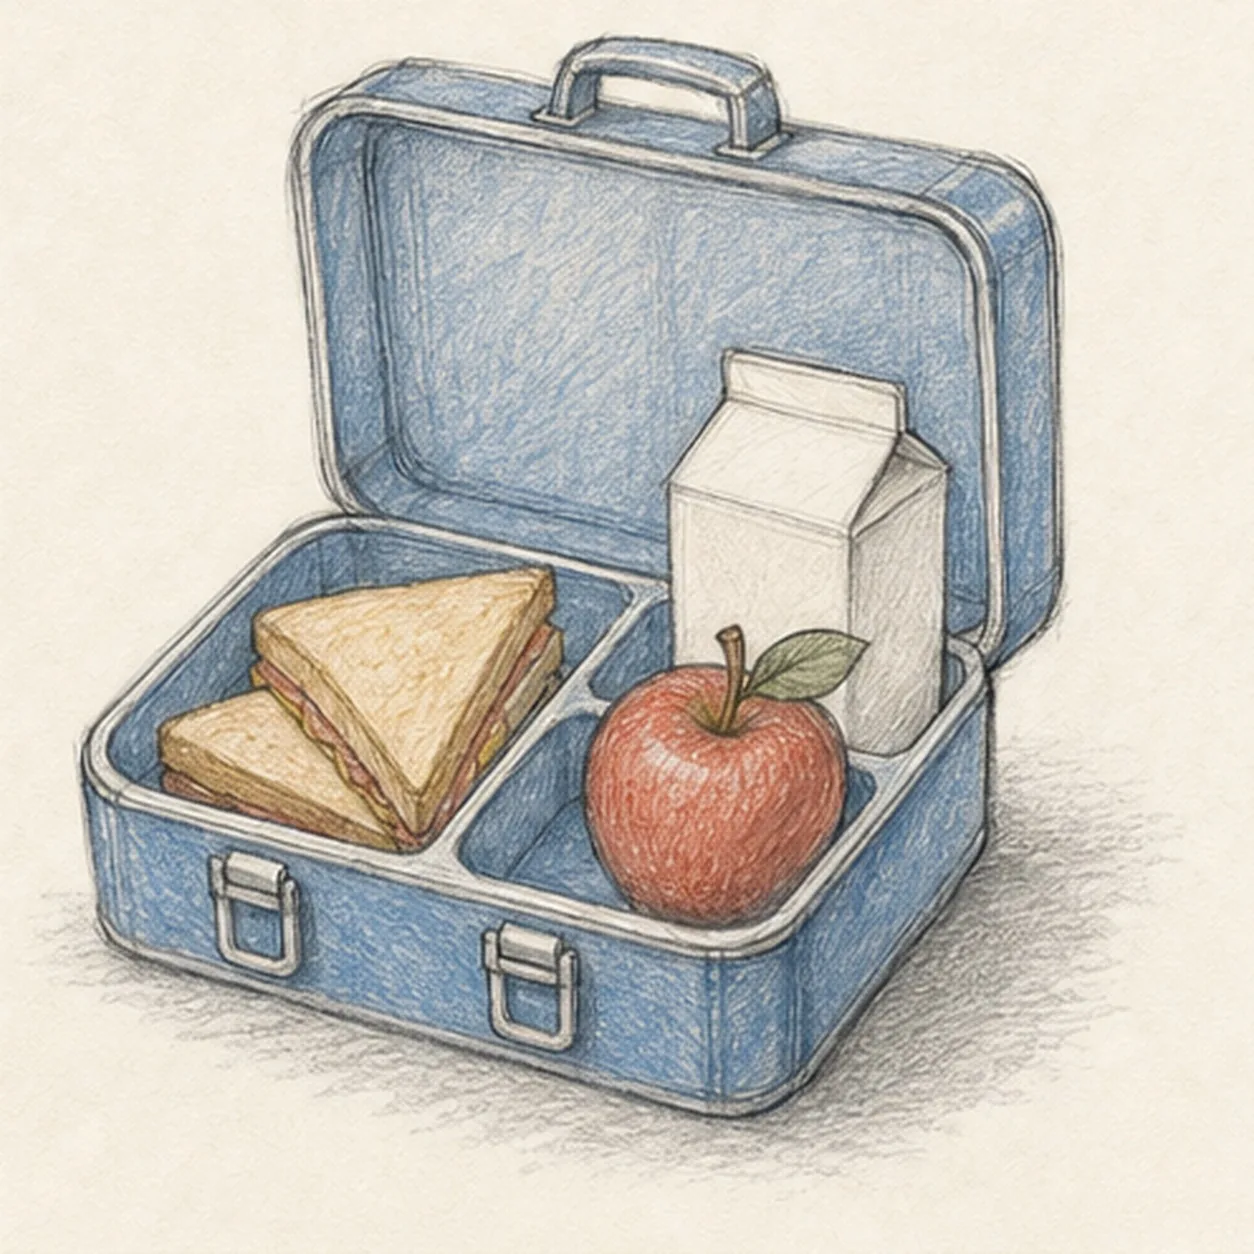
Layer restrained color
Add dusty blue to the lunchbox, muted red to the apple, warm ochre to the sandwich, and pale neutral pencil to the carton while preserving white paper highlights.
Sketch tip: Pull colored-pencil strokes along each surface plane: long strokes across the lid, shorter curved strokes around the apple, and diagonal strokes across the bread. Build two light layers instead of one waxy pass.
-
06
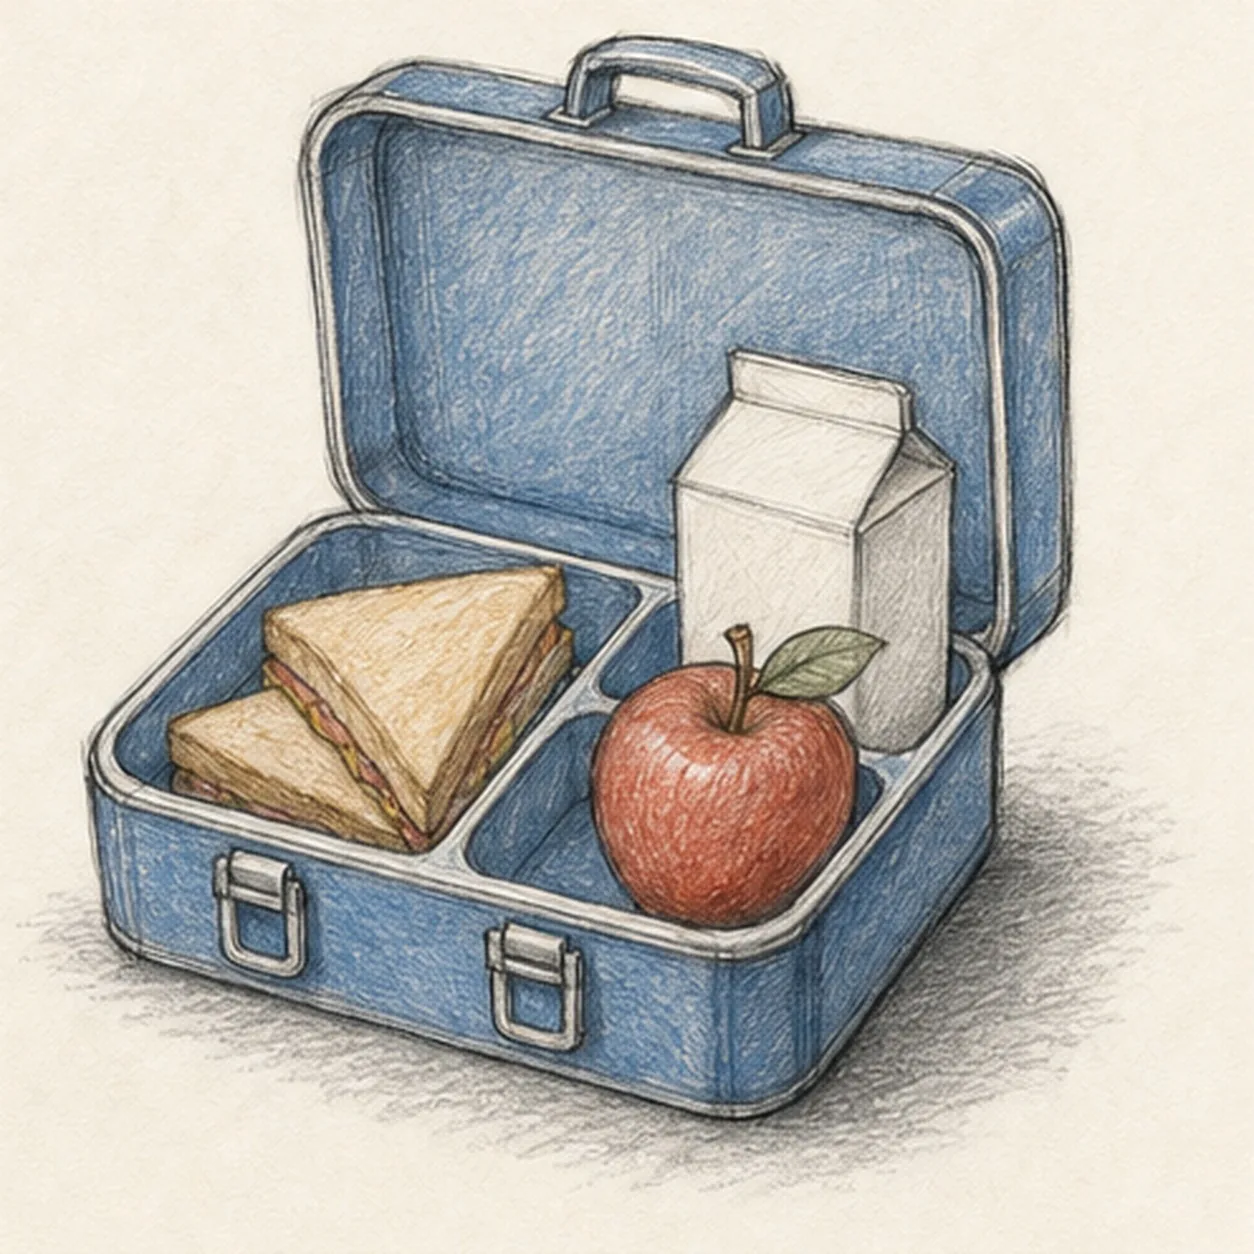
Set the lunchbox finish
Strengthen selected keeper contours, deepen the existing graphite shadows, clarify highlights inside the established color areas, and soften only the pale construction that distracts.
Sketch tip: Count one box, one handle, two latches, three compartments, two sandwich triangles, one apple, and one carton. Change the lunch colors or fillings if you like, but keep the overlap plan clear enough to draw through.


