
From the archive
Let's draw pancakes
Treat this as one small practice round: build the subject lightly, notice the shapes, then darken only the lines that help the finished sketch.
-
01
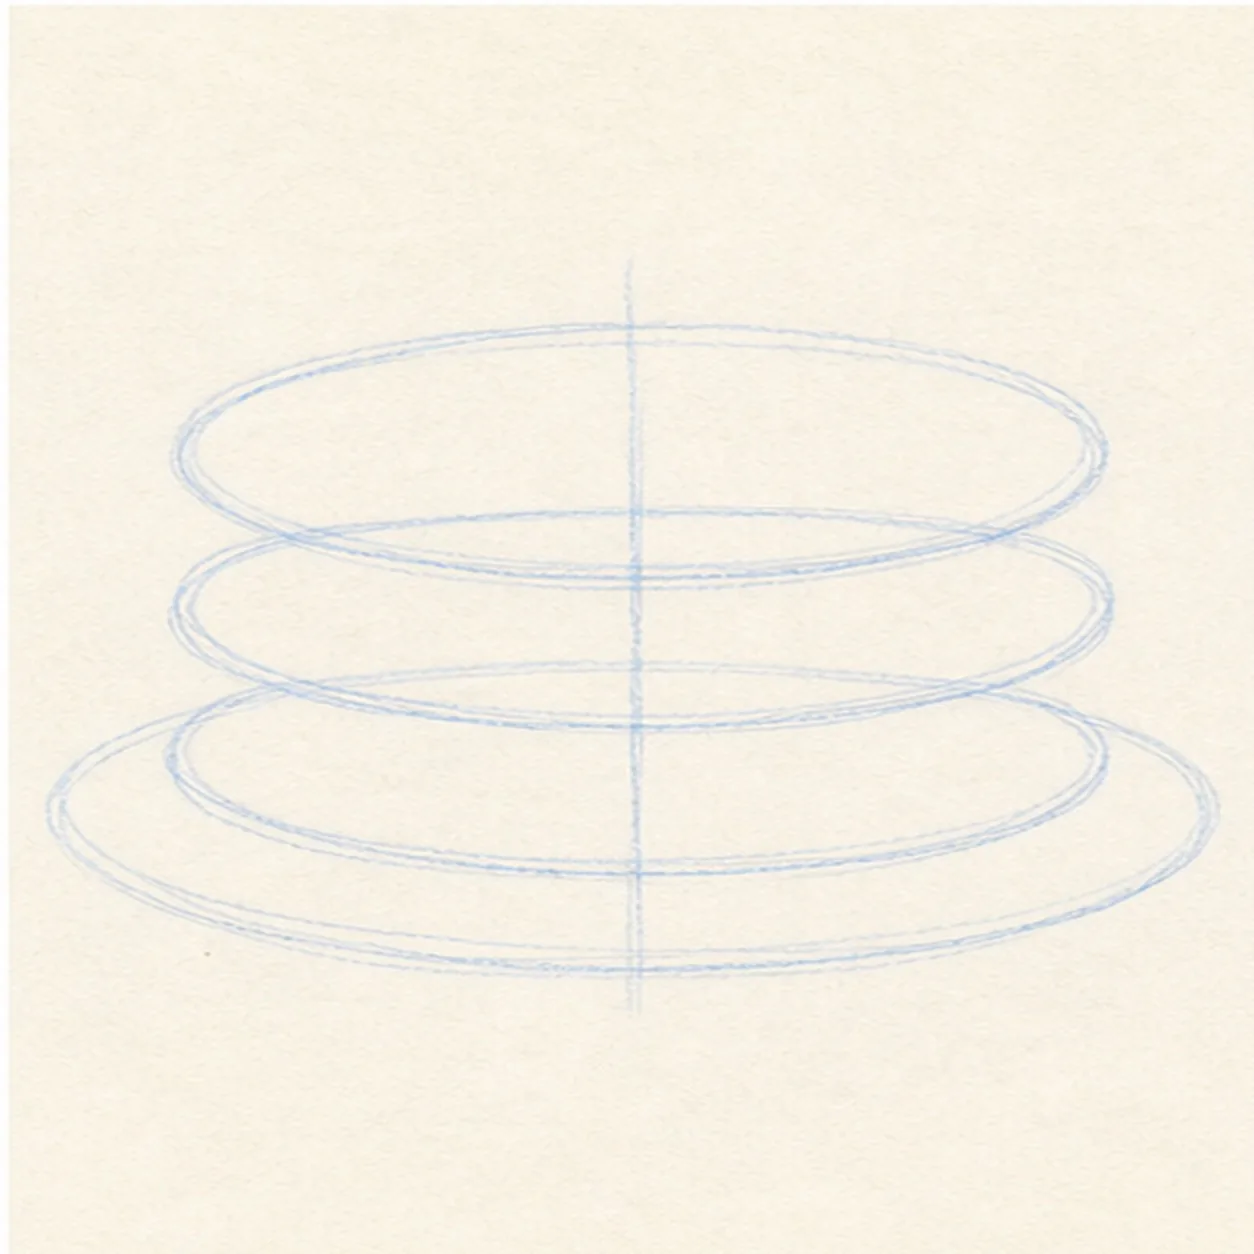
Place the pancake guides
Draw three light horizontal ellipses stacked close together, then add a faint center line to keep the pancakes lined up.
Sketch tip: Let the ellipses get only a little wider toward the bottom. Too much change can make the stack look like a cone.
-
02
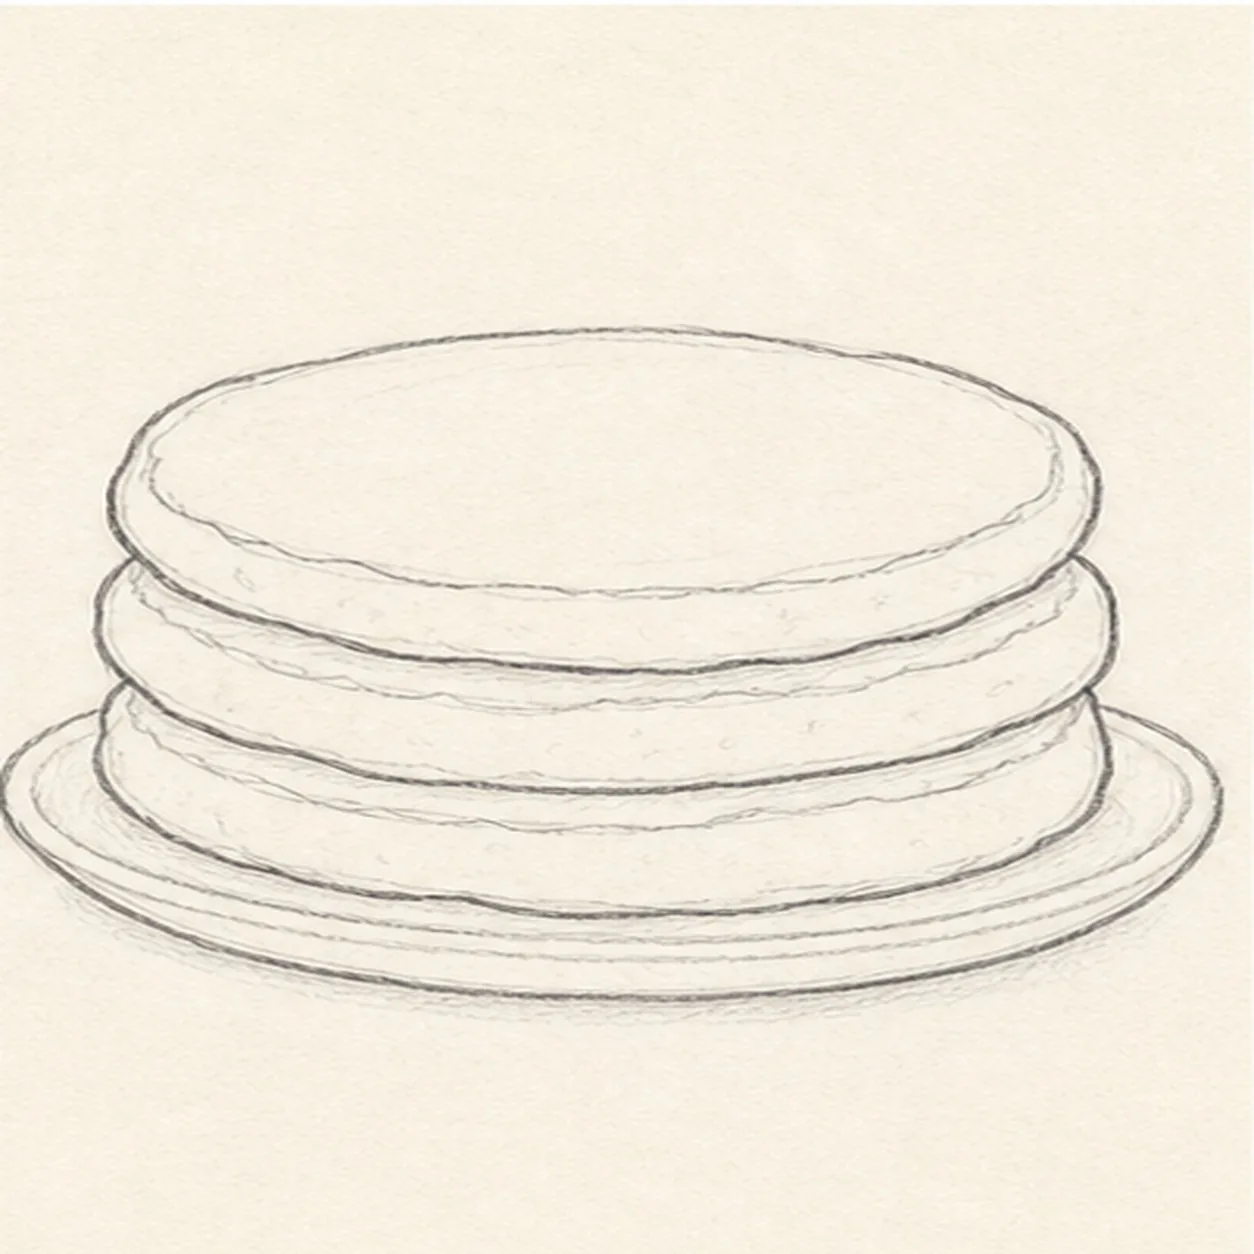
Shape the cakes and plate
Turn each guide into an uneven pancake edge, then add a shallow plate oval underneath the bottom layer.
Sketch tip: Keep the pancake edges a little wobbly. Pancakes look friendlier when they are not perfect cylinders.
-
03
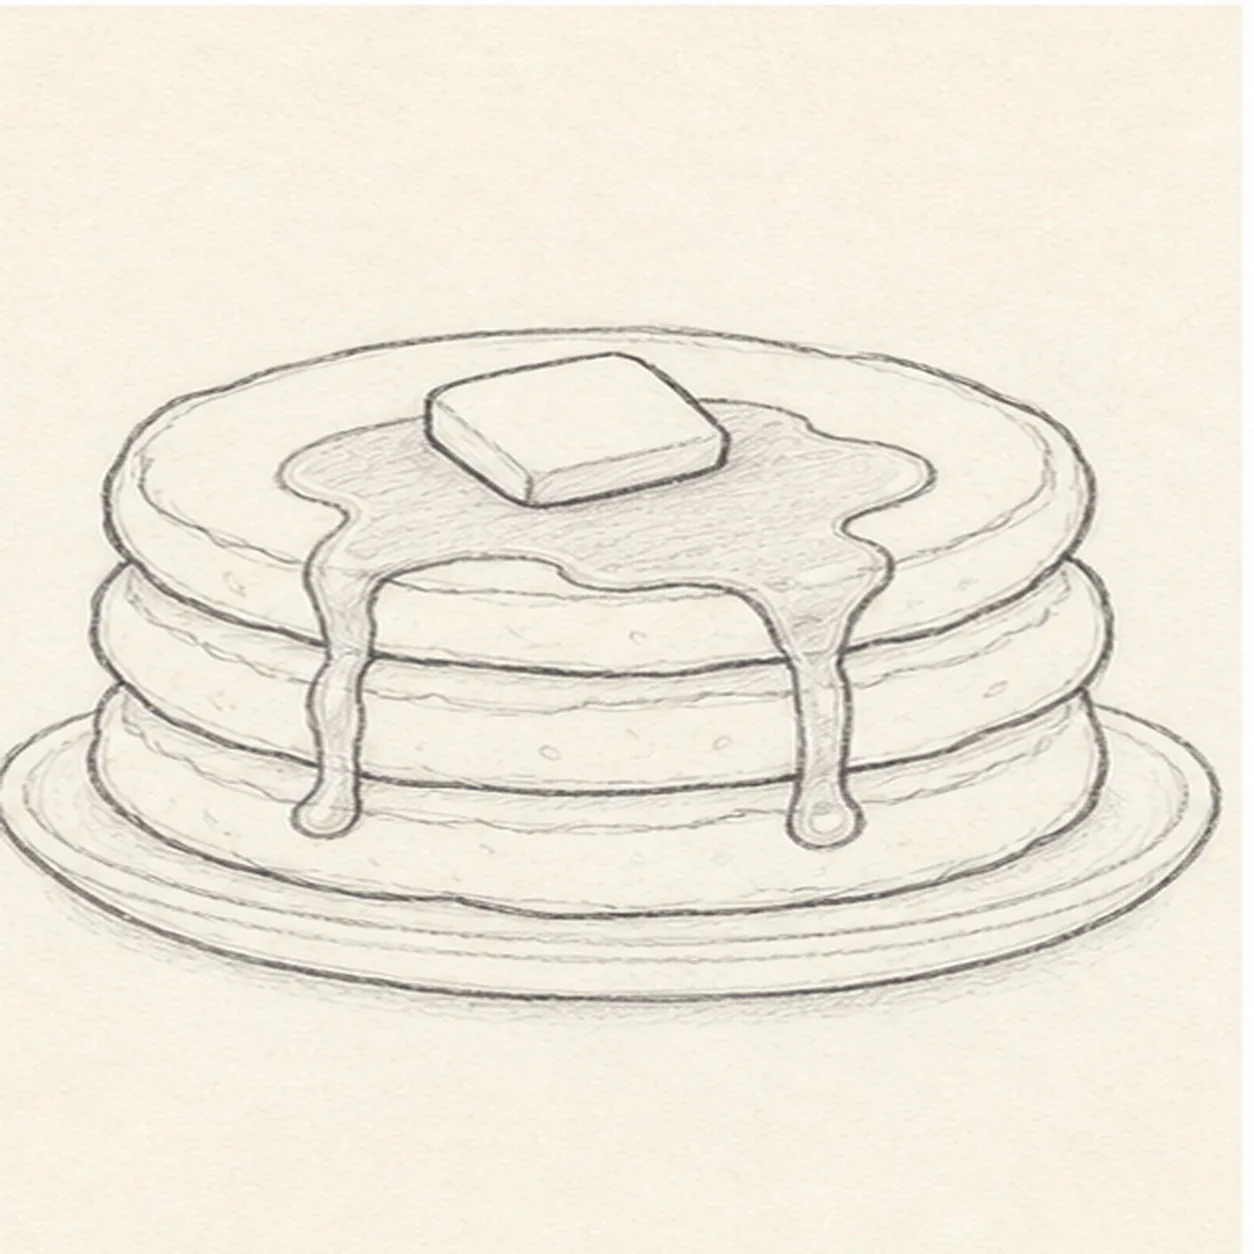
Add butter and syrup
Set a small tilted square on the top pancake, draw a loose syrup puddle around it, then pull two drips down the front.
Sketch tip: Make the syrup cross over the pancake edges. That overlap is what sells the sticky topping.
-
04
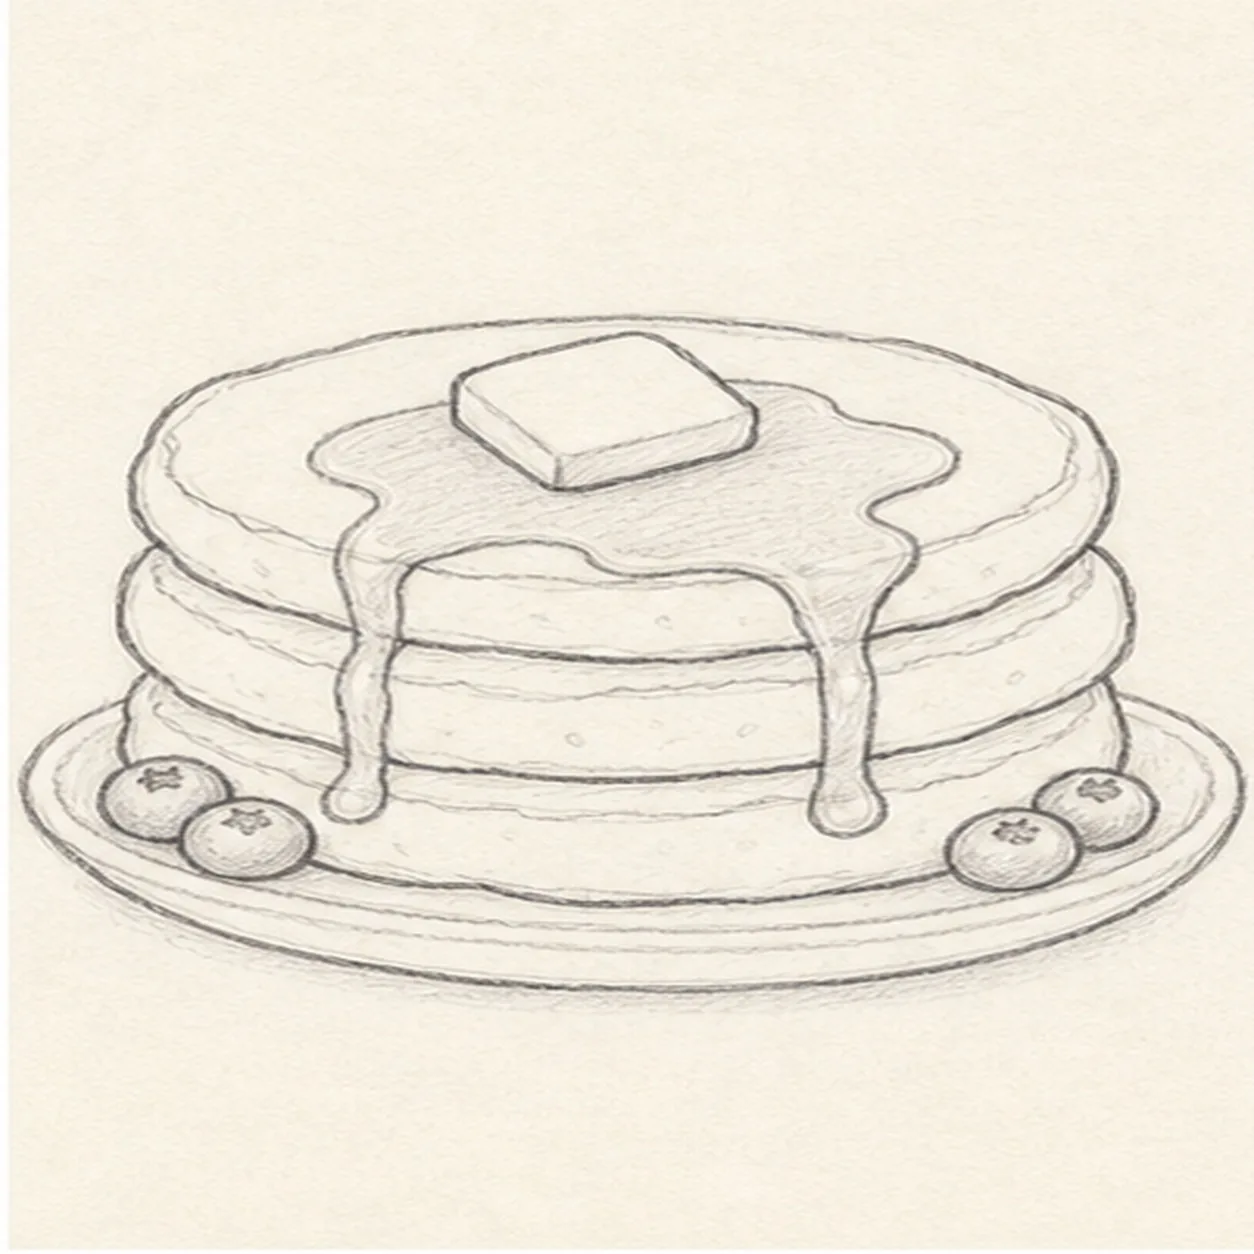
Scatter a few berries
Place a small group of round berries on each side of the plate, keeping them tucked low so the pancake stack stays dominant.
Sketch tip: Vary the berry sizes and overlap one or two circles. A row of identical dots will look flat.
-
05
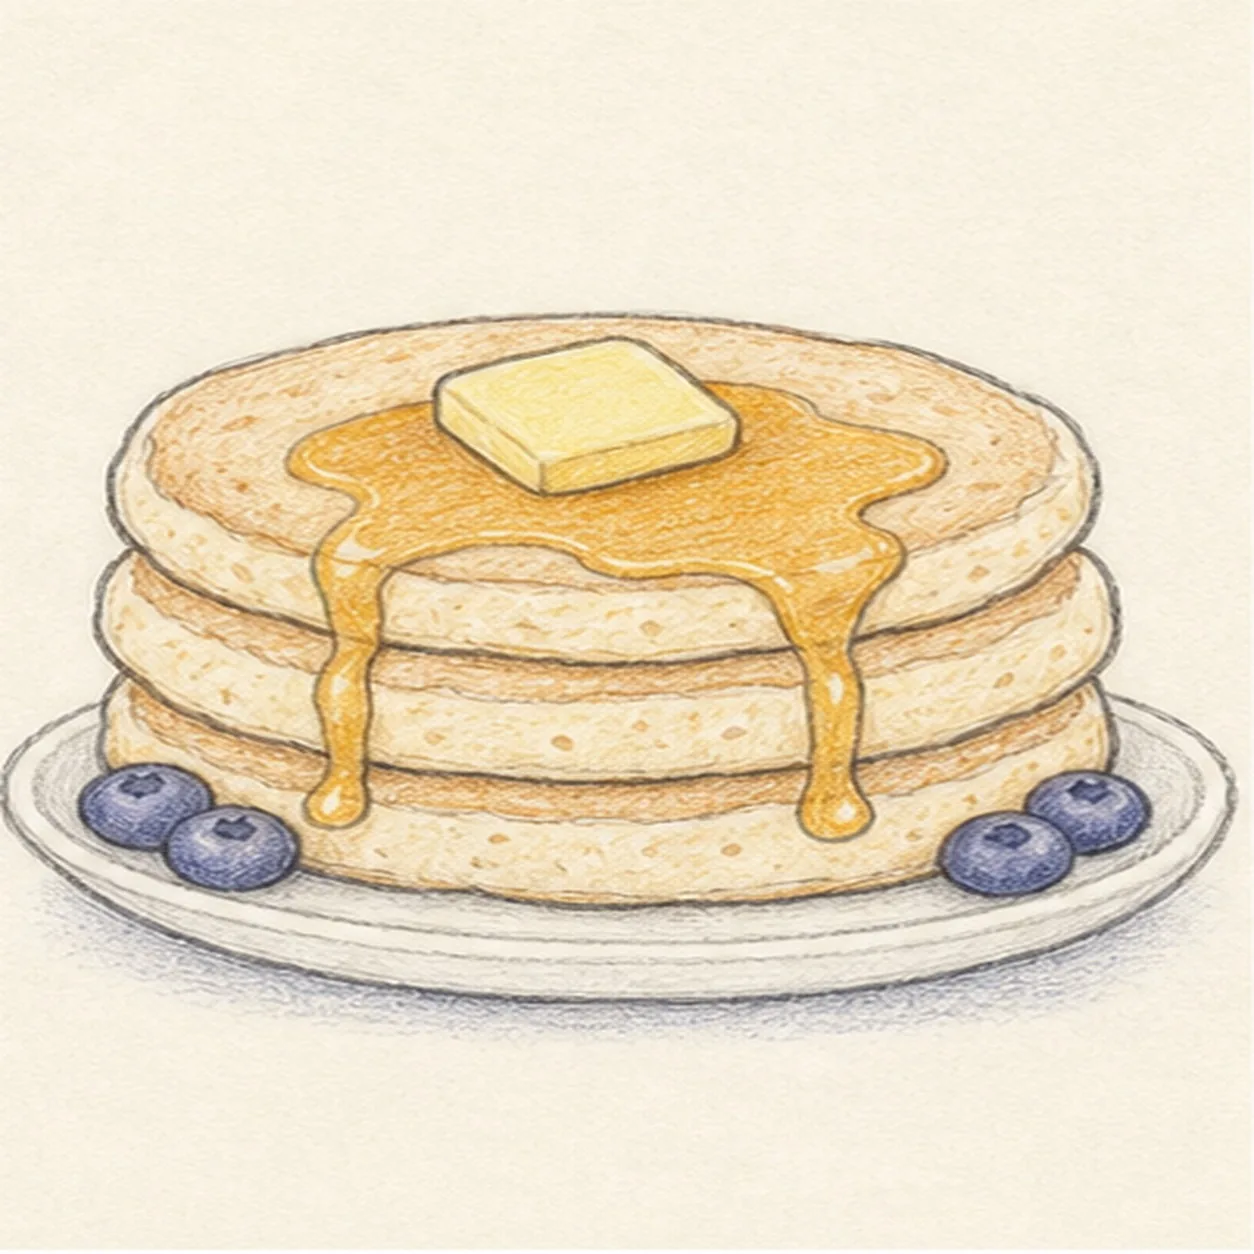
Add spots, color, and shadow
Dot the pancakes with freckles and crumb marks, add warm tan and golden pencil, color the berries, and shade lightly under the plate.
Sketch tip: Leave gaps in the color. The paper showing through keeps the pancakes soft instead of heavy.
-
06
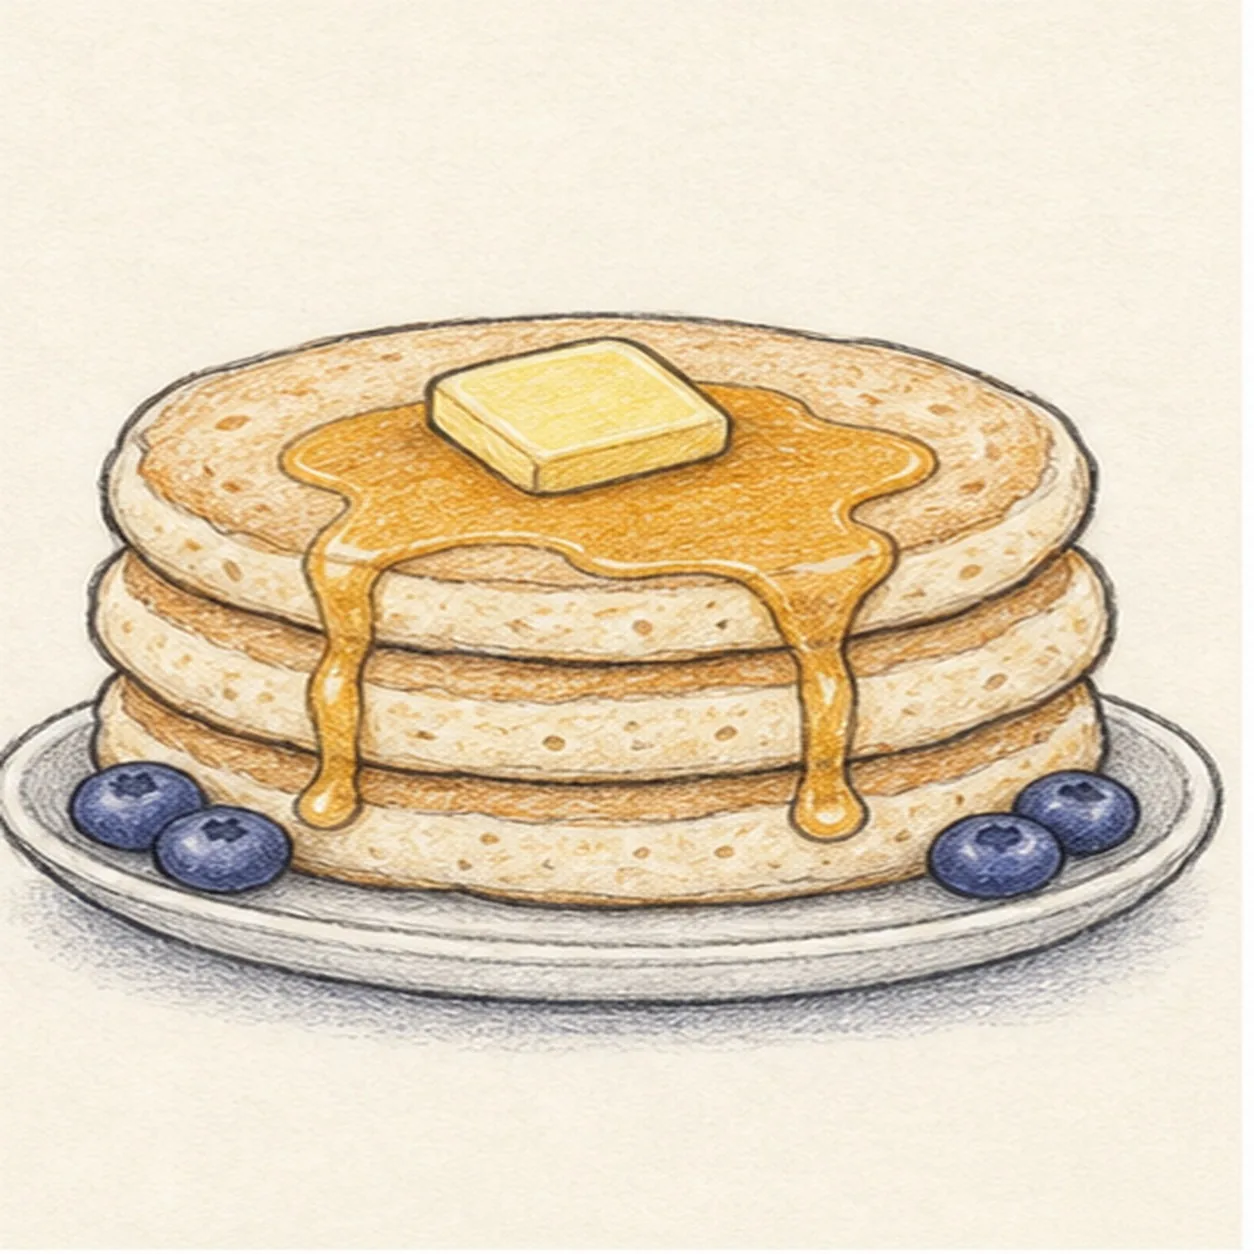
Finish the keeper lines
Deepen the strongest pancake edges, plate rim, butter, syrup drips, berries, texture marks, and cast shadow without adding new toppings.
Sketch tip: Stop before every crumb is dark. A few confident marks read better than covering the pancakes with dots.


