
From the archive
Let's draw a strawberry basket
Treat this as one small practice round: build the subject lightly, notice the shapes, then darken only the lines that help the finished sketch.
-
01
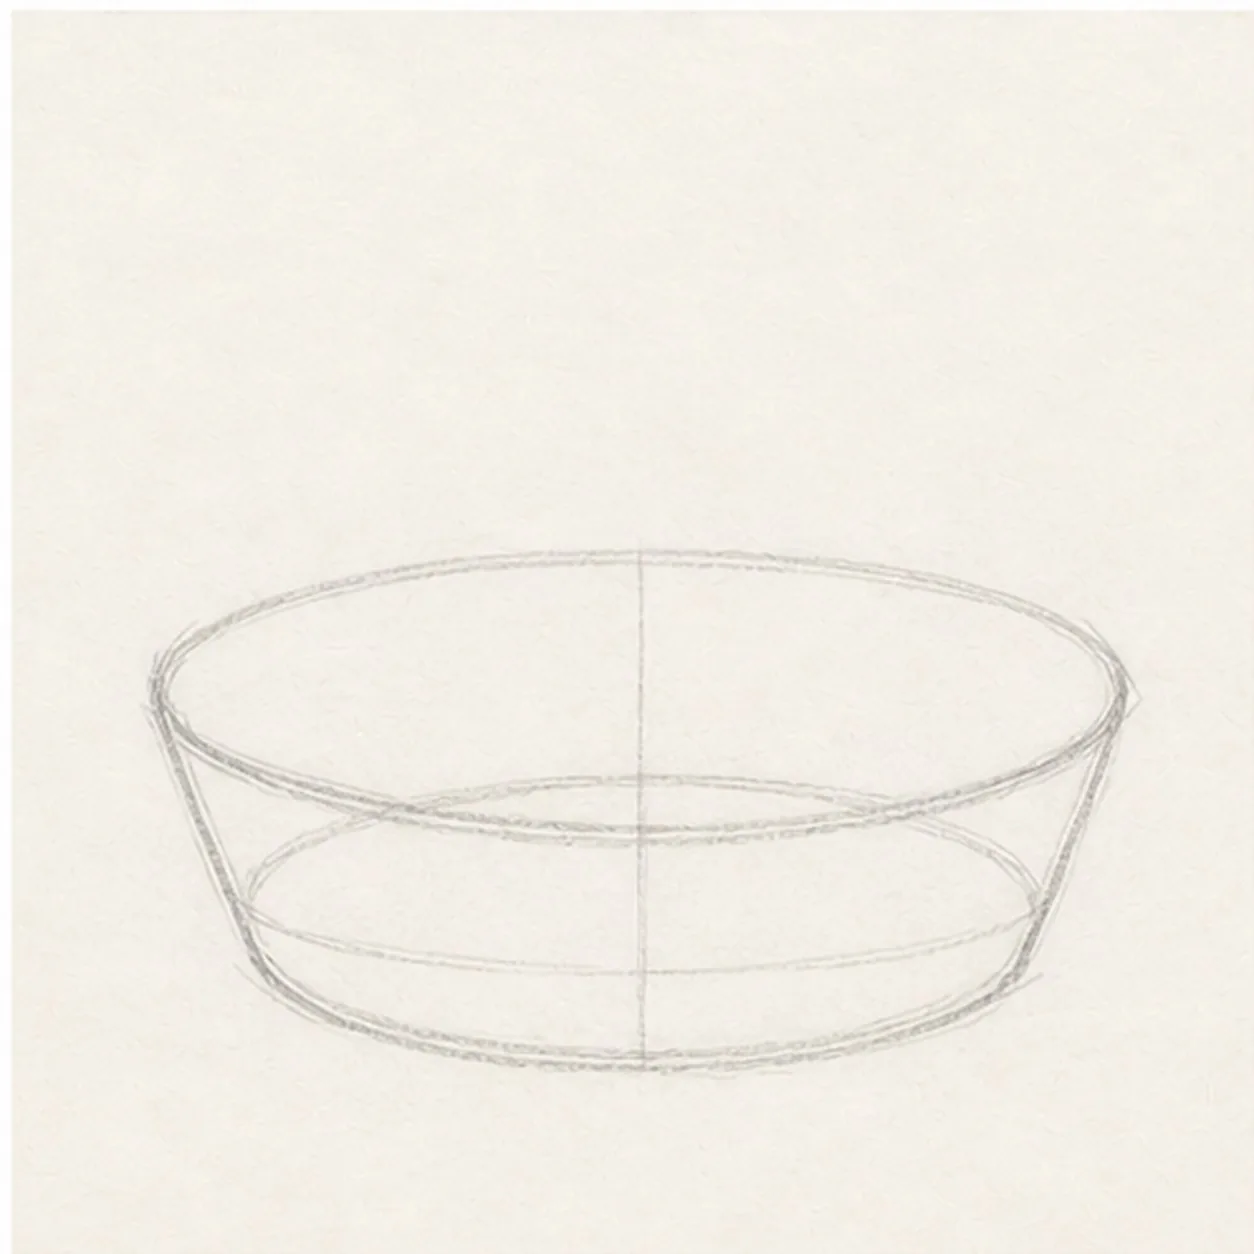
Block the basket
Draw a wide shallow oval for the basket opening, then add curved sides and a light base guide underneath.
Sketch tip: Keep the basket low and wide. That leaves room for the strawberries to sit above the rim.
-
02
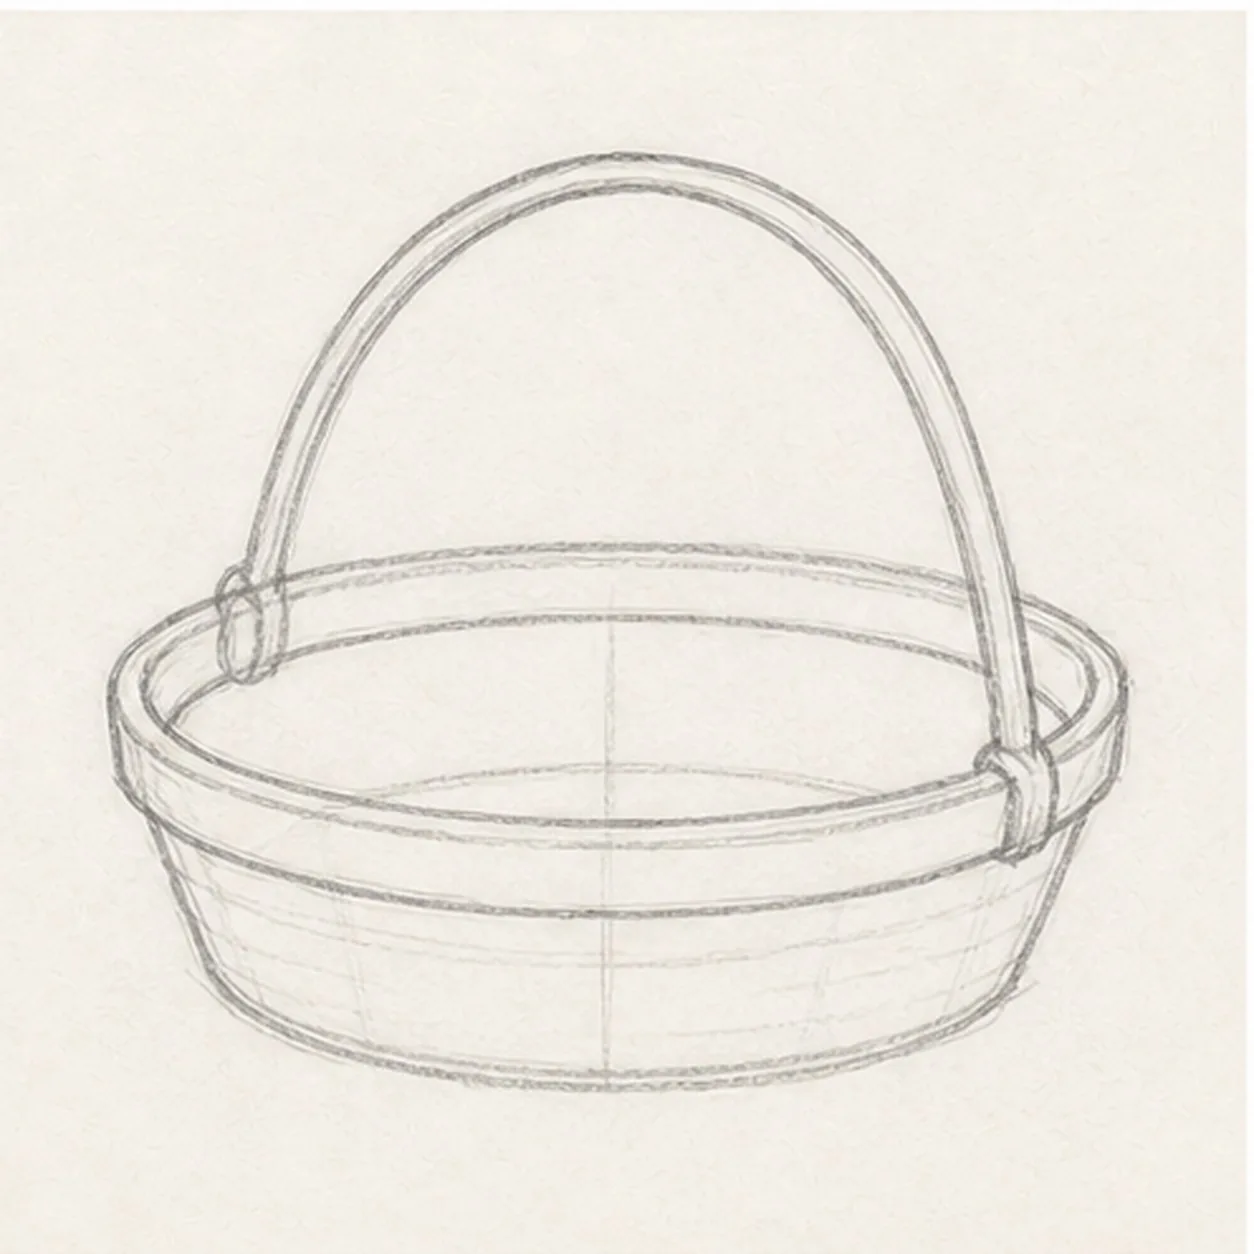
Add rim and handle
Thicken the rim around the opening, then draw an arched handle that connects to both sides.
Sketch tip: Let the handle follow the basket's center line. A centered handle keeps the basket from feeling tipped over.
-
03
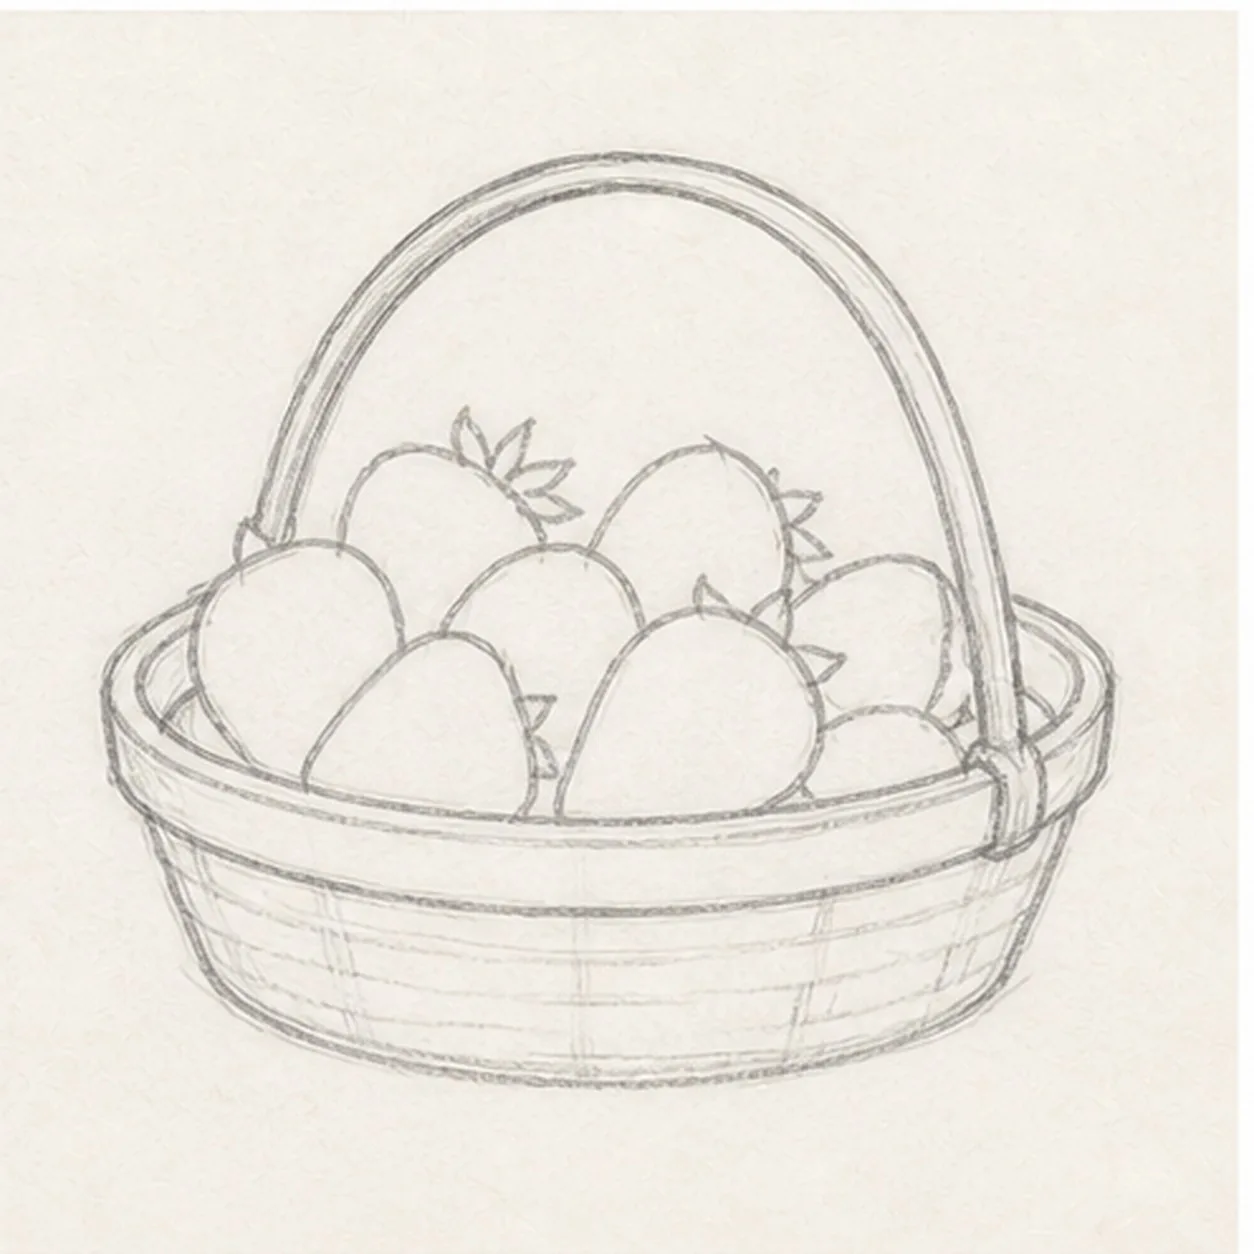
Tuck in berries
Fill the basket with several rounded strawberry shapes, letting a few overlap the rim and each other.
Sketch tip: Use simple heart-like berry shapes. Perfect symmetry matters less than a clear pile of fruit.
-
04
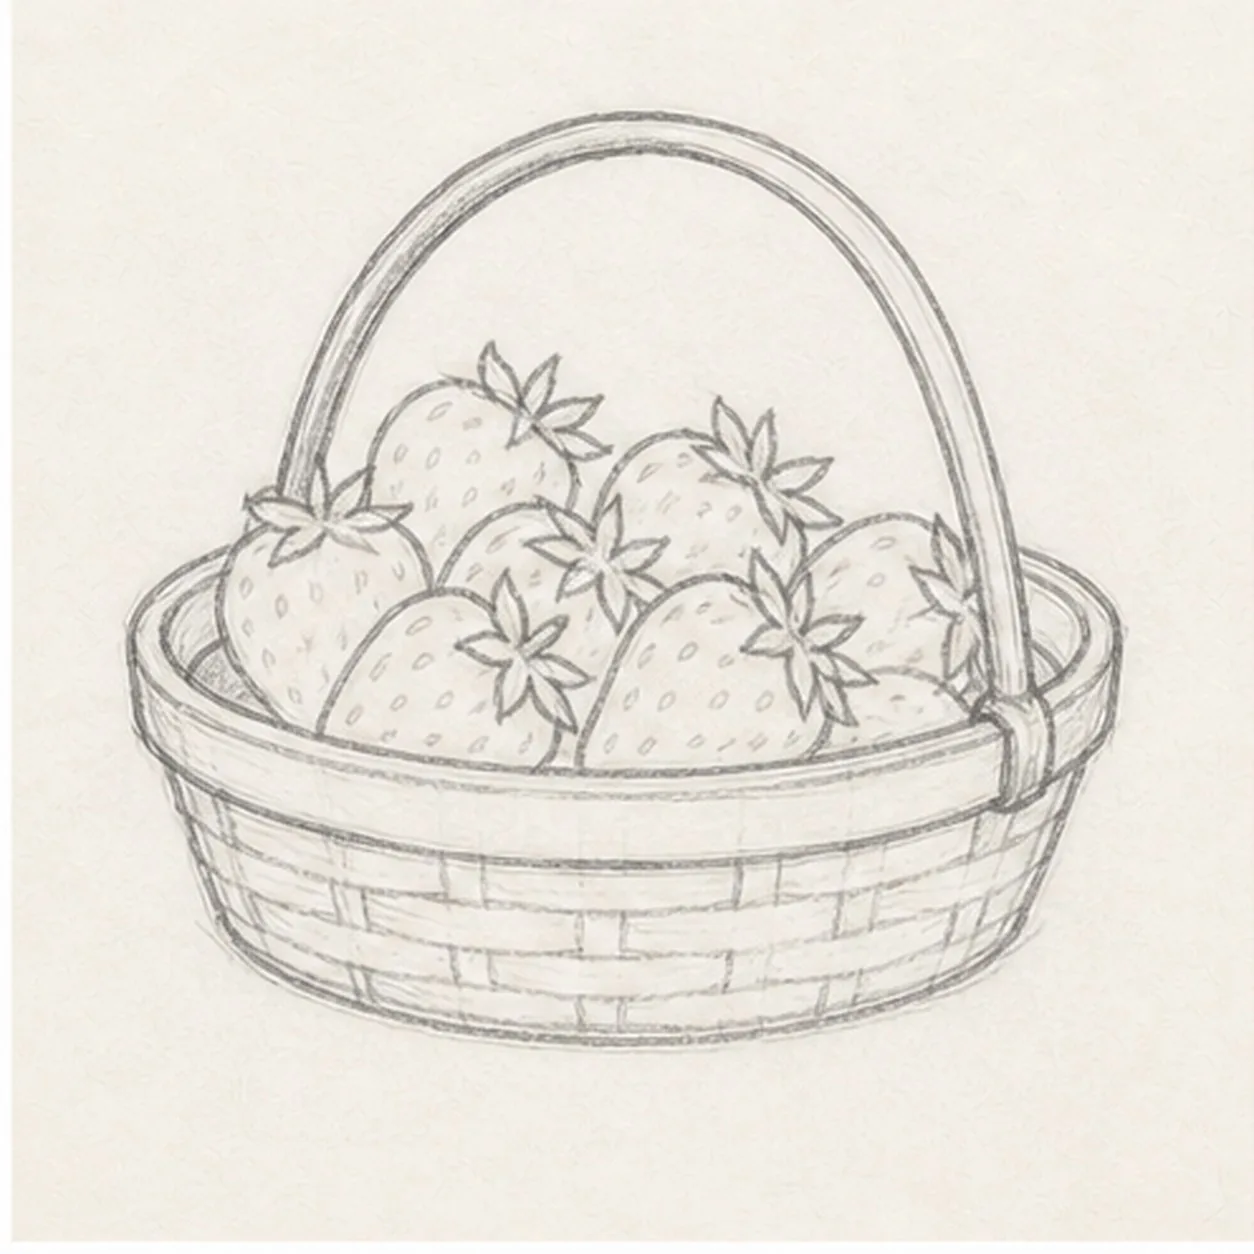
Add caps and weave
Place small leafy caps on the berries, then sketch light crisscross weave marks across the basket body.
Sketch tip: Curve the weave with the basket. Straight rows can make the rounded basket look flat.
-
05
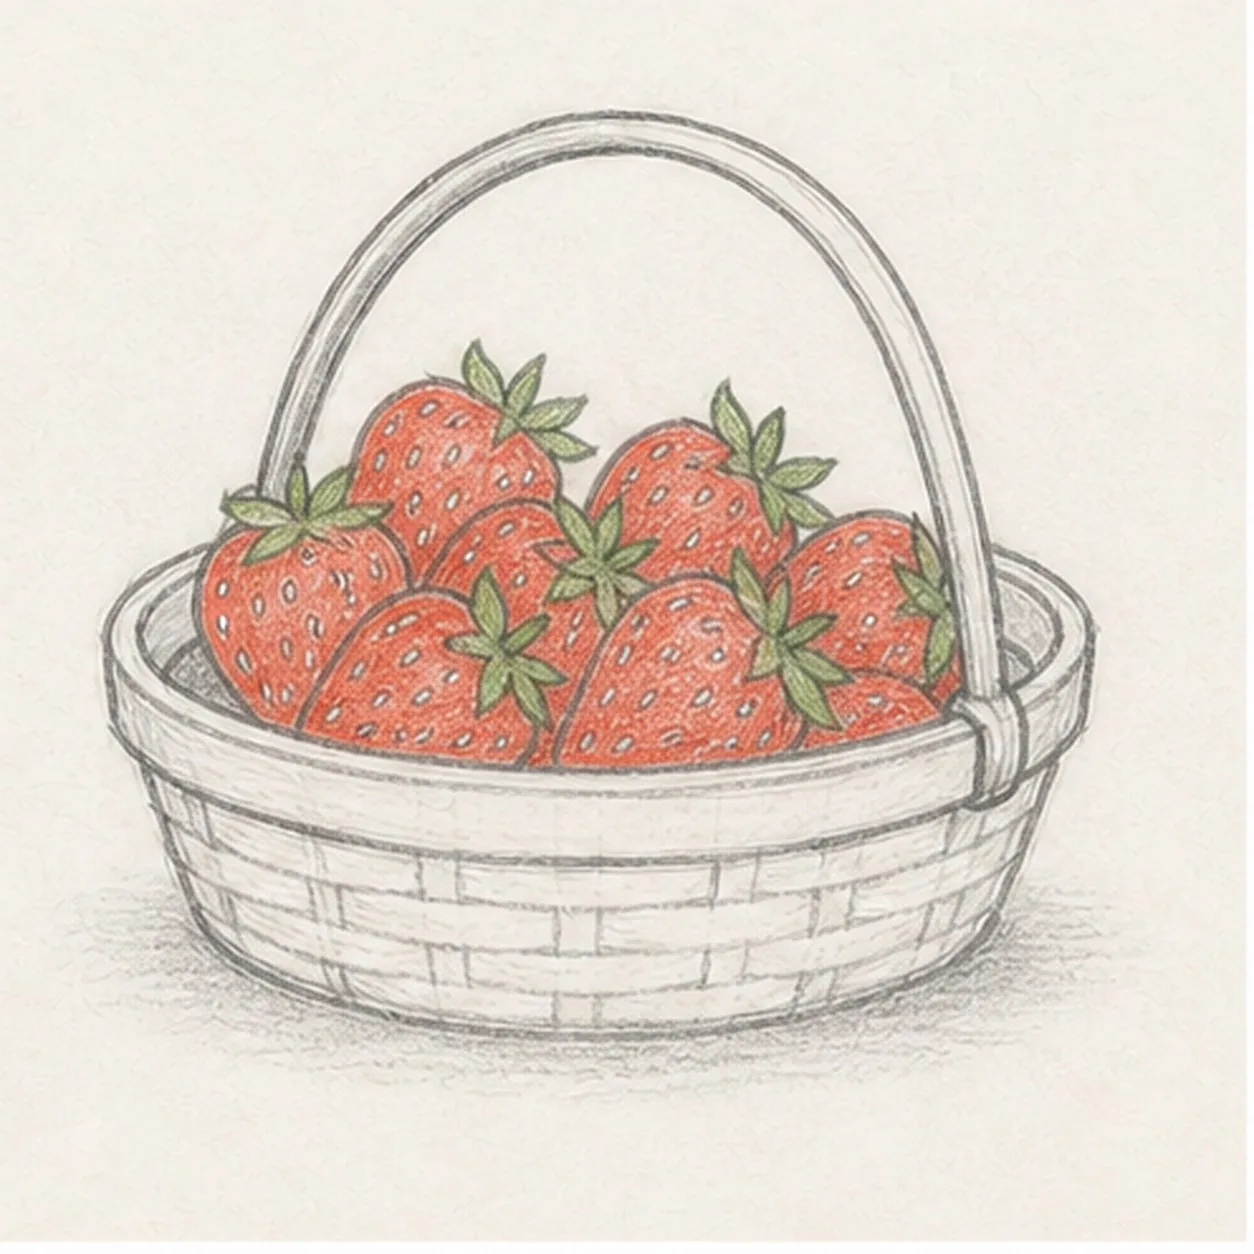
Color the berries
Add tiny seed dots, soft red pencil on the berries, green on the caps, and a light shadow under the basket.
Sketch tip: Leave little pale gaps in the red color so the berries keep their sketchbook texture.
-
06
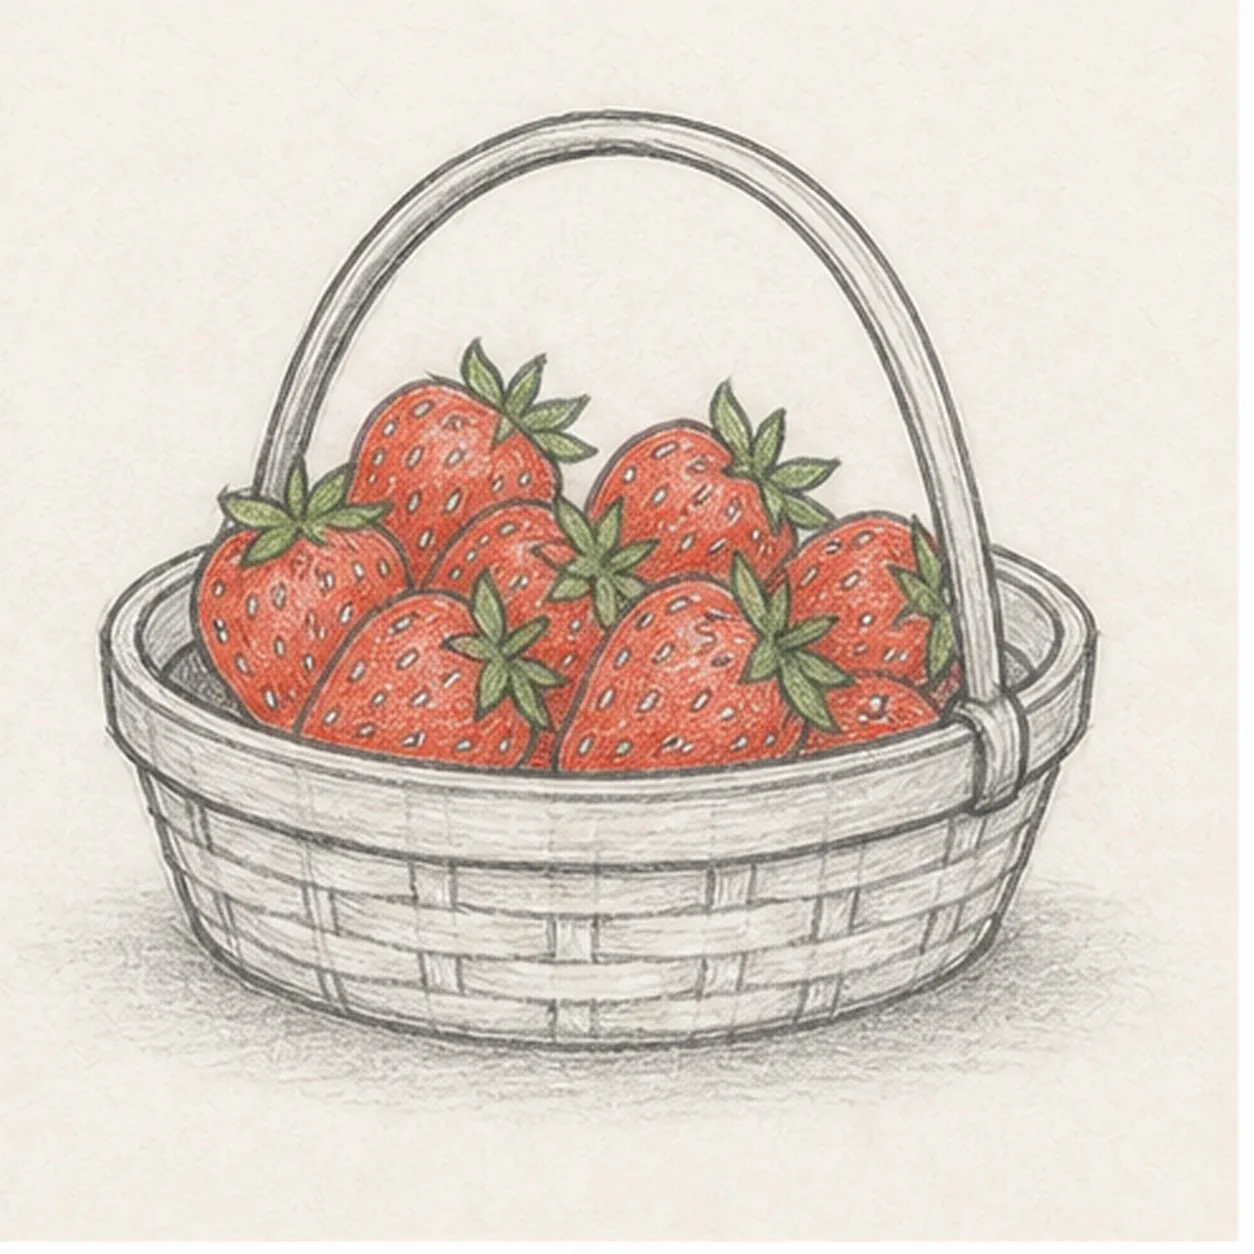
Finish the fruit basket
Darken the keeper contours, clarify the weave and seed dots, and deepen the existing color and ground shadow.
Sketch tip: Stop before adding a table, napkin, or extra fruit. The basket, handle, and berries already give the lesson enough to draw.


